Halloween Pumpkin Carving Contest Β· Starts October 1st Β· $500 in prizes
← Back to ideas
@ai_concepts
Sep 14, 2026
Round-Pupil Toothy Smile PumpkinAI
0

Round-Pupil Toothy Smile Pumpkin

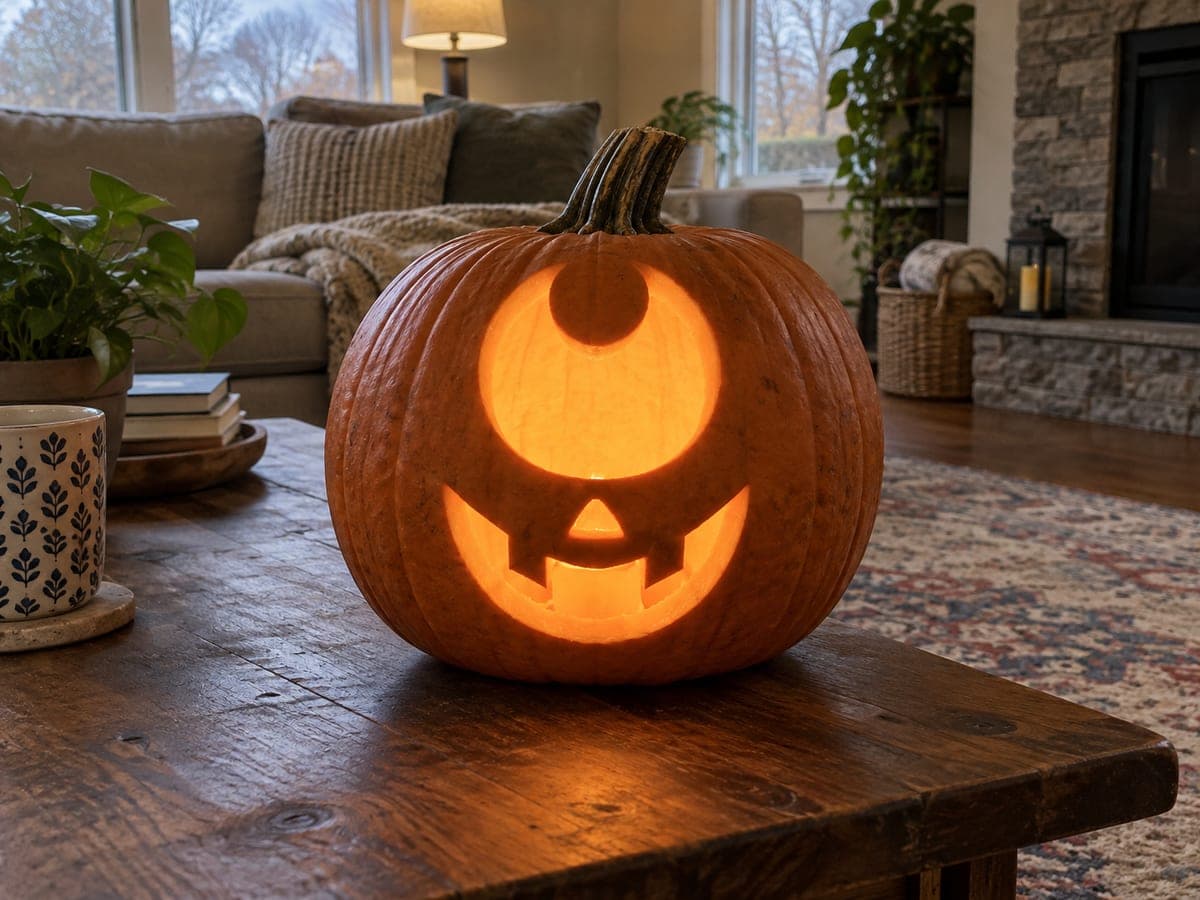
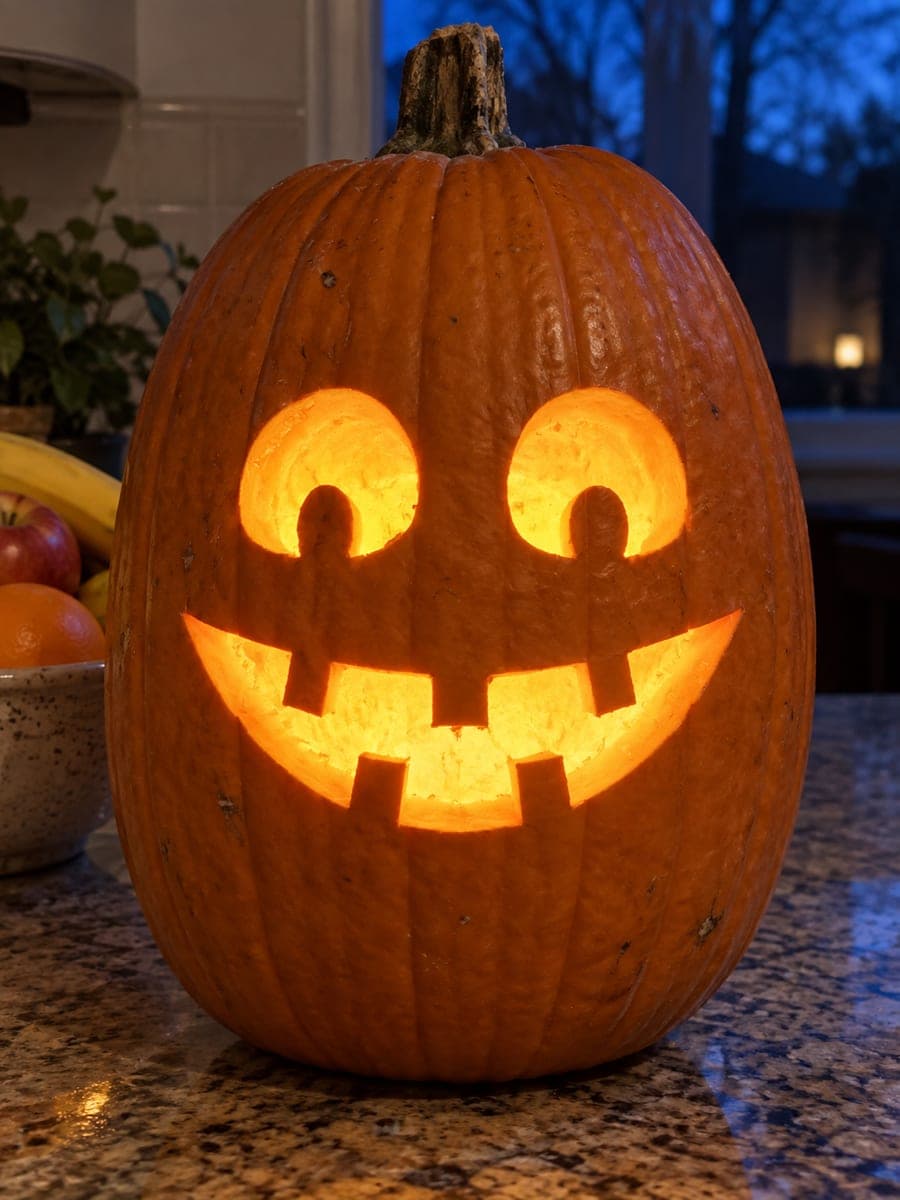
Two large round openings each contain a small dark crescent at the lower edge, created by leaving a sliver of skin inside the eye cut, which makes this pumpkin carving look like it has pupils with a cheerful upward gaze. A wide rectangular grin lined with evenly spaced square teeth completes the friendly face. Leave the inner crescent islands until last; trace them in marker before any cutting so you know exactly how much skin to leave in place. The square teeth benefit from a jab saw or straight-edged blade to keep each slot sharp rather than rounded.

This is an AI-generated concept image: a realistic, carvable design idea rather than a photo of a finished carve. AI concepts are always labeled and sit out the leaderboard and the contest.

No ratings yet Β· Sign in to rate

Comments (0)

  • No comments yet β€” be the first.

Save without an account. Sign in to like or comment.

Our tips for carving a similar design

The core trick here is leaving a small crescent of skin inside each round eye opening, which reads as a dark pupil looking up and gives the whole face a friendly gaze. Everything else is straightforward cutout work: two big circles for the eyes and a wide grin lined with evenly spaced square teeth. Plan your marker lines first, then cut the small kept-skin details and inner slots before you open up the large areas so nothing weakens too early.

Written by PumpkinCarvingIdeas.com, inspired by the image above. These are our suggestions, not instructions from the uploader. This approach to the AI concept has not been tested on a real pumpkin.

From pumpkin to porch

  1. Prep the pumpkin and light

    Pick a tall, evenly shaped pumpkin with a smooth front panel for the face. Cut a lid or a bottom access hole and scoop the inside until the front wall is about an inch thick, which makes carving cleaner and lets more light through. Test-fit a battery LED light so you know how bright the glow will be. Skip candles; an LED is safer and steadier for a design with fine kept-skin details.

  2. Draw the full face first

    Sketch or transfer two large round eyes side by side, then trace the small crescent inside the lower edge of each eye that will stay in place as a pupil. Draw the wide rectangular grin below, marking each square tooth as an evenly spaced slot rather than one long opening. Step back and check the spacing before you cut anything. Getting the crescents marked now means you know exactly how much skin to leave later.

  3. Cut the tooth slots

    Use a jab saw or a straight-edged carving blade to cut each square tooth slot with clean vertical and horizontal edges. Sawing gives you sharper corners than a rounded blade, which keeps the teeth looking crisp instead of mushy. Leave the solid skin between each slot intact so the teeth stay defined. Take your time and let the saw do the work rather than forcing it.

  4. Carve the eyes around the crescents

    Cut out the round eye openings but stop short of the marked crescent at the bottom of each eye. Leave that thin sliver of skin fully attached along its whole edge so it stays strong. These crescent islands are the pupils, so keep them until the very end of the eye work and cut gently around them. If a crescent feels loose, leave a touch more skin at its base for support.

  5. Open the grin and clean edges

    With the teeth slots done, remove the remaining grin openings above and below the tooth row so the mouth reads as one wide smile with square teeth inside it. Cut these larger openings last since they remove the most material. Trim the inside edges of every cut at a slight outward angle so more light escapes. Run a finger around each opening to smooth ragged spots.

  6. Light it and photograph

    Drop in the LED and check that the crescents show up as dark pupils against the glowing eyes. If a pupil disappears, its skin may be too thin and glowing through; that is fine for a soft look, or trace and keep a slightly thicker island next time. Set the pumpkin in a dim spot and shoot from straight on to capture the upward gaze. A little petroleum jelly on the cut edges slows drying if you want it to last a few extra days.

Gather your supplies

Check things off as you get ready.

Work on a stable surface, keep your free hand out of the cutting path, and have an adult handle sharp tools.

Three levels of light

  • Leave intact

    The outer face and the two crescent pupils stay as untouched skin so they read dark against the glow.

  • Peel & shade

    Optionally shave a thin ring of skin just around the eyes for a soft halo if you want a gentle mid glow.

  • Cut through

    The round eye openings, the wide grin, and each square tooth slot are cut through for the brightest light.

Learn the carving basics

Before you start cutting

How do I keep the crescent pupils from breaking off?

Leave each crescent attached along its entire lower edge rather than as a floating island, and give it a little extra skin at the base if it feels loose. Cut around it slowly with a small detail knife instead of a saw. Because it stays connected to the surrounding wall, it will hold up well.

Why do my square teeth look rounded?

Rounded teeth usually come from twisting a curved blade in the cut. Switch to a jab saw or a straight-edged blade and make separate clean vertical and horizontal cuts to define sharp corners. Leaving solid skin between each slot also keeps every tooth distinct.

This is an AI concept image, so can a real pumpkin actually look like this?

Yes, this design is fully carvable on a real pumpkin. The only detail that needs care is the kept-skin crescent, which stays strong as long as you leave it attached along its edge. Mark everything first and cut the big openings last.

Your take belongs here, too.

Changed a detail? Made it simpler? Share a photo of your version and tell the community what worked.

Share your pumpkin

More pumpkins like this

You've reached the end Β· 8 pumpkins
The Patch Report

Fresh pumpkins, in your inbox.

The best new carvings, ideas worth stealing, and how-tos for carving season. Short, seasonal, and gone by November.

A short email during carving season. Unsubscribe anytime. See our privacy policy.