@boo_radley
Sep 7, 2026

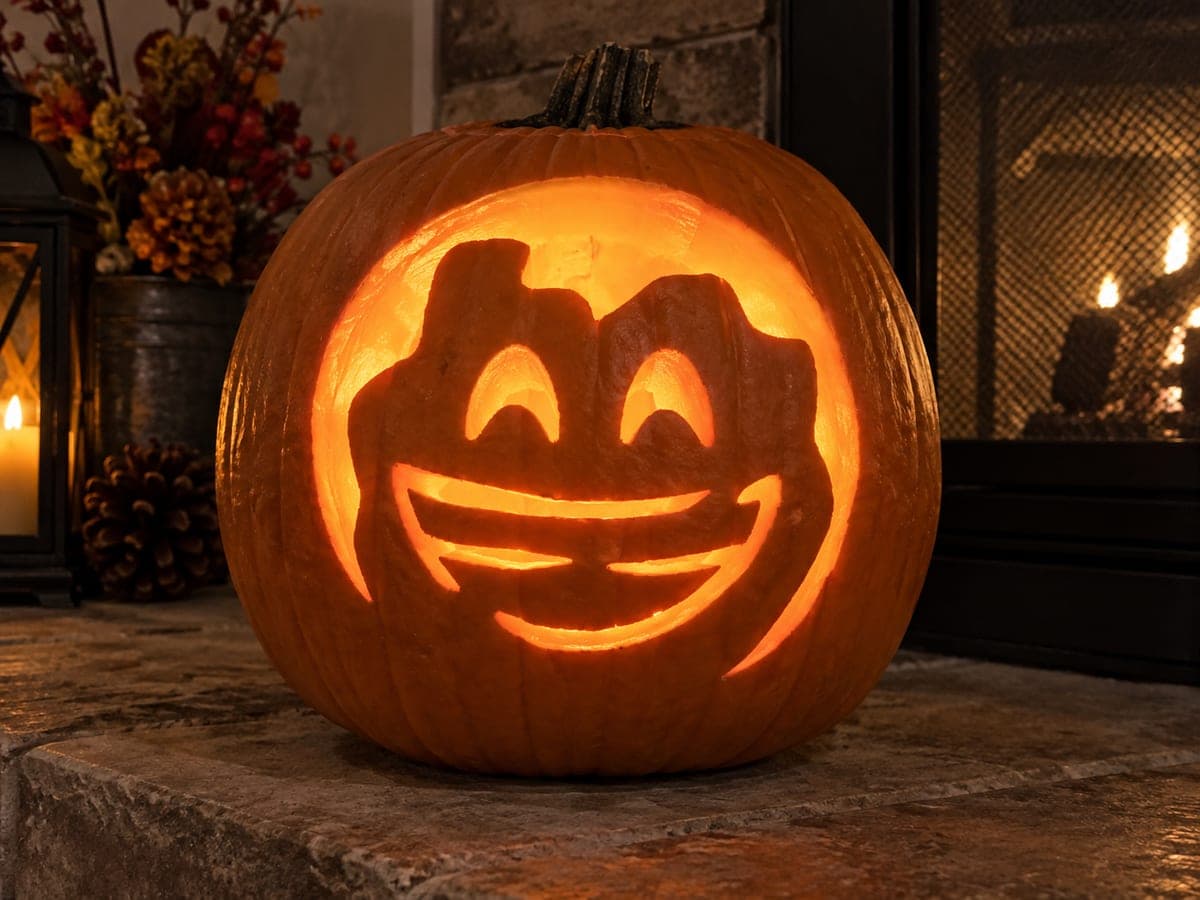
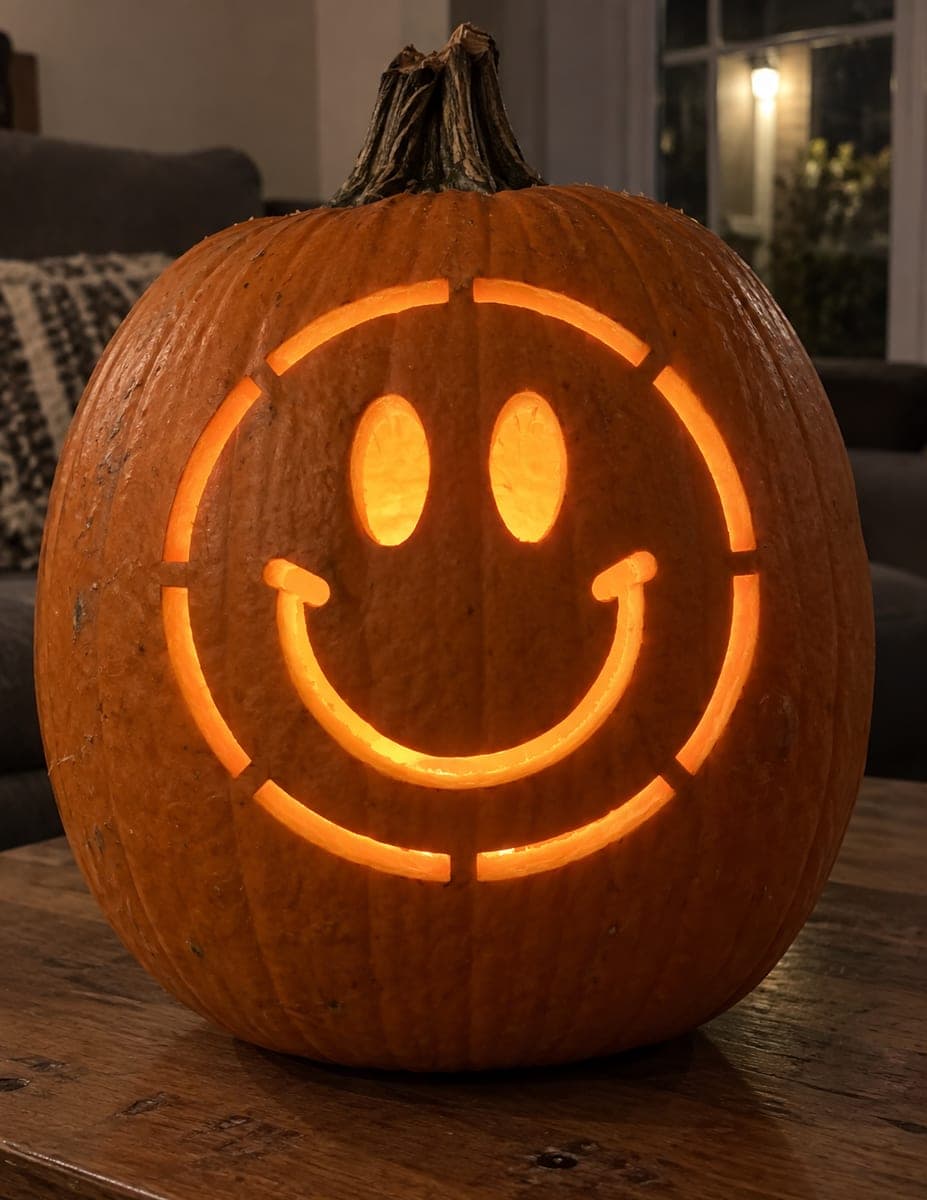
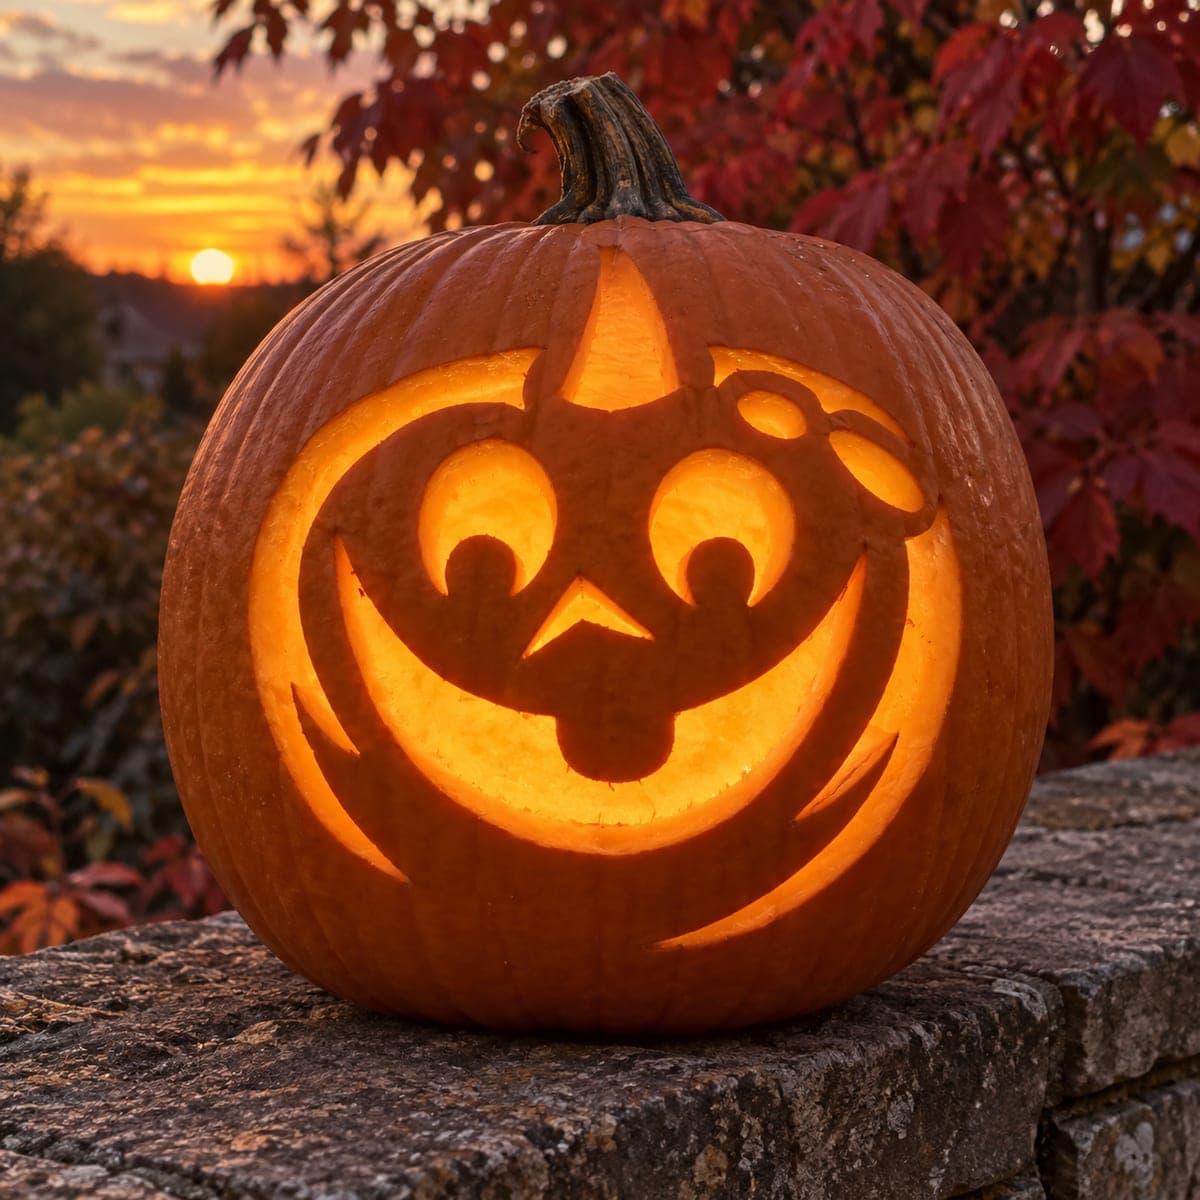
The core trick here is keeping the faces simple and playful, letting a few clean cutout shapes do all the work. One pumpkin gets a rounded, surprised look with oval eyes and a soft nose, while the other shows an open mouth and little horn ears added on top. Plan each face as separate hole shapes so a first timer can carve one piece at a time.
Written by PumpkinCarvingIdeas.com, inspired by @boo_radley's photo above. These are our suggestions, not instructions from the uploader, and this approach hasn't been tested on their exact carve.
Choose two round pumpkins with flat resting spots so they sit still while you work. Cut a lid or a back opening and scoop the insides until the front wall is about one inch thick. A thinner wall is much easier to push a knife through. Scrape the area where the face will go until it feels smooth.
Sketch each face on the skin with a washable marker before any cutting. Give the left pumpkin two oval eyes, a small triangle nose, and a soft smiling mouth. Give the right pumpkin big round eyes, a swirl detail, and a wide open grin. Step back and adjust the lines until the expressions look cheerful.
Use a poking tool or a thin skewer to dot along each drawn line. Space the holes close together so you have a clear guide once the marker rubs away. This keeps your knife on track and helps both faces stay symmetrical. Take your time here since good outlines make the cutting easy.
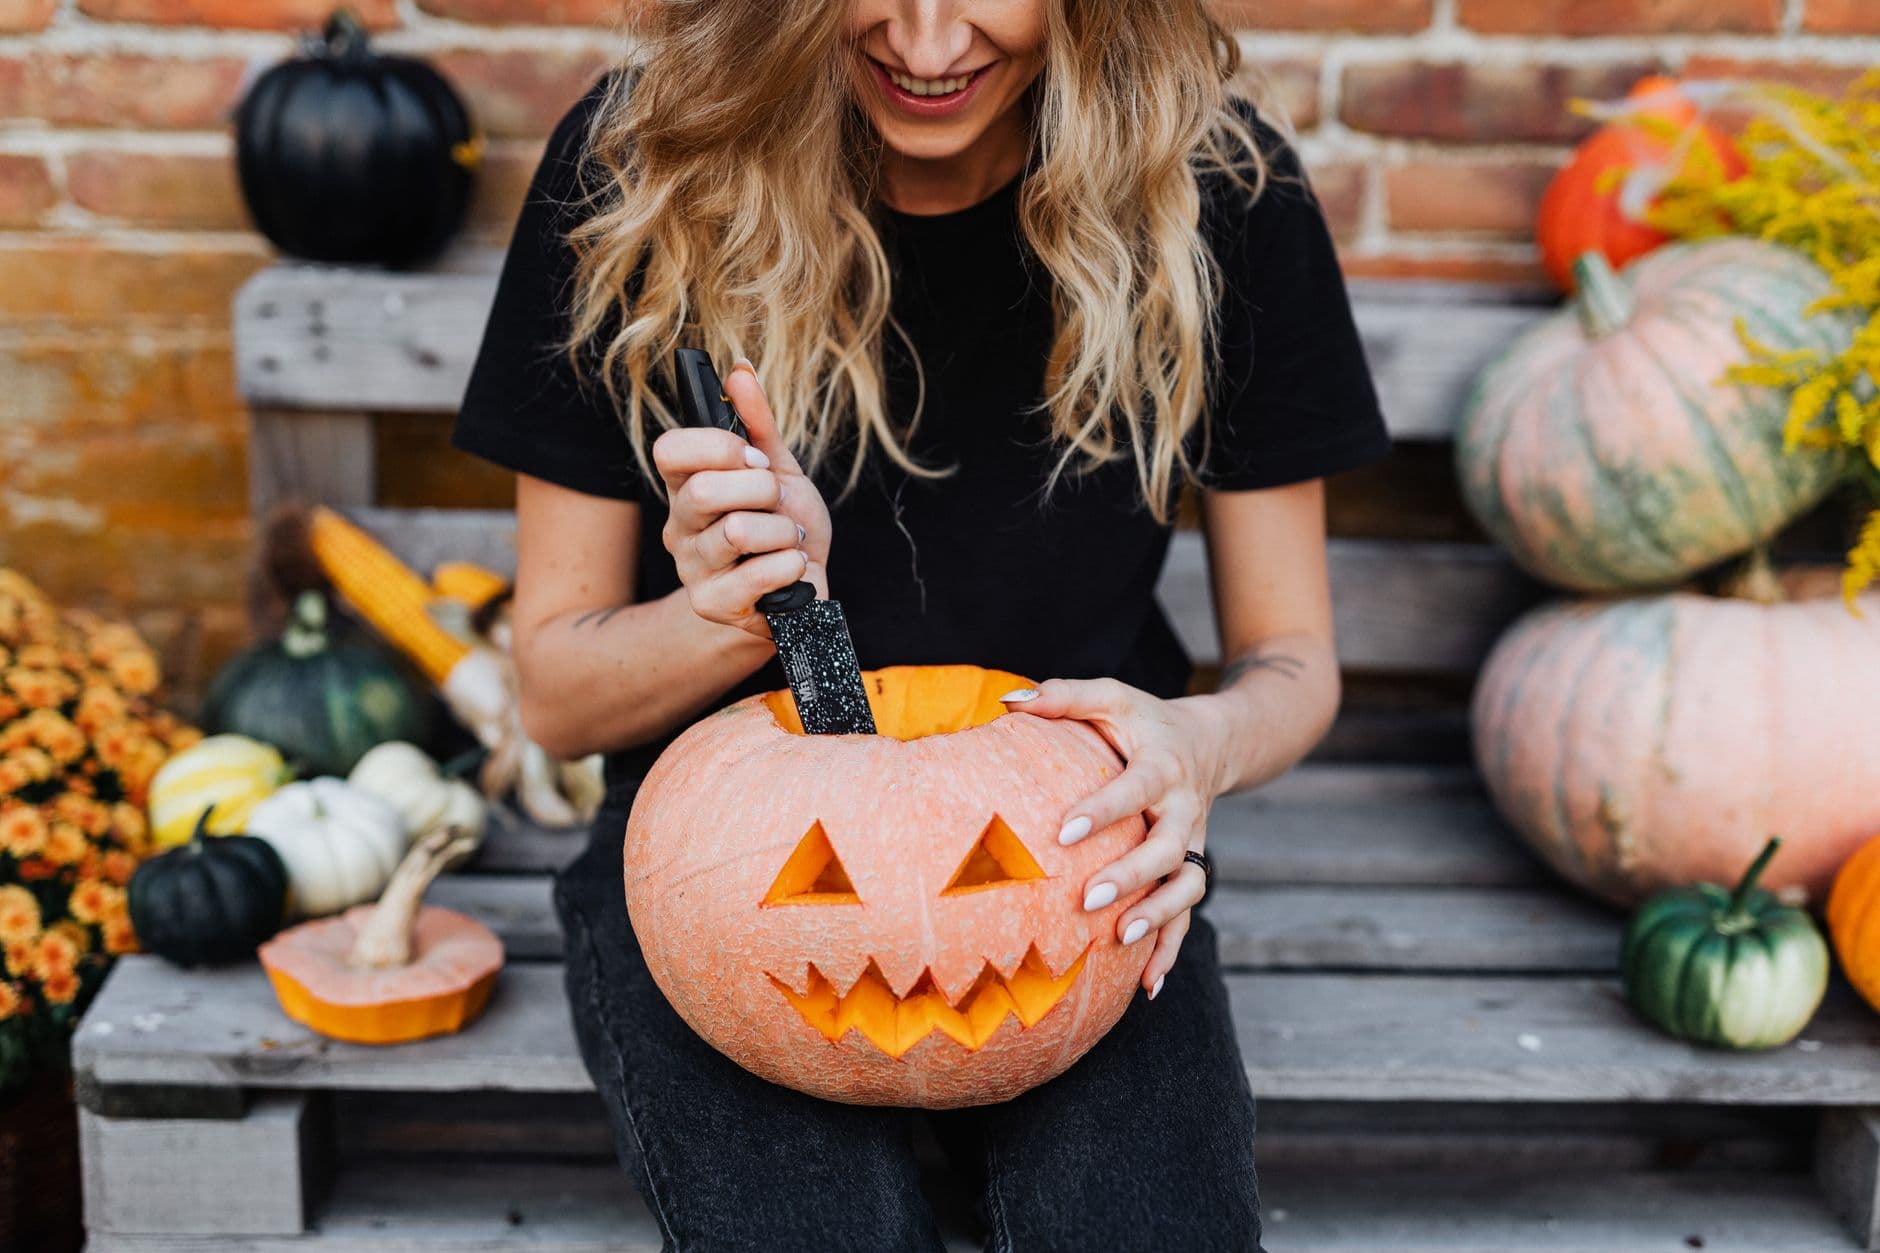
An adult should handle the knife. Start with the smallest pieces, the eyes and nose, using gentle sawing motions instead of forcing the blade. Push each freed piece out from the inside with a finger. Cutting small before large keeps the pumpkin wall strong while you work.
Save the wide mouths for the end since they are the biggest openings. Cut slowly around the curve and support the piece with your other hand so it does not tear away early. For the right pumpkin, carve the little horn ears as shallow surface cuts or attach small pumpkin scraps rather than free floating them. Clean up any rough edges with the tip of your knife.
Drop a battery LED tea light inside each pumpkin and set the lid back on. Skip real candles since the thin cutouts can scorch. Photograph the pair outside in soft evening light against fall leaves for that cozy look. A little dab of petroleum jelly on the cut edges helps them stay fresh for photos.
Check things off as you get ready.
Work on a stable surface, keep your free hand out of the cutting path, and have an adult handle sharp tools.
The full orange body of each pumpkin stays untouched and dark
Shallow scraped areas like the swirl and horn ear accents glow a soft dim orange
The eyes, noses, and open mouths are cut through for the brightest glow
Draw both faces before cutting either one so you can compare sizes side by side. Keep the eye shapes and mouth widths roughly equal even if the expressions differ. Standing back to view them together helps you catch any lopsided lines early.
Yes, but keep them structurally sound. The safest route is to carve them as shallow surface cuts on the skin rather than free standing pieces. If you want raised horns, cut them from a leftover pumpkin scrap and pin them on with toothpicks.
Scrape the inside of the front wall down to about one inch with a sturdy spoon or scoop. A thinner wall lets your knife glide through with much less force. This also lets more light shine out once the LED is inside.
Changed a detail? Made it simpler? Share a photo of your version and tell the community what worked.
The best new carvings, ideas worth stealing, and how-tos for carving season. Short, seasonal, and gone by November.




Comments (0)