@the_gourdfather
Aug 27, 2026
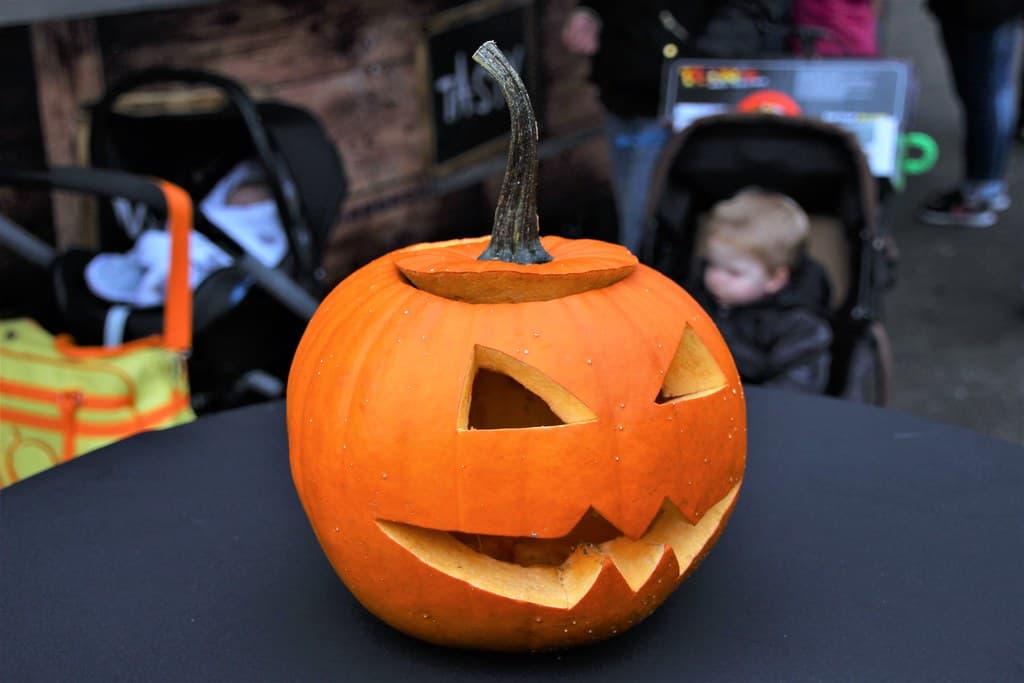
Sharp-toothed classic at the fair
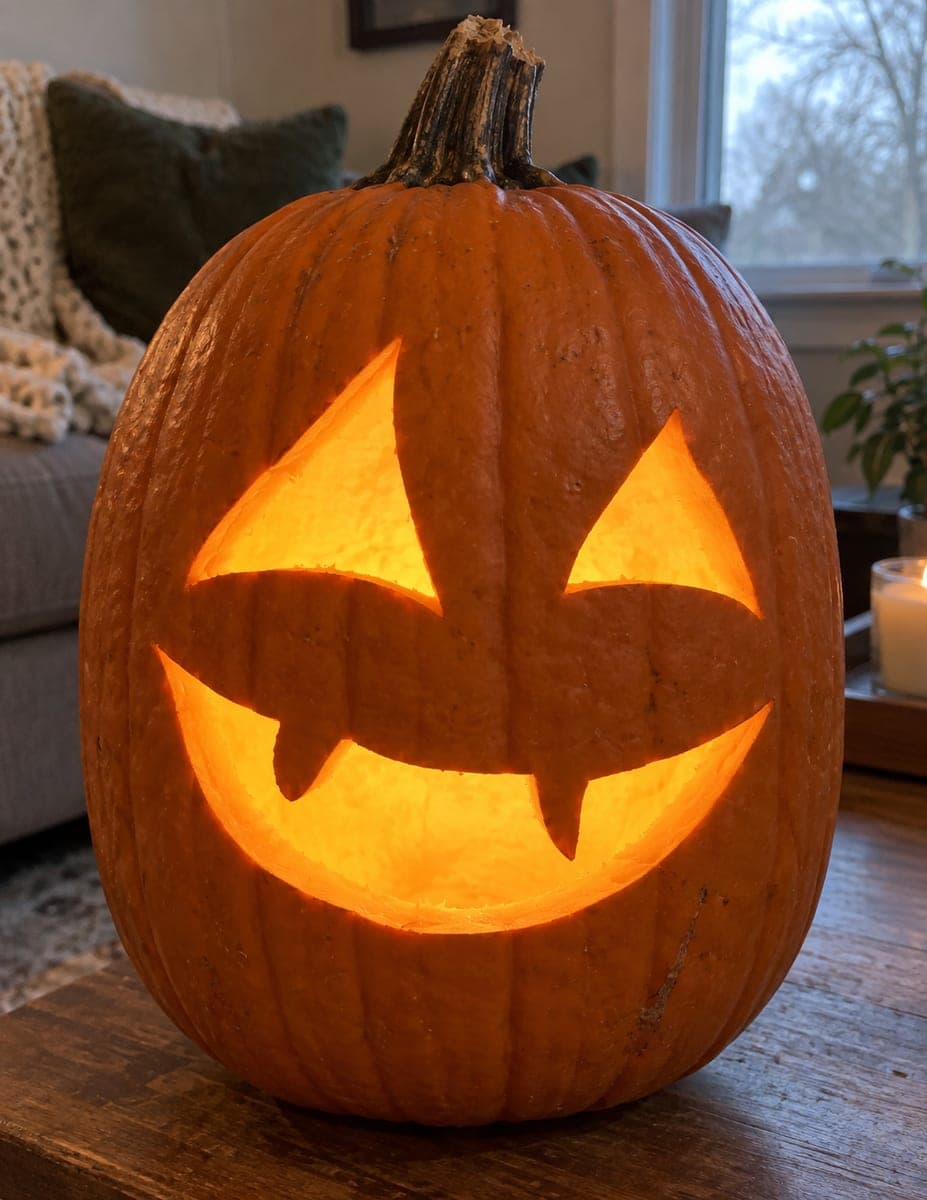
A crisp daytime carve with slanted eyes and a jagged bite, lid off and ready for its candle, on a table at a fall festival.
No ratings yet · Sign in to rate
A crisp daytime carve with slanted eyes and a jagged bite, lid off and ready for its candle, on a table at a fall festival.
This is the timeless jack-o'-lantern look, built entirely from clean cutouts: two slanted triangle eyes, a small triangle nose, and a wide mouth with sawtooth teeth. The core trick is keeping every line crisp and letting the negative space do the work, so plan simple shapes and cut them fully through. Do the lid first, hollow well, then carve the small features before the big mouth.
Written by PumpkinCarvingIdeas.com, inspired by @the_gourdfather's photo above. These are our suggestions, not instructions from the uploader, and this approach hasn't been tested on their exact carve.
With an adult on the knife, cut a lid around the stem at a slight inward angle so it rests without falling in. Lift it off and scoop the seeds and pulp with a sturdy spoon or scraper. Thin the front wall to about an inch so your blade passes through easily. A thinner wall also lets more light escape once it is lit.
Sketch or tape a stencil onto the smoothest part of the pumpkin, centered under the stem. Keep the two eyes as matching slanted triangles and the nose as a small triangle between them. Mark the mouth as one long curve with zigzag points for teeth. Poke along the outlines with a pin or awl so you have dots to follow.
Start with the smallest shapes while the pumpkin is still strong. Use a small serrated carving saw and let it do the work with gentle pressure, not force. Cut each triangle fully through and push the piece out from the inside. Clean the edges with a second light pass for that sharp look.
Save the mouth for last since it is the largest opening and weakens the wall. Cut the top and bottom zigzag lines carefully, working point to point so the teeth stay pointed and even. Leave each tooth attached at its base so none snap off. Push the mouth piece out gently once every line is connected.
Trim any ragged edges and scrape a little extra pulp from behind the cutouts to brighten them. Drop in a battery LED tealight or two rather than a flame, which is safer near a crowd or kids. Rest the lid on top, or leave it off as shown for more airflow. Rub a little petroleum jelly on cut edges to slow drying.
Set the pumpkin on a dark tabletop so the glowing face pops. Daytime shots show off the crisp cut edges, while dusk makes the light read best. Shoot slightly above eye level to catch the slanted eyes and grin together. Snap a few before the edges soften over the next day.
Check things off as you get ready.
Work on a stable surface, keep your free hand out of the cutting path, and have an adult handle sharp tools.
The whole orange body stays untouched and dark, framing the face.
Optional: lightly skin the tooth tips or eye edges for a soft glow border.
The two eyes, the triangle nose, and the zigzag mouth are cut through for full bright light.
Keep each tooth attached along its base rather than cutting it free on all sides. Cut the mouth last so the wall stays firm while you work the small eyes and nose. Use gentle sawing pressure and push pieces out from inside once every line connects.
Either works. Leaving it off gives better airflow and heat escape if you ever use a warm light, and it shows off the hollowed rim. Resting it on keeps the classic silhouette and slows drying a little.
A round medium pumpkin with a smooth front panel is ideal. It gives you enough flat space for the wide mouth without curving too much. Avoid lumpy or lopsided ones since the slanted eyes read best on an even surface.
Changed a detail? Made it simpler? Share a photo of your version and tell the community what worked.
The best new carvings, ideas worth stealing, and how-tos for carving season. Short, seasonal, and gone by November.



Comments (0)