Halloween Pumpkin Carving Contest · Starts October 1st · $500 in prizes
← Back to ideas
@ai_concepts
Sep 3, 2026
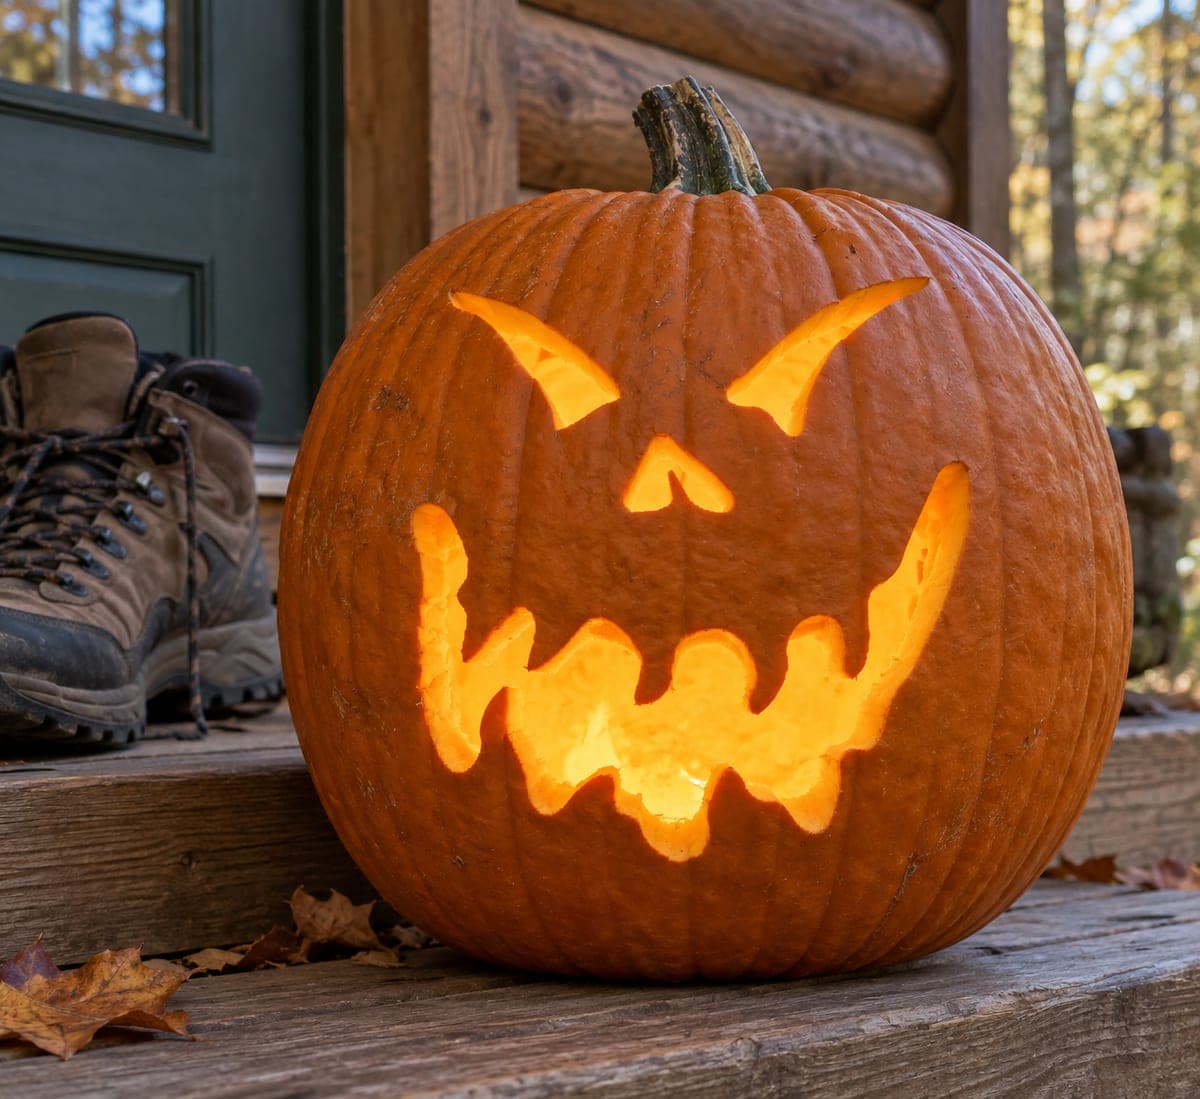
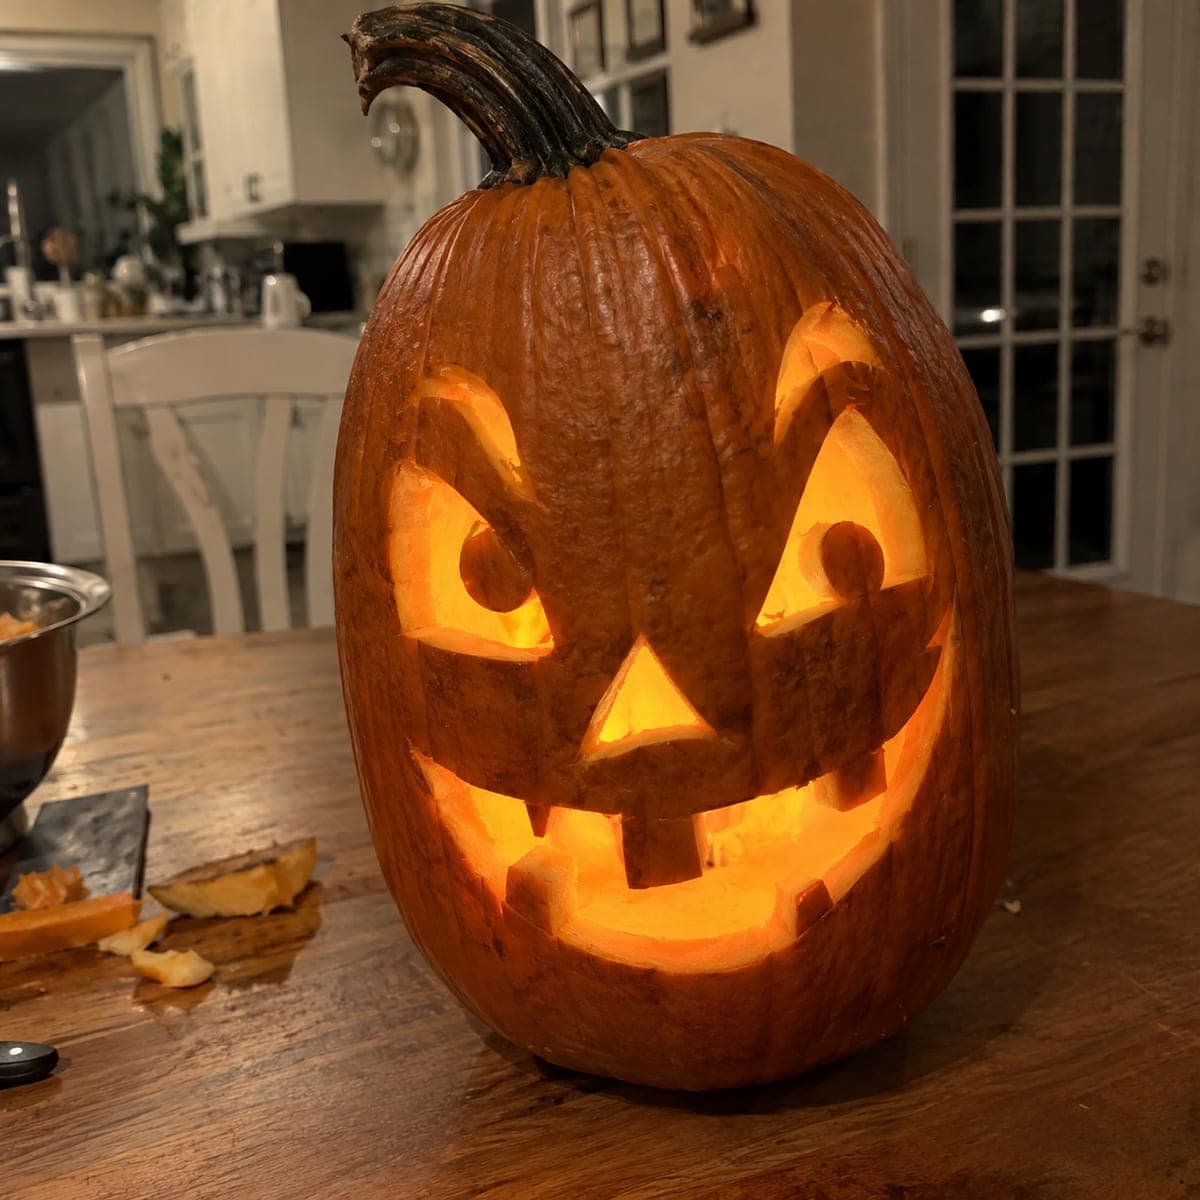
Sick Vomiting Jack-O-Lantern with Dripping MouthAI
0

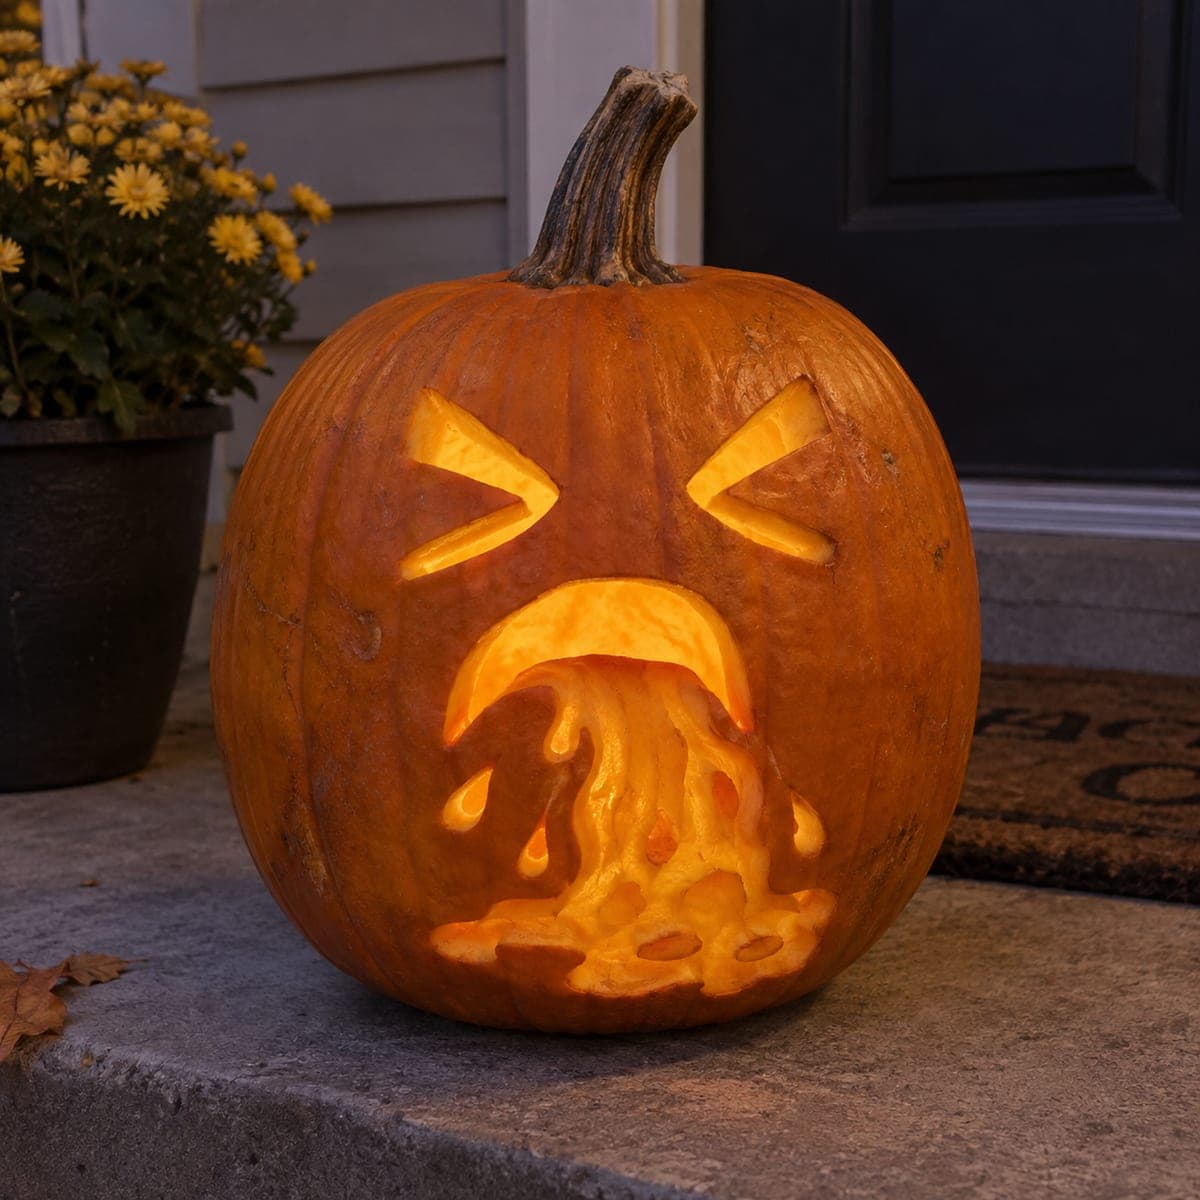
Sick Vomiting Jack-O-Lantern with Dripping Mouth

Squinting angular eyes and a wide-open mouth with cascading carved drips spilling down the front of the pumpkin give this design a hilariously gross sick-face effect. The vomit drip shapes are cut through so they glow along with the mouth, pooling in teardrop puddles at the pumpkin's base. Carve the eyes as simple greater-than and less-than symbols, then cut the mouth opening and add the drip sections free-form from top to bottom, varying their width for a natural look. This funny pumpkin carving idea always gets a laugh on the front porch.

This is an AI-generated concept image: a realistic, carvable design idea rather than a photo of a finished carve. AI concepts are always labeled and sit out the leaderboard and the contest.

No ratings yet · Sign in to rate
Comments (0)

  • No comments yet — be the first.

Save without an account. Sign in to like or comment.

Our tips for carving a similar design

The core trick here is a wide-open mouth that spills a cascade of cut-through drip shapes down the front of the pumpkin, all glowing together. Keep the eyes as simple angular cutouts, then treat the whole vomit stream as one connected shape with slim bridges of skin left between the drips so nothing sags. Cut the big mouth opening last so the face stays rigid while you carve the fine dripwork.

Written by PumpkinCarvingIdeas.com, inspired by the image above. These are our suggestions, not instructions from the uploader. This approach to the AI concept has not been tested on a real pumpkin.

From pumpkin to porch

  1. Prep and plan the layout

    Pick a large, tall pumpkin with a flat, clean front panel so the drips have room to run down to the base. Cut a lid from the back rather than the top so the front stays smooth and strong, then scrape the inside wall down to about an inch thick. Sketch the face in marker: two angular eyes up top, a wide mouth in the middle, and a rough drip stream flowing below it. Step back and check the drips fan out and pool near the bottom before you cut anything.

  2. Carve the squinting eyes

    Draw each eye as a bold greater-than and less-than shape, like a squint. Use a small saw to cut each stroke as a thick wedge so it lets plenty of light through. Keep the two lines of each eye separate rather than joining them at a sharp point, which is easier to cut clean and holds together better. These are your warm-up cuts, so take it slow and keep fingers behind the blade.

  3. Outline the drip stream

    Before opening the mouth, lightly score the outline of the whole vomit stream so you know where every drip lands. Vary the width of each ribbon so some are fat and some are thin, and let a few teardrop puddles sit apart at the base. Leave narrow strips of uncut skin between neighboring drips to act as bridges that hold the design firm. Adjust the sketch now while the pumpkin wall is still solid.

  4. Cut the drips and puddles

    Start at the bottom and work up, cutting out each drip and teardrop puddle with a small detail saw. Cutting the smaller pieces first keeps the wall stiff while you handle the delicate shapes. Keep those thin skin bridges between drips intact so the stream reads as connected without weakening the front. Clean each opening with a gentle push from the inside to knock out the plug.

  5. Open the mouth last

    Save the big wide-open mouth for the final cut since it removes the most material. Saw the mouth as one large curved opening that connects to the top of the drip stream so light flows through the whole design. Round the lower lip slightly so it looks like it is spilling over. Test the fit and smooth any rough edges with the tip of your tool.

  6. Light it and photograph

    Drop in a bright LED puck or a string of LED lights, never a candle, since the tall drip cutouts and thin bridges do not mix well with heat. Aim the light low and forward so it spills through the mouth and down every drip. Set the pumpkin on a step at dusk and shoot from slightly above to catch the puddles glowing at the base. A dab of petroleum jelly on the cut edges helps it stay fresh for photos.

Gather your supplies

Check things off as you get ready.

Work on a stable surface, keep your free hand out of the cutting path, and have an adult handle sharp tools.

Three levels of light

  • Leave intact

    The main face and the smooth cheeks stay as untouched dark skin.

  • Peel & shade

    Shave a thin halo of skin just around the mouth and drip edges for a soft dim glow that blends the stream into the face.

  • Cut through

    Cut fully through the two squinting eyes, the wide mouth, and every drip and teardrop puddle so they blaze with light.

Learn the carving basics

Before you start cutting

How do I keep the long drip stream from falling apart?

Leave narrow strips of uncut skin as bridges between neighboring drips instead of carving one giant hole. These bridges hold the front wall rigid and still read as a connected stream once lit. Cut the small drips and puddles first and save the big mouth for last so the pumpkin stays firm while you work.

This is an AI concept image, so can a real pumpkin look like this?

Yes, the design is carvable if you plan the bridges. Keep each drip a reasonable width and do not try to cut the whole stream as one open shape. A tall pumpkin with a flat front gives the drips a clean surface to run down to the base.

Where should the light go for the best drip glow?

Set a bright LED low and toward the front so light pours out the mouth and travels down every drip. A single puck can leave the lower puddles dim, so a short LED string laid along the inside front wall lights the whole stream evenly. Avoid candles since the thin bridges and tall cutouts are too delicate for heat.

Your take belongs here, too.

Changed a detail? Made it simpler? Share a photo of your version and tell the community what worked.

Share your pumpkin

More pumpkins like this

You've reached the end · 8 pumpkins
The Patch Report

Fresh pumpkins, in your inbox.

The best new carvings, ideas worth stealing, and how-tos for carving season. Short, seasonal, and gone by November.

A short email during carving season. Unsubscribe anytime. See our privacy policy.