@porchglow
Sep 7, 2026

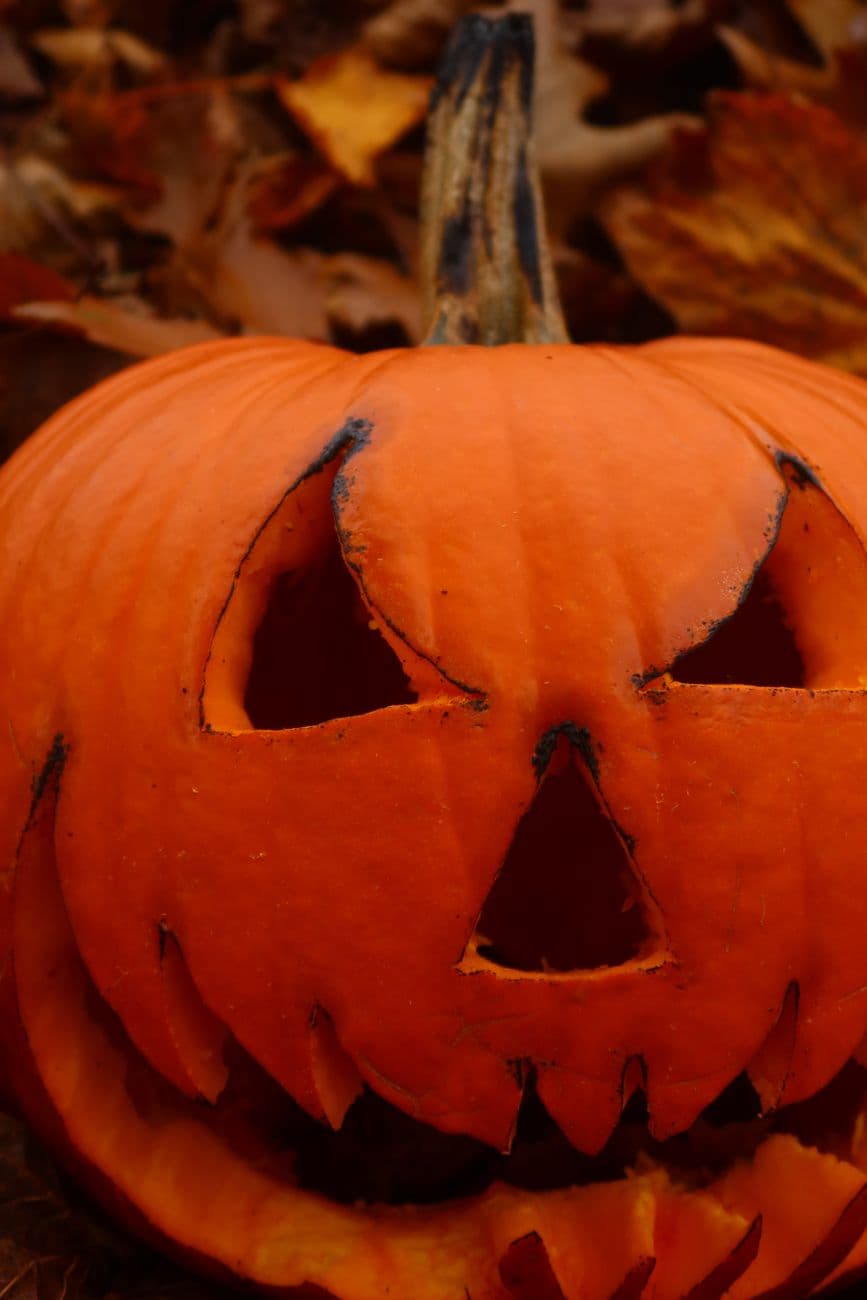
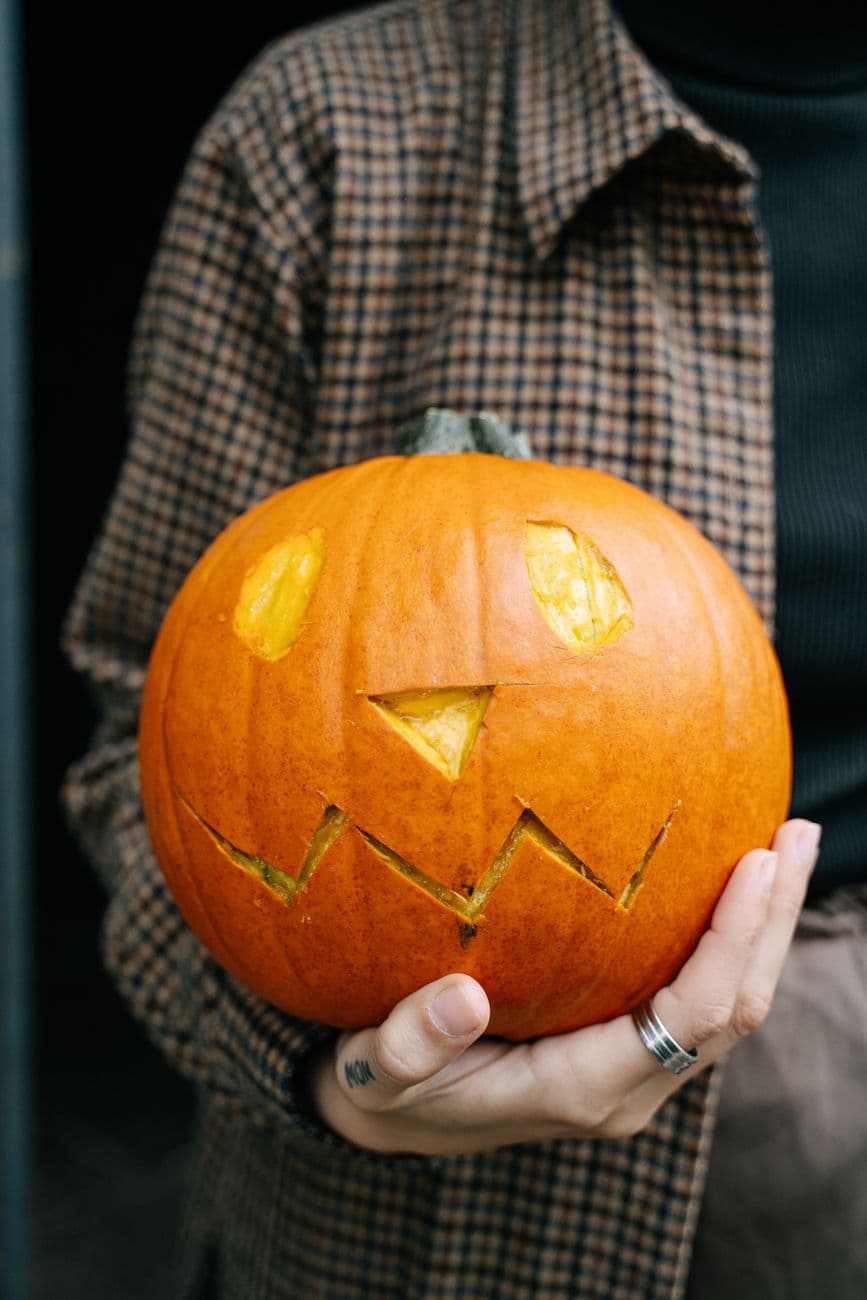
The core trick here is matching two personalities through simple cutout faces, one sweet with heart eyes and one toothy and mischievous. Both rely on clean outline cuts rather than shading, so the whole face reads from a distance. Plan each face on paper first, then keep the openings bold and the toothy mouth built with connected zigzags so nothing falls out.
Written by PumpkinCarvingIdeas.com, inspired by @porchglow's photo above. These are our suggestions, not instructions from the uploader, and this approach hasn't been tested on their exact carve.
Choose two round, evenly sized pumpkins with smooth front faces so the features sit flat. Decide which will be the sweet heart-eyed face and which will be the toothy grin. Sketch both designs on paper at full size before touching the pumpkins. Keeping them similar in scale makes them look like a matched set in photos.
An adult should cut a lid at the top with a keyhole saw, angling the cut inward so the lid rests without falling through. Scoop out the seeds and pulp, then scrape the front wall down to about one inch thick where you plan to carve. A thinner wall is much easier to cut cleanly. Pat the inside dry so your stencil sticks.
Tape your paper pattern to each pumpkin and poke along the lines with a pushpin or a poking tool to make a dotted guide. For the heart eyes, mark two clean heart shapes and a smaller heart at the cheek. For the toothy face, dot out angled eyes, a small nose, and a wide mouth. Remove the paper and connect the dots lightly with a marker if it helps you see the shapes.
Using a small serrated carving saw, cut the eyes and nose openings before the mouth. Saw gently with a steady back and forth motion and let the tool do the work instead of forcing it. Push each cut piece out from the inside with your thumb. Doing the smaller openings first keeps the pumpkin sturdy while you work.
Carve the full mouth outline, then shape the zigzag teeth by cutting the gaps between them rather than each tooth alone. This leaves the points attached top and bottom so they stay strong. For the sweet pumpkin, cut its friendly zigzag smile the same way. Work slowly around tight corners and back the blade out before turning.
Drop a battery LED tealight or a small puck light inside each pumpkin and set the lid back on. Skip real candles, since these designs shine as portrait props and heat is a risk. If you plan to hold them near your face for pictures, add a folded towel inside the rim for comfort and never fully cover your nose and mouth. Take your photos in soft evening light for that warm autumn glow.
Check things off as you get ready.
Work on a stable surface, keep your free hand out of the cutting path, and have an adult handle sharp tools.
The full orange skin of both pumpkins stays untouched and dark, framing each face.
You could shave a thin border around the eyes or mouth for a soft dim halo, though these faces work fine with none.
The heart eyes, noses, and both toothy mouths are cut all the way through for the brightest glow.
Carve the mouth as one connected outline and remove the dark gaps between the teeth rather than cutting each tooth free. That keeps every point anchored to the pumpkin above and below. Thinning the front wall to about an inch also makes clean cuts easier so you are not wrestling the blade.
They can be held near or rested lightly on your head, but never seal your face inside. Keep the bottom fully open for airflow and use only battery LED lights, never candles. Have someone help you lift the pumpkin on and off, and take breaks since a real pumpkin is heavy.
Pick pumpkins of similar size and shape, and keep the mouth style consistent, like giving both a zigzag grin. Vary the personality through the eyes, hearts for one and angled slits for the other. Sketching both on paper side by side before carving helps you balance the proportions.
Changed a detail? Made it simpler? Share a photo of your version and tell the community what worked.
The best new carvings, ideas worth stealing, and how-tos for carving season. Short, seasonal, and gone by November.




Comments (0)