Halloween Pumpkin Carving Contest · Starts October 1st · $500 in prizes
← Back to ideas
@ai_concepts
Sep 2, 2026
Simple Black Paw Print Painted PumpkinAI
0

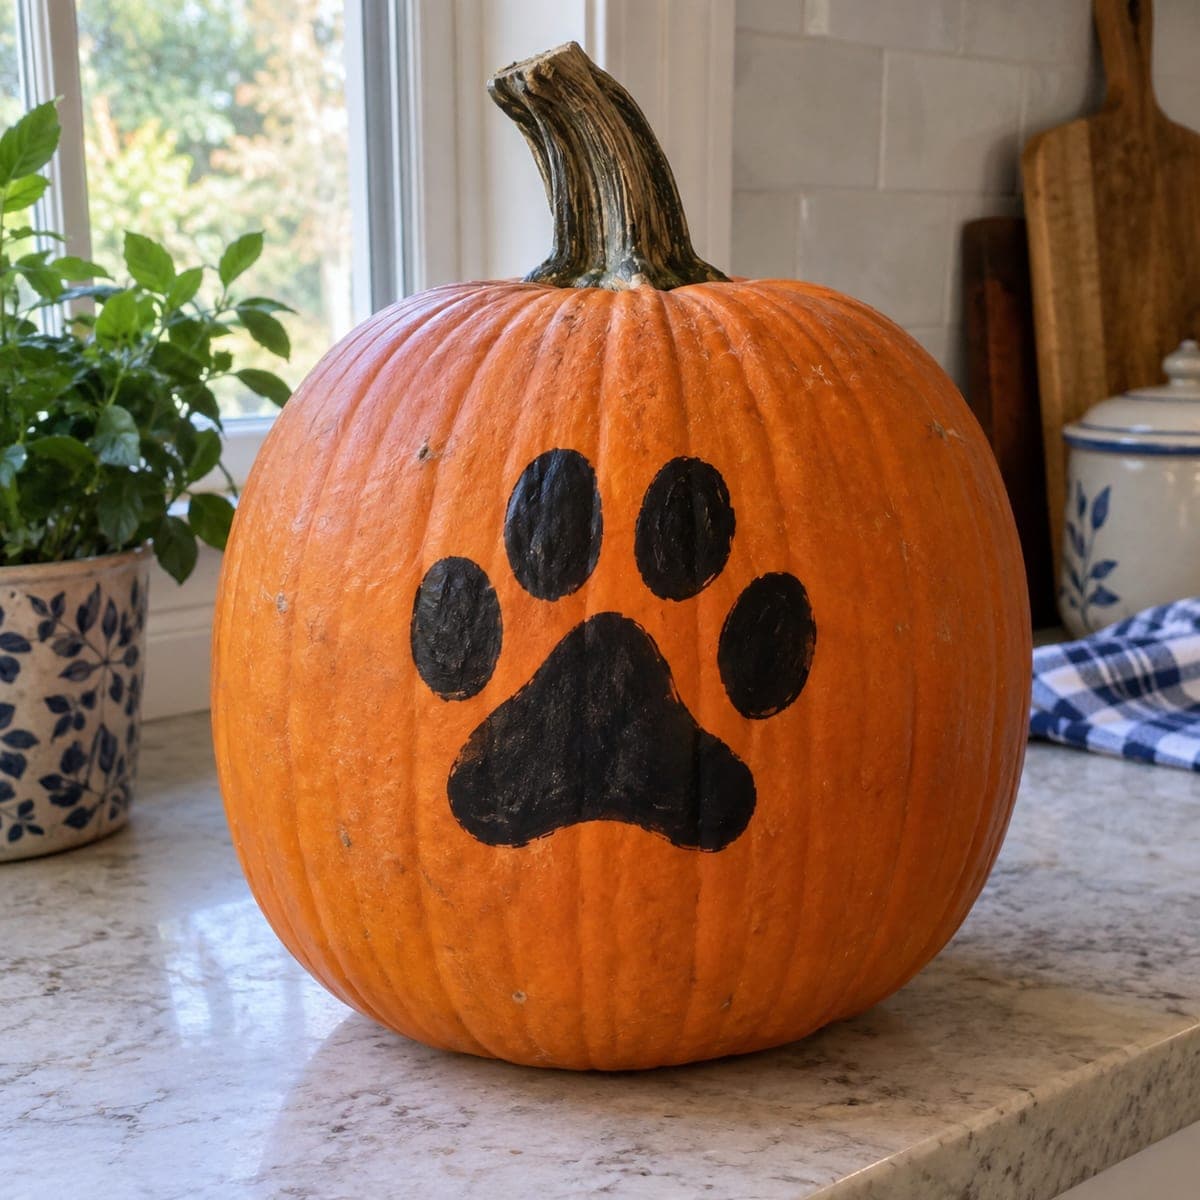
Simple Black Paw Print Painted Pumpkin

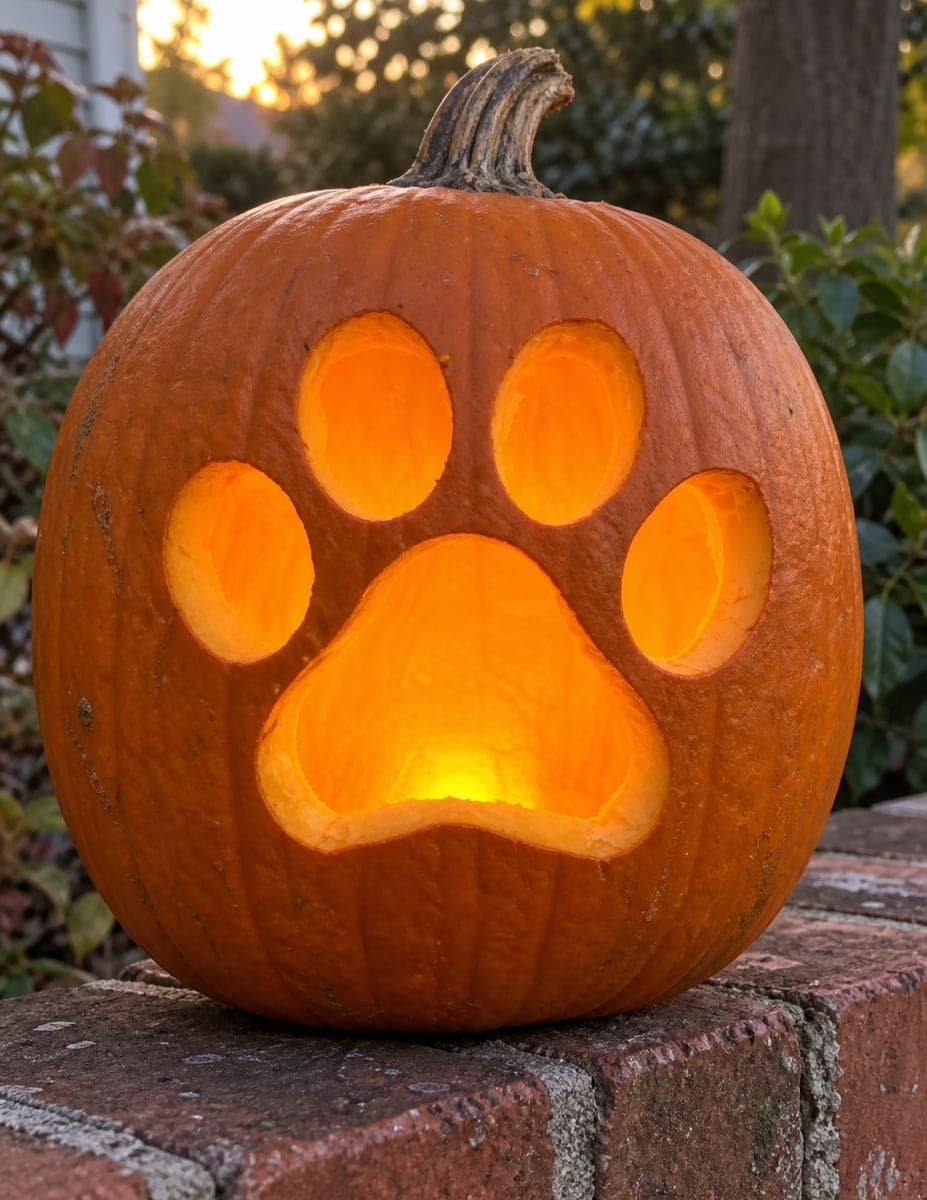
One oversized black paw print is all this no-carve pumpkin needs, making it a favorite for dog and cat households or team spirit displays. Trace a printed paw template in pencil, then fill it with two coats of black acrylic or chalk paint for full coverage on the ribbed surface. It comes together in under thirty minutes and pairs nicely with a pet-themed jack-o-lantern beside it.

This is an AI-generated concept image: a realistic, carvable design idea rather than a photo of a finished carve. AI concepts are always labeled and sit out the leaderboard and the contest.

No ratings yet · Sign in to rate
Comments (0)

  • No comments yet — be the first.

Save without an account. Sign in to like or comment.

Our tips for carving a similar design

The whole charm here is one oversized black paw print sitting flat on the pumpkin's smooth front, so there is no carving mess and nothing thin to break. The plan is to trace a printed paw template in pencil, then fill the four toe pads and the large heel pad with two coats of black paint for solid coverage over the ribbed skin. If you later want a glowing version, the same shape carves cleanly into peeled and cut zones.

Written by PumpkinCarvingIdeas.com, inspired by the image above. These are our suggestions, not instructions from the uploader. This approach to the AI concept has not been tested on a real pumpkin.

From pumpkin to porch

  1. Pick a smooth-front pumpkin and clean it

    Choose a pumpkin with one flat, lightly ribbed panel facing forward so the paw reads clearly. Wipe the surface with a damp cloth and let it dry fully, since paint grabs poorly on dust or moisture. Set it on a towel at a comfortable height. A dry surface is the single biggest factor in clean coverage.

  2. Size and trace the paw template

    Print a paw shape large enough to fill the center of the front, roughly the size of your hand. Cut it out, hold or tape it in place, and trace the outline in pencil, or poke a dotted line around the edge with a pushpin. Step back and check that the four toe pads sit evenly above the heel pad. Adjust before you commit to paint.

  3. Fill the pads with a first coat

    Using a small round or flat brush, outline each pad first, then fill the middle. Work the paint into the vertical ribs with short dabbing strokes so no orange peeks through the grooves. Keep the first coat thin rather than gloppy. Let it dry to the touch before moving on.

  4. Add the second coat for full black

    Apply a second even coat once the first is dry, which evens out streaks and deepens the black. Chalk paint or craft acrylic both work well and dry fairly fast. Touch up any ribs where light orange still shows. Let it cure fully before handling.

  5. Optional: turn it into a glowing carve

    If you would rather light it, an adult can cut a lid or a back access hole and scoop the pumpkin. Peel the paw shape to a dim glow, or cut fully through the pads for bright light using the guidance below. Drop in an LED puck, never a candle, so painted or peeled areas stay safe. Cut any full openings last so the shape holds its shape.

  6. Style and photograph it

    Set the finished pumpkin on a counter or step and pair it with a pet-themed jack-o-lantern beside it. Natural window light shows off the flat painted version best. For a lit carve, shoot in a dim room so the glow pops. Snap a photo and share it with the community.

Gather your supplies

Check things off as you get ready.

Work on a stable surface, keep your free hand out of the cutting path, and have an adult handle sharp tools.

Three levels of light

  • Leave intact

    The orange skin around the paw stays untouched and dark, framing the shape.

  • Peel & shade

    For a lit take, shave the skin inside the paw pads to a thin layer for a soft orange glow.

  • Cut through

    Cut fully through just the toe pads or the whole paw for the brightest light, saving these openings for last.

Learn the carving basics

Before you start cutting

Will paint stick to the ribbed grooves without peeling?

Yes, as long as the pumpkin is clean and dry first. Work the brush into the vertical ribs with small dabbing strokes rather than one flat swipe. Two thin coats hold far better than one thick one.

Can I make this glow like a carved pumpkin instead?

You can. Skip the paint, then peel the paw shape for a dim glow or cut through the pads for full brightness, always with an adult on the sharp tools. Use an LED light inside, never a candle, and cut any large openings last so the front stays sturdy.

How do I keep the paw looking balanced?

Trace from a printed template rather than freehand so the four toe pads stay even above the heel pad. Step back and check the spacing while it is still in pencil. Small adjustments before painting save a lot of touch-up later.

Your take belongs here, too.

Changed a detail? Made it simpler? Share a photo of your version and tell the community what worked.

Share your pumpkin

More pumpkins like this

You've reached the end · 8 pumpkins
The Patch Report

Fresh pumpkins, in your inbox.

The best new carvings, ideas worth stealing, and how-tos for carving season. Short, seasonal, and gone by November.

A short email during carving season. Unsubscribe anytime. See our privacy policy.