Halloween Pumpkin Carving Contest · Starts October 1st · $500 in prizes
← Back to ideas
@ai_concepts
Jul 17, 2026
Dog Paw Print Carved PumpkinAI
0

Dog Paw Print Carved Pumpkin

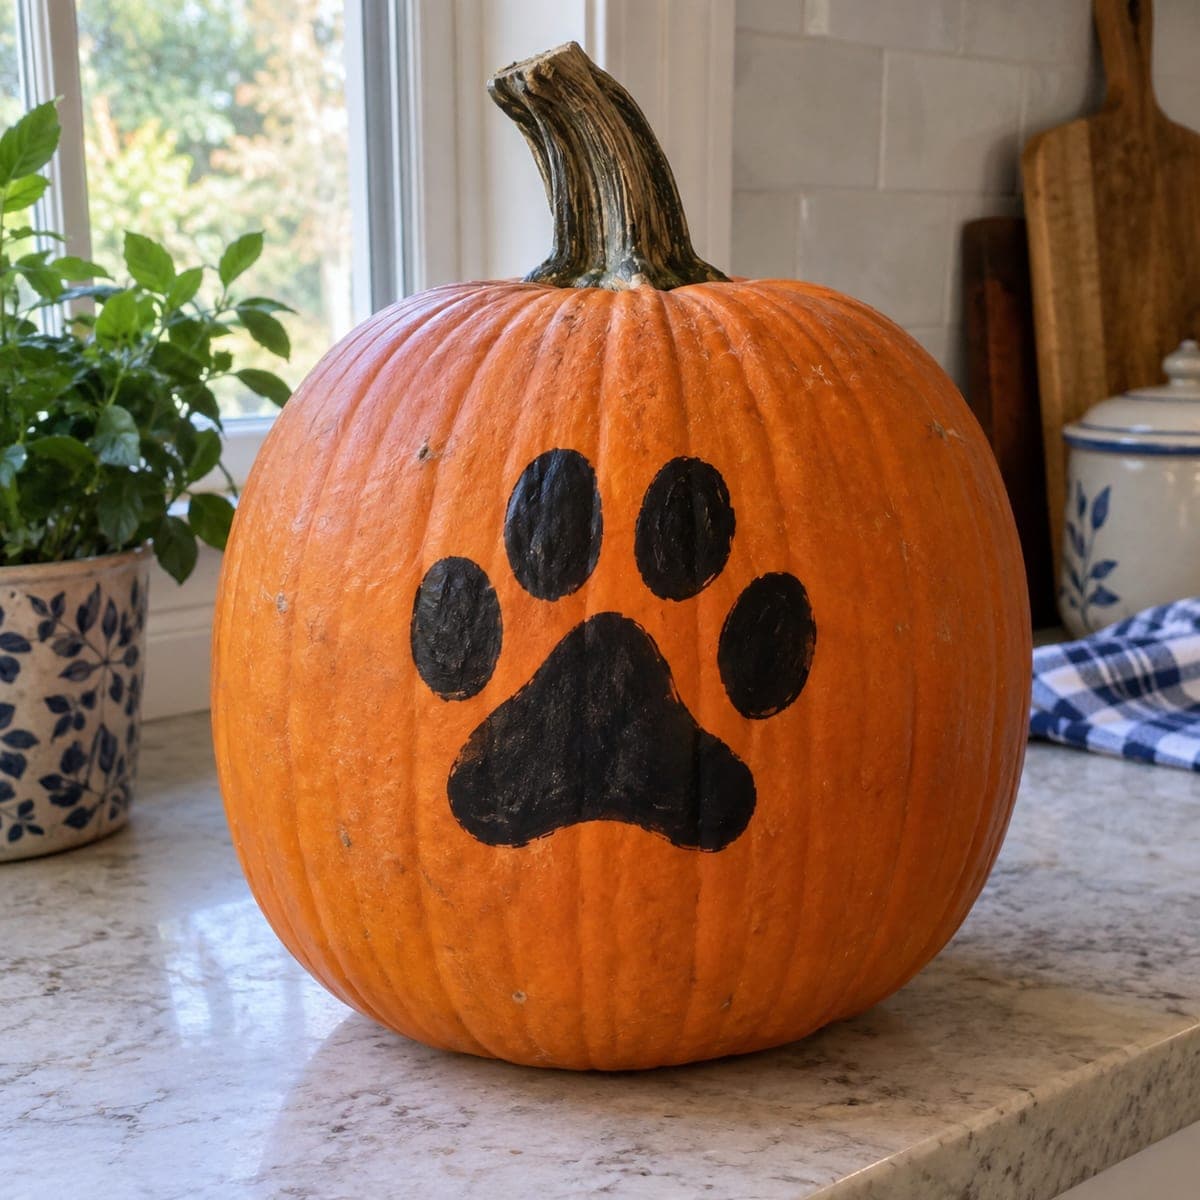
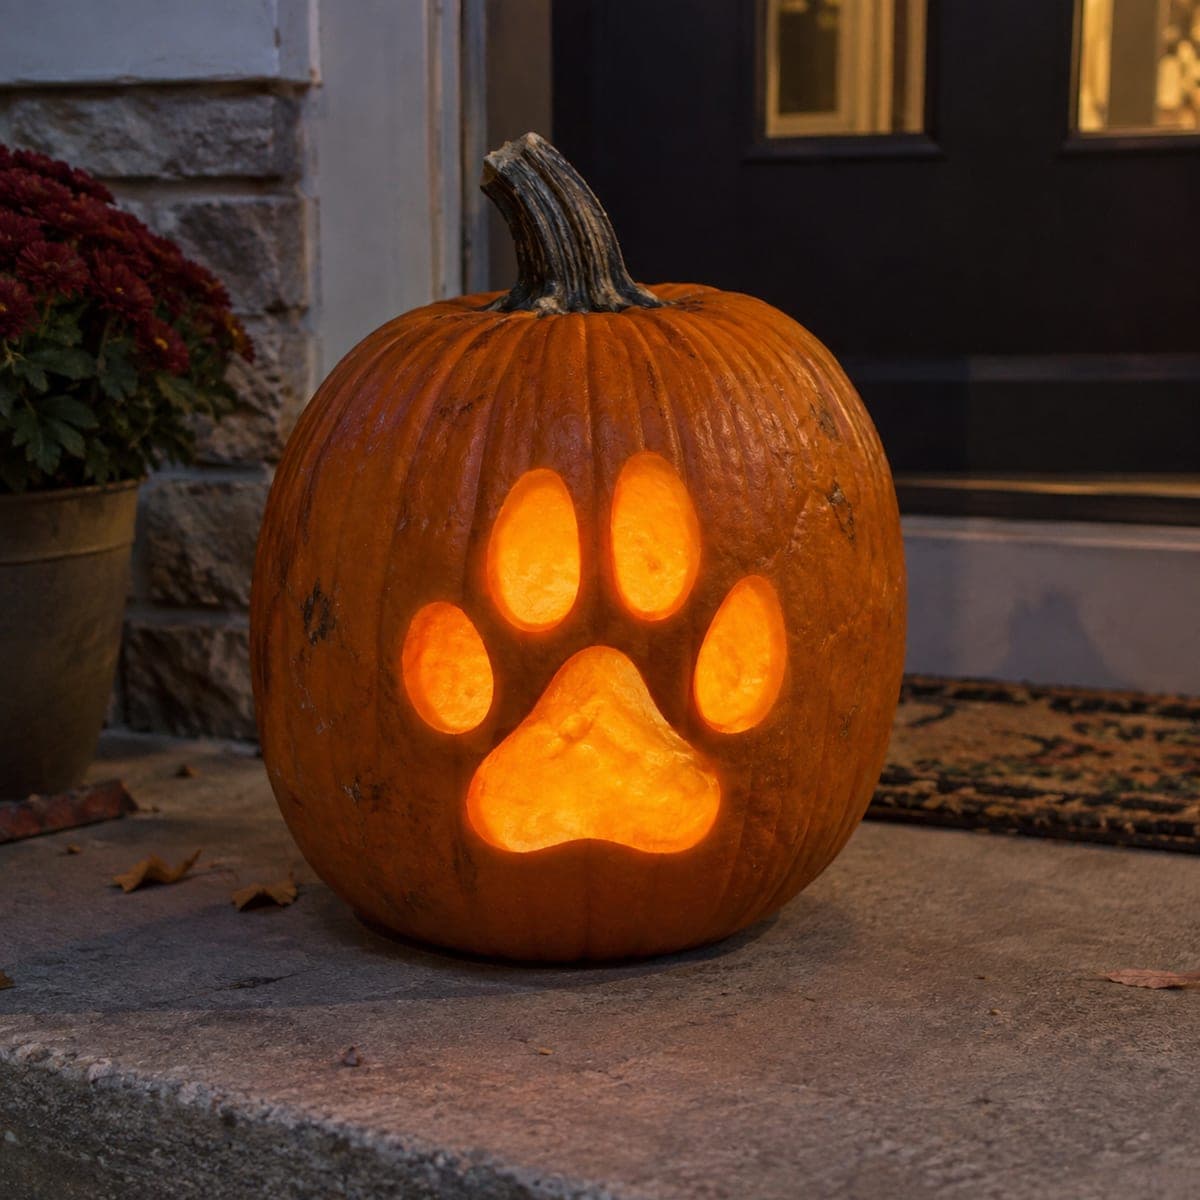
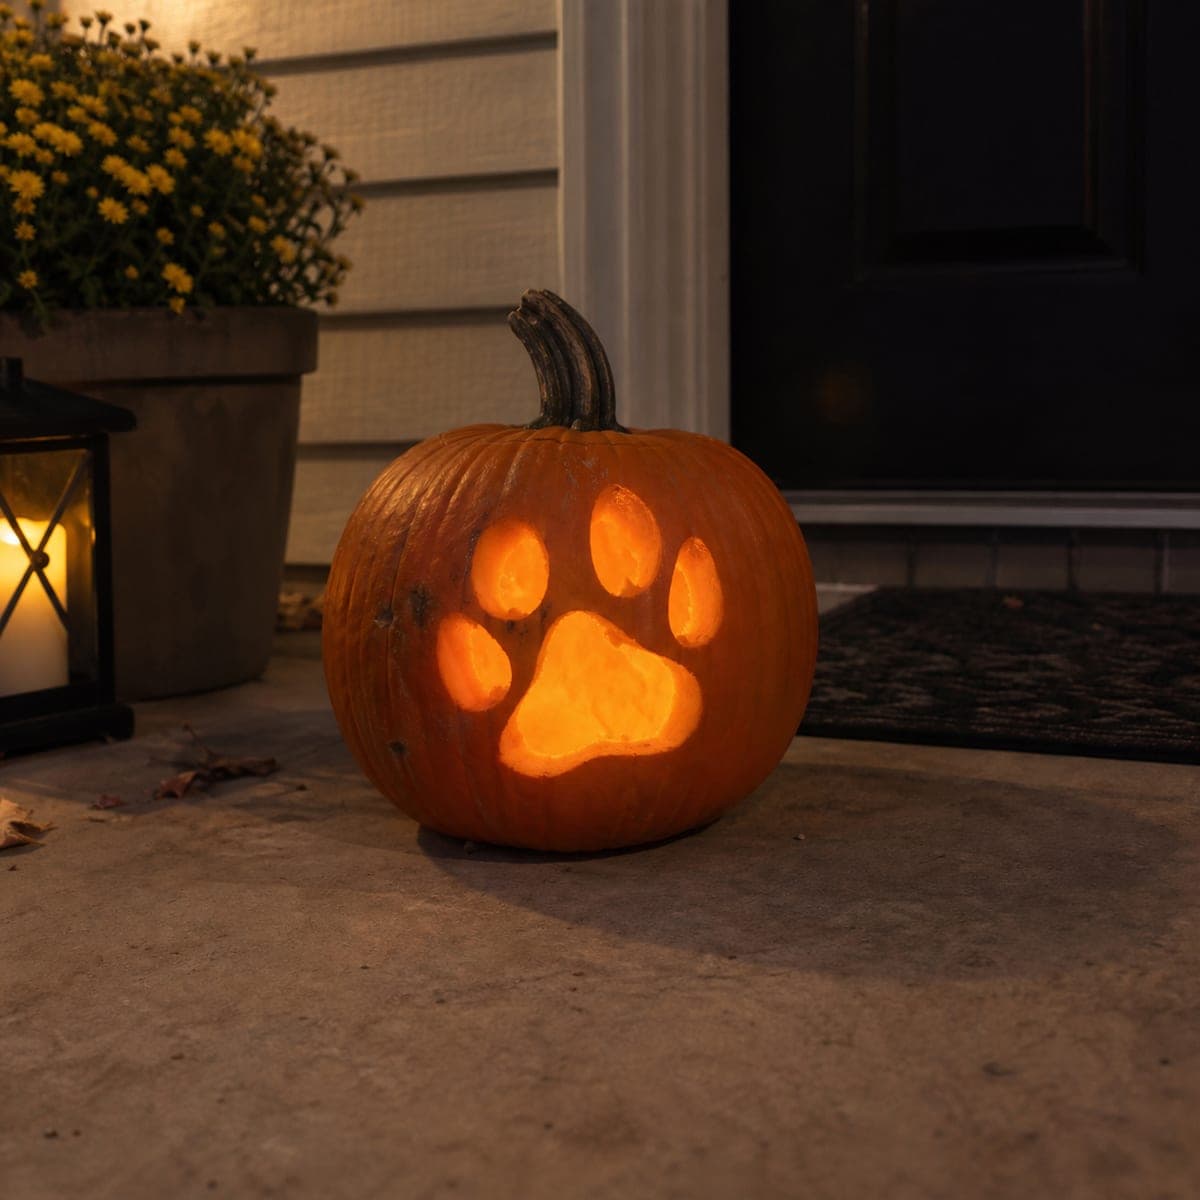
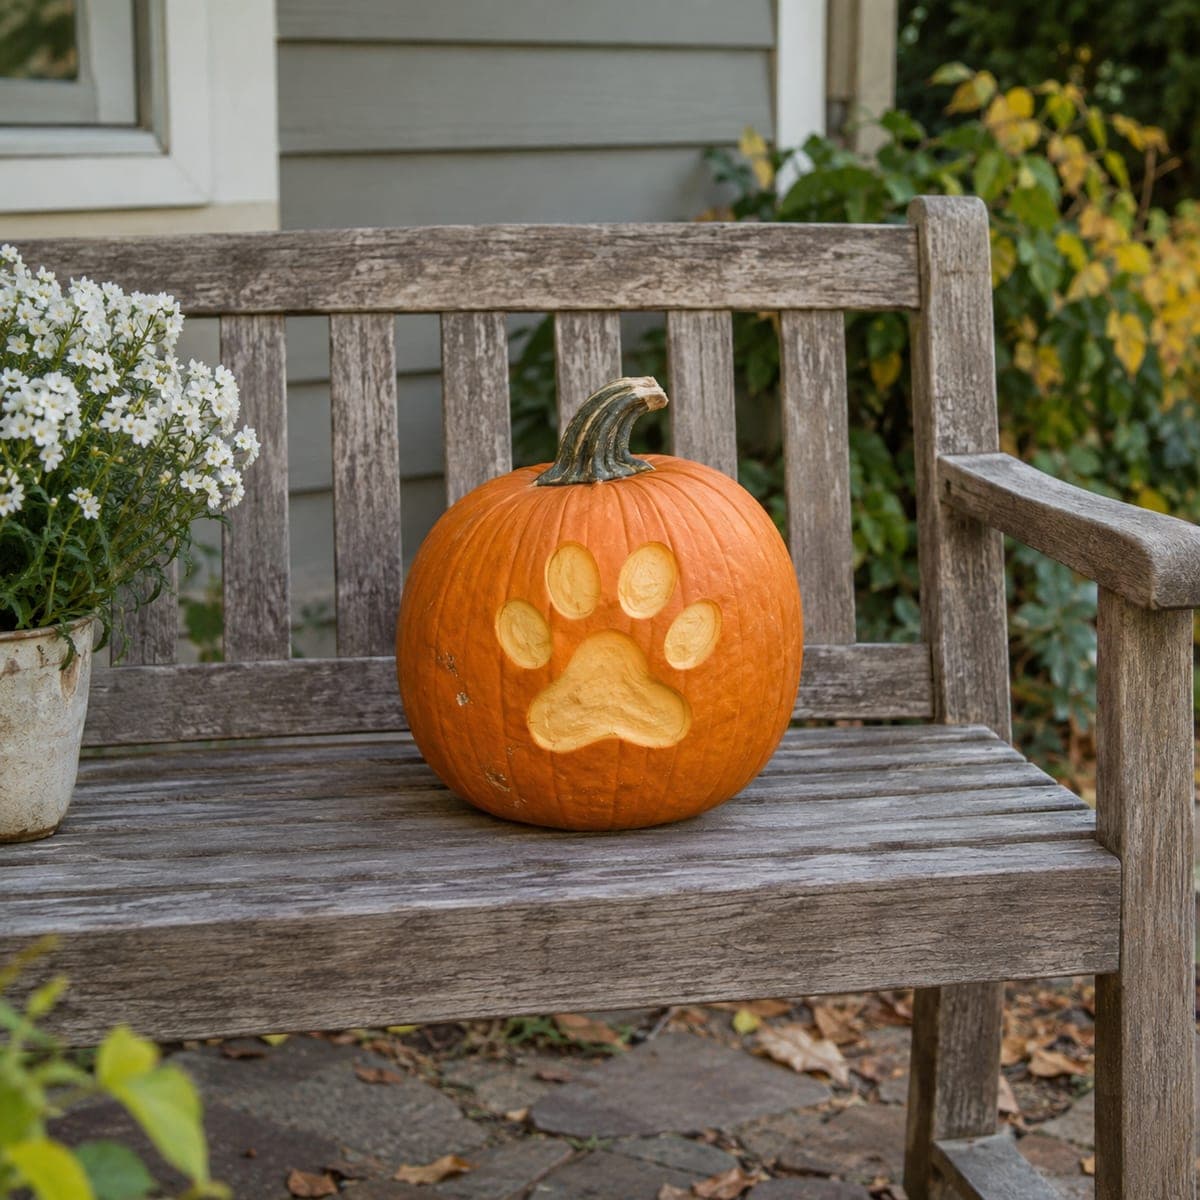
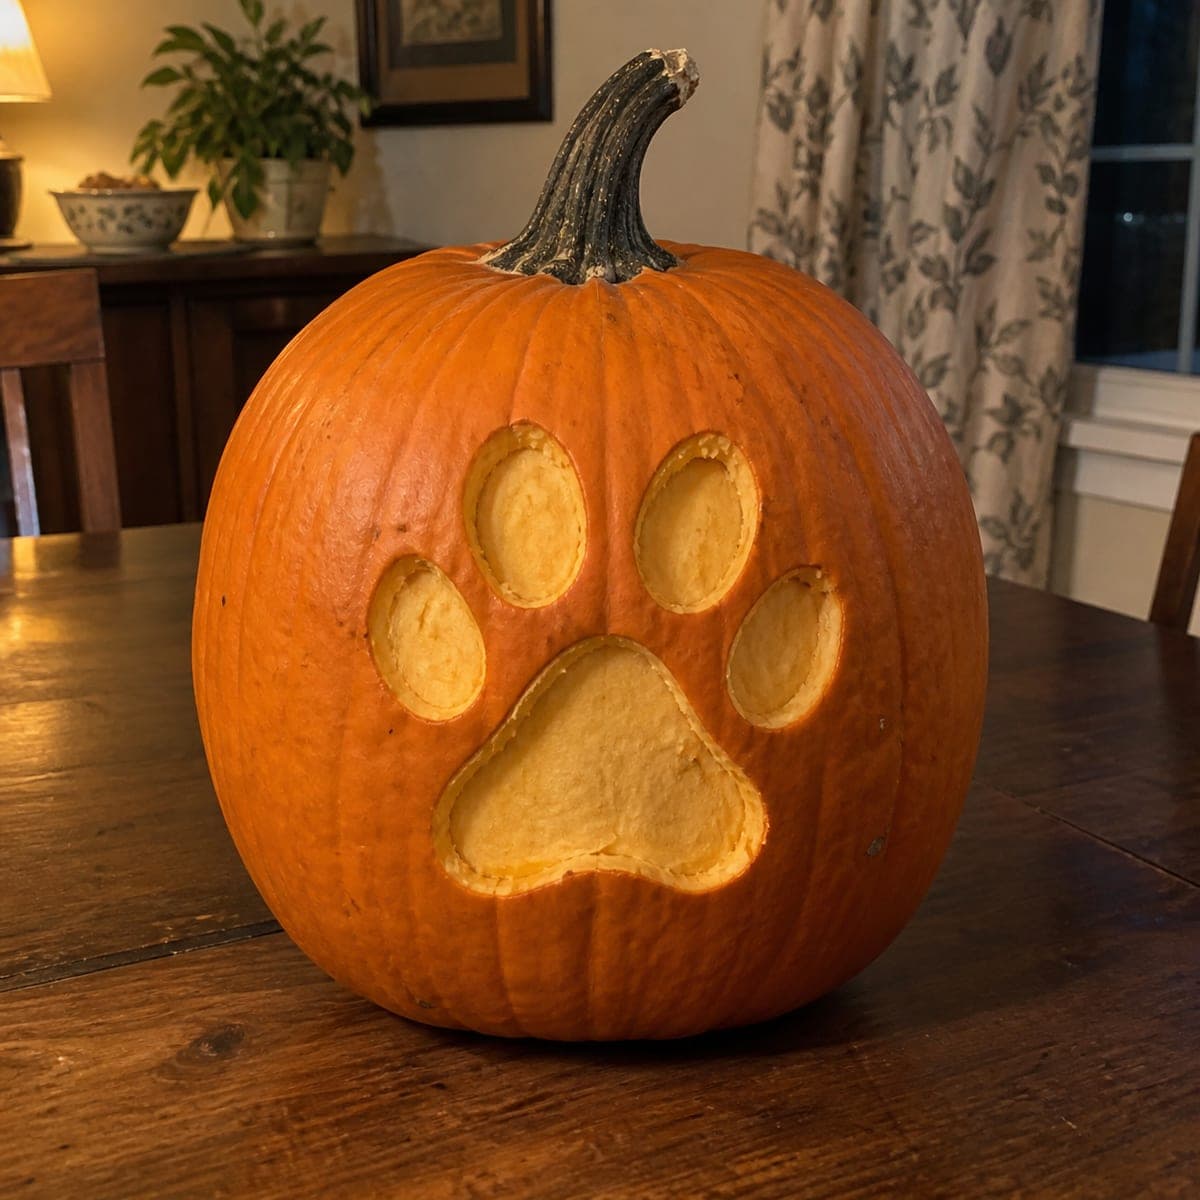
One oversized paw print is scooped into this pumpkin, with a broad pad and four toe beans carved as smooth shallow bowls. It is about as beginner friendly as carving gets: draw the five shapes, remove the skin, and scrape each one to an even depth with a spoon or melon baller. Pet owners can size the print to match their own dog or cat for a personal touch. Add a tea light behind it for a soft evening glow.

This is an AI-generated concept image: a realistic, carvable design idea rather than a photo of a finished carve. AI concepts are always labeled and sit out the leaderboard and the contest.

No ratings yet · Sign in to rate
Comments (0)

  • No comments yet — be the first.

Save without an account. Sign in to like or comment.

Our tips for carving a similar design

The whole design leans on a shading trick rather than cutouts, so the light glows softly through peeled skin instead of blazing through open holes. You draw one broad pad and four toe beans, then remove just the orange skin and scrape each shape to an even, shallow depth. Because nothing is cut all the way through, the pumpkin stays sturdy and the print reads clearly even in daylight.

Written by PumpkinCarvingIdeas.com, inspired by the image above. These are our suggestions, not instructions from the uploader. This approach to the AI concept has not been tested on a real pumpkin.

From pumpkin to porch

  1. Open and clean the pumpkin

    Have an adult cut a lid or a back door so you can reach the inside. Scoop out the seeds and pulp, then thin the front wall where the paw will go down to about one inch. A thinner wall lets light pass through the peeled areas more evenly. Work on a stable surface with the pumpkin resting flat.

  2. Draw the five shapes

    Sketch one large rounded triangle for the main pad, low and centered. Add four oval toe beans in an arc above it, with the two middle ovals sitting a little higher than the outer two. Leave a clear band of untouched skin between every shape so the print stays crisp. If you own a dog or cat, size the arrangement to echo their real paw for a personal touch.

  3. Score the outlines

    Trace each outline with a poke tool or the tip of a small carving saw, going only about a quarter inch deep. This gives you clean edges to scrape up to without slipping past them. Keep the lines smooth and rounded, since sharp corners look less like a paw. Go slowly and let an adult handle the blade work.

  4. Peel the skin for the glow

    Inside each scored shape, peel away only the orange outer skin using a ribbon tool, a melon baller, or the edge of a sturdy spoon. Then scrape the exposed flesh to an even depth so it lights up uniformly. Aim for the same thinness across all five shapes so no single toe bean glows brighter than the rest. Stop before you break through the wall.

  5. Add an optional bright accent

    If you want one area to pop, you can cut a small opening fully through the center of the main pad. This gives a bright hot spot surrounded by the softer peeled glow. Keep the cut small and rounded so the pad edges stay strong. This step is optional and the print looks great with pure shading alone.

  6. Light it and photograph

    Set a battery LED tea light or a small puck light inside, never a flame, since the peeled areas run warm and thin. Test in a dark room and rotate the light until the pad and all four beans glow evenly. Wipe the cut edges and rub a little petroleum jelly on them to slow drying. Snap your photo the first night while the flesh is still bright and fresh.

Gather your supplies

Check things off as you get ready.

Work on a stable surface, keep your free hand out of the cutting path, and have an adult handle sharp tools.

Three levels of light

  • Leave intact

    The untouched orange skin surrounding the print and the band between each toe bean stays dark, framing the shape.

  • Peel & shade

    The main pad and all four toe beans are skin-peeled and scraped thin, giving the soft dim orange glow that defines this design.

  • Cut through

    Only the optional small hole in the center of the pad is cut all the way through for a single bright accent.

Learn the carving basics

Before you start cutting

Do I really not need to cut all the way through?

Correct, the classic version is pure shading. You only remove the skin and scrape the flesh thin so light passes through as a soft glow. Leaving the wall intact keeps the pumpkin strong and makes the print readable even during the day.

How deep should I scrape each shape?

Aim to leave the wall about a quarter to a half inch thick in the peeled areas. Hold the pumpkin up to a lamp as you work to check the glow. Keep every shape the same depth so the pad and toe beans light up evenly.

Can I size this to my own pet's paw?

Yes, that is part of the fun. Press your dog or cat's clean paw onto paper to trace the pad and toe spacing, then scale it up to fit the pumpkin front. Cat prints are rounder and dog prints a bit longer, so match the proportions to your pet.

Your take belongs here, too.

Changed a detail? Made it simpler? Share a photo of your version and tell the community what worked.

Share your pumpkin

More pumpkins like this

You've reached the end · 8 pumpkins
The Patch Report

Fresh pumpkins, in your inbox.

The best new carvings, ideas worth stealing, and how-tos for carving season. Short, seasonal, and gone by November.

A short email during carving season. Unsubscribe anytime. See our privacy policy.