Halloween Pumpkin Carving Contest · Starts October 1st · $500 in prizes
← Back to ideas
@ai_concepts
Aug 18, 2026
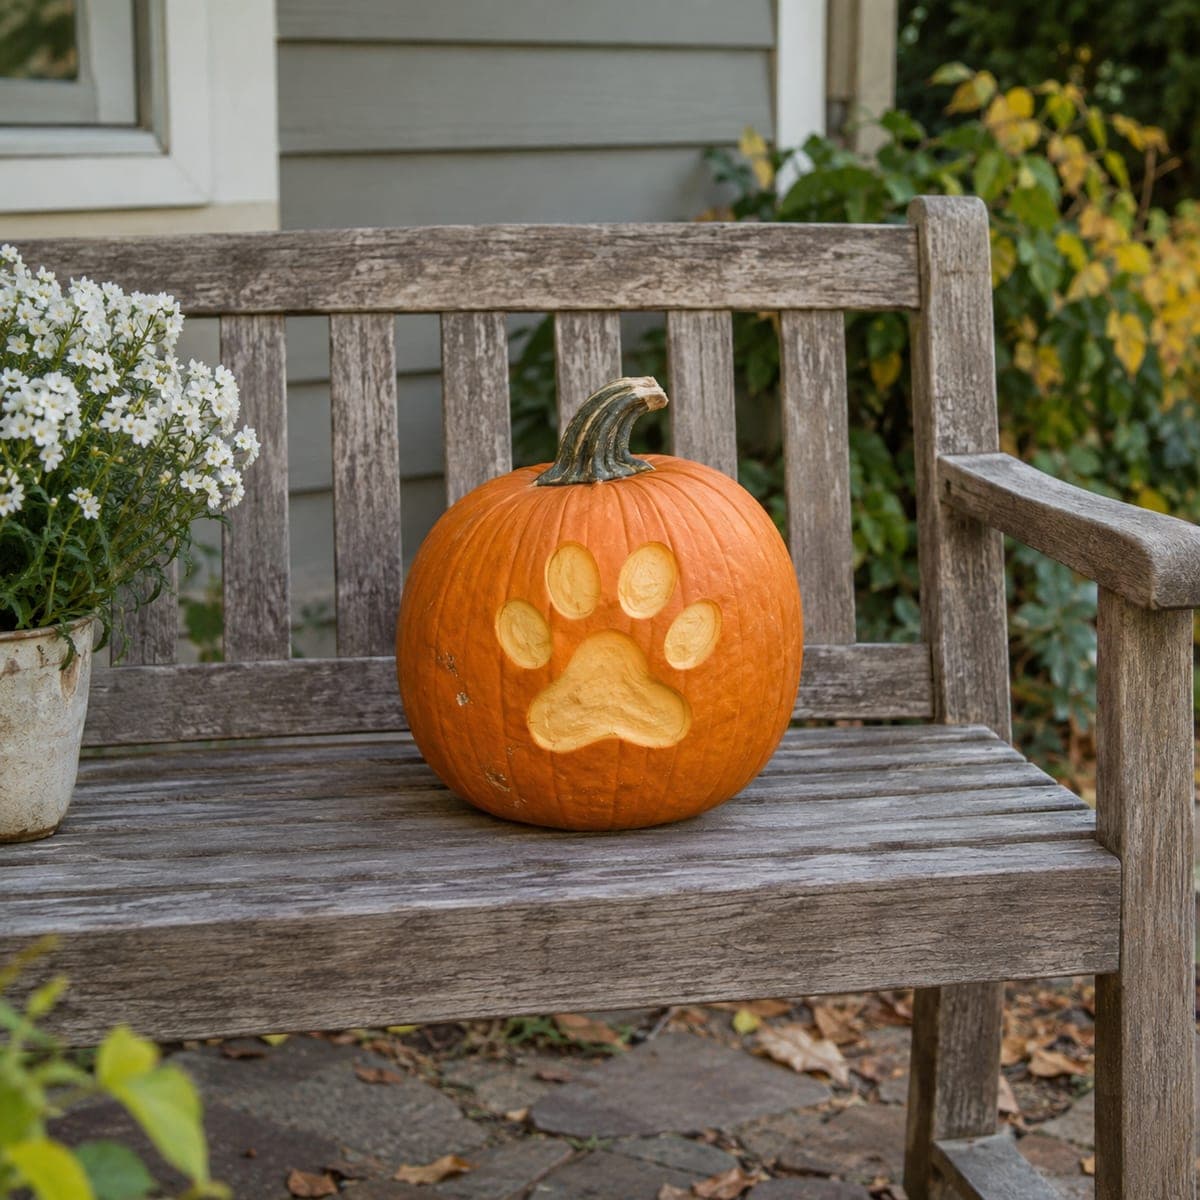
Glowing Paw Print Cutout Pumpkin for Pet LoversAI
0

Glowing Paw Print Cutout Pumpkin for Pet Lovers

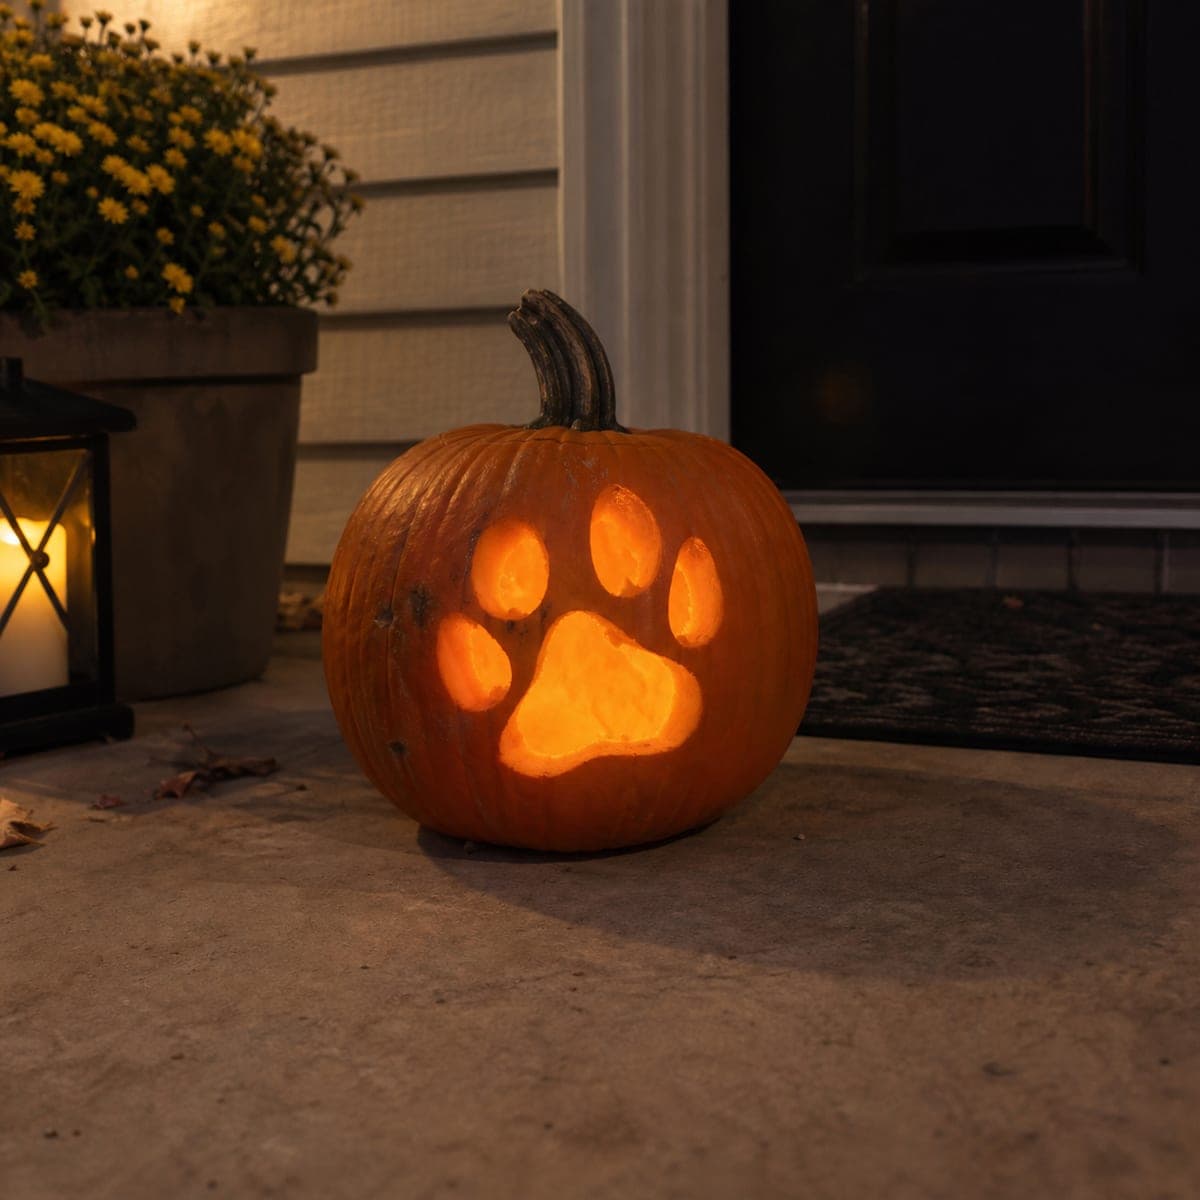
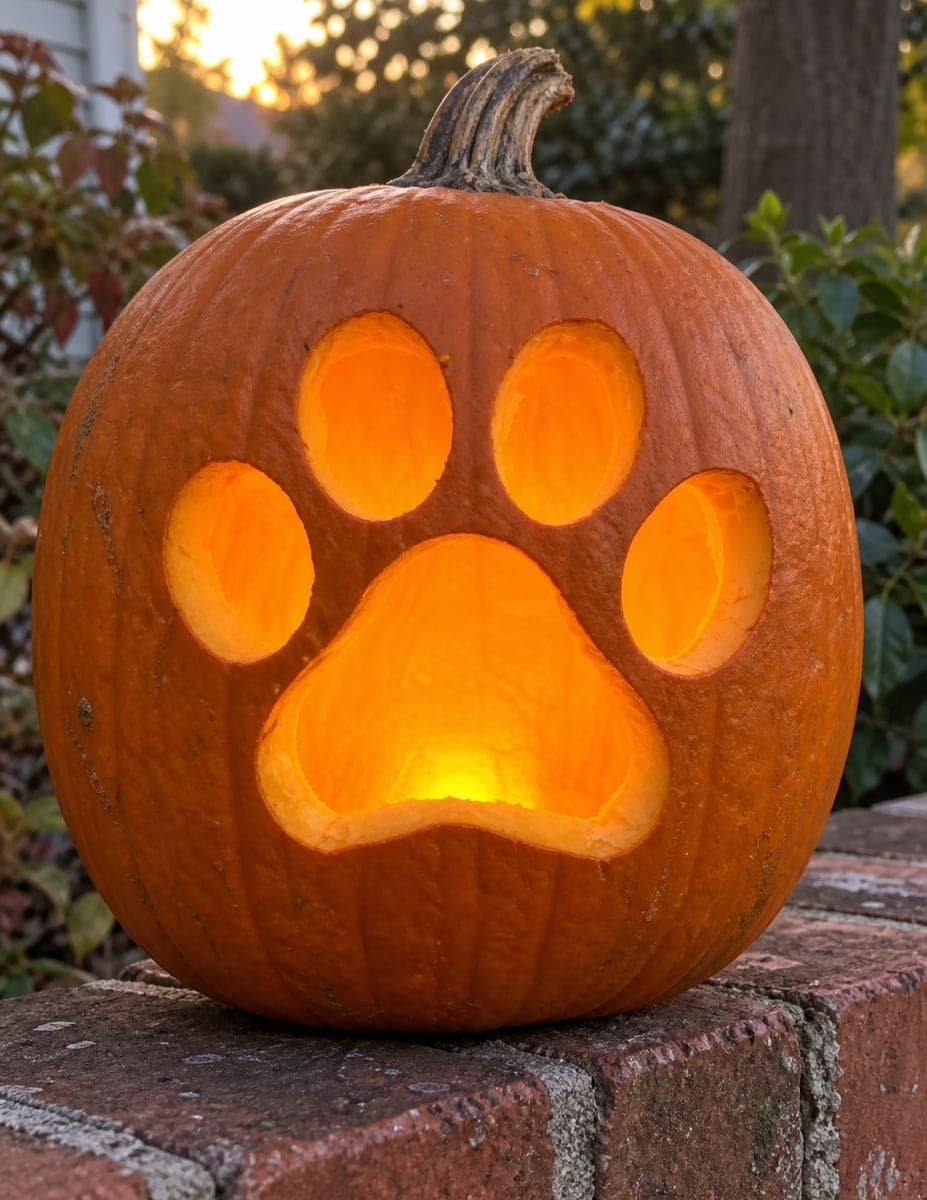
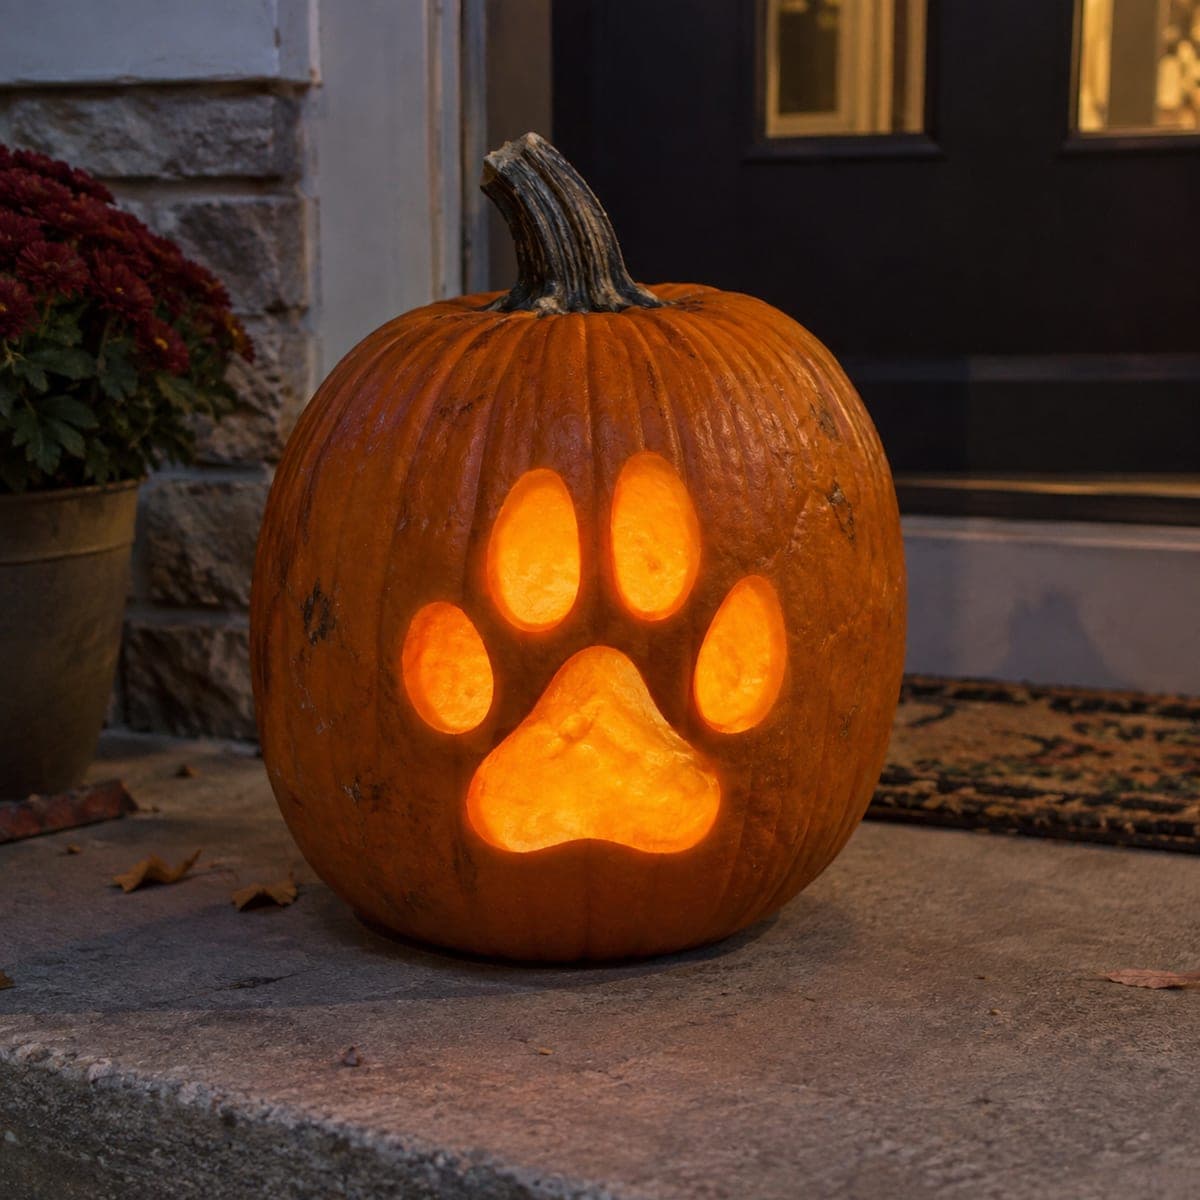
A single large paw print, four toe pads above a wide palm pad, is cut cleanly through the center of this pumpkin and glows amber in the dusk. The simple geometric shapes make this one of the most approachable animal pumpkin carving ideas for beginners and children. Draw the paw print freehand or print a template, cut the toe pads as individual ovals, and save the main pad for last so the pumpkin stays sturdy. Place it on the front step alongside a small lantern to welcome both two- and four-legged guests.

This is an AI-generated concept image: a realistic, carvable design idea rather than a photo of a finished carve. AI concepts are always labeled and sit out the leaderboard and the contest.

No ratings yet · Sign in to rate
Comments (0)

  • No comments yet — be the first.

Save without an account. Sign in to like or comment.

Our tips for carving a similar design

The whole design leans on five simple cutout shapes, four rounded toe pads in an arc above one wide palm pad. Because these are separate openings with pumpkin wall left between them, the front stays strong while you work. The trick is cutting the toe pads first and saving the large palm pad for last so the pumpkin never sags.

Written by PumpkinCarvingIdeas.com, inspired by the image above. These are our suggestions, not instructions from the uploader. This approach to the AI concept has not been tested on a real pumpkin.

From pumpkin to porch

  1. Pick a flat spot and open the lid

    Choose the smoothest, flattest side of the pumpkin for the paw. An adult should cut a lid around the stem at an angle so it rests back in place without falling through. Scoop out the seeds and pulp, then thin the carving wall on the front side to about one inch. A thinner wall is much easier to cut and lets more light through.

  2. Transfer the paw print

    Print a paw stencil or draw one freehand: four oval toe pads curving across the top and one larger rounded triangle pad below. Tape the stencil flat and poke along the outlines with a pushpin, or trace with a washable marker. Keep even gaps between all five shapes so the wall between them stays solid. Step back and check the spacing before cutting.

  3. Cut the four toe pads

    Start with the toe pads since they are small and low risk. Use a small serrated carving saw and gentle sawing strokes, letting the tool do the work rather than forcing it. Push each cut piece out from the inside with your thumb. Keep the ovals rounded and their edges clean for a crisp glow.

  4. Cut the palm pad last

    Save the big palm pad for the end so the front stays sturdy while you carve. Cut it slowly, supporting the piece with your free hand so it does not tear as it releases. Ease it out toward the inside. Trim any ragged edges so the shape reads clearly from the sidewalk.

  5. Peel a soft halo (optional)

    For a little extra depth, use a lino or ribbon tool to shave just the skin off a thin band around the whole paw. This peeled outline glows a dim orange and frames the bright cutouts. Keep it shallow, removing only the outer skin and not cutting through. This step is optional and the paw looks great without it.

  6. Light it and set it out

    Drop in a battery LED light or two for an even amber glow, and skip real candles. Set the pumpkin on the front step at eye level for passersby. Add a small lantern beside it as the caption suggests for a warm welcome. Snap a photo at dusk when the contrast between the dark skin and glowing paw is strongest.

Gather your supplies

Check things off as you get ready.

Work on a stable surface, keep your free hand out of the cutting path, and have an adult handle sharp tools.

Three levels of light

  • Leave intact

    The untouched orange skin across the rest of the pumpkin stays dark and frames the paw.

  • Peel & shade

    An optional shaved band just around the paw glows a soft dim orange.

  • Cut through

    The four toe pads and the large palm pad are cut through and shine the brightest amber.

Learn the carving basics

Before you start cutting

Should I cut the toe pads or the big palm pad first?

Always cut the four small toe pads first and save the large palm pad for last. The palm pad is the biggest opening, and removing it early would weaken the front while you still have work to do. Cutting it last keeps the pumpkin sturdy throughout.

Do I need a stencil or can I draw the paw freehand?

Either works well because a paw is just simple ovals and one rounded triangle. Freehand is fine if you keep the four toes in a gentle arc above a wider palm pad. If you want perfect symmetry, print a stencil and poke the outline with a pushpin before cutting.

How do I keep the shapes from looking uneven?

Mark all five shapes before you cut anything and step back to check the spacing and size. Keep steady gaps between the toes and center the palm pad below them. Cut just inside your lines with slow strokes so the edges stay clean and rounded.

Your take belongs here, too.

Changed a detail? Made it simpler? Share a photo of your version and tell the community what worked.

Share your pumpkin

More pumpkins like this

You've reached the end · 8 pumpkins
The Patch Report

Fresh pumpkins, in your inbox.

The best new carvings, ideas worth stealing, and how-tos for carving season. Short, seasonal, and gone by November.

A short email during carving season. Unsubscribe anytime. See our privacy policy.