Halloween Pumpkin Carving Contest Β· Starts October 1st Β· $500 in prizes
← Back to ideas
@ai_concepts
Sep 25, 2026
Simple Glowing Shapes Pumpkin Carving for PreschoolersAI
0

Report this carving

Tell us what is wrong. Reports are private.

Simple Glowing Shapes Pumpkin Carving for Preschoolers

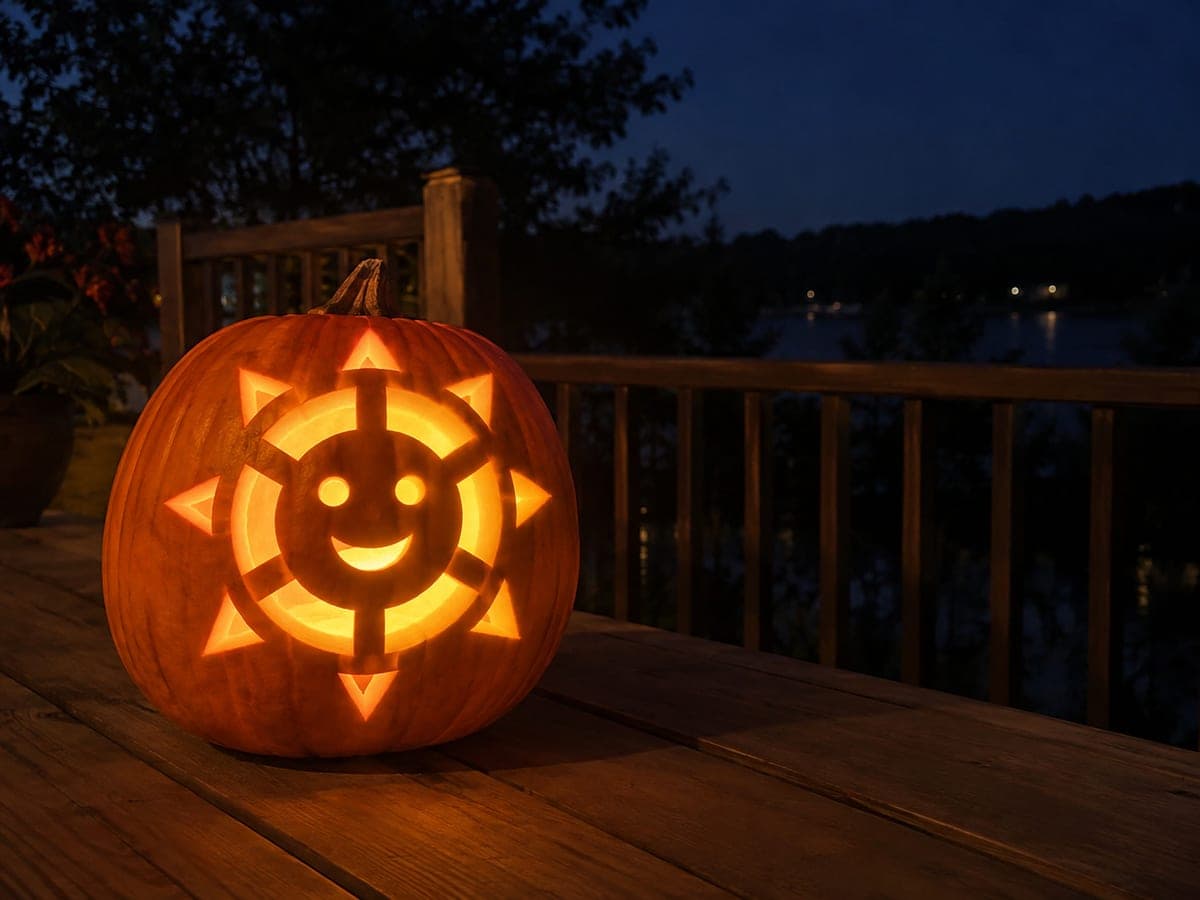
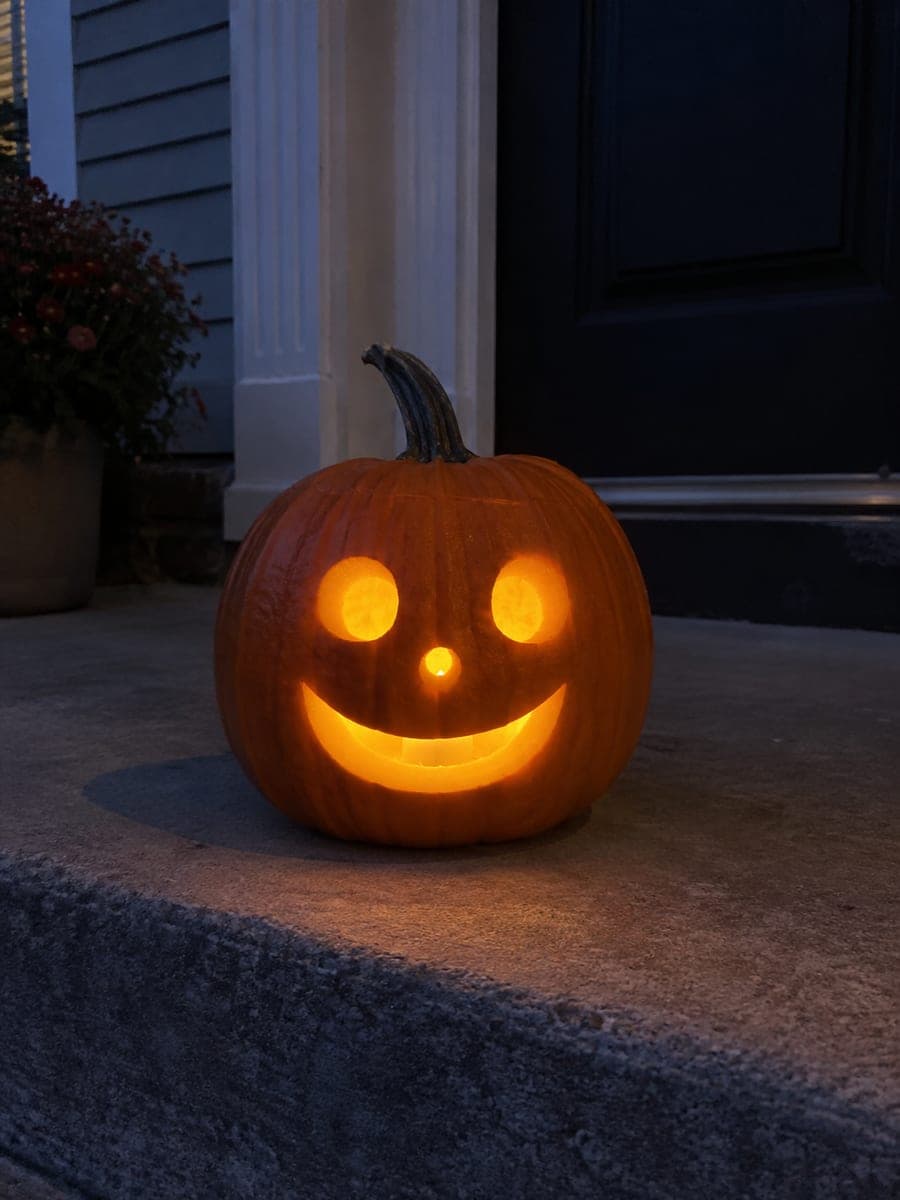
Bright simple shapes cut cleanly through an orange pumpkin make a cheerful adult-carved display for this preschool pumpkin idea, with whole shapes removed and generous spacing between each opening. The uncomplicated design means the carving goes quickly, leaving more time for the part preschoolers love most, scooping out the seeds. Let children draw their favorite shapes on paper first, then an adult can use those as loose inspiration for the template. A battery candle inside means preschoolers can carry the finished pumpkin without risk.

No ratings yet Β· Sign in to rate

Comments (0)

  • No comments yet β€” be the first.

Save without an account. Sign in to like or comment.

Our tips for carving a similar design

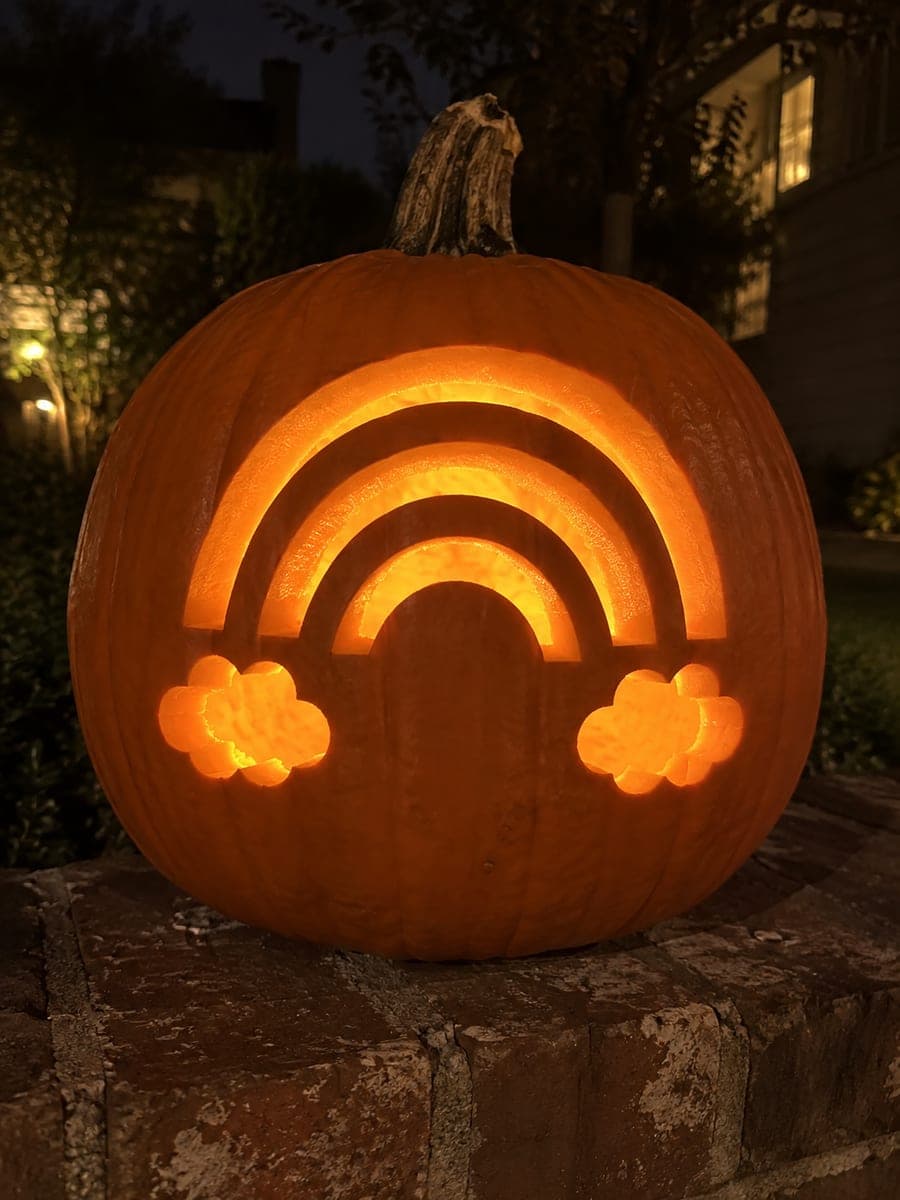
Several simple geometric shapes are removed as complete, separate openings with generous spacing between each, so the pumpkin stays rigid and glows cheerfully. No retained islands, no shading, just clean shapes cut all the way through. The whole design goes quickly, leaving plenty of time for the part preschoolers enjoy most: scooping seeds and watching the pumpkin light up for the first time.

From pumpkin to porch

  1. Let preschoolers draw shapes

    Give the child paper and crayons and ask them to draw their favorite shapes. Use these drawings as loose inspiration when selecting your template shapes. Involve children in choosing which shapes go on the pumpkin before cutting starts.

  2. Prepare the pumpkin

    Cut the access lid from the back and let preschoolers help scoop seeds with a large spoon into a bowl. Scoop the interior wall to about an inch thick across the front face.

  3. Trace and space the shapes

    Tape your shape templates to the pumpkin face, spacing them so each shape has at least an inch of solid rind between it and its neighbors. Remove each template after tracing before taping the next.

  4. Cut each shape

    An adult cuts each shape fully through, starting with the largest. For circles, make one smooth rotational cut. For squares and triangles, cut each side as a separate straight stroke, meeting cleanly at the corners.

  5. Clean edges

    Use a small spoon to remove pulp from inside each opening. Wipe the outer surface clean. Let the child feel the edges carefully with a finger to see the shapes from the inside.

  6. Carry the lit pumpkin outside

    Insert a battery LED puck and let the child carefully carry the pumpkin to a display spot. The battery candle means there is no fire risk as small hands grip the pumpkin to show it off.

Written with AI to match this design

Gather your supplies

Check things off as you get ready.

Work on a stable surface, keep your free hand out of the cutting path, and have an adult handle sharp tools.

Three levels of light

  • Leave intact

    All the orange rind between and around the geometric shapes stays completely dark, framing each glowing shape clearly.

  • Peel & shade

    None. Every shape is a full cutout with no shading needed.

  • Cut through

    All geometric shape openings are cut entirely through for bright, clean glow.

Learn the carving basics

Before you start cutting

How many shapes can I fit on one pumpkin?

Three to five shapes is a practical range for a medium pumpkin. More than five tends to leave too little rind between shapes, which weakens the structure and makes the pumpkin look like one large opening rather than distinct shapes.

The corners of my square and triangle cuts look jagged. How do I clean them up?

At each corner, make a tiny re-entry cut from the inside face of the corner outward. This removes the small wedge of uncut rind left at the junction of two straight strokes and gives you a crisp right-angle corner.

Can a preschooler help press out the shapes after I cut them?

Yes, gently. Once the cut is complete, guide the child's hand to push each shape piece inward from the outside. This keeps their fingers away from the blade and gives them a satisfying moment of participation in the reveal.

Your take belongs here, too.

Changed a detail? Made it simpler? Share a photo of your version and tell the community what worked.

Share your pumpkin

More pumpkins like this

You've reached the end Β· 8 pumpkins
The Patch Report

Fresh pumpkins, in your inbox.

The best new carvings, ideas worth stealing, and how-tos for carving season. Short, seasonal, and gone by November.

A short email during carving season. Unsubscribe anytime. See our privacy policy.