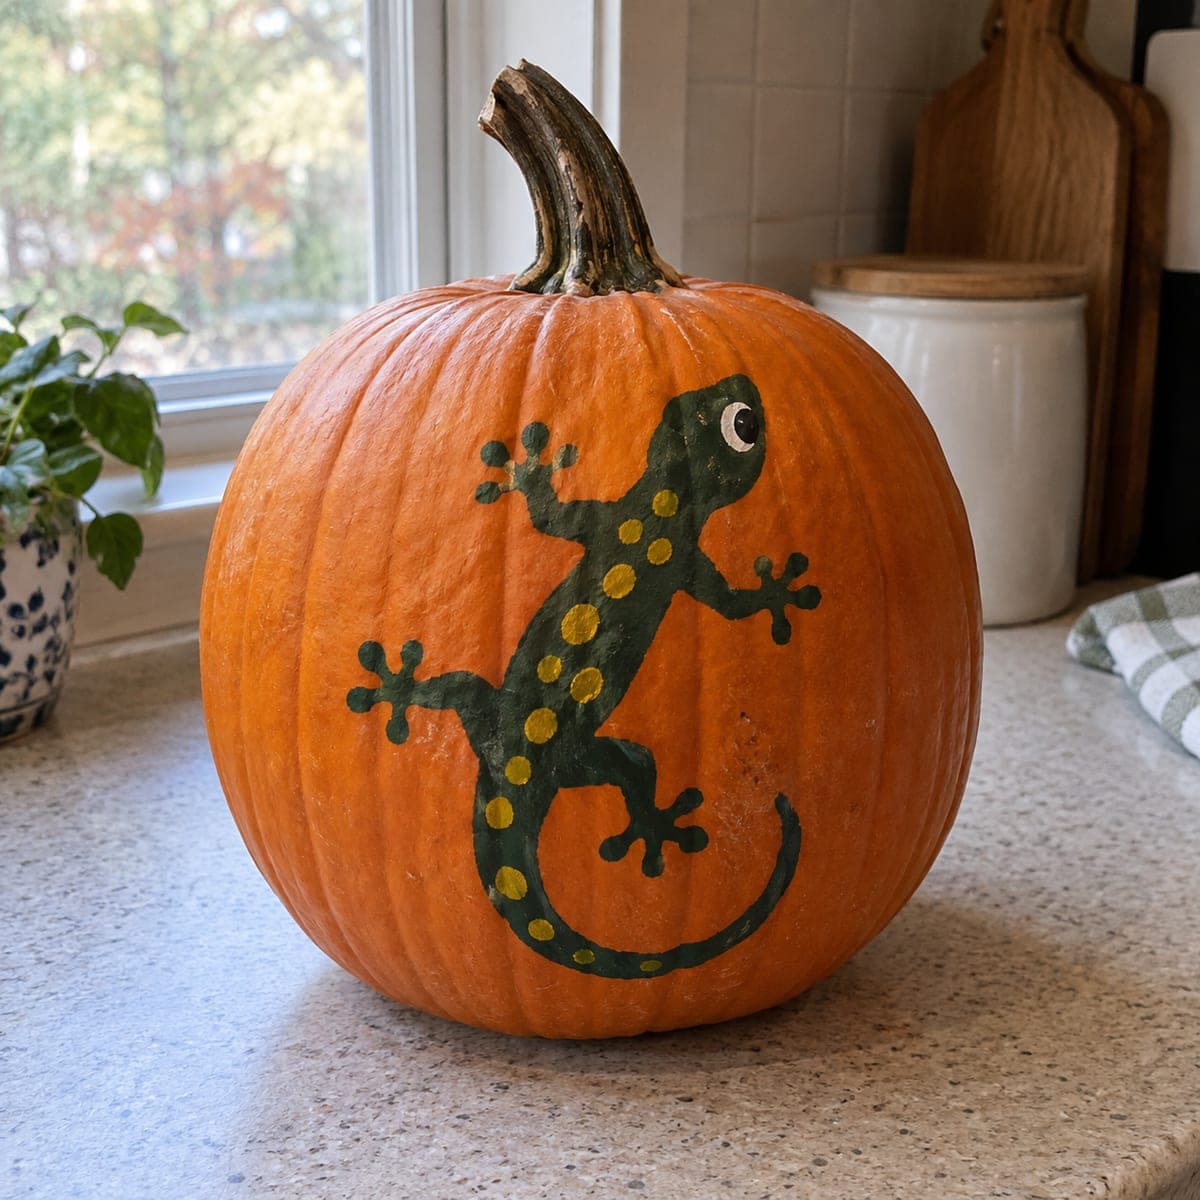
A green gecko with yellow spots scampers diagonally up this no-carve pumpkin, its curled tail and splayed toes giving it real personality. The diagonal pose is what makes the design work, so position the head near the upper shoulder of the pumpkin before you start. Paint the green body first, then dot the yellow spots and toe pads once dry, and add a white eye for charm.
This is an AI-generated concept image: a realistic, carvable design idea rather than a photo of a finished carve. AI concepts are always labeled and sit out the leaderboard and the contest.
The trick here is the diagonal pose: the gecko climbs from the lower belly of the pumpkin up toward the shoulder, with a curled tail and splayed toes that give it personality. This is a no-carve, all-paint design, so plan the layout first, then build it in layers of flat green, yellow dots, and a bright eye. Because this is a concept image, treat it as a plan you can adapt to whatever real pumpkin you bring home.
Written by PumpkinCarvingIdeas.com, inspired by the image above. These are our suggestions, not instructions from the uploader. This approach to the AI concept has not been tested on a real pumpkin.
From pumpkin to porch
1
Clean and plan the layout
Wipe the pumpkin with a damp cloth and let it dry so paint grips well. Pick the smoothest face and imagine the gecko running diagonally, head near the upper shoulder and tail curling down near the base. Lightly sketch the outline with a washable marker or a soft pencil. Step back and check the pose before committing, since the diagonal is what sells the design.
2
Paint the green body
Fill in the whole gecko shape with dark green acrylic, working from the head down through the body, legs, and curling tail. Keep your edges smooth and paint the toes as small splayed pads at the end of each foot. Use a smaller brush for the thin tail tip and the toes, and a larger flat brush for the body. Let this base coat dry completely, then add a second coat if the orange shows through.
3
Add the yellow spots and toe pads
Once the green is fully dry, load a round brush or the end of a pencil with yellow paint and dot a row of spots down the back and tail. Space them evenly and vary the size slightly so they look natural. Add small yellow highlights on the toe pads. Let each dot dry before touching it so the colors stay crisp.
4
Paint the eye
Give the gecko a white circle for the eye near the top of the head, then let it dry and add a small dark pupil in the center. A tiny white dot on the pupil adds a lively glint. This little detail is what gives the whole face its charm, so take your time and keep the shape round.
5
Seal and display
When everything is dry, brush on a thin coat of clear acrylic sealer or matte spray to protect the paint from smudges and moisture. Because nothing is cut open, this pumpkin will last as long as the gourd stays firm. Set it on a shelf or porch out of direct rain. If you want a glow nearby, place a battery LED beside it rather than inside.
Gather your supplies
Check things off as you get ready.
Work on a stable surface, keep your free hand out of the cutting path, and have an adult handle sharp tools.
Three levels of light
Leave intact
The bare orange skin all around the gecko stays untouched as the warm background.
Peel & shade
If you later want a soft glow, you could lightly scrape a thin halo just outside the body outline for a dim ring of light.
Cut through
For a lit version, an adult could cut a small vent in the back, well away from the painting, and drop in an LED.
No, this is a fully painted no-carve design, which is why it holds up so well and is safe for kids to help with. Nothing is hollowed out or sliced, so there are no sharp cutting steps. If you want light later, add an LED beside the pumpkin instead of inside it.
How do I keep the yellow dots even?
Dip the flat end of a pencil eraser or a round brush tip into the yellow paint and press straight down for uniform circles. Practice a few dots on scrap paper first to gauge the size. Let the green base dry fully so the dots sit clean on top instead of smearing.
Which paint works best on a pumpkin?
Acrylic craft paint sticks well to pumpkin skin and dries fast between layers. Two thin coats give better coverage than one thick one. Finish with a clear sealer so the colors resist smudging and light moisture.
Your take belongs here, too.
Changed a detail? Made it simpler? Share a photo of your version and tell the community what worked.
 AI
AI



Comments (0)