Halloween Pumpkin Carving Contest · Starts October 1st · $500 in prizes
← Back to ideas
@ai_concepts
Jul 14, 2026
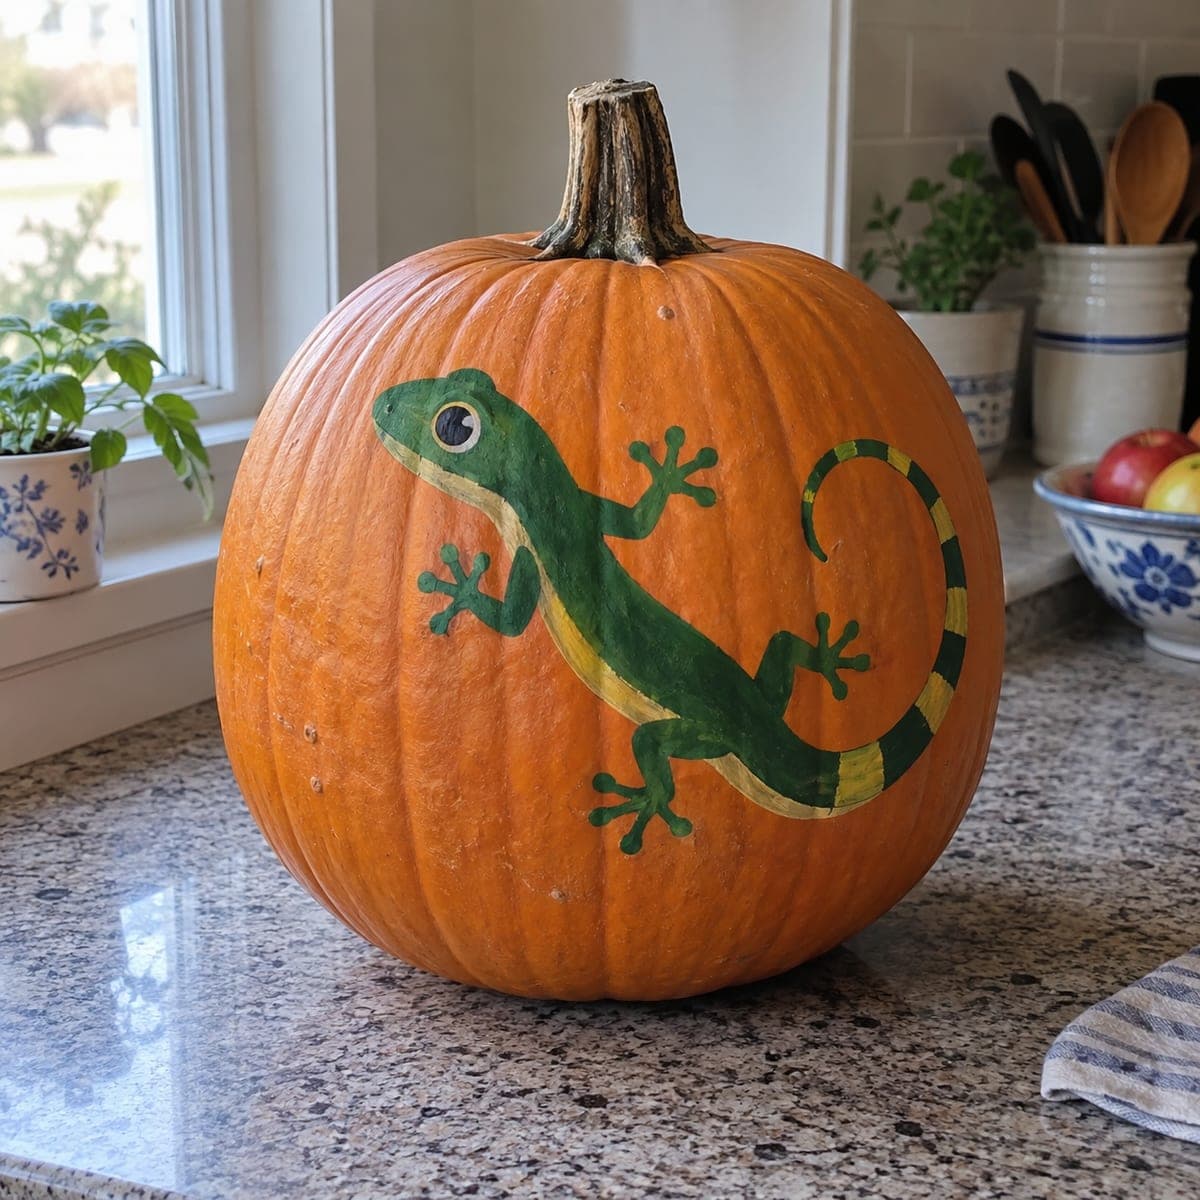
Green Gecko Painted Pumpkin With Striped TailAI
0

Green Gecko Painted Pumpkin With Striped Tail

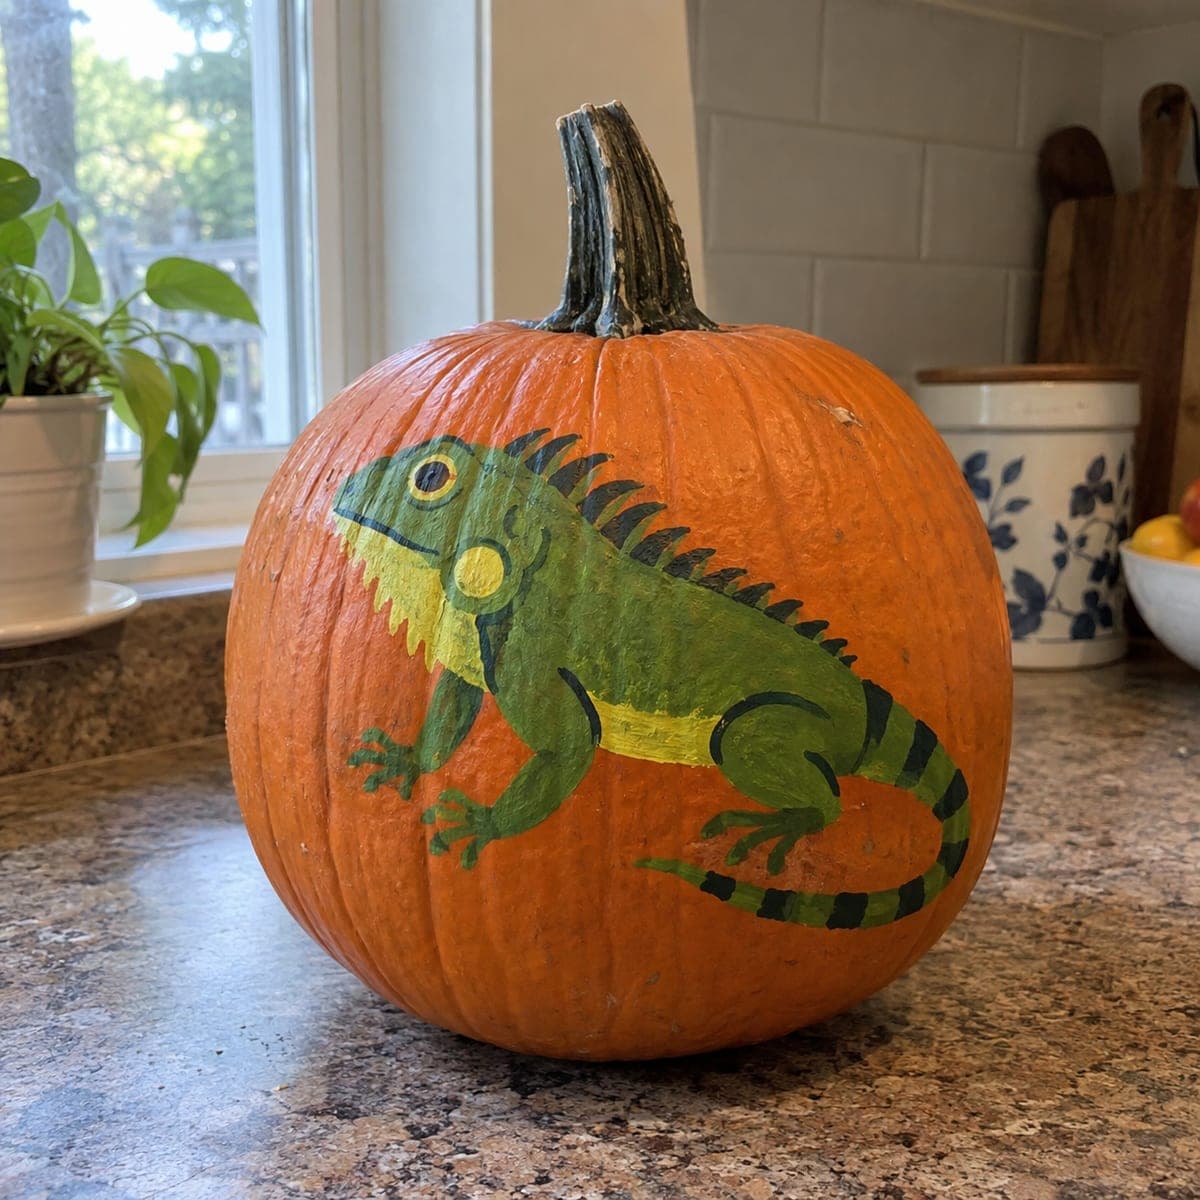
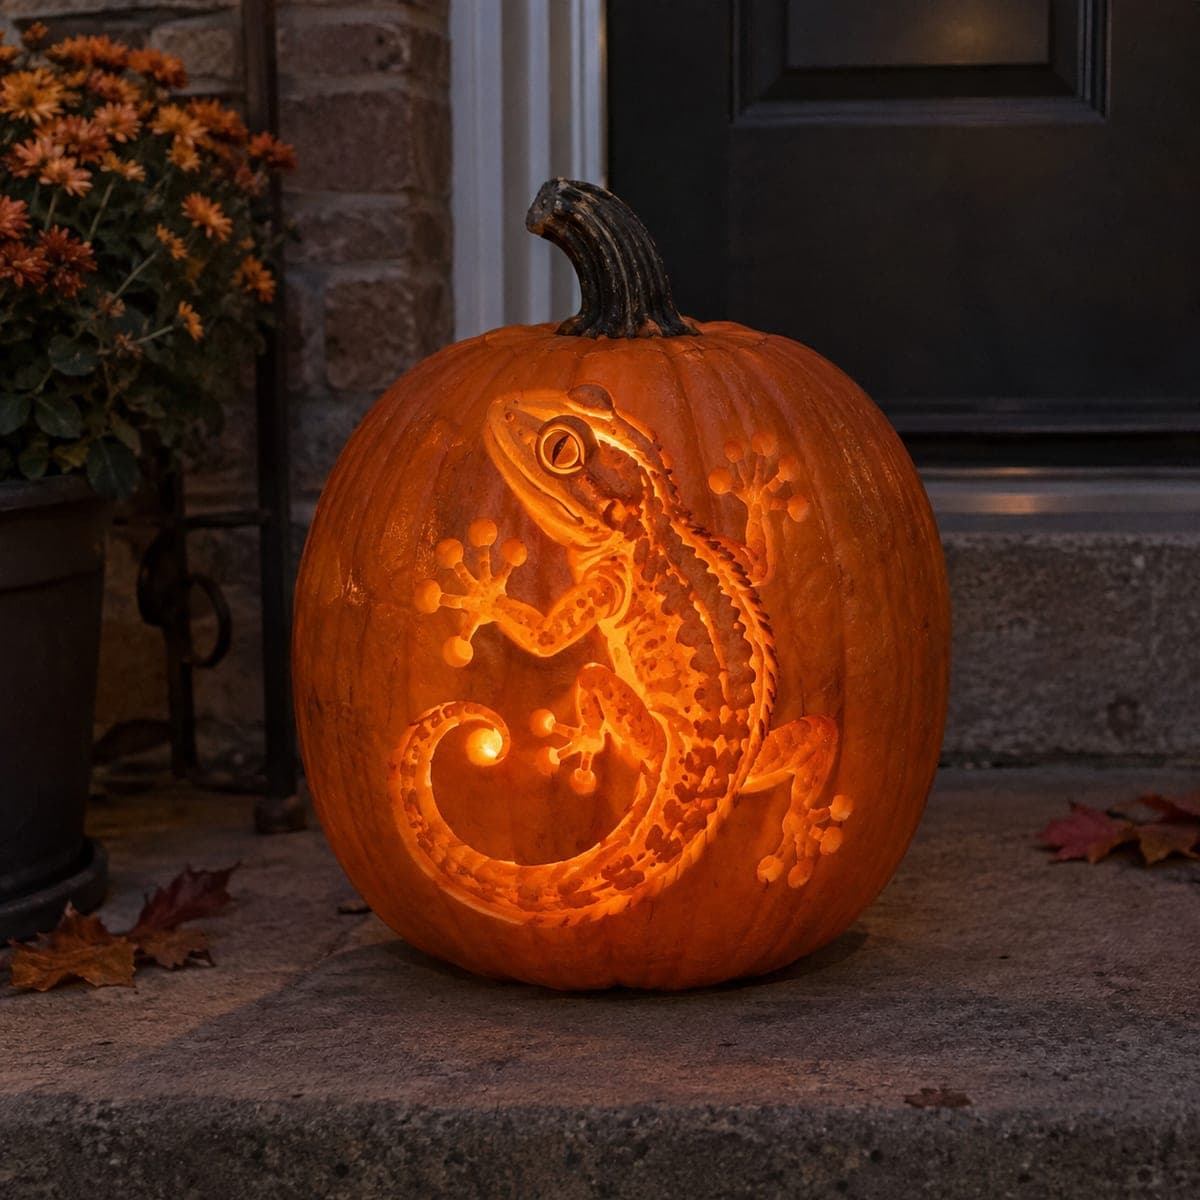
A friendly green gecko scampers diagonally across this pumpkin, its curled striped tail and splayed toe pads painted in flat, kid-friendly shapes. Reptile fans get a no-carve pumpkin that lasts from early October straight through Thanksgiving. Position the body on the diagonal first so the tail can wrap toward the stem, paint the solid green base coat, then add the yellow belly stripe and tail bands after it dries.

This is an AI-generated concept image: a realistic, carvable design idea rather than a photo of a finished carve. AI concepts are always labeled and sit out the leaderboard and the contest.

No ratings yet · Sign in to rate
Comments (0)

  • No comments yet — be the first.

Save without an account. Sign in to like or comment.

Our tips for carving a similar design

The core trick here is a diagonal body line so the curled striped tail can sweep up toward the stem and fill the whole face of the pumpkin. This is a no-carve project, so the plan is all paint: sketch the gecko lightly, lay down a flat green base coat, then add the yellow belly stripe and tail bands once the green is fully dry. Keeping the shapes flat and simple is what gives it that friendly, kid-craft look.

Written by PumpkinCarvingIdeas.com, inspired by the image above. These are our suggestions, not instructions from the uploader. This approach to the AI concept has not been tested on a real pumpkin.

From pumpkin to porch

  1. Clean and dry the pumpkin

    Wipe the whole pumpkin down with a damp cloth to remove dust and field dirt, then dry it completely. Paint grips much better on a clean, dry surface. Pick the smoothest, roundest side to face out as your canvas. Let it sit a few minutes so no moisture is left in the ribs.

  2. Sketch the gecko on the diagonal

    With a pencil or a washable marker, lightly draw the body running corner to corner across the front. Start with the head near the upper left, curve the back down and to the right, then loop the tail up toward the stem so it fills the space. Add the four splayed legs with rounded toe pads and place the round eye near the top of the head. Step back and check the pose before you commit to paint.

  3. Lay down the green base coat

    Using acrylic craft paint and a medium round brush, fill the entire gecko body, legs, toes, and tail with a flat green. Work in thin, even coats and follow the curve of the pumpkin so the paint does not pool in the ribs. Let the first coat dry, then add a second coat for solid, opaque color. Leave the belly and the tail bands unpainted for now so you have clean areas to add later.

  4. Add the yellow belly stripe and tail bands

    Once the green is completely dry to the touch, switch to yellow and a smaller brush. Paint the soft belly stripe that runs from the jaw along the lower body, then add the evenly spaced bands across the curled tail. Keep the edges relaxed and slightly loose for that hand-painted, cute feel. Wait for the yellow to dry before touching those areas.

  5. Add the eye and dark details

    Paint a black pupil ringed with a thin gold or pale outline for the eye, and add a small dark line for the mouth. Use dark green or black to outline a few edges if you want the shapes to pop against the orange skin. Fix any smudges with a cotton swab while the detail paint is still wet. Small, careful touches here bring the gecko to life.

  6. Seal, set out, and photograph

    Let everything cure for a few hours, then brush on a thin coat of clear acrylic sealer so the design survives handling and cool October air. Set the pumpkin on a counter or porch shelf where the diagonal pose reads clearly. Because nothing is cut, this one keeps well from early October through Thanksgiving. Snap your photo in soft daylight to show off the bright green and yellow.

Gather your supplies

Check things off as you get ready.

Work on a stable surface, keep your free hand out of the cutting path, and have an adult handle sharp tools.

Three levels of light

  • Leave intact

    The orange pumpkin skin all around the gecko stays untouched as the warm background.

  • Peel & shade

    If you want a subtle glow accent, lightly scrape a thin halo of skin just outside the tail curl for a soft ring of light.

  • Cut through

    This is a no-carve design, so skip full cutouts; if you must add an LED glow, cut a small vent low on the back where it will not disturb the painted front.

Learn the carving basics

Before you start cutting

Do I need to carve or light this pumpkin at all?

No, this is a fully no-carve painted design, which is why it lasts so long. Leave the pumpkin whole so it does not rot, and let the flat green and yellow shapes do all the work. If you crave a glow, set it near a battery LED lantern rather than cutting into it.

How do I get the tail bands even?

Sketch light pencil marks across the tail curl first, spacing them roughly a finger-width apart before you paint. Paint every other segment yellow so the green base shows between the bands. Working slowly with a small brush keeps the stripes clean, and you can touch up edges with a swab.

Will the paint survive weeks on a porch?

Yes, if you seal it. Two thin coats of acrylic paint plus a clear acrylic sealer protects the design from cool damp air and handling. Keep it out of direct rain and it can easily last from early October into Thanksgiving.

Your take belongs here, too.

Changed a detail? Made it simpler? Share a photo of your version and tell the community what worked.

Share your pumpkin

More pumpkins like this

You've reached the end · 8 pumpkins
The Patch Report

Fresh pumpkins, in your inbox.

The best new carvings, ideas worth stealing, and how-tos for carving season. Short, seasonal, and gone by November.

A short email during carving season. Unsubscribe anytime. See our privacy policy.