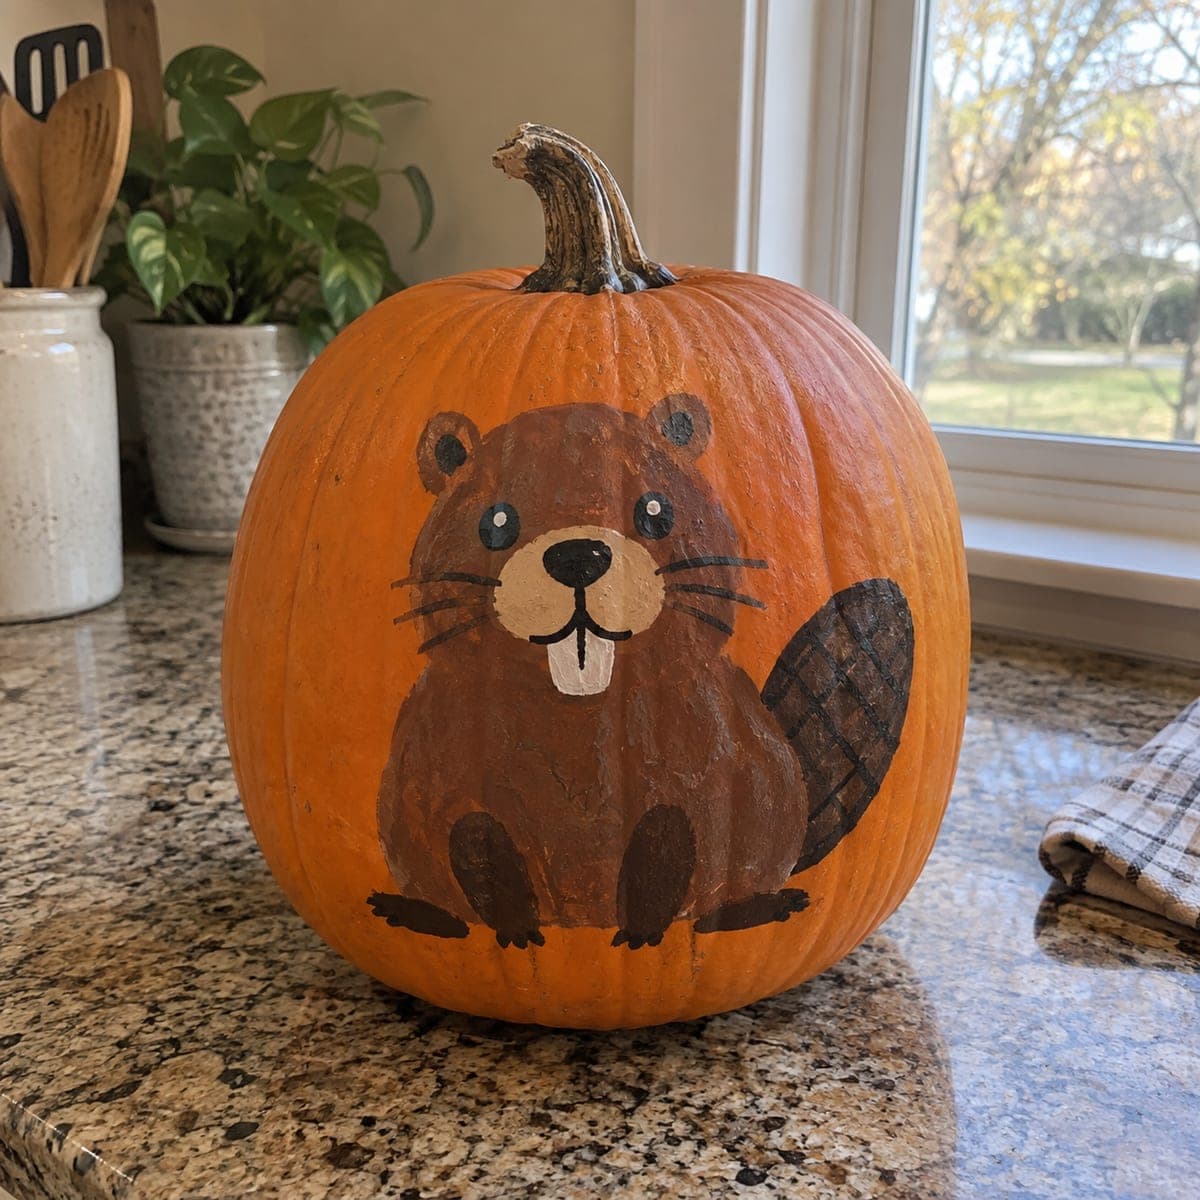
A round little beaver with big buckteeth and a crosshatched tail sits front and center on this kids' painted pumpkin. The design uses just brown, tan, black, and white, and forgiving cartoon shapes hide wobbly brushwork. Paint the body in one blob, let it dry, and layer the face, paws, and tail over it. Add the whiskers with a fine-tip paint pen for the cleanest lines.
This is an AI-generated concept image: a realistic, carvable design idea rather than a photo of a finished carve. AI concepts are always labeled and sit out the leaderboard and the contest.
The core trick here is layering: paint the whole beaver body as one rounded brown blob, let it dry, then stack the lighter face, paws, and crosshatched tail on top so nothing bleeds together. Cartoon shapes are forgiving, so wobbly edges just read as charm. Keep the palette to brown, tan, black, and white and save the crisp whisker lines for a fine-tip paint pen at the very end.
Written by PumpkinCarvingIdeas.com, inspired by the image above. These are our suggestions, not instructions from the uploader. This approach to the AI concept has not been tested on a real pumpkin.
From pumpkin to porch
1
Prep and sketch the body
Wipe the pumpkin clean and dry so paint grips well. Pick the flattest, roundest face for your canvas. Lightly pencil an egg-shaped body about two-thirds up the front, adding two rounded ears at the top. Keep the outline simple, since the cartoon look does not need to be perfect.
2
Block in the base coat
Fill the whole body shape with medium brown acrylic in one even blob. Two thin coats look better than one thick one, so let the first dry before adding the second. Do not worry about the face yet, just get a clean solid shape. Let it dry fully before layering, roughly 20 to 30 minutes.
3
Add the face and belly
Paint a tan oval for the muzzle and a lighter belly patch over the dry brown. Once those set, add the black nose, a short black mouth line, and two white buckteeth just below it. Dot in round black eyes with a tiny white highlight in each to give that friendly look.
4
Layer paws, ears, and tail
Brush dark brown or black onto the inner ears, the little front paws, and the two feet at the bottom. Paint the wide paddle tail off to one side in dark brown. When it is dry, drag a fine brush or pen across it in a crosshatch grid to suggest that classic beaver-tail texture.
5
Ink the whiskers and clean up
Use a fine-tip paint pen for the three whiskers on each side and to sharpen the mouth and tooth lines. Pens give cleaner strokes than a shaky brush. Touch up any smudges with the background-matching paint, then let everything cure for a few hours.
6
Seal and stage your photo
Once fully dry, brush on a thin coat of matte or clear acrylic sealer so the beaver survives porch weather. Set the pumpkin on a shelf or step and add a battery LED nearby for a warm evening glow. Snap your photo in soft light so the brown tones do not go muddy.
Gather your supplies
Check things off as you get ready.
Work on a stable surface, keep your free hand out of the cutting path, and have an adult handle sharp tools.
Three levels of light
Leave intact
The brown body, dark paws, and crosshatched tail stay as solid painted skin with no glow.
Peel & shade
If you want a soft accent, lightly shave the tan muzzle and belly patch so those areas warm up when backlit.
Cut through
For an optional pop, make two tiny cutouts behind the white buckteeth so they shine brightest against the dark mouth.
No, this is a fully painted, no-carve design, so it is ideal if you want to skip the messy scooping and sharp tools. If you like, you can add a couple of tiny optional cutouts for the teeth, but the beaver looks complete with paint alone. That makes it a safe project to do alongside kids.
What paint holds up best on a pumpkin?
Standard acrylic craft paint sticks well to clean, dry pumpkin skin and dries quickly between layers. Apply two thin coats rather than one heavy one to avoid drips. A clear acrylic sealer over the top helps the design last through a few weeks on the porch.
How do I keep the whiskers and tooth lines clean?
Do all the fine linework last, after the base colors are fully dry, so nothing smears. A fine-tip paint pen gives much steadier lines than a small brush for first-timers. Rest your hand on the pumpkin and pull each whisker in one smooth stroke.
Your take belongs here, too.
Changed a detail? Made it simpler? Share a photo of your version and tell the community what worked.
 AI
AI
Comments (0)