Halloween Pumpkin Carving Contest · Starts October 1st · $500 in prizes
← Back to ideas
@ai_concepts
Aug 21, 2026
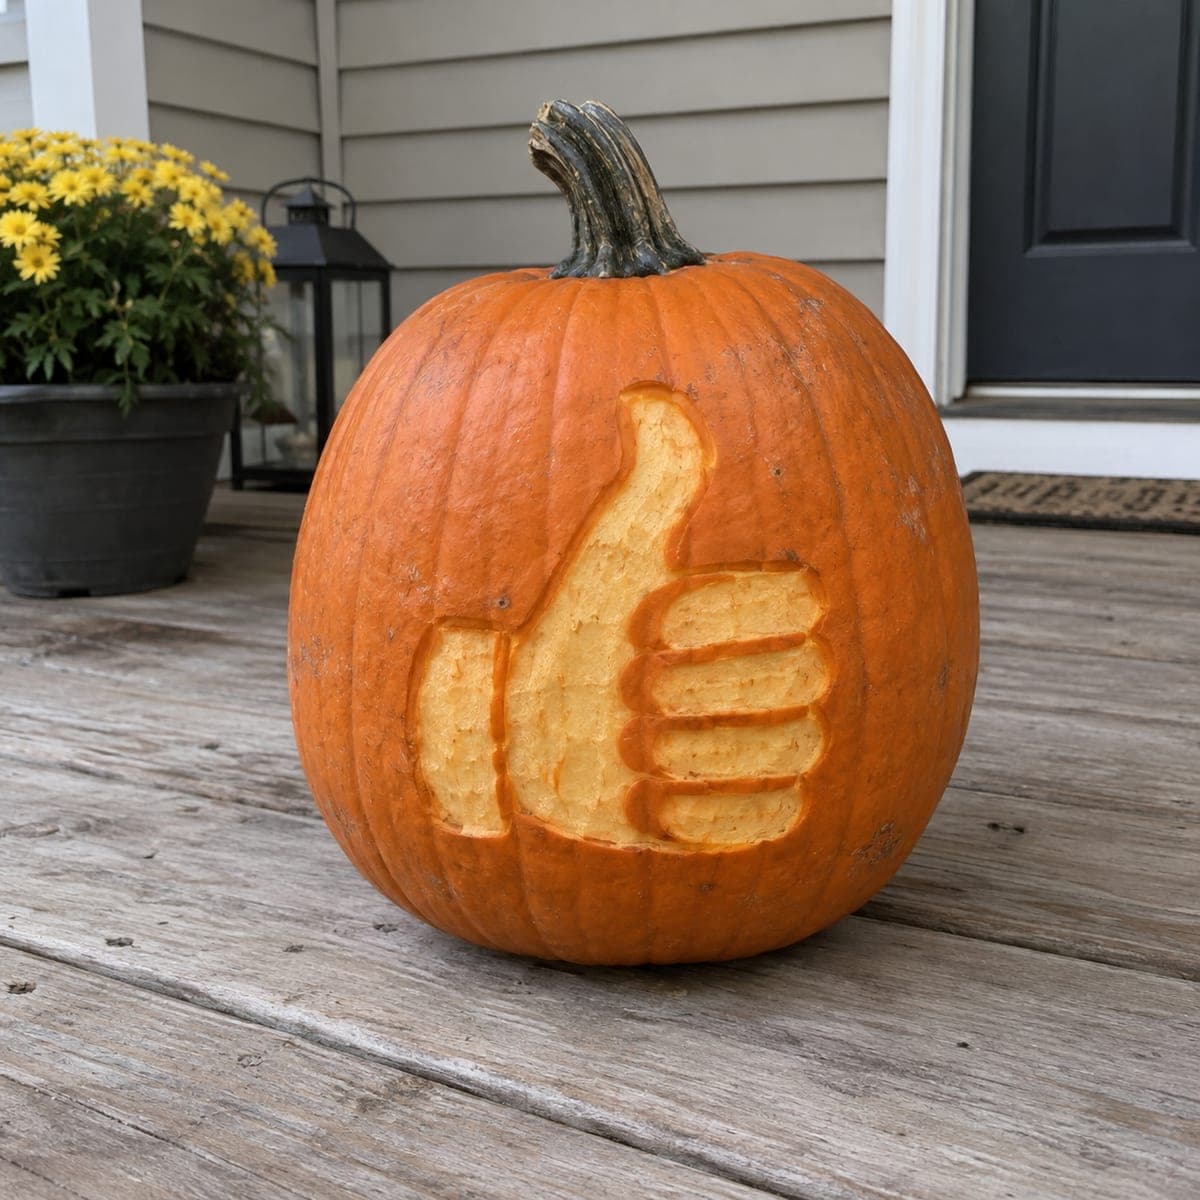
Thumbs Up Emoji Carved Pumpkin DesignAI
0

Thumbs Up Emoji Carved Pumpkin Design

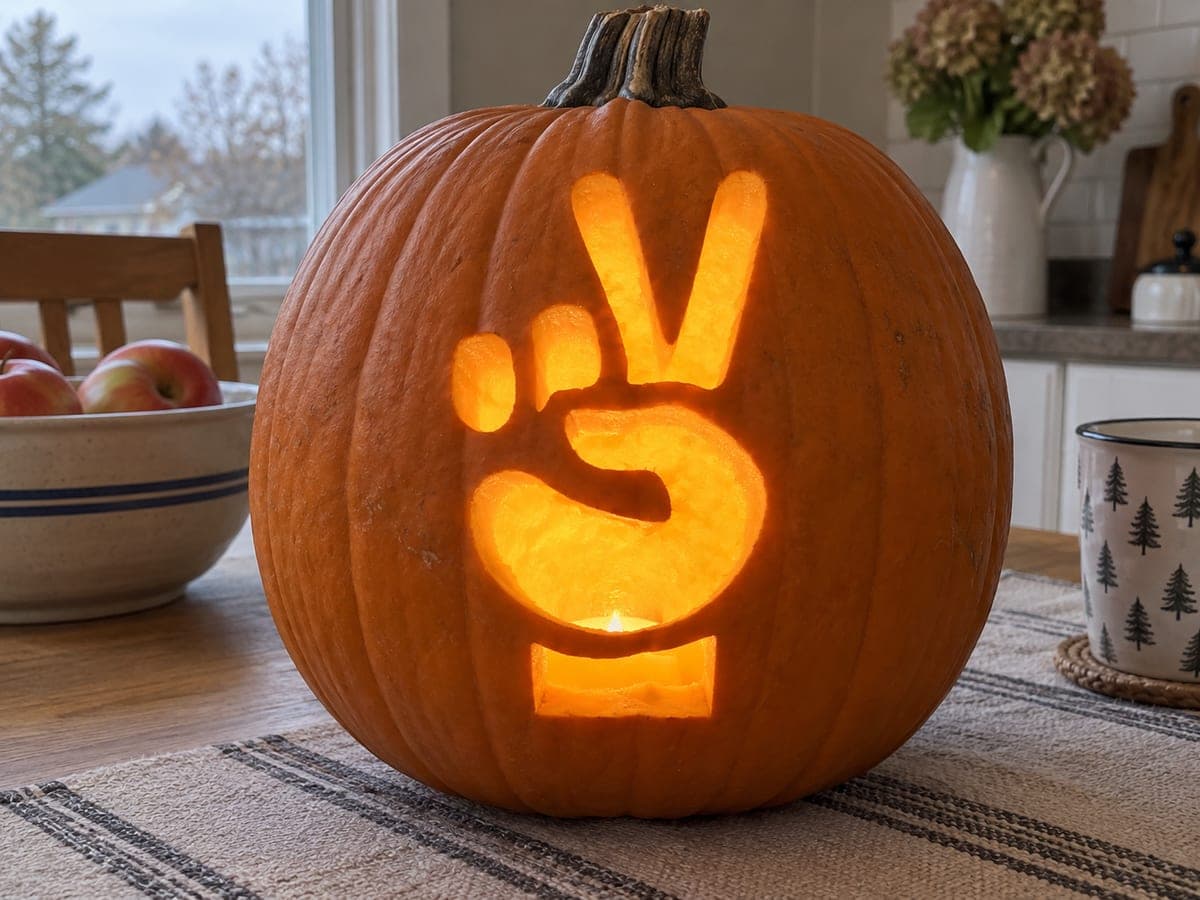
A big thumbs up hand is peeled into this pumpkin like a giant approval emoji, friendly and readable from the street. Only the skin is removed, so the pale flesh forms the hand while the outline stays orange, a technique a first-time carver can manage with a vegetable peeler and a paring knife. Draw the hand with a dry-erase marker so mistakes wipe off. No light needed, which makes it a good daytime porch pumpkin.

This is an AI-generated concept image: a realistic, carvable design idea rather than a photo of a finished carve. AI concepts are always labeled and sit out the leaderboard and the contest.

No ratings yet · Sign in to rate

Comments (0)

  • No comments yet — be the first.

Save without an account. Sign in to like or comment.

Our tips for carving a similar design

The whole trick here is surface peeling instead of cutting all the way through. You remove only the outer orange skin so the pale flesh underneath forms a bright thumbs up hand, while the untouched outline and the grooves between the fingers stay dark orange. Because nothing is cut through, this design reads clearly in daylight and needs no light at all.

Written by PumpkinCarvingIdeas.com, inspired by the image above. These are our suggestions, not instructions from the uploader. This approach to the AI concept has not been tested on a real pumpkin.

From pumpkin to porch

  1. Pick a flat spot and clean the surface

    Choose a pumpkin with a smooth, wide face and set it stem up. Wipe the area dry so your marker will stick. There is no need to open the top or gut this one, since you are only peeling the skin. A firm, blemish free pumpkin holds a crisp edge longest.

  2. Draw the hand with a dry-erase marker

    Sketch a closed fist with the thumb pointing up, keeping the shape big and simple so it reads from the street. Add short curved lines to separate the four folded fingers and one line for the wrist cuff. Dry-erase marker lets you wipe off any mistake and try again. Step back and check the proportions before you touch a blade.

  3. Score the outline first

    With a paring knife, trace along every marker line about an eighth of an inch deep. Do not cut through the wall, just break the skin so you have a clean border to peel up to. An adult should handle this knife work while others watch. These scored lines become the dark orange outline that defines the hand.

  4. Peel the skin inside the hand

    Switch to a vegetable peeler and shave the skin off inside the fist, thumb, and wrist, working up to your scored edges. Aim for an even, shallow layer so the exposed flesh glows a consistent pale color. Leave the grooves between the fingers and the outer background untouched so they stay dark. Take your time near the edges to keep the shape sharp.

  5. Refine the finger grooves and edges

    Go back with the paring knife and clean up the lines between fingers and around the thumb so each shape stands apart. Smooth any ragged spots on the peeled area with the peeler. Crisp separation between light flesh and orange skin is what sells the emoji look. Brush away shavings and check the design from a few feet back.

  6. Seal it and set it out

    Rub the peeled flesh with a little petroleum jelly or lemon juice to slow browning and keep it looking fresh. This is a daytime pumpkin, so place it where sunlight hits the face. If you want it to last, keep it out of direct heat and bring it in on warm afternoons. Snap a photo while the contrast is at its brightest.

Gather your supplies

Check things off as you get ready.

Work on a stable surface, keep your free hand out of the cutting path, and have an adult handle sharp tools.

Three levels of light

  • Leave intact

    The background around the hand and the grooves between the folded fingers stay as untouched dark orange skin.

  • Peel & shade

    The whole fist, thumb, and wrist cuff are peeled to pale flesh for a bright, matte glow in daylight.

  • Cut through

    Nothing is cut through on this design, which keeps the shape strong and readable without a light.

Learn the carving basics

Before you start cutting

Do I need a light inside?

No. This design relies on the color contrast between peeled flesh and orange skin, so it shows up best in daylight. If you want a little evening presence, tuck a small LED nearby to wash light across the face rather than inside the pumpkin.

How deep should I peel?

Just deep enough to remove the waxy orange skin and expose the pale flesh, usually about an eighth of an inch. Going deeper does not make it brighter and can leave an uneven, mushy surface. Keep the depth consistent so the hand reads as one clean shape.

How do I keep the peeled area from browning?

Exposed flesh oxidizes and darkens within a day or two. Coat it with a thin layer of petroleum jelly or a wipe of lemon juice right after carving to slow that down. Keeping the pumpkin cool and out of direct sun heat also helps it stay pale longer.

Your take belongs here, too.

Changed a detail? Made it simpler? Share a photo of your version and tell the community what worked.

Share your pumpkin

More pumpkins like this

You've reached the end · 8 pumpkins
The Patch Report

Fresh pumpkins, in your inbox.

The best new carvings, ideas worth stealing, and how-tos for carving season. Short, seasonal, and gone by November.

A short email during carving season. Unsubscribe anytime. See our privacy policy.