Halloween Pumpkin Carving Contest Β· Starts October 1st Β· $500 in prizes
← Back to ideas
@ai_concepts
Aug 12, 2026
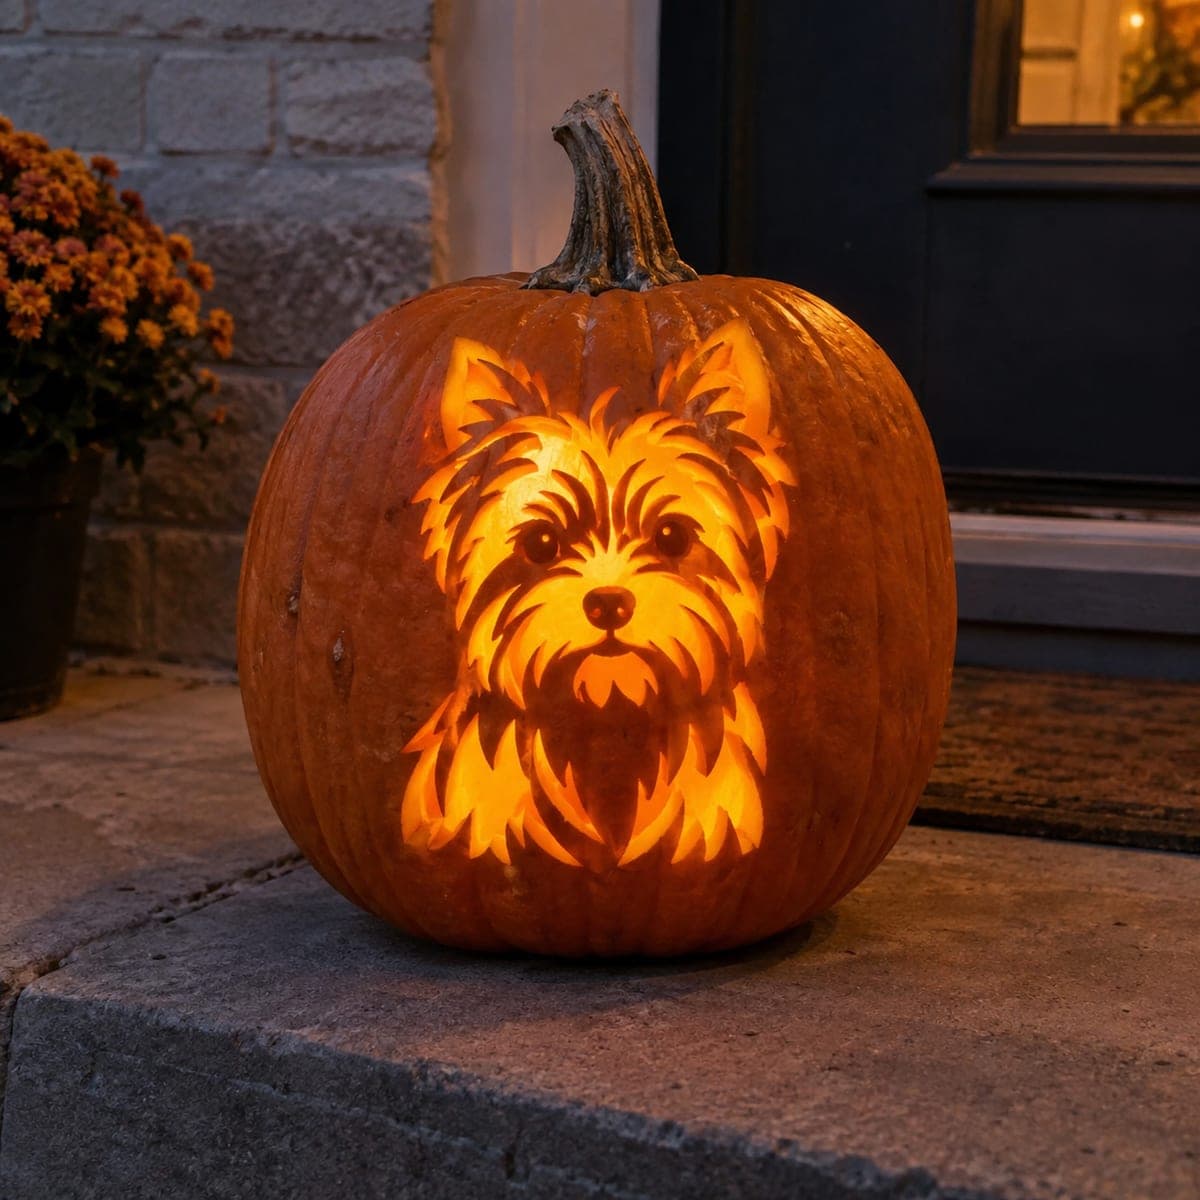
Yorkshire Terrier Puppy Glowing Pumpkin CarvingAI
0

Yorkshire Terrier Puppy Glowing Pumpkin Carving

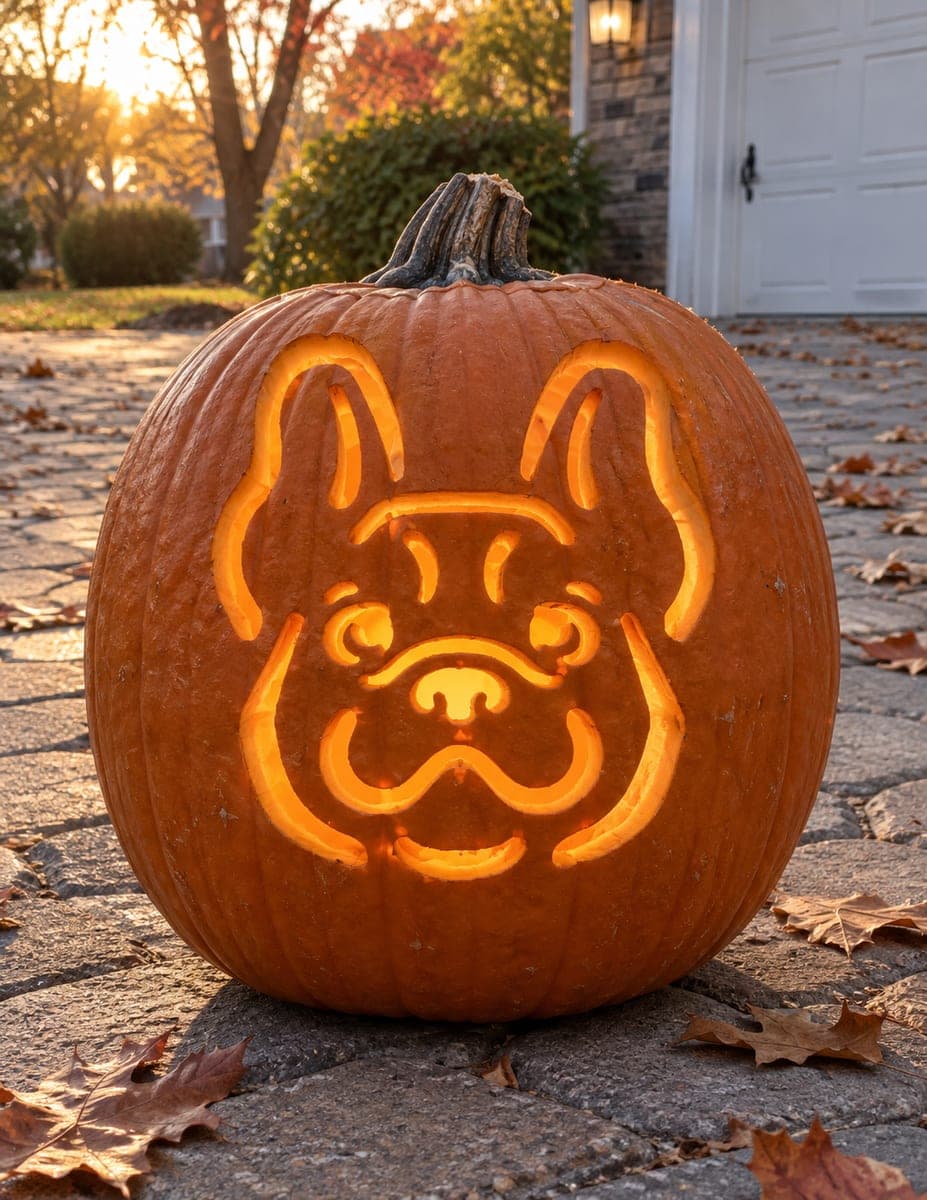
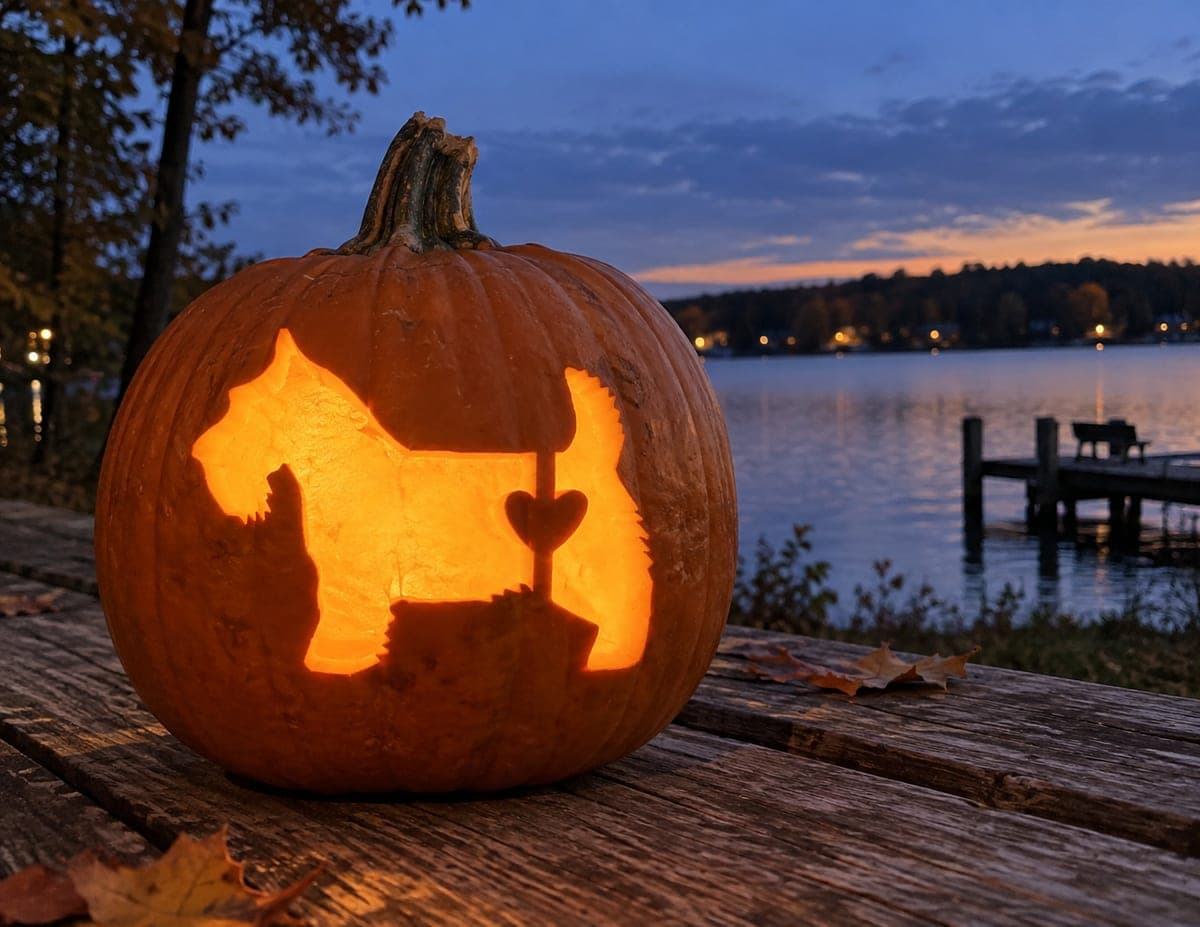
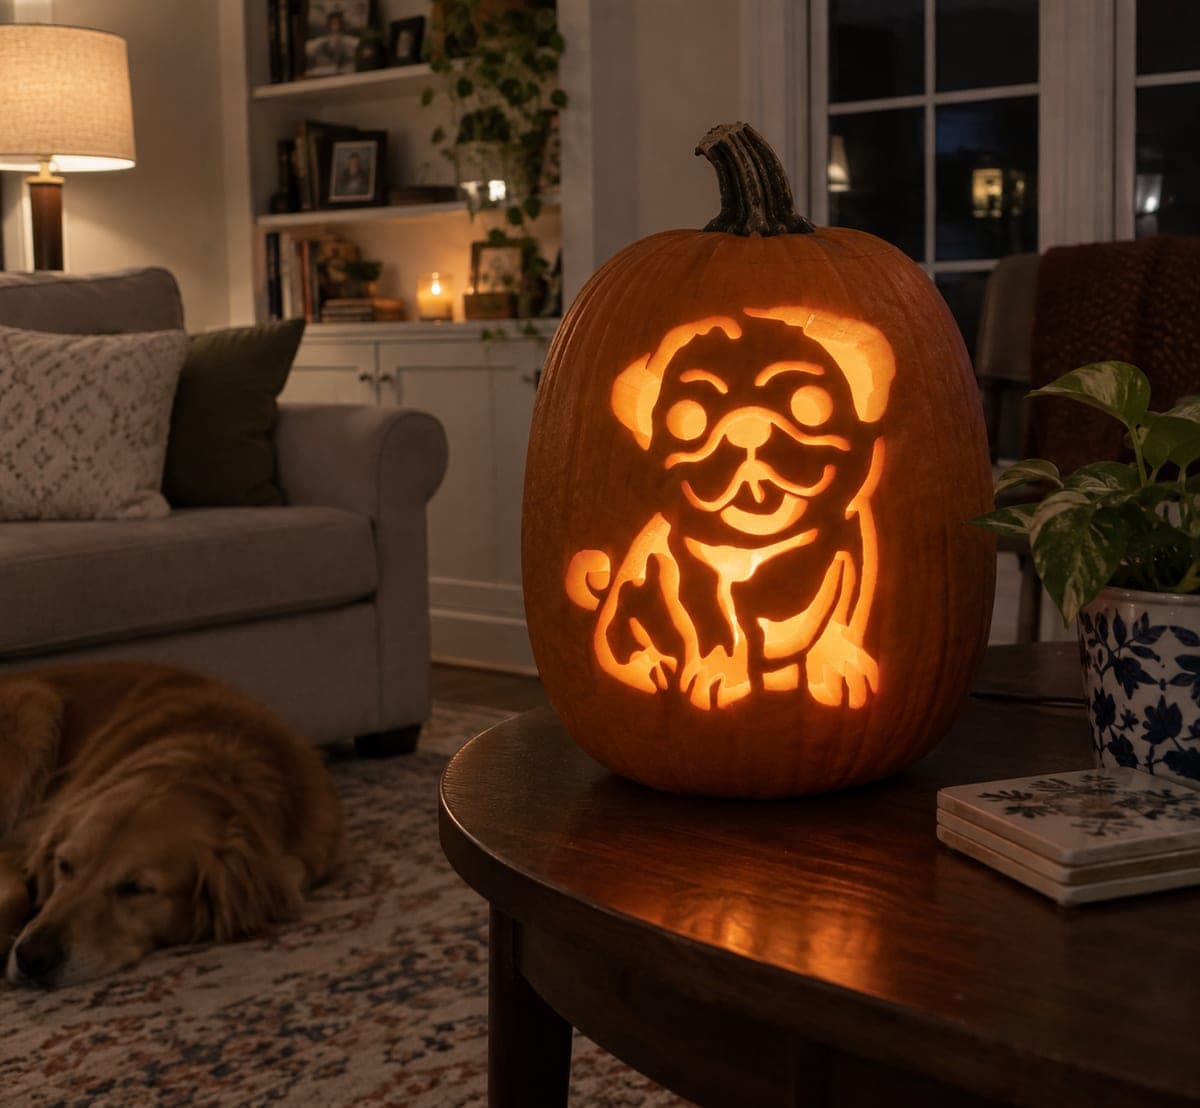
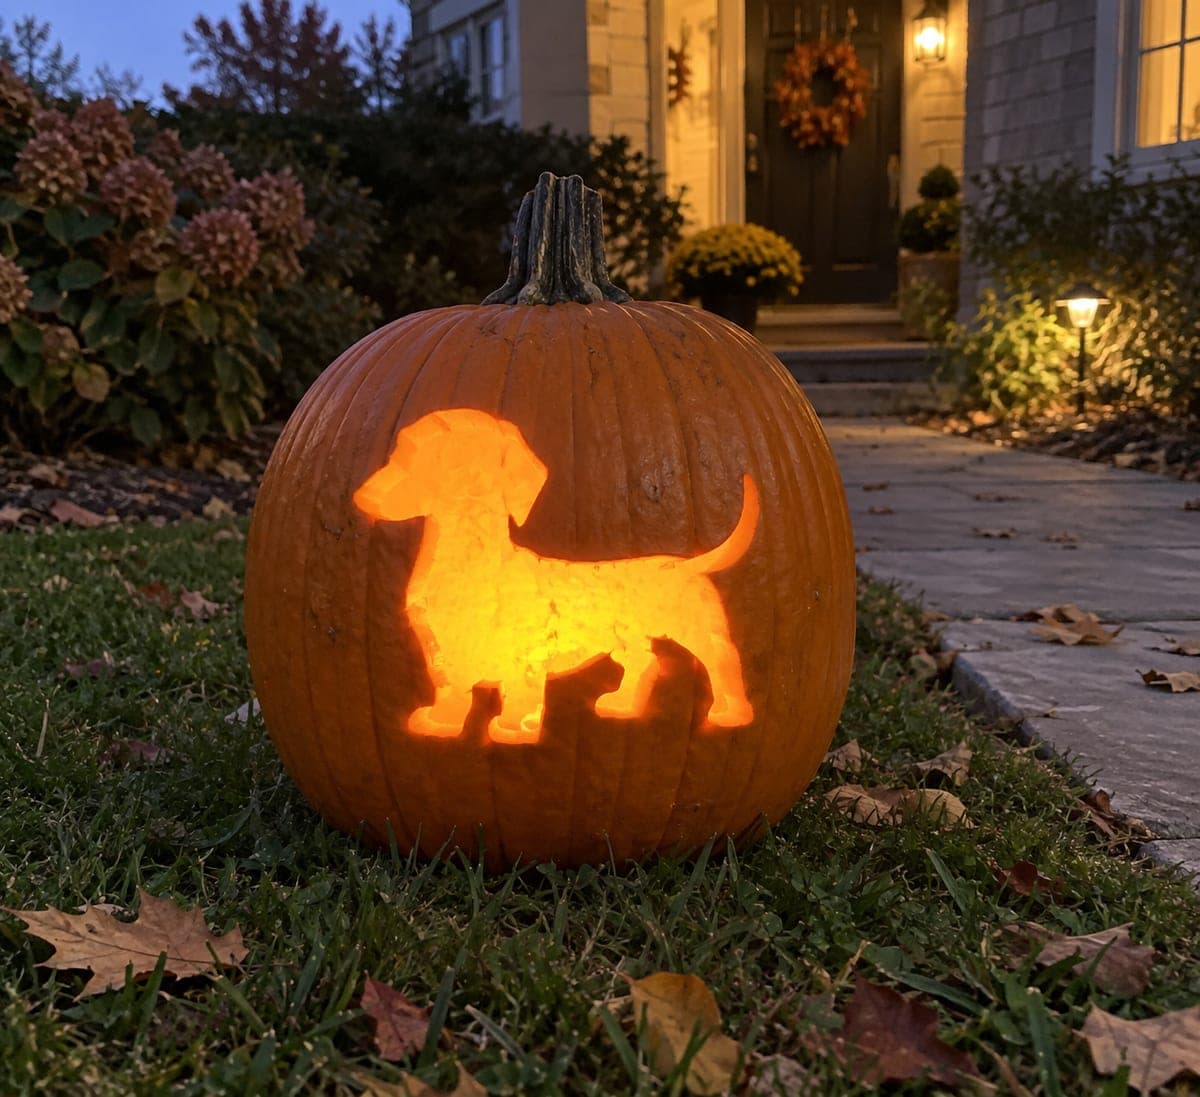
A Yorkshire Terrier puppy beams from this pumpkin, its shaggy fur rendered as dozens of pierced flame-shaped strokes that glow like candlelight. Each tuft is a separate small cut, so use a thin detail saw and rotate the pumpkin often instead of twisting the blade. Pet owners love this style for porch displays; the spiky openings vent heat well if you use a real candle.

This is an AI-generated concept image: a realistic, carvable design idea rather than a photo of a finished carve. AI concepts are always labeled and sit out the leaderboard and the contest.

No ratings yet Β· Sign in to rate

Comments (0)

  • No comments yet β€” be the first.

Save without an account. Sign in to like or comment.

Our tips for carving a similar design

The whole effect here is fur rendered as many small flame-shaped cutouts, so the light reads as individual tufts rather than one big hole. The plan is to keep the dark eyes, nose, and shadow lines as untouched skin, then cut the pointed fur openings one at a time so thin walls of pumpkin stay between them. Since this is a concept image, treat it as a target look and adapt the spacing to whatever pumpkin you actually pick.

Written by PumpkinCarvingIdeas.com, inspired by the image above. These are our suggestions, not instructions from the uploader. This approach to the AI concept has not been tested on a real pumpkin.

From pumpkin to porch

  1. Pick a tall pumpkin and prep it

    Choose a fairly round, tall pumpkin with a smooth front panel big enough for the whole dog. Cut a lid from the bottom or back so the front face stays uninterrupted, then scrape the inside wall behind the design down to about one inch thick. A thinner wall makes the tiny fur cuts far easier to saw. Wipe the front dry before you transfer the pattern.

  2. Transfer the pattern carefully

    Tape a printed Yorkie stencil flat against the front, clipping the edges of the paper so it hugs the curve. Poke the outline with a pin or transfer tool, following every fur point and the eye and nose shapes. Take your time here because the spiky fur edges are what sell the design. Peel the paper and connect any faint dots with a washable marker.

  3. Score the shadow lines first

    Before cutting anything through, decide which lines stay dark. The eyes, nose, mouth line, and the shadow grooves between fur clumps should stay as skin so the face has structure. Lightly score their borders now so you do not accidentally saw through them later. This keeps the puppy from turning into one blank glowing blob.

  4. Peel the mid-tone fur areas

    Use a small loop or gouge to shave the skin off the inner cheeks, muzzle, and the lighter fur zones so they glow a soft dim orange. Keep these peels shallow, removing only the outer skin and a little flesh. This middle layer separates the bright cutouts from the dark shadow lines and gives the coat its layered depth. Work in the same direction the fur flows.

  5. Cut the fur tufts one at a time

    Switch to a thin detail saw and cut each flame-shaped fur opening separately, rotating the pumpkin toward the blade instead of twisting the blade in the cut. Leave slim walls of pumpkin between neighboring tufts so nothing collapses. Save the largest openings, like the chest and the sides of the head, for last so the face stays rigid while you work. Go slowly and let the saw do the work.

  6. Light it and photograph at dusk

    Drop in one or two battery LED lights rather than a candle so the many thin walls do not scorch or dry out. Aim the light upward and add a second small LED low in the front if the chest looks dim. Shoot at dusk on a step or porch with the background in shadow so the glowing fur pops. Mist the cut edges with water and store it cool overnight to keep the fine details crisp.

Gather your supplies

Check things off as you get ready.

Work on a stable surface, keep your free hand out of the cutting path, and have an adult handle sharp tools.

Three levels of light

  • Leave intact

    The eyes, nose, mouth line, and the shadow grooves that separate the fur clumps

  • Peel & shade

    The inner cheeks, muzzle, and lighter fur zones for a soft dim glow

  • Cut through

    The flame-shaped fur tufts around the head, ears, and chest for the brightest light

Learn the carving basics

Before you start cutting

How do I keep all those fur cuts from breaking apart?

Leave a slim wall of pumpkin between each tuft rather than merging cuts into one big gap. Thinning the inside wall to about an inch lets you make clean cuts without forcing the blade, which is what usually cracks the fine bridges. Cut the biggest openings last so the face stays stiff while you handle it.

Why keep the eyes and nose as uncut skin?

Those dark spots give the puppy its expression. If you cut them out they blow into bright blobs and the face loses focus. Leaving them as untouched skin, with maybe a tiny peeled highlight in each eye, keeps the gaze soft and readable.

Can I use a real candle since the fur vents heat?

We recommend a battery LED instead. This design has many thin walls that dry out and scorch fast, and an open flame near dozens of delicate points is a fire risk. An LED gives a steady even glow and lets the carving last several days.

Your take belongs here, too.

Changed a detail? Made it simpler? Share a photo of your version and tell the community what worked.

Share your pumpkin

More pumpkins like this

You've reached the end Β· 8 pumpkins
The Patch Report

Fresh pumpkins, in your inbox.

The best new carvings, ideas worth stealing, and how-tos for carving season. Short, seasonal, and gone by November.

A short email during carving season. Unsubscribe anytime. See our privacy policy.