Similar pumpkin stencils
View all stencils →About this stencil
This free River Sail Spinosaurus pumpkin stencil is a printable PDF pattern you can print at home, tape to your pumpkin, and trace. A Spinosaurus with a dramatic sail and sweeping tail. Print a two-depth shaded dinosaur stencil with detailed scraping instructions. Use it as a carving template for your Halloween jack-o'-lantern. It is rated Advanced. Estimated time: 120 minutes. Actual time varies with preparation, pumpkin size and experience. Fine details and narrow supports need careful planning. Follow the cutting and shading key in this design’s PDF.
Pumpkin size guide
- 🎃 Small (5 to 7"): print at 80%
- 🎃 Medium (7 to 10"): print at 100% (recommended)
- 🎃 Large (11 to 13"): print at 130%
- 🎃 Giant (14"+): print at 150% on tabloid paper
Frequently asked questions
Can I resize this stencil?▾
Yes. The PDF is vector so it scales cleanly. Print the pattern at 100% for a 7 to 10 inch pumpkin, 130% for 11 to 13 inch, or 150% for a giant. Use your printer's "Fit to page" or "Custom scale" setting.
What kind of paper works best?▾
Standard 20 lb letter or A4 printer paper is fine. Heavier paper is harder to bend around the pumpkin curve. If your printer supports it, set the quality to 'best' so the lines are crisp.
How long will the carved pumpkin last?▾
Usually 5 to 10 days. Coat all cut surfaces with petroleum jelly and store the pumpkin somewhere cool overnight. Avoid direct sun. Battery LED pumpkin lights produce no heat and help it last longer.
Can I sell pumpkins carved with this stencil?▾
Yes, the carved pumpkin you make is yours. The license covers personal and small-scale commercial carving (selling carved pumpkins, photographing them, posting on social). You may not resell the PDF file itself.
What if my printer doesn't print the whole stencil?▾
Set 'Page scaling' to 'Fit' in the print dialog and uncheck 'Auto-rotate'. If it still cuts off, the design includes 0.25" of safe-area margin so a small crop won't ruin it.
How to carve this stencil
Print both pages at 100% / Actual Size and check the one-inch ruler. The artwork box is 7 x 7 inches.
Carving key
White / K: leave skin and flesh intact. Light gray / 1: shallow scrape for a softer glow. Dark gray / 2: deeper scrape for brighter light. Never cut through. These are relative depth levels, not millimeters.
1. Shade the broad silhouette
Shallow-scrape the light-gray body, sail edge and tail surfaces. Leave white separating highlights untouched.
2. Light the sail panels
Deepen the dark-gray vertical sail panels individually. Preserve the pale outer rim and white seams between the panels.
3. Shape the long jaws
Deepen the dark jaw and arm planes carefully. Keep the small white teeth intact; do not cut through any gray area.
4. Finish legs and tail
Deepen the dark feet, belly and tail underside. Use an LED to balance the glow while keeping the entire pumpkin wall continuous.
Previews are simulated. This design has not been physically test-carved. Brightness depends on remaining wall thickness.
Related stencils
Tools you'll need
For a advanced carve like this you'll want a fine-detail pumpkin saw, spoon / scoop, pin transfer tool, and small gouge if the pattern includes shading. Here's the kit we reach for, but start with whatever you already own.

Elmchee Pumpkin Carving Kit
13-piece kit with carrying case
Saws for the larger cutouts, plus a scoop for hollowing. Covers both jobs in one kit.
View on Amazon ↗
HOME MOST LED Pumpkin Lights
4-pack, battery operated, with remote + timer
Orange glow made for jack-o'-lanterns. The remote and timer light the pumpkin every evening without reaching inside.
View on Amazon ↗
Speedball 4131 Lino Cutter Set
Handle + 5 interchangeable cutters
Interchangeable cutters for peeling and shading the face. Useful for the finer details.
View on Amazon ↗
Reviews from carvers
Every rating comes from a written review by someone who downloaded this stencil.
Carved this one?
Reviews are open to carvers who downloaded the stencil. Grab the free PDF, then come back and tell everyone how it went.
Community Pumpkin Carving Ideas
Carving ideas that use stencils like this one.
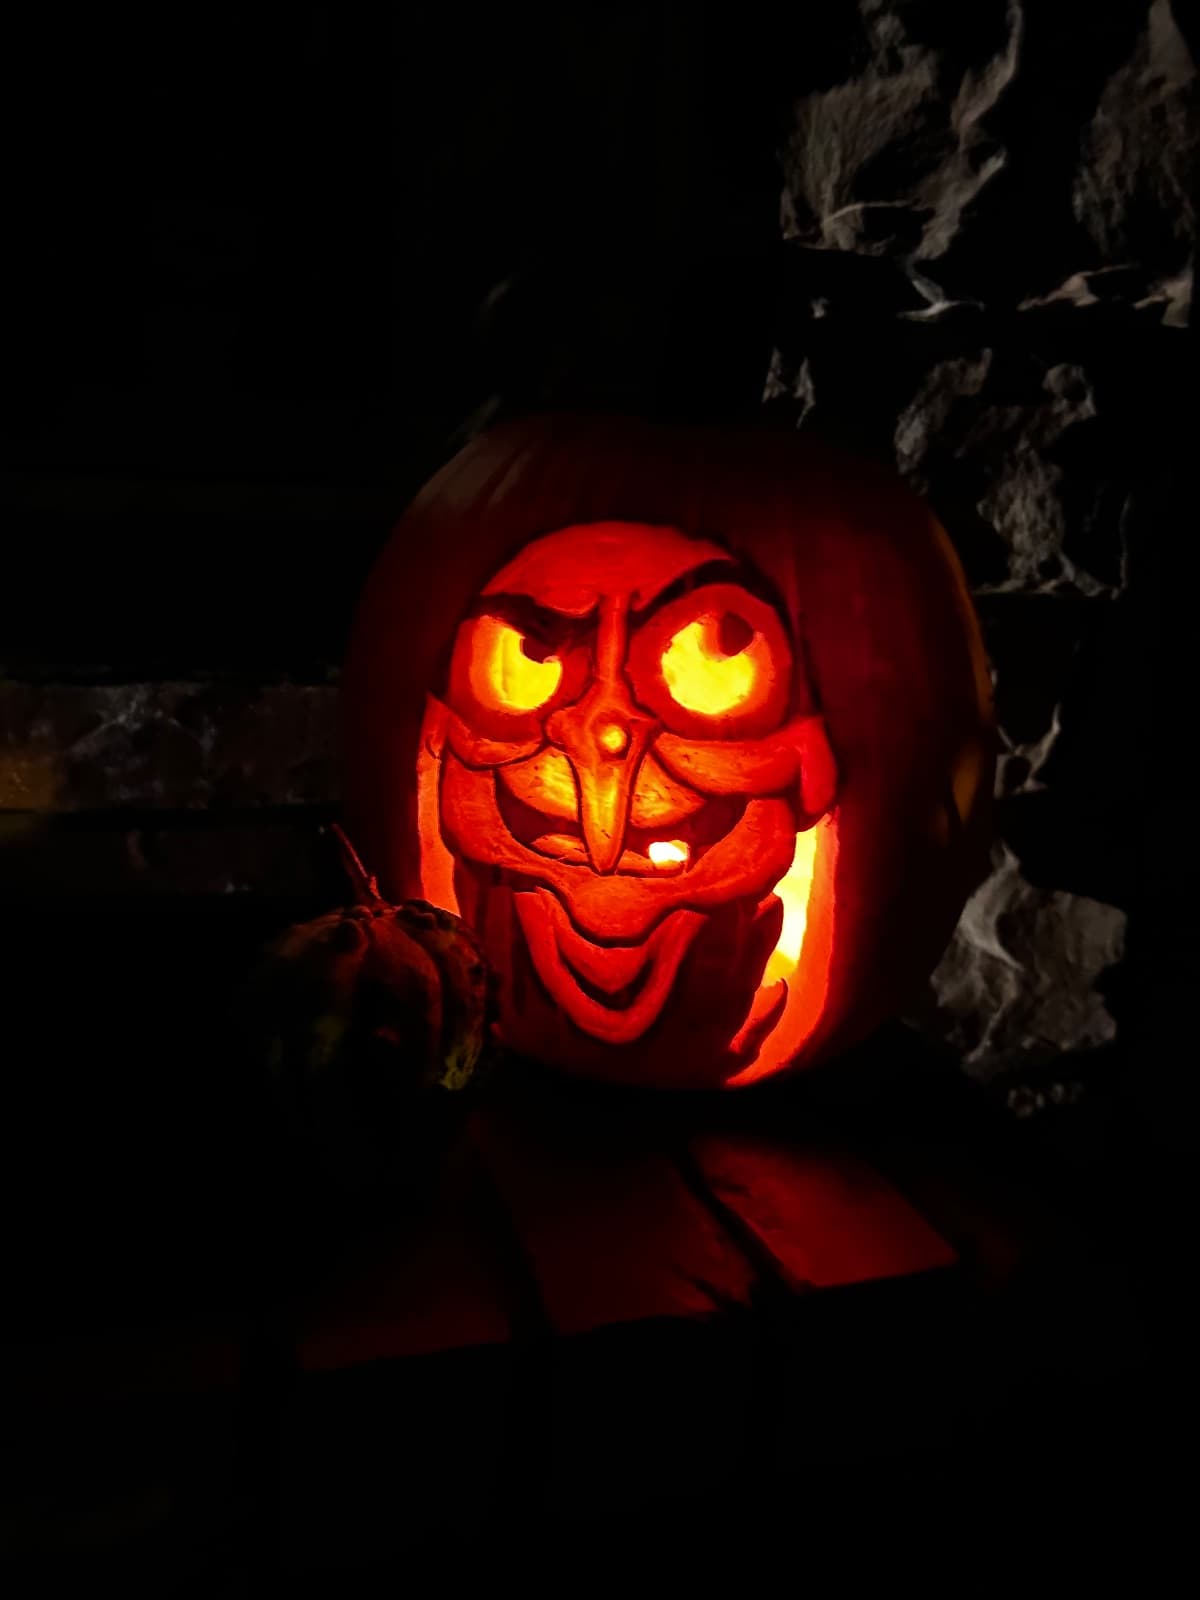
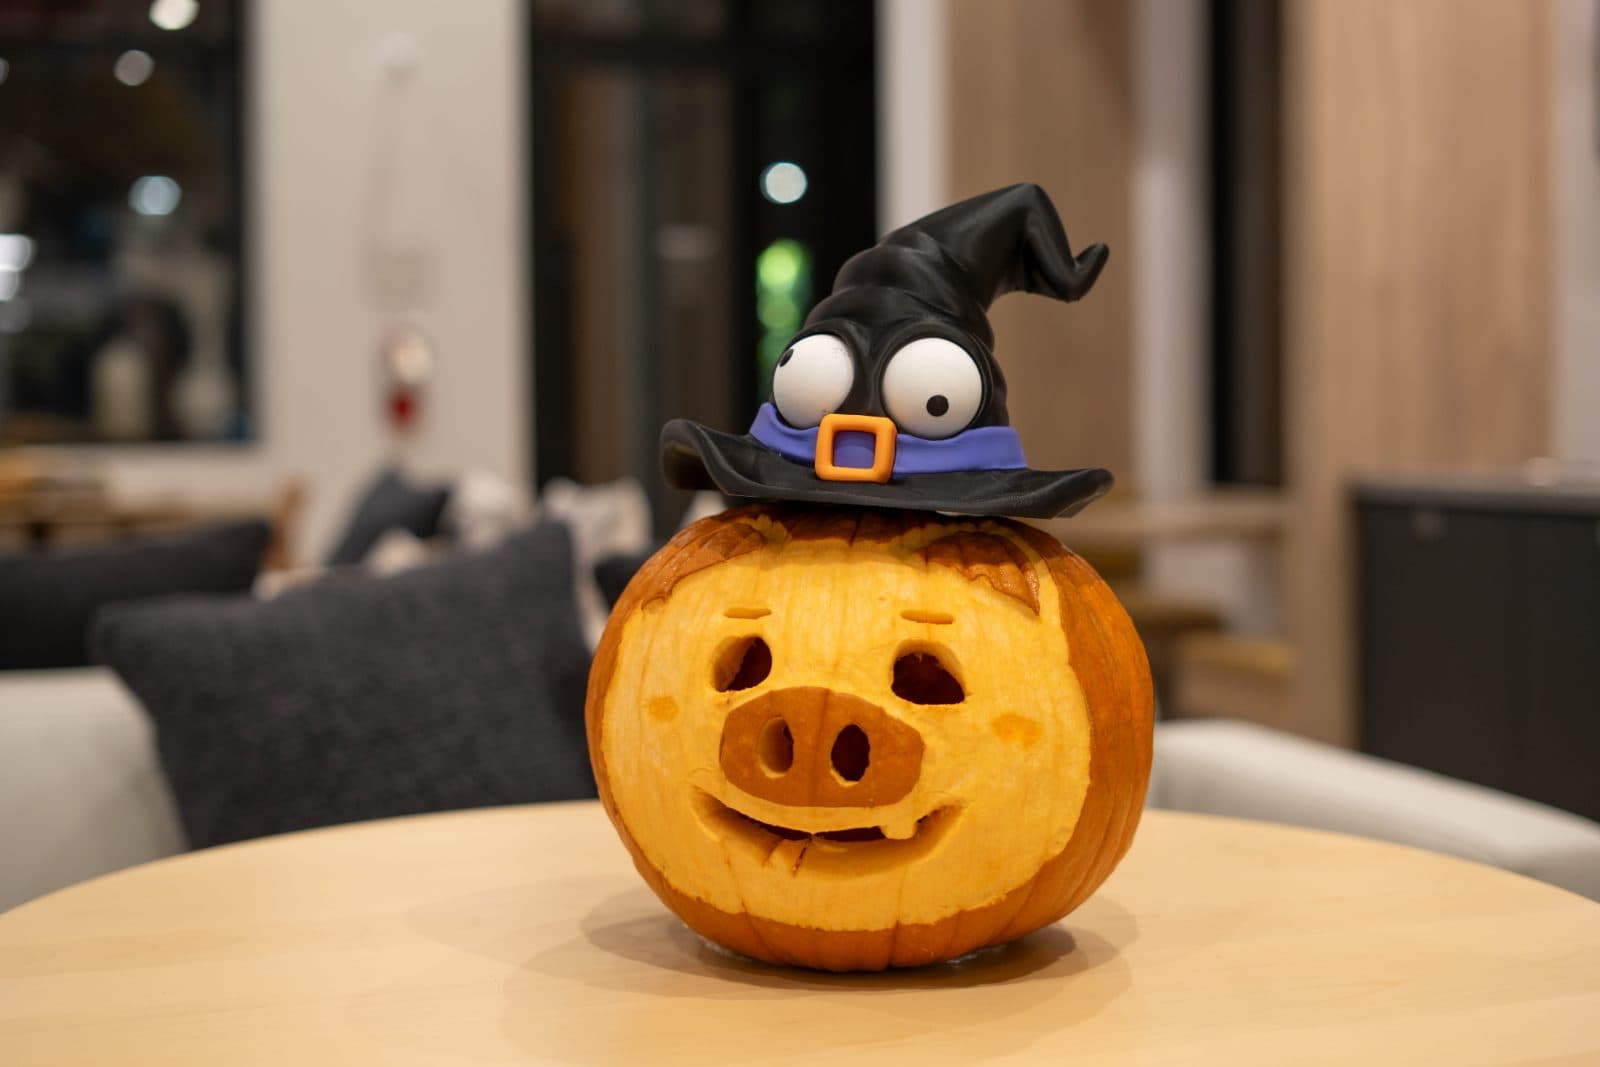
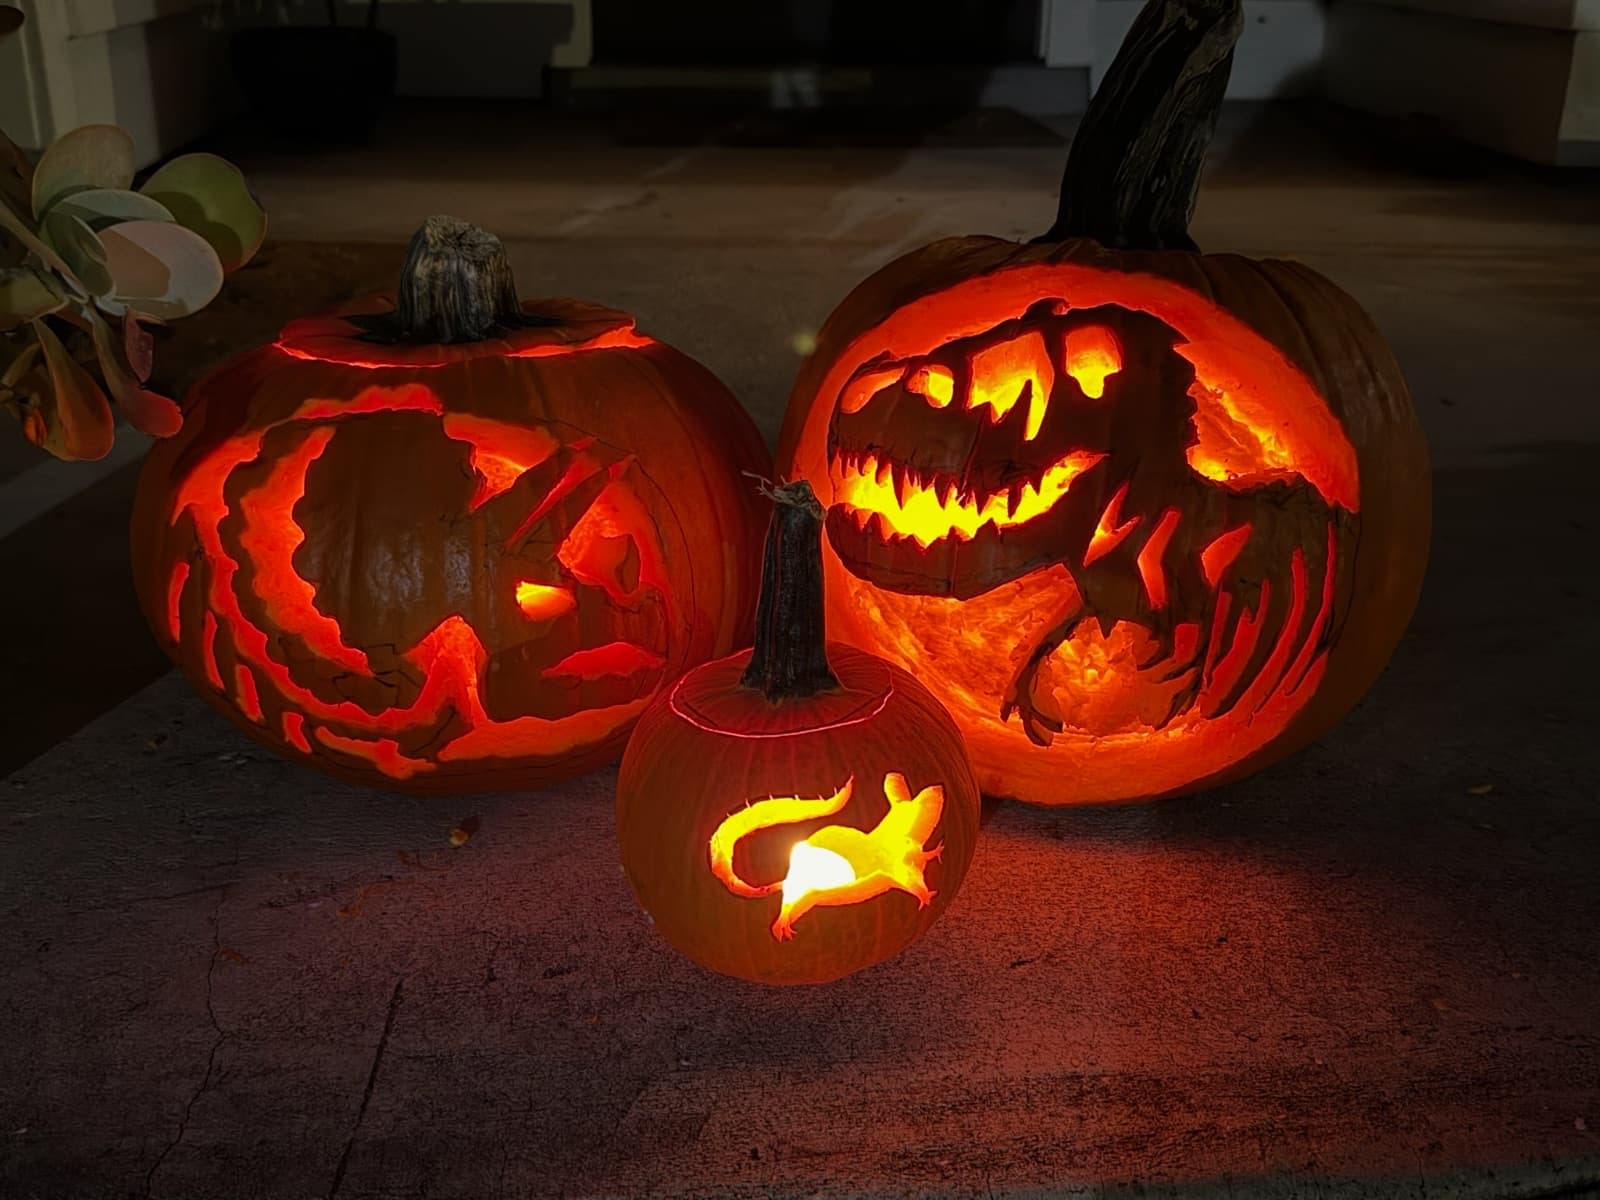
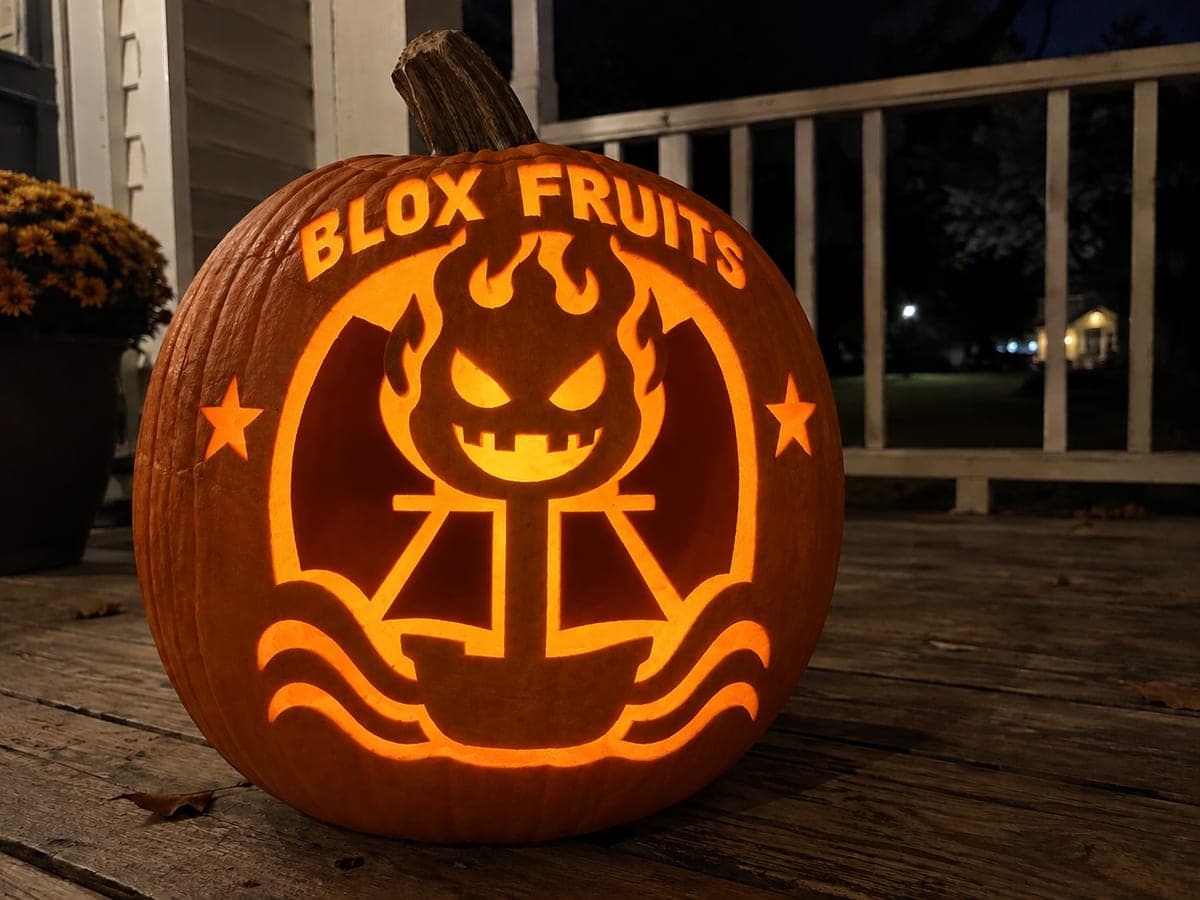

Related stencils
More patterns with a related subject. Compare their skill levels before you choose.
 Advanced
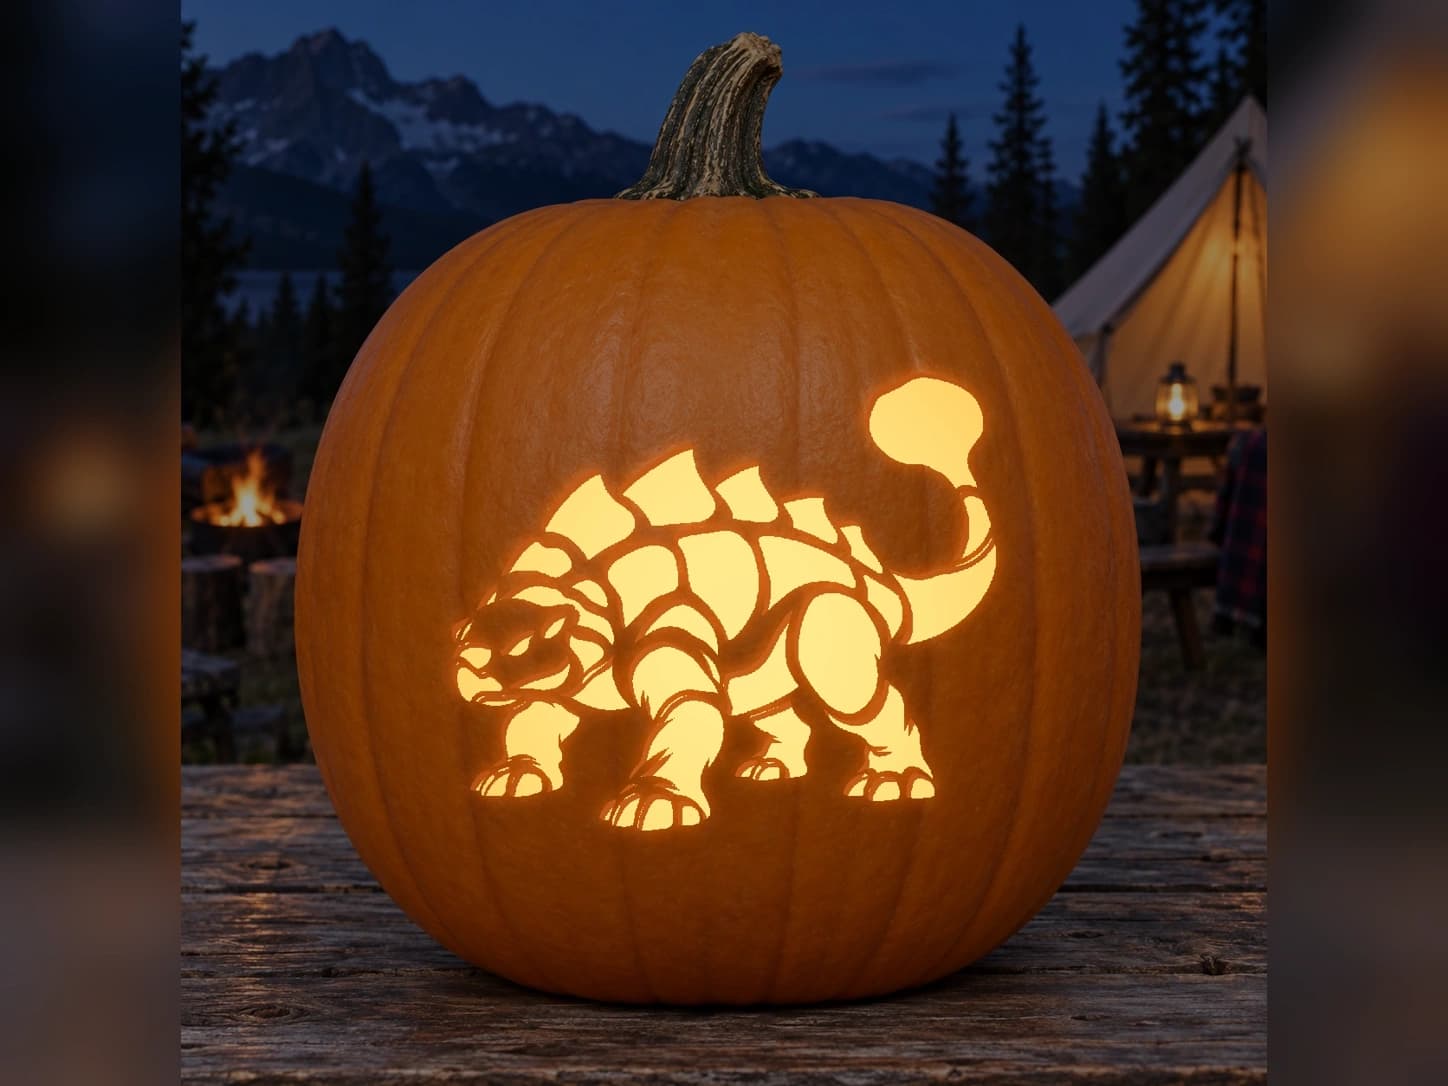
Armored Ankylosaurus Pumpkin Stencil
An Ankylosaurus with a powerful armored body and club tail. Print the detailed cut-through pumpkin stencil with an individual carving guide.
 Advanced
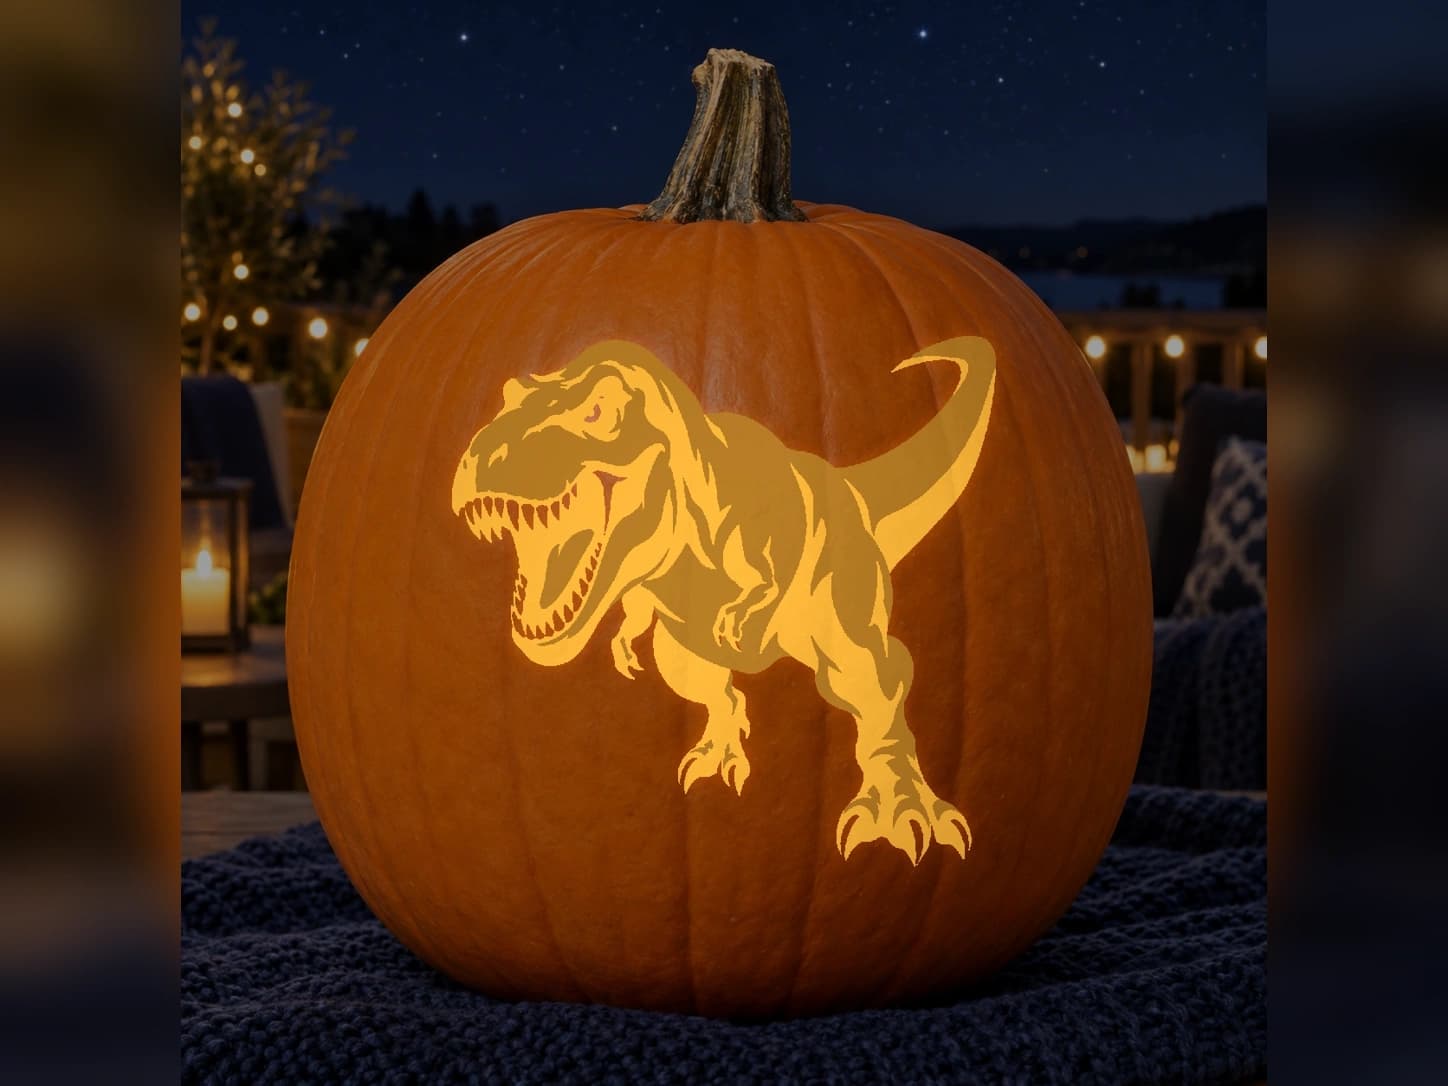
Stampede T. Rex Pumpkin Stencil
A charging Tyrannosaurus in a dramatic full-body pose. Print a two-depth shaded dinosaur stencil and detailed scraping instructions.
 Advanced
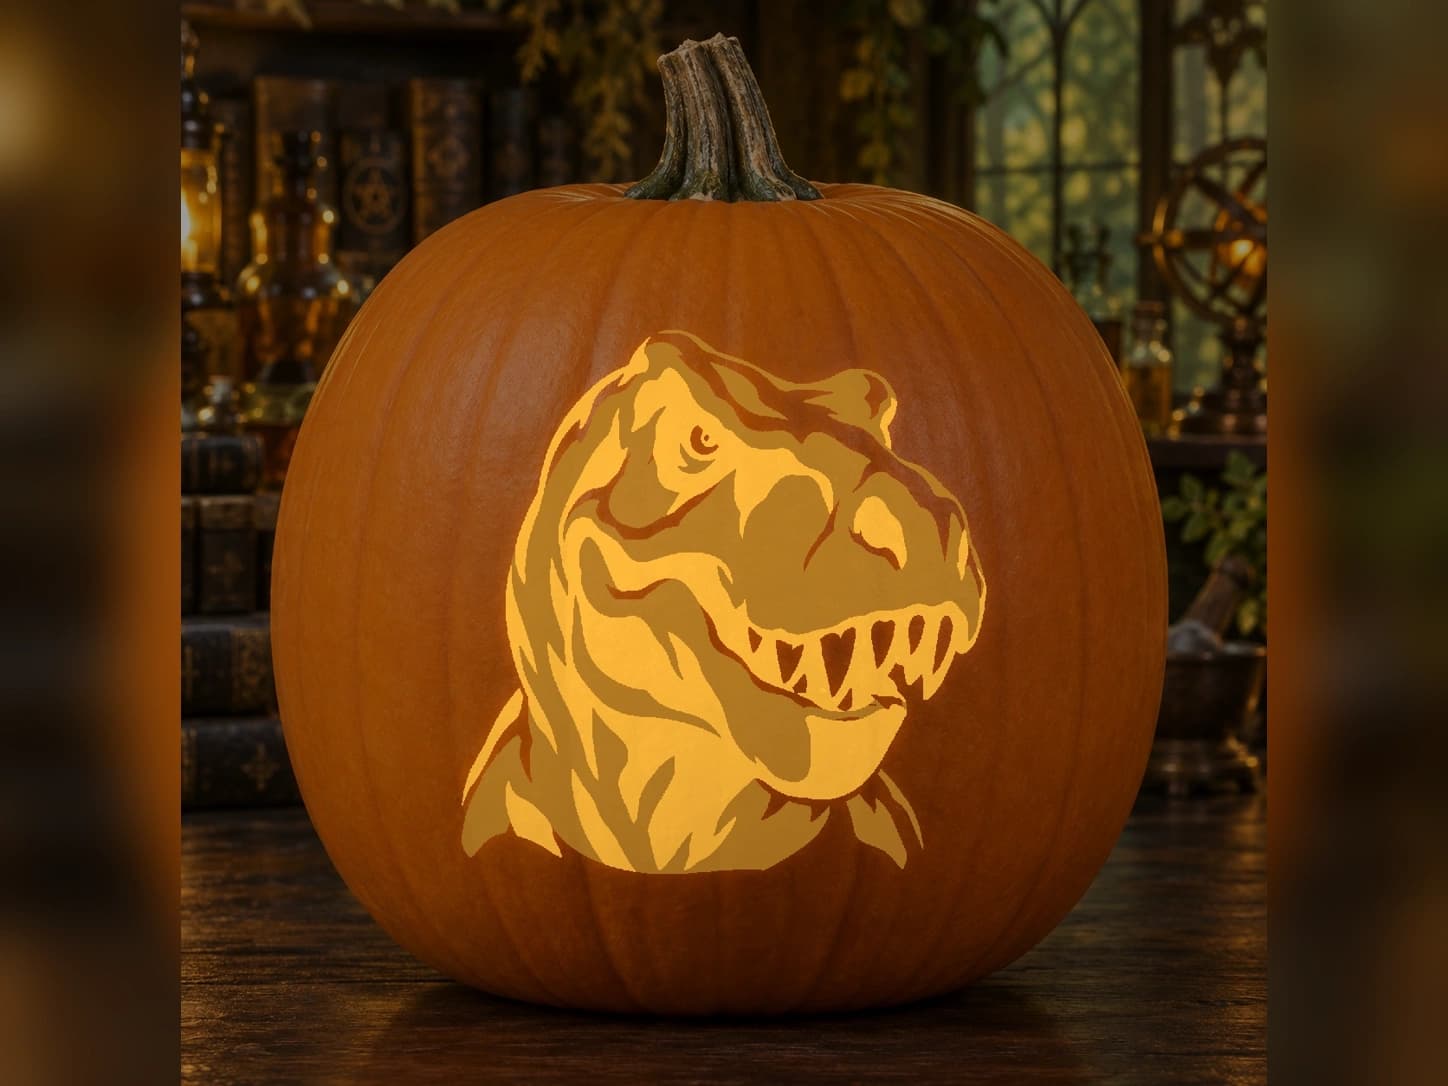
Apex Stare T. Rex Pumpkin Stencil
A close-up Tyrannosaurus portrait with an intense gaze. Use a two-depth shading map to carve a dramatic dinosaur portrait into your pumpkin.
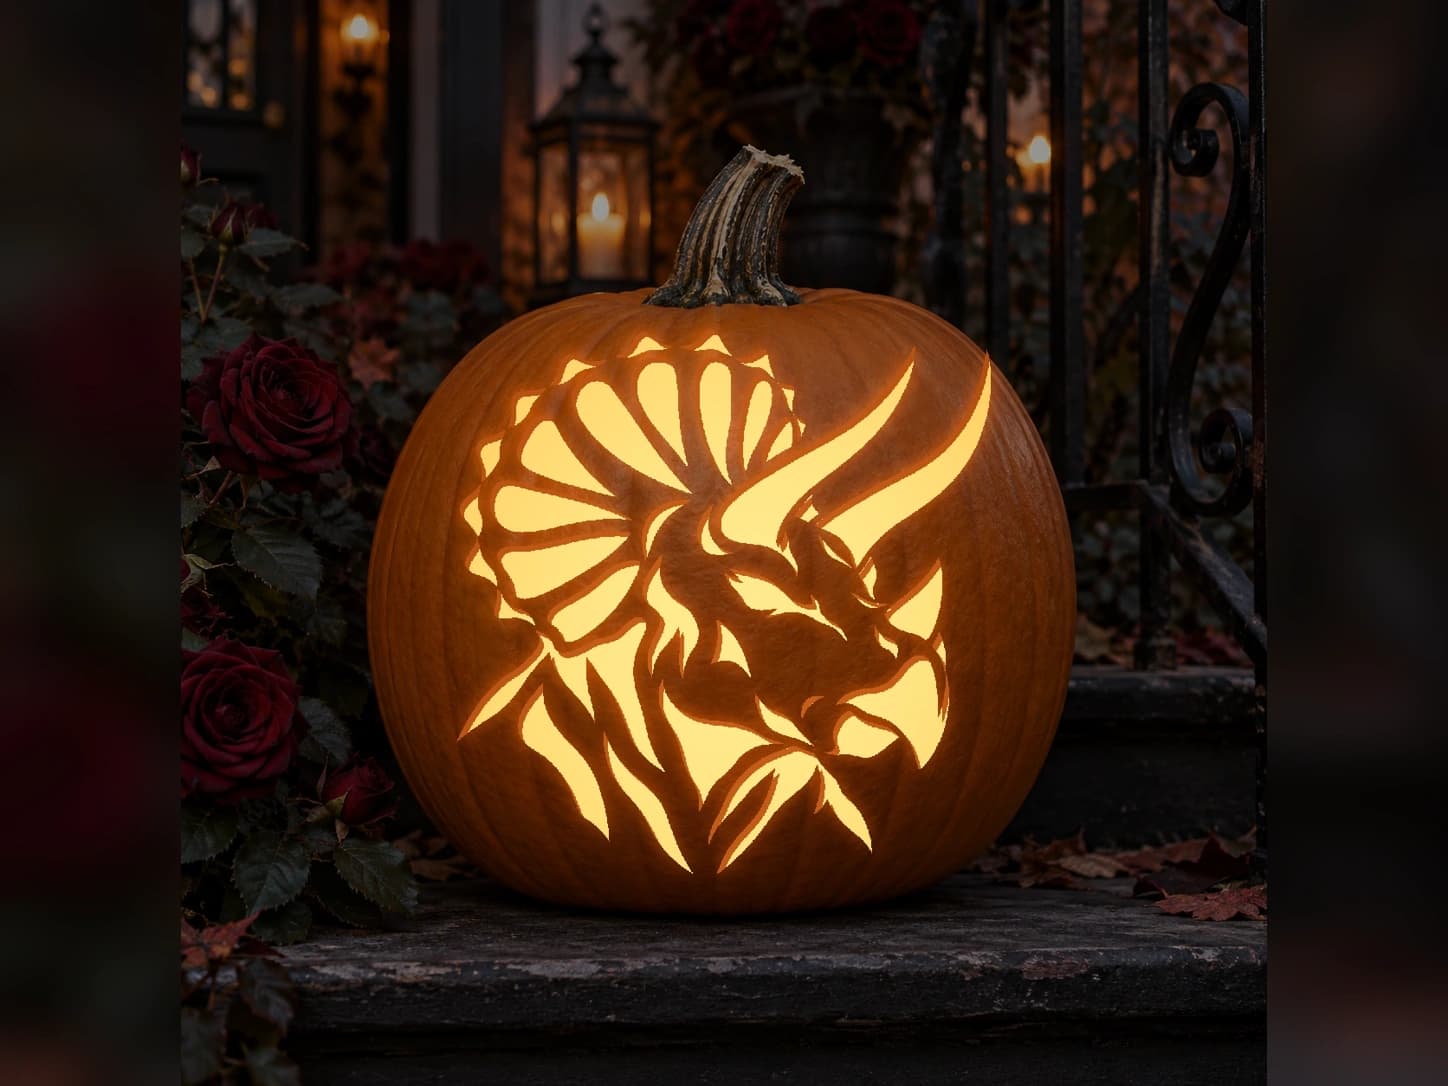 Advanced
Crown of Horns Triceratops Pumpkin Stencil
A proud Triceratops framed by its crown-like frill and three horns. Print the detailed cut-through stencil with a feature-by-feature carving guide.
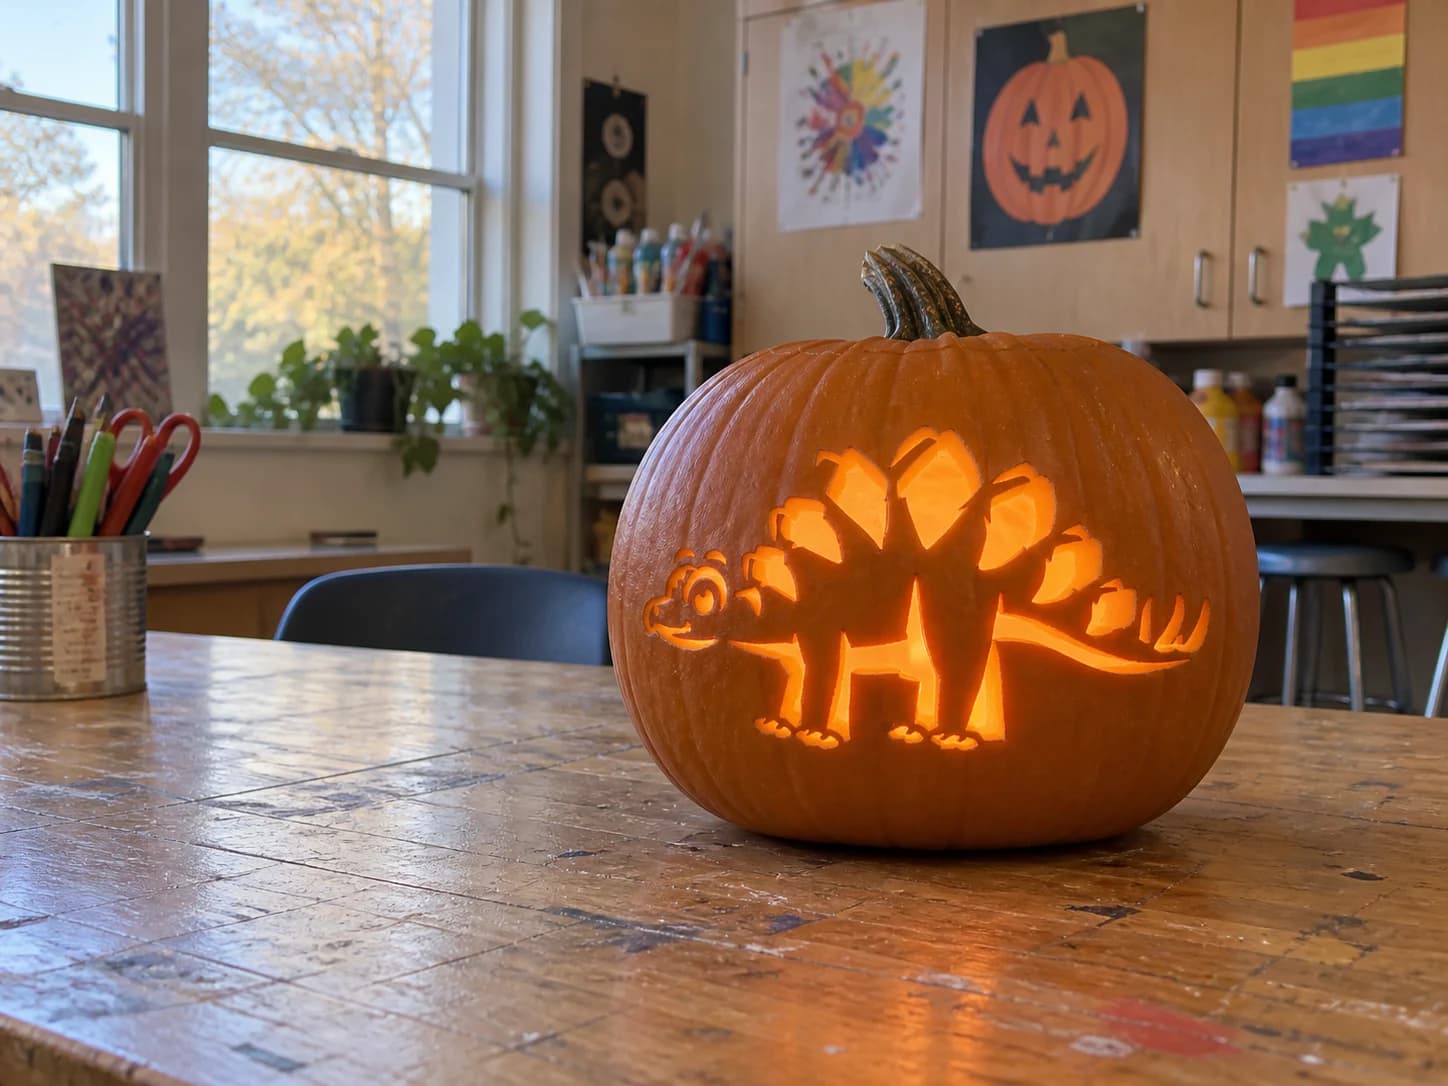 Advanced
Stegosaurus Pumpkin Stencil
A cartoon stegosaurus with a round friendly face, four chunky legs, and a row of large diamond-shaped back plates fills this hard pumpkin stencil. The body is carved as a wide open pierce, the back plates are pierced individually above it, and the toes and facial details are fine cut-outs. When lit, the dinosaur glows as a bright segmented shape with the plates hovering above the silhouette. Carve the face details and tiny toe lines before removing the large body section, since the body cut-through will flex the pumpkin wall and make those small details harder to control.
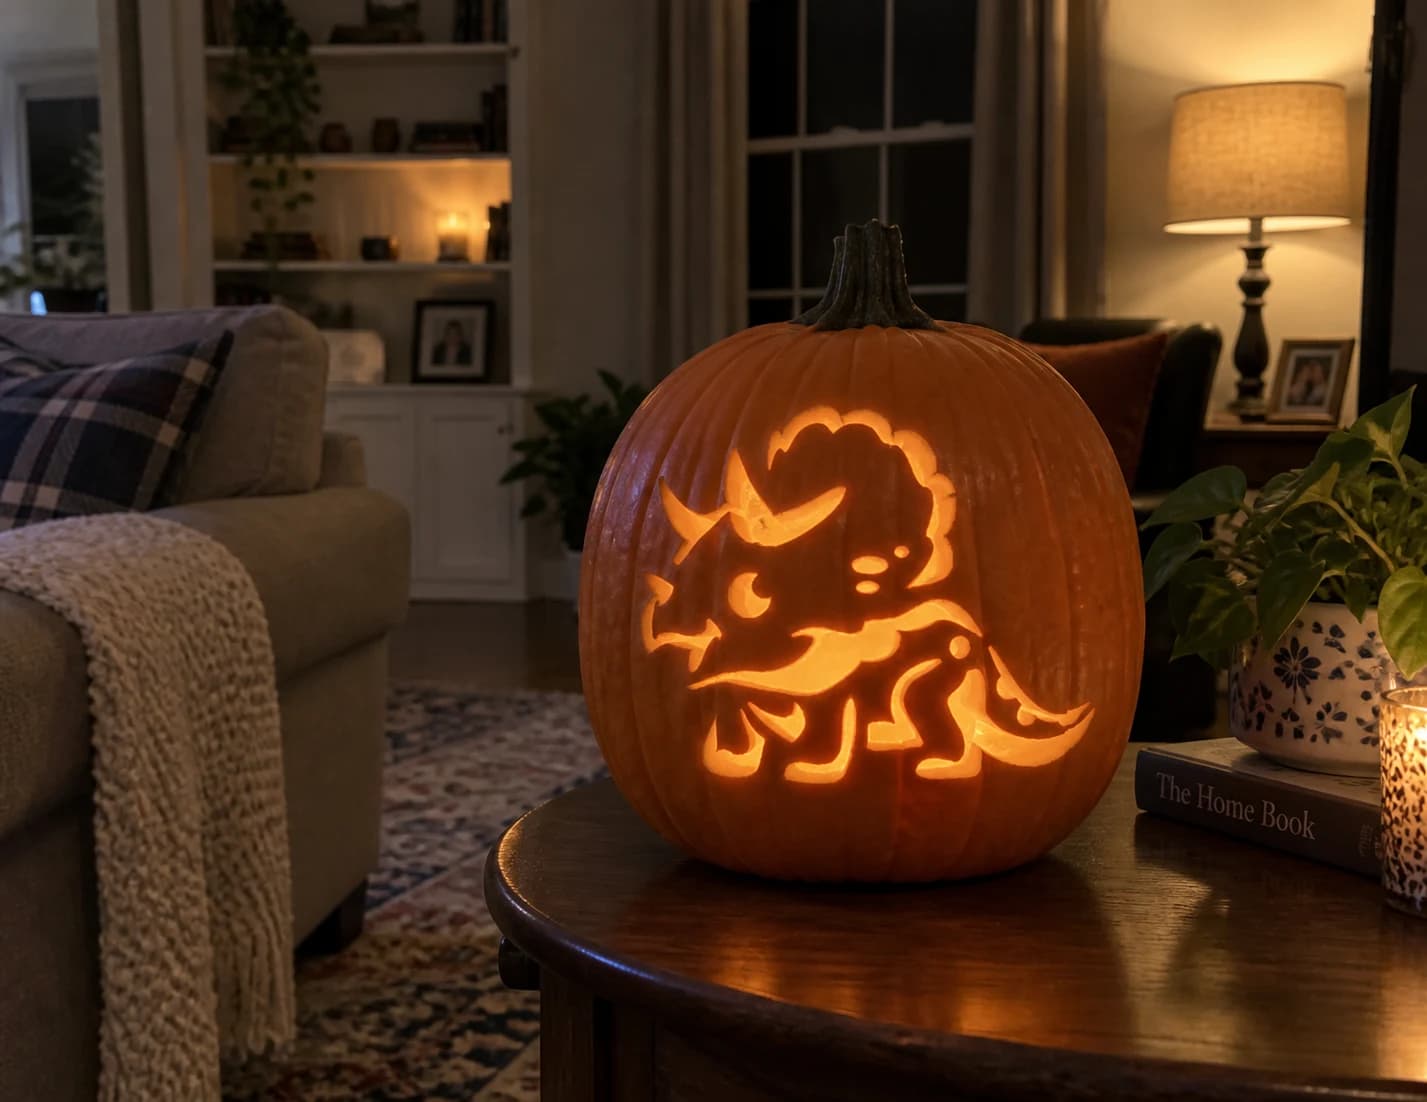 Advanced
Triceratops Pumpkin Stencil
A chubby cartoon triceratops in a walking pose fills this hard pumpkin stencil: a large frilled head with three prominent horns, two small oval nostril dots and a crescent eye below the frill, a round body, four chunky legs with pointed toe claws, and a short upturned tail. The frill at the back of the head is an open silhouette that glows as a scalloped arc. Cut the three horn outlines and the two small nostril dots first before the broader body and leg cutouts, as the nostril dots are isolated and easiest to control while the pumpkin is still intact.