How to Carve a Pumpkin
Every step of your first carve: picking a pumpkin, opening it up, scooping, getting a design on, cutting clean lines, and lighting it.
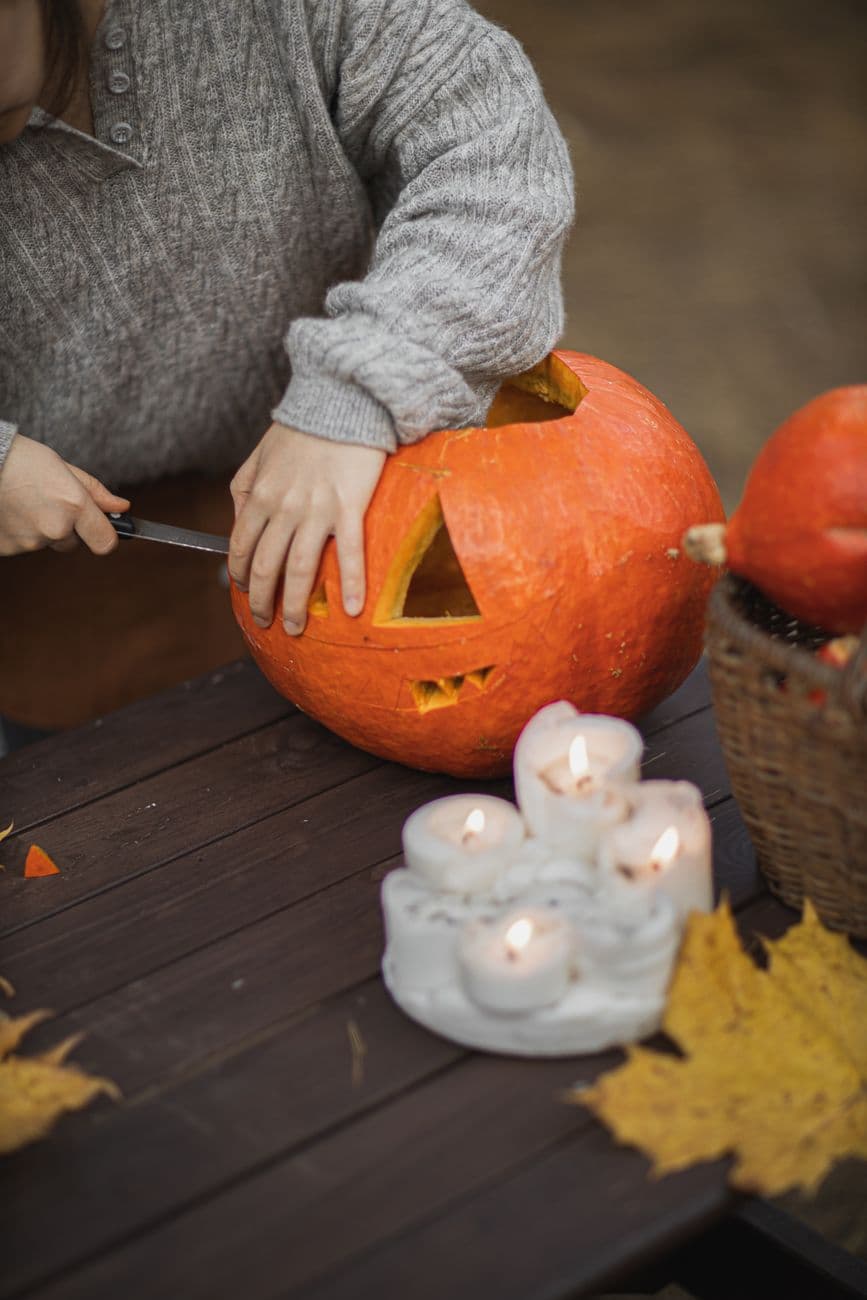
Carving a pumpkin is one of those jobs that looks harder than it is. If you can trace a line and saw along it slowly, you can carve. This guide walks through a first carve from whole pumpkin to glowing porch light in about half an hour.
Pick the right pumpkin
The best carving pumpkin is fresh, firm, and a little boring. Look for:
- A hard shell with no soft spots. Press around the whole surface, especially the bottom. Any give means rot has started.
- A flat face. Big smooth sides take designs better than deep ribs.
- A sturdy, attached stem. A green stem means it was picked recently. Never carry the pumpkin by it; a snapped stem shortens its life.
- A flat bottom so it sits without wobbling.
Size matters less than you would think. Medium pumpkins are actually easier for a first carve than giant ones, because the wall is thinner.
Carve within a day or two of when you want it on display. A carved pumpkin only looks its best for around three to five days. Our preservation guide can stretch that.
Set up your station
Lay down newspaper or a garbage bag, and set out two bowls: one for seeds (worth roasting) and one for guts. Work at a table, not the floor; you want your shoulders above the pumpkin so you can saw straight down.
Step 1: Open it up
Cut your lid at a 45 degree angle, slanting the knife toward the center of the pumpkin. An angled lid rests on the rim like a plug instead of falling through. Cut a small notch in the back of the lid line so you can always line it back up.
If you plan to light it with a candle on a plate, you can cut the opening in the bottom instead: the pumpkin then lowers over the flame, drips stay off your porch, and the top stays perfectly whole.
Step 2: Scoop it clean
Pull out the loose strings and seeds by hand, then switch to a scoop or a sturdy metal spoon and scrape the walls. The key move for a good carve: thin the wall on the side you will carve to about one inch. Cutting through a thick wall is where most beginners struggle.
Step 3: Get the design on
Three easy options:
- Draw it with a dry-erase or washable marker so mistakes wipe off.
- Tape a printed design on and poke pinholes along every line, then connect the dots.
- Go freehand with a classic face: triangle eyes and a jagged grin never miss.
If you need a design, browse the easy carving ideas in the gallery, or see the full stencil transfer guide.
Step 4: Carve
Use a small pumpkin saw rather than a kitchen knife; it turns corners and is far safer. The technique:
- Saw with gentle, steady strokes and let the teeth do the work. Pushing hard bends blades and slips.
- Keep the blade perpendicular to the shell so pieces pop out cleanly.
- Carve the smallest, most fragile details first, while the surrounding shell is still solid, then cut the big shapes.
- Push finished pieces out from the inside with a finger. If a piece resists, cut it into smaller chunks instead of forcing it.
Broke a tooth or a nose? Pin it back in place with a toothpick. Nobody will ever know.
Step 5: Light it
Drop in a tealight or an LED puck and put the lid on. If you use a real candle, cut a small chimney hole in the back of the lid so heat and smoke can escape. For flicker settings, colors, and photo tips, see lighting your jack-o'-lantern.
Then take a photo at dusk and share your carve with the community. Everyone's first pumpkin deserves a porch and an audience.
Ready to put it to use?
Pick a design from the gallery, then share your carve when it is done.