1 free printable patterns
Zombie Pumpkin Stencils
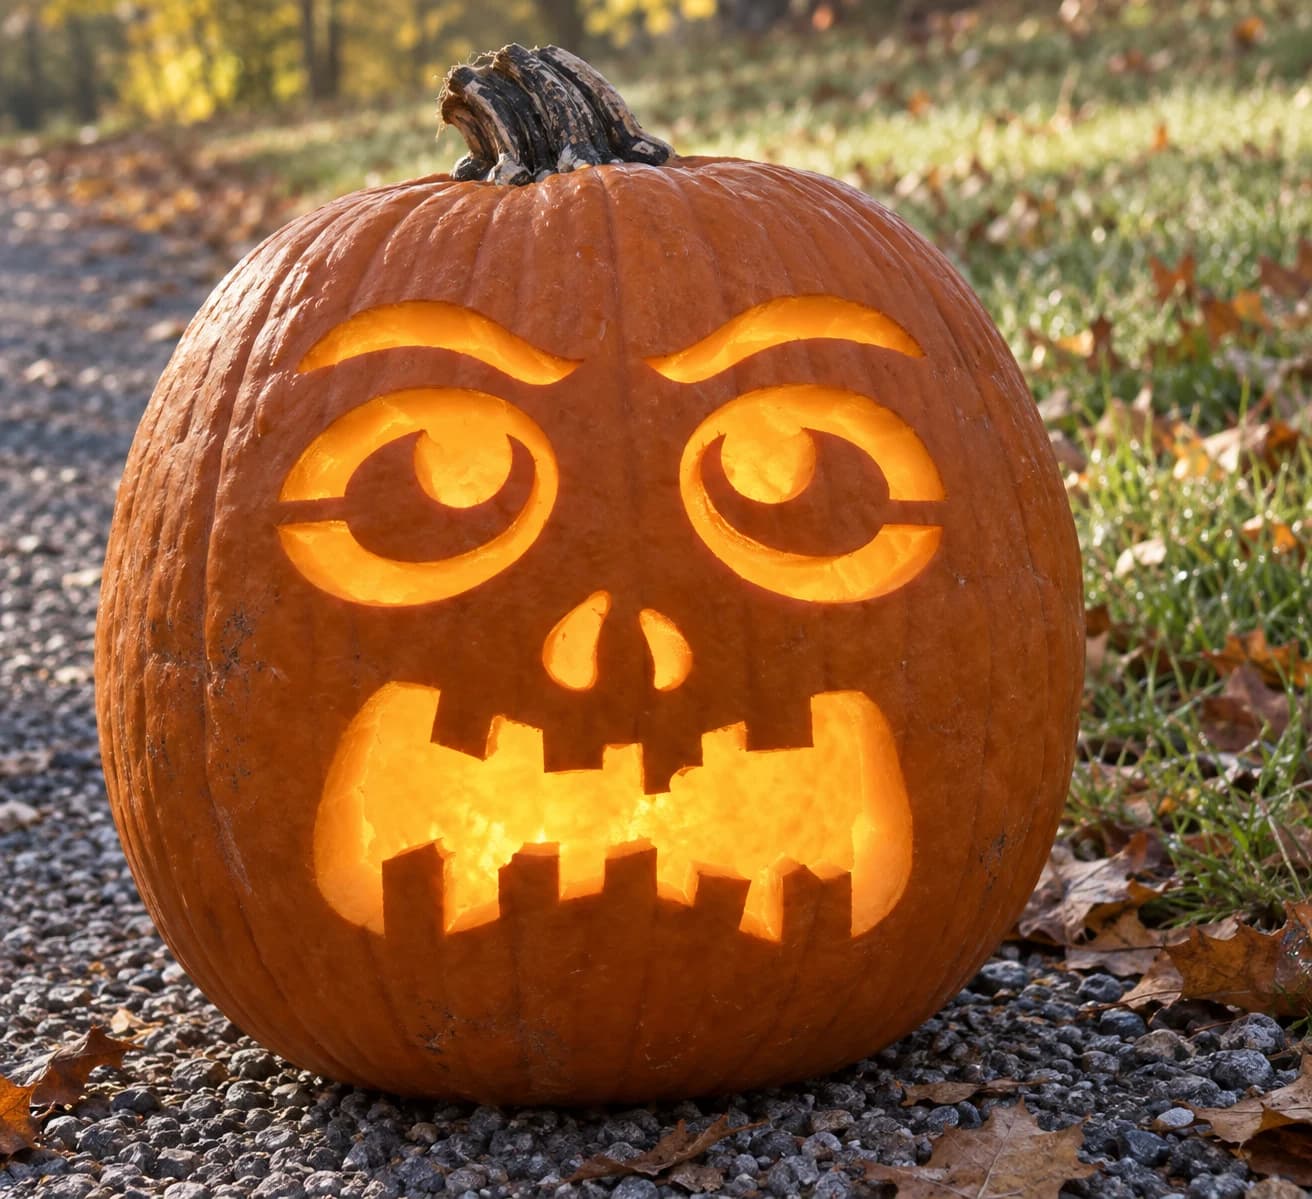
Zombie pumpkin stencils feature sunken eyes, torn skin, a lolling jaw, and reaching hands clawing up from the ground. Messy, uneven cuts only add to the look, so these are forgiving even when they are detailed.
- Free PDF, no watermark
- Prints on letter or A4 at 100%
- Carving guide with every stencil
1 zombie pumpkin stencils
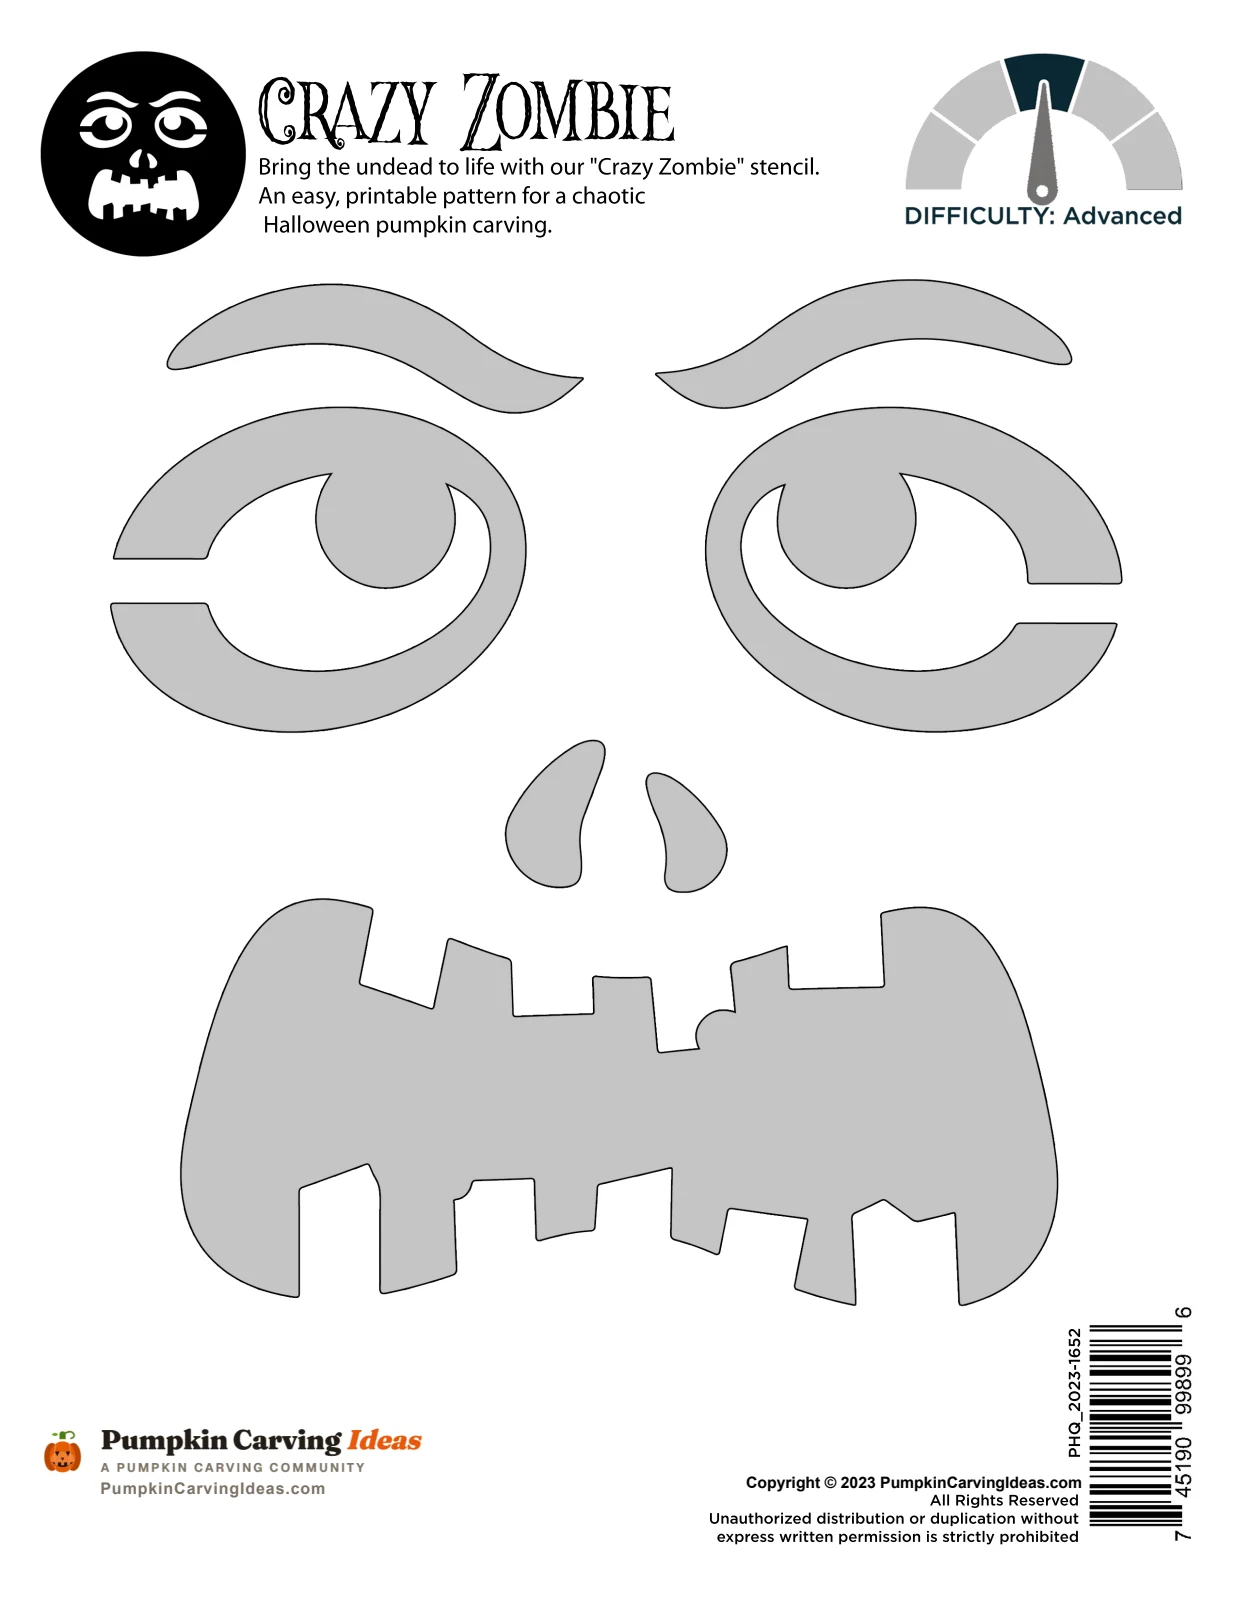
Carving guide
How to carve a zombie pumpkin stencil
Zombies are built from asymmetry. Cut one eye bigger than the other, drop the jaw lower on one side, and let the mouth edges be ragged. Torn skin is scraped in rough patches, not cut. For reaching hands, cut the fingers as tapering slits and leave the palm solid so the hand does not collapse.
Zombie hand pumpkins look great half-buried in the garden bed, as if crawling out. A row of them along the fence makes a mini horde.
Questions
Zombie stencil questions
How do I make the zombie skin look torn?+
Use a spoon or a rough gouge to scrape irregular patches, then cut through the middle of a couple of them so the light leaks out unevenly. The messier the edges, the better.
Are zombie stencils forgiving for beginners?+
Very. Because the design is meant to look ragged, uneven cuts and slips do not show. Pick a single face rather than a full scene for a first try.
How long do zombie pumpkin stencils take to carve?+
Check the individual stencil's carving guide for its time estimate. Preparation, pumpkin size, wall thickness and your experience affect the total; difficulty alone does not determine carving time.
Which zombie pumpkin stencils are the easiest?+
2 of the 10 are easy, 4 of the 10 are hard, 4 of the 10 are expert. Compare the difficulty labels and carving guides to choose a design.