Halloween Pumpkin Carving Contest · Starts October 1st · $500 in prizes
← Back to ideas
@ai_concepts
Aug 19, 2026
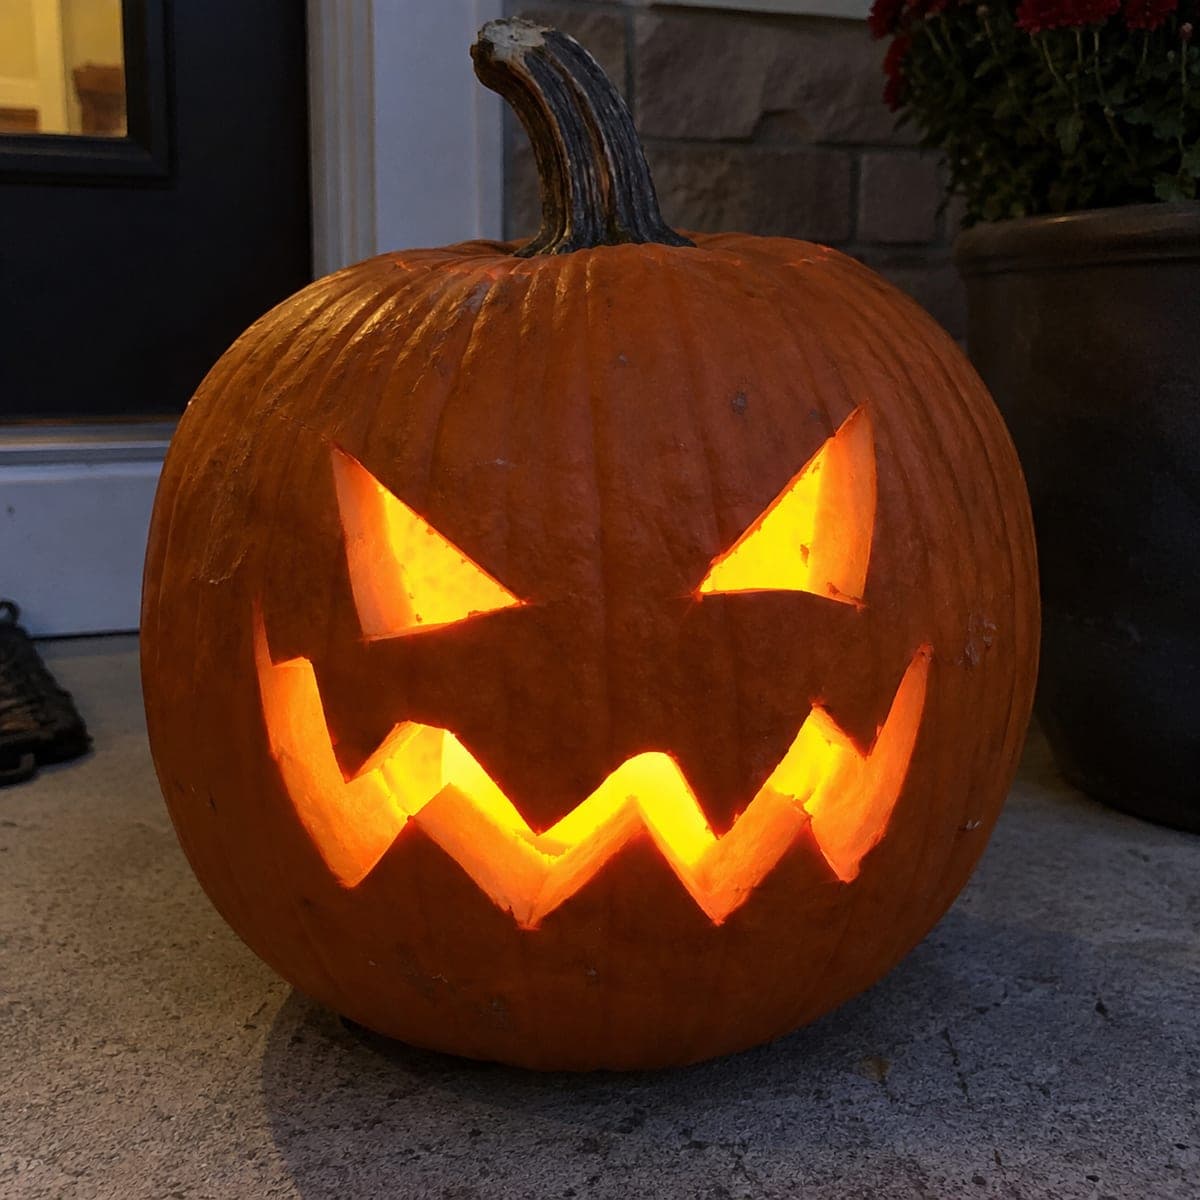
Angry Zigzag Smile Classic Jack-O-LanternAI
0

Angry Zigzag Smile Classic Jack-O-Lantern

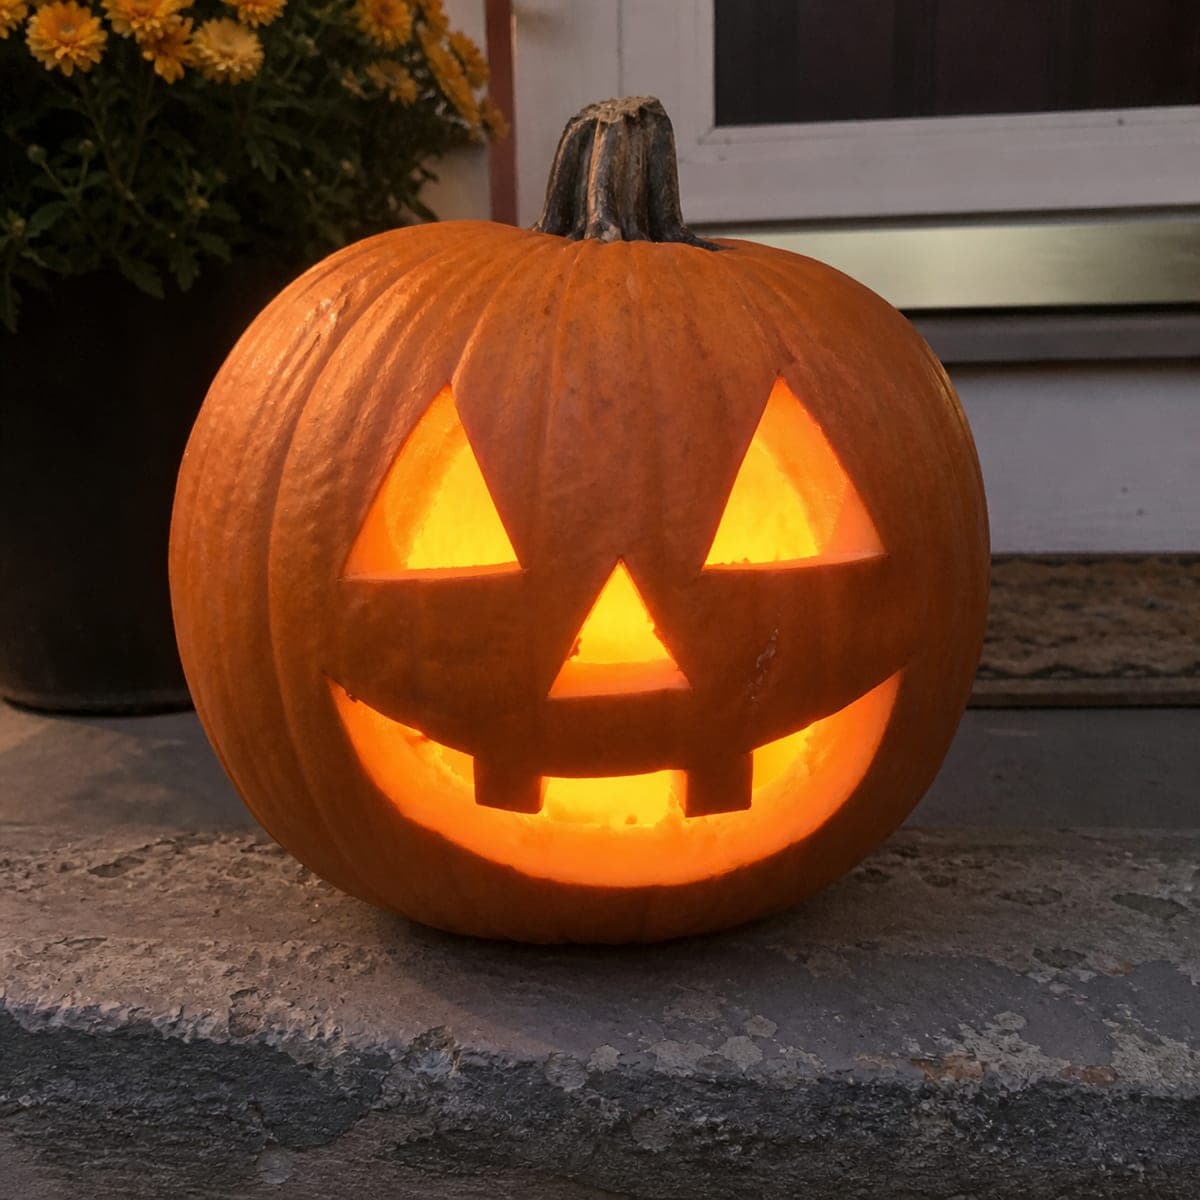
Angled triangular eyes and a bold zigzag mouth packed with sharp teeth give this Jack-O-Lantern a menacing, energetic snarl. It is a classic pumpkin carving idea that beginners can complete in under 30 minutes using only a standard pumpkin carving kit. Cut the zigzag teeth by making alternating angled cuts along a horizontal line, and angle the eye triangles inward to maximize the angry expression. The design glows dramatically at night and looks equally striking from a distance on a front porch.

This is an AI-generated concept image: a realistic, carvable design idea rather than a photo of a finished carve. AI concepts are always labeled and sit out the leaderboard and the contest.

No ratings yet · Sign in to rate
Comments (0)

  • No comments yet — be the first.

Save without an account. Sign in to like or comment.

Our tips for carving a similar design

The whole personality here comes from angles. Inward-tilting triangular eyes read as an angry glare, and a single horizontal line broken into alternating up-and-down cuts becomes a mouth full of sharp zigzag teeth. Plan the mouth as one continuous band so the light pours out in a bold, connected shape.

Written by PumpkinCarvingIdeas.com, inspired by the image above. These are our suggestions, not instructions from the uploader. This approach to the AI concept has not been tested on a real pumpkin.

From pumpkin to porch

  1. Prep the pumpkin and lid

    Pick a round pumpkin with a smooth, flat-ish front face for the design. Have an adult cut a lid around the stem at an angle so it rests back in place without falling in, or cut a hole in the base instead for easier LED access. Scoop out the seeds and pulp, then thin the inside of the front wall to about one inch. A thinner wall makes the cuts much easier and lets more light through.

  2. Draw the face

    With a washable marker, sketch two triangular eyes that point inward and downward toward the center for the angry look. Draw the mouth as one long horizontal band, then mark a zigzag line along the top and bottom edges so the teeth alternate. Keep the zigzag points from meeting completely so the teeth stay connected and the mouth reads as one opening. Step back and check the expression before you cut.

  3. Poke the guide holes

    Use a poking tool or a thin skewer to dot along your marker lines. This transfers the design and gives your saw a track to follow. Space the dots close together on the tight zigzag corners so the angles stay crisp. Poking first also lets you erase any smudged marker afterward.

  4. Cut the eyes

    Start with the smaller shapes. Using a fine carving saw, cut each triangular eye with steady, gentle strokes, letting the saw do the work rather than forcing it. Cut the inner, lower point last so the piece stays supported until the end. Push each cutout inward and out to remove it cleanly.

  5. Cut the zigzag mouth

    Carve the mouth as one connected band rather than separate teeth. Follow your zigzag line with slow, deliberate cuts, changing your blade angle at each point of the zig. Cut the widest, most open sections last so the surrounding shape stays strong while you work. Clean up the tooth points from the front for sharp edges.

  6. Light it and photograph

    Drop in a battery LED tea light or a small puck light, never a candle. Set the pumpkin on a porch step at dusk and check that the mouth glows evenly. If one area looks dim, scrape a little more from the inside wall behind it. Snap your photo in low light so the zigzag grin really pops.

Gather your supplies

Check things off as you get ready.

Work on a stable surface, keep your free hand out of the cutting path, and have an adult handle sharp tools.

Three levels of light

  • Leave intact

    The outer skin across the whole face stays orange and dark, framing the glare.

  • Peel & shade

    Scrape a thin halo of skin just around the eyes and mouth if you want a soft glow ring around the cuts.

  • Cut through

    The triangular eyes and the full zigzag mouth cut all the way through for the brightest light.

Learn the carving basics

Before you start cutting

How do I keep the zigzag teeth from breaking off?

Treat the mouth as one long connected opening instead of many separate triangles. Do not let the top and bottom zigzag points touch, so each tooth stays anchored to the pumpkin above and below. Cutting the widest gaps last keeps the surrounding shell strong while you work.

What angle should the eyes be for the angry look?

Tilt each triangle so its inner point drops down toward the nose area, like a lowered brow. The steeper the inward tilt, the angrier the face reads. Keep both eyes symmetrical by measuring from the center line before you cut.

This is a concept image, so what pumpkin works best in real life?

Choose a medium round pumpkin with a smooth front panel and a wall you can thin to about an inch. A flatter face gives the zigzag mouth a clean, continuous line. Avoid deeply ribbed pumpkins, since the grooves can throw off the straight mouth band.

Your take belongs here, too.

Changed a detail? Made it simpler? Share a photo of your version and tell the community what worked.

Share your pumpkin

More pumpkins like this

You've reached the end · 8 pumpkins
The Patch Report

Fresh pumpkins, in your inbox.

The best new carvings, ideas worth stealing, and how-tos for carving season. Short, seasonal, and gone by November.

A short email during carving season. Unsubscribe anytime. See our privacy policy.