Halloween Pumpkin Carving Contest · Starts October 1st · $500 in prizes
← Back to ideas
@ai_concepts
Sep 14, 2026

Small Angry Zigzag-Mouth PumpkinAI
0

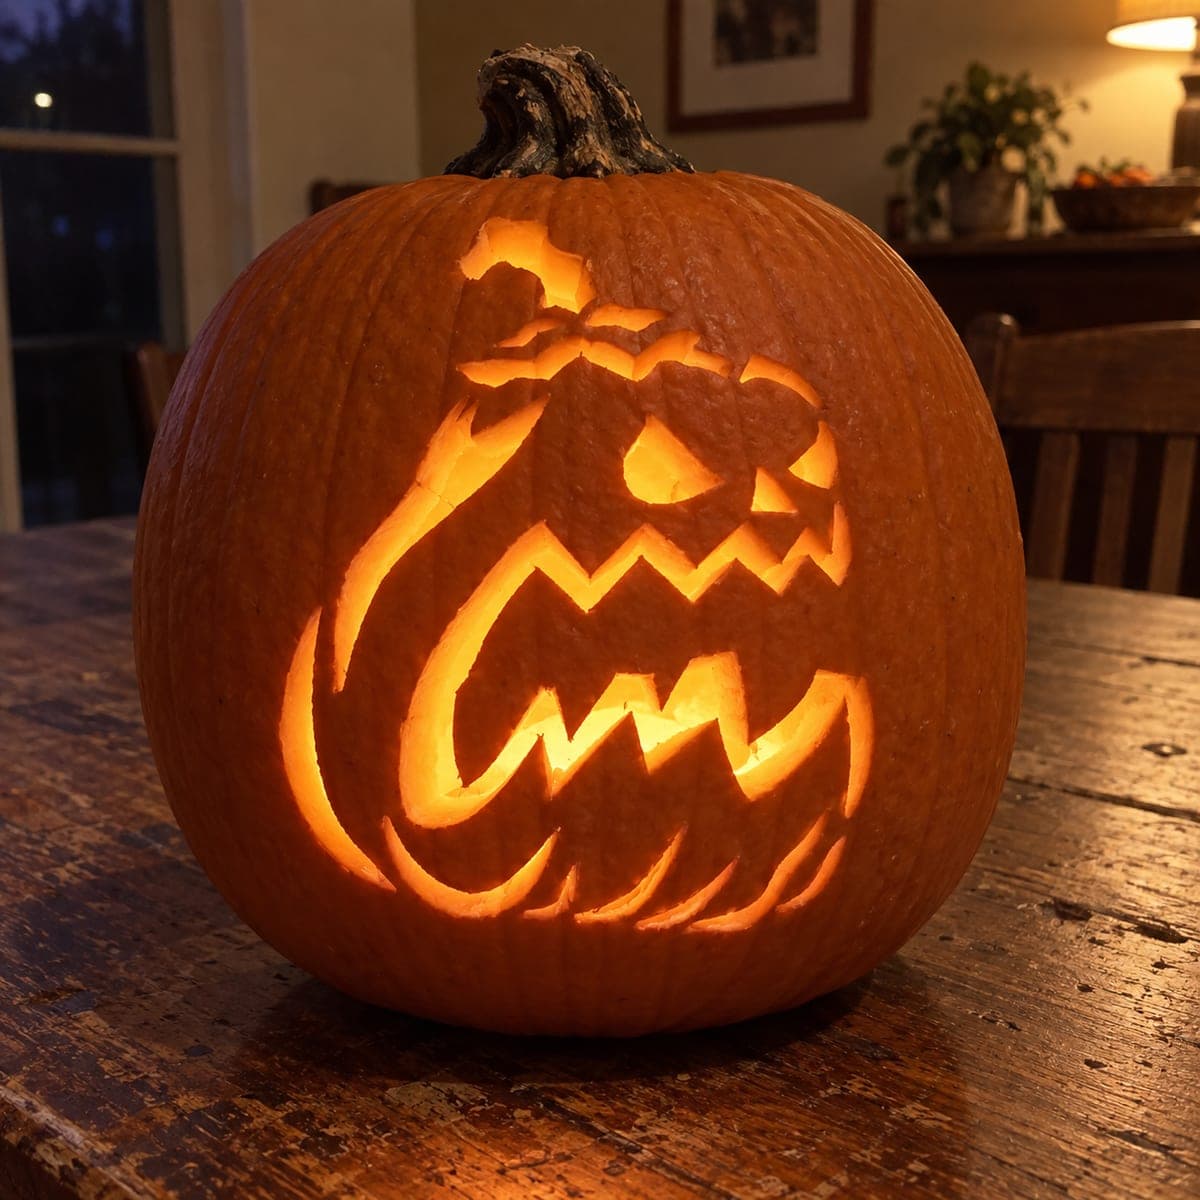
Small Angry Zigzag-Mouth Pumpkin

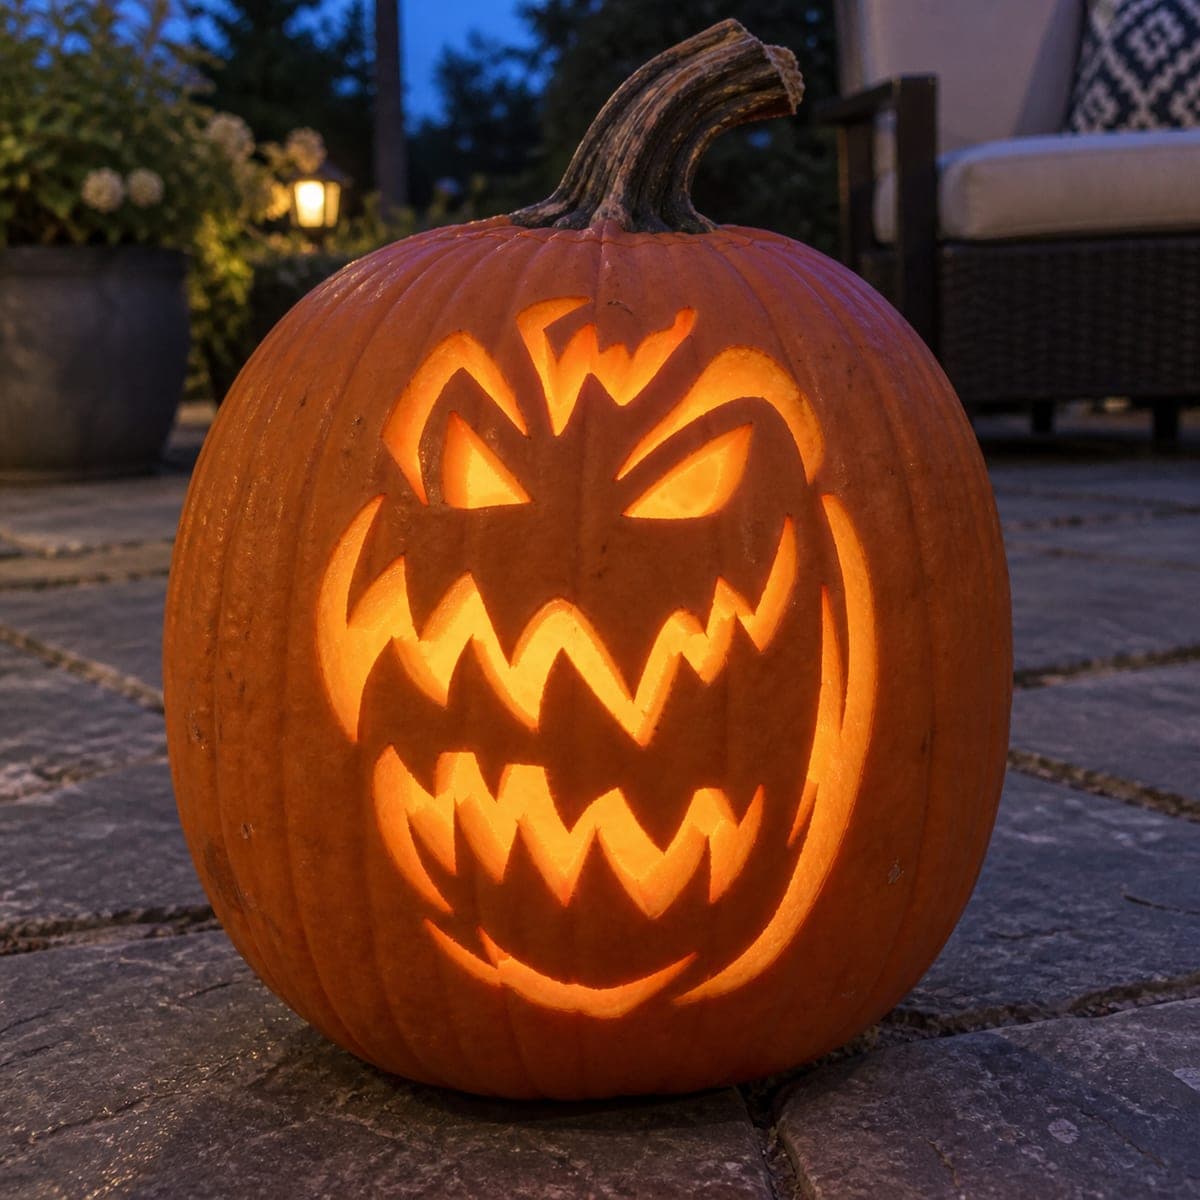
Two narrow, steeply slanted eyes and a single tall rectangular nose slit sit above a compact jagged mouth of sharp interlocking peaks, giving this jack-o-lantern a scowling, confrontational look. The small overall size of the cuts makes this a quick pumpkin carving project that glows intensely. Because the zigzag mouth teeth are mirror-imaged top and bottom, draw them with a ruler before cutting so the points interlock evenly and none of the narrow tips break away. Display on a dark porch where the tight, bright cuts pop against the unlit orange skin.

This is an AI-generated concept image: a realistic, carvable design idea rather than a photo of a finished carve. AI concepts are always labeled and sit out the leaderboard and the contest.

No ratings yet · Sign in to rate
Comments (0)

  • No comments yet — be the first.

Save without an account. Sign in to like or comment.

Our tips for carving a similar design

The whole look rides on one trick: the zigzag mouth has mirror-imaged peaks top and bottom that interlock like teeth, so they must be measured with a ruler before any blade touches the pumpkin. Keep every cut small and clean, because on this design the tight openings are what make the light punch through against the dark skin. Draw all four features first, check the symmetry, then carve.

Written by PumpkinCarvingIdeas.com, inspired by the image above. These are our suggestions, not instructions from the uploader. This approach to the AI concept has not been tested on a real pumpkin.

From pumpkin to porch

  1. Pick and prep the pumpkin

    Choose a small, evenly round pumpkin with a smooth front panel and no soft spots. Cut a lid from the bottom or the back rather than the top so the stem stays intact and the pumpkin sits flat. Scoop out the insides and scrape the inside wall of the carving side down to about one inch thick. A thinner wall makes the narrow cuts far easier and lets more light escape.

  2. Draw the face with a ruler

    Sketch two narrow, steeply slanted eyes angled down toward the nose, then a single tall rectangular nose slit centered below them. For the mouth, use a ruler to mark evenly spaced points along a top line and a matching set on a bottom line so the peaks interlock. Take your time here, because balanced spacing is what keeps the tips from looking lopsided or breaking. Step back and check the scowl reads well before you cut.

  3. Carve the eyes and nose first

    Start with the two eyes using a small carving saw or detail blade, cutting slowly along your lines. Do the nose slit next while the pumpkin is still solid and strong. Always push the blade away from your free hand and let an adult handle the sharp tools. Getting these smaller cuts done first keeps the front panel stable for the trickier mouth.

  4. Cut the zigzag mouth carefully

    Work one triangle at a time, carving from the inner point of each peak outward so you do not stress the thin tips. Keep the blade angled straight through the wall for crisp edges. Leave the sharpest points for last and support the surrounding shell with your fingers as you finish each cut. If a tip feels fragile, trim it slightly blunter rather than risk snapping it off.

  5. Clean up and light it

    Gently push each piece out from the inside and trim any ragged edges with a paring knife. Wipe the cut edges and rub a little petroleum jelly on them to slow drying. Set a battery LED tealight or puck light inside, never a real candle, since the tight cuts and thin wall dry out fast. A warm-white LED gives that intense orange glow.

  6. Stage it on a dark surface

    Place the pumpkin on a dark porch, table, or ledge where there is little competing light. The unlit orange skin should stay in shadow so the bright cuts snap forward. Shoot your photo at dusk or full dark with the LED as the only nearby light source. Angle the camera slightly below the face to emphasize the confrontational stare.

Gather your supplies

Check things off as you get ready.

Work on a stable surface, keep your free hand out of the cutting path, and have an adult handle sharp tools.

Three levels of light

  • Leave intact

    The broad orange cheeks and forehead stay untouched so the face floats on darkness.

  • Peel & shade

    Optional shallow scraping just around the eyes or brow can add a faint dim halo if you want a little glow bleed.

  • Cut through

    The slanted eyes, rectangular nose slit, and jagged mouth are cut fully through for the brightest, sharpest light.

Learn the carving basics

Before you start cutting

How do I keep the narrow mouth tips from breaking off?

Measure the peaks with a ruler so they are evenly spaced and not too tall, then carve each triangle from the inner point outward. Support the shell with your free hand as you finish. If a tip still feels weak, blunt it slightly rather than pushing for a needle-fine point.

This is an AI concept image, so can a real pumpkin look like this?

Yes, the design is fully carvable on a real pumpkin. Keep the wall thinned to about an inch and keep the zigzag peaks modest in height so the tips stay structurally sound. The eyes and nose are simple shapes that hold up well.

What light should I use for that intense glow?

Use a battery LED tealight or a small puck light, ideally warm white for a fiery orange tone. Skip real candles, because the tight cuts and thin wall dry quickly and a flame is a fire risk. An LED also lets you leave the pumpkin lit safely for hours.

Your take belongs here, too.

Changed a detail? Made it simpler? Share a photo of your version and tell the community what worked.

Share your pumpkin

More pumpkins like this

You've reached the end · 8 pumpkins
The Patch Report

Fresh pumpkins, in your inbox.

The best new carvings, ideas worth stealing, and how-tos for carving season. Short, seasonal, and gone by November.

A short email during carving season. Unsubscribe anytime. See our privacy policy.