Halloween Pumpkin Carving Contest · Starts October 1st · $500 in prizes
← Back to ideas
@ai_concepts
Sep 14, 2026
Narrow-Eyed Crescent Grin PumpkinAI
0

Narrow-Eyed Crescent Grin Pumpkin

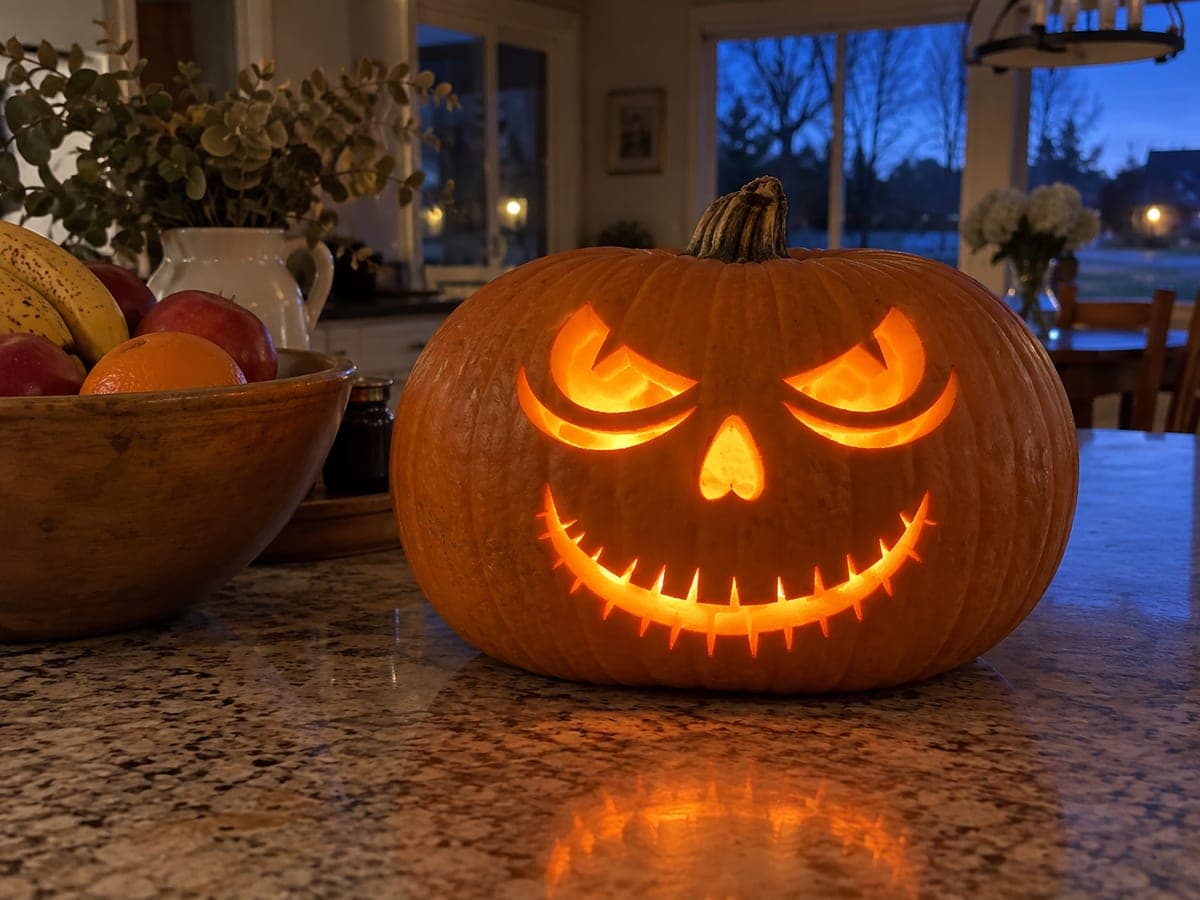
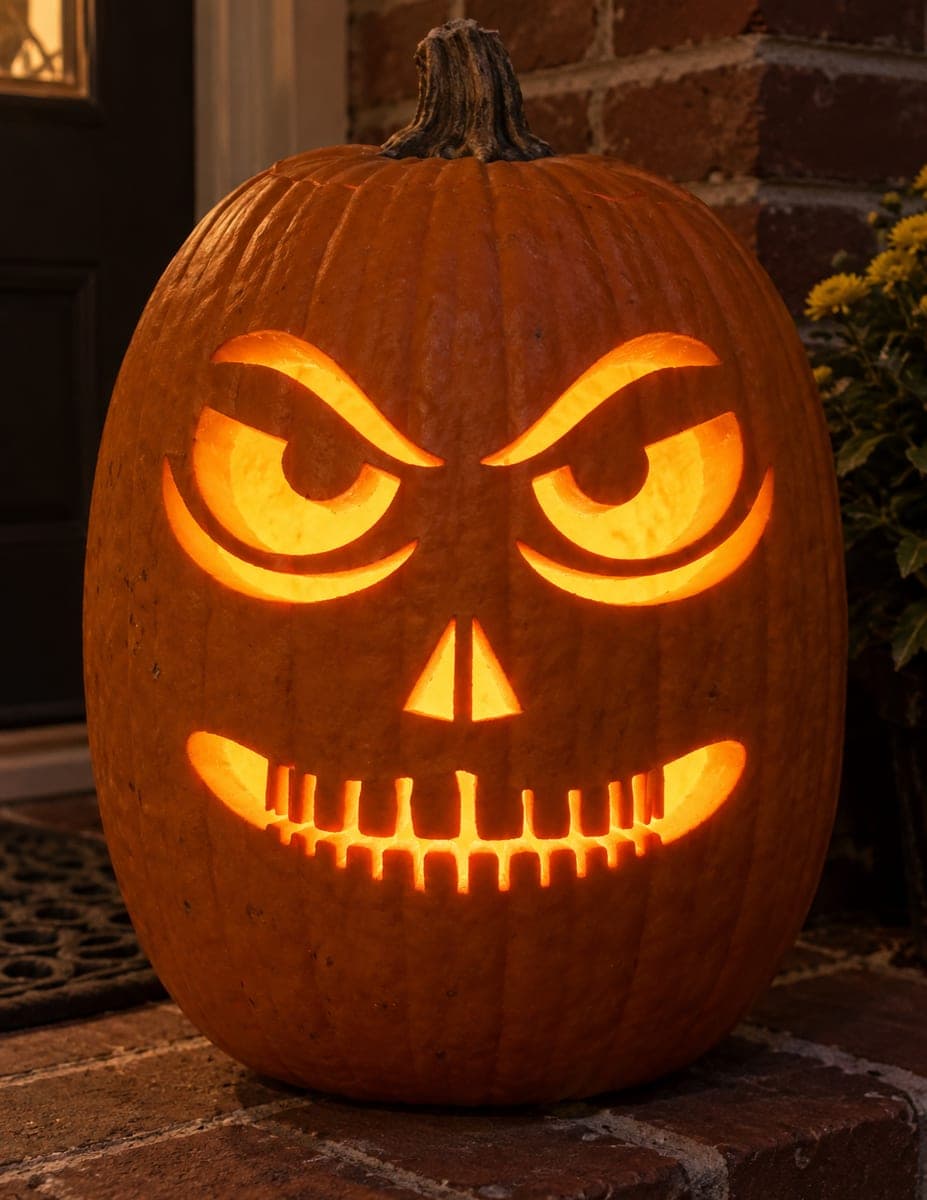
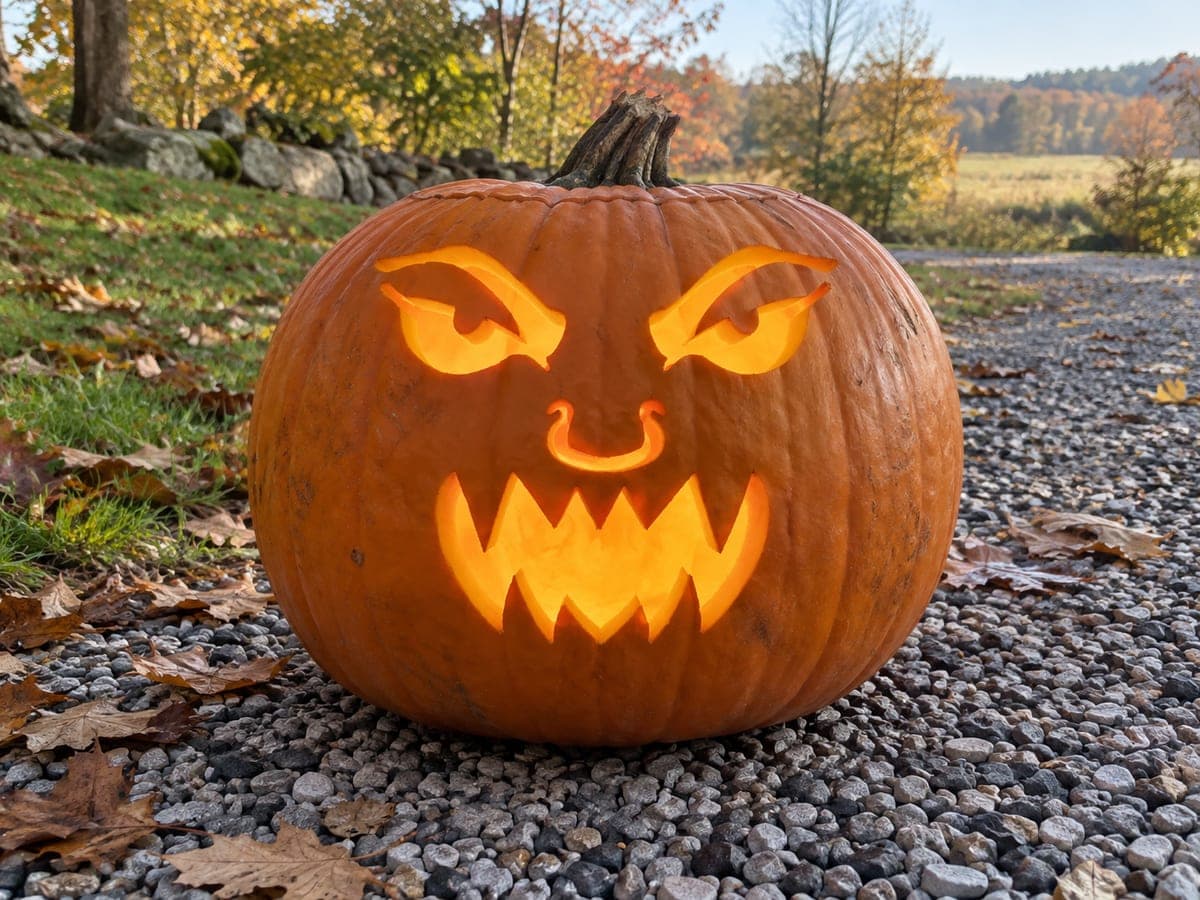
Deep, arching eyelids that curve down nearly to the eyeball opening give this jack-o-lantern a perpetually half-closed, sinister expression, paired with a low crescent mouth lined with sharply pointed little teeth. The heavy upper-lid overhangs are the design feature that makes this pumpkin carving idea distinctive. Cut the lid shapes before opening the eye holes beneath them, working carefully along the curved underside so the remaining skin strip stays at least three-eighths of an inch thick. Angling the pumpkin slightly downward on its display surface lets the hooded lids catch more shadow, deepening the brooding expression.

This is an AI-generated concept image: a realistic, carvable design idea rather than a photo of a finished carve. AI concepts are always labeled and sit out the leaderboard and the contest.
No ratings yet · Sign in to rate

Comments (0)

  • No comments yet — be the first.

Save without an account. Sign in to like or comment.

Our tips for carving a similar design

The whole personality of this design comes from the heavy upper eyelids that arch down over narrow eye openings, giving a permanently half-closed, sinister stare. You get that look by cutting the curved lid overhang first and then opening the eye slit beneath it, leaving a thin strip of skin as the drooping lid. The rest is a simple heart nose and a low crescent mouth lined with small pointed teeth, all lit warm from within.

Written by PumpkinCarvingIdeas.com, inspired by the image above. These are our suggestions, not instructions from the uploader. This approach to the AI concept has not been tested on a real pumpkin.

From pumpkin to porch

  1. Pick the pumpkin and plan the light angle

    Choose a wide, slightly squat pumpkin so the low crescent grin has room to spread across the belly. Wipe the front smooth and hold your stencil against it to check the eyes sit high and the mouth curves low. Because the hooded lids read best in shadow, plan to tilt the finished pumpkin a little forward on its display spot. Mark the front-facing side before you cut anything.

  2. Open the lid and clean out the guts

    Cut a lid from the bottom or the back rather than the top so the stem stays intact as a display feature. An adult should handle the knife here, sawing at a slight inward angle so the plug does not fall through. Scoop the pulp and scrape the inside of the carving wall down to about one inch thick. A thinner wall makes the narrow eyes and thin lid strips far easier to cut cleanly.

  3. Transfer the face pattern

    Tape your stencil flat over the front and poke the outlines with a pin or a transfer wheel, following the arch of each eyelid, the heart nose, and every tooth point. Take extra care marking the curved underside of each lid, since that line is what defines the hooded look. Peel the paper and connect any faint dots with a washable marker. Double-check that both eyes match before making a single cut.

  4. Carve the eyelids first, then the eyes

    This is the key move. Cut the arching upper lid shape first, working slowly along the curved underside, and keep the remaining skin strip that forms the lid at least three-eighths of an inch thick so it does not tear or sag. Only after both lids are shaped should you open the narrow eye holes beneath them. Cutting in this order protects the delicate overhang and gives you that half-closed, brooding stare.

  5. Cut the nose, then the toothy grin

    Poke out the small heart-shaped nose next. For the mouth, cut the long low crescent as one clean sweep, then carve the little pointed teeth as short triangles biting into the opening from top and bottom. Leave a bit of skin between each tooth so none of them snap off. Save this big mouth opening for near the end, since it is the largest cut and weakens the front wall.

  6. Light it, tilt it, and photograph

    Drop in a battery LED, never an open flame, so the thin lid strips stay safe from heat. Set the pumpkin on its display surface angled slightly forward so the hooded lids catch shadow and deepen the sinister look. Dim the room and shoot from just below eye level to make the grin glow. Rub a little petroleum jelly on cut edges to slow drying if you want it to last.

Gather your supplies

Check things off as you get ready.

Work on a stable surface, keep your free hand out of the cutting path, and have an adult handle sharp tools.

Three levels of light

  • Leave intact

    The full outer face and the heavy upper eyelid overhangs stay as untouched dark skin so the hooded shadow reads.

  • Peel & shade

    The curved underside of each lid can be skin-peeled for a faint dim glow that softens the transition into the eye.

  • Cut through

    The narrow eye slits, the heart nose, and the toothy crescent mouth are cut fully through for the brightest light.

Learn the carving basics

Before you start cutting

How do I keep the thin eyelid strip from tearing or drooping?

Scrape the carving wall thinner behind the eyes, down toward one inch, so your blade moves easily. Keep the lid strip itself at least three-eighths of an inch thick and cut its curved underside in slow, short strokes. Carving the lid shape before opening the eye beneath it keeps support in place while you work.

Why cut the eyelids before the eye holes?

The overhanging lid is the signature of this face, and it is fragile once the eye is open. By shaping the lid first, you still have solid pumpkin behind it for stability. Opening the narrow eye slit last means you never stress an unsupported thin strip.

How do I get the brooding, half-closed expression to show up?

Angle the finished pumpkin slightly forward on its display surface so the hooded lids fall into shadow. Light it from inside with an LED and view it from slightly below. That downward tilt plus the deep lid overhang is what sells the sinister, half-asleep glare.

Your take belongs here, too.

Changed a detail? Made it simpler? Share a photo of your version and tell the community what worked.

Share your pumpkin

More pumpkins like this

You've reached the end · 8 pumpkins
The Patch Report

Fresh pumpkins, in your inbox.

The best new carvings, ideas worth stealing, and how-tos for carving season. Short, seasonal, and gone by November.

A short email during carving season. Unsubscribe anytime. See our privacy policy.