Halloween Pumpkin Carving Contest · Starts October 1st · $500 in prizes
← Back to ideas
@ai_concepts
Sep 14, 2026
Round-Eyed Dripping Smile PumpkinAI
0

Round-Eyed Dripping Smile Pumpkin

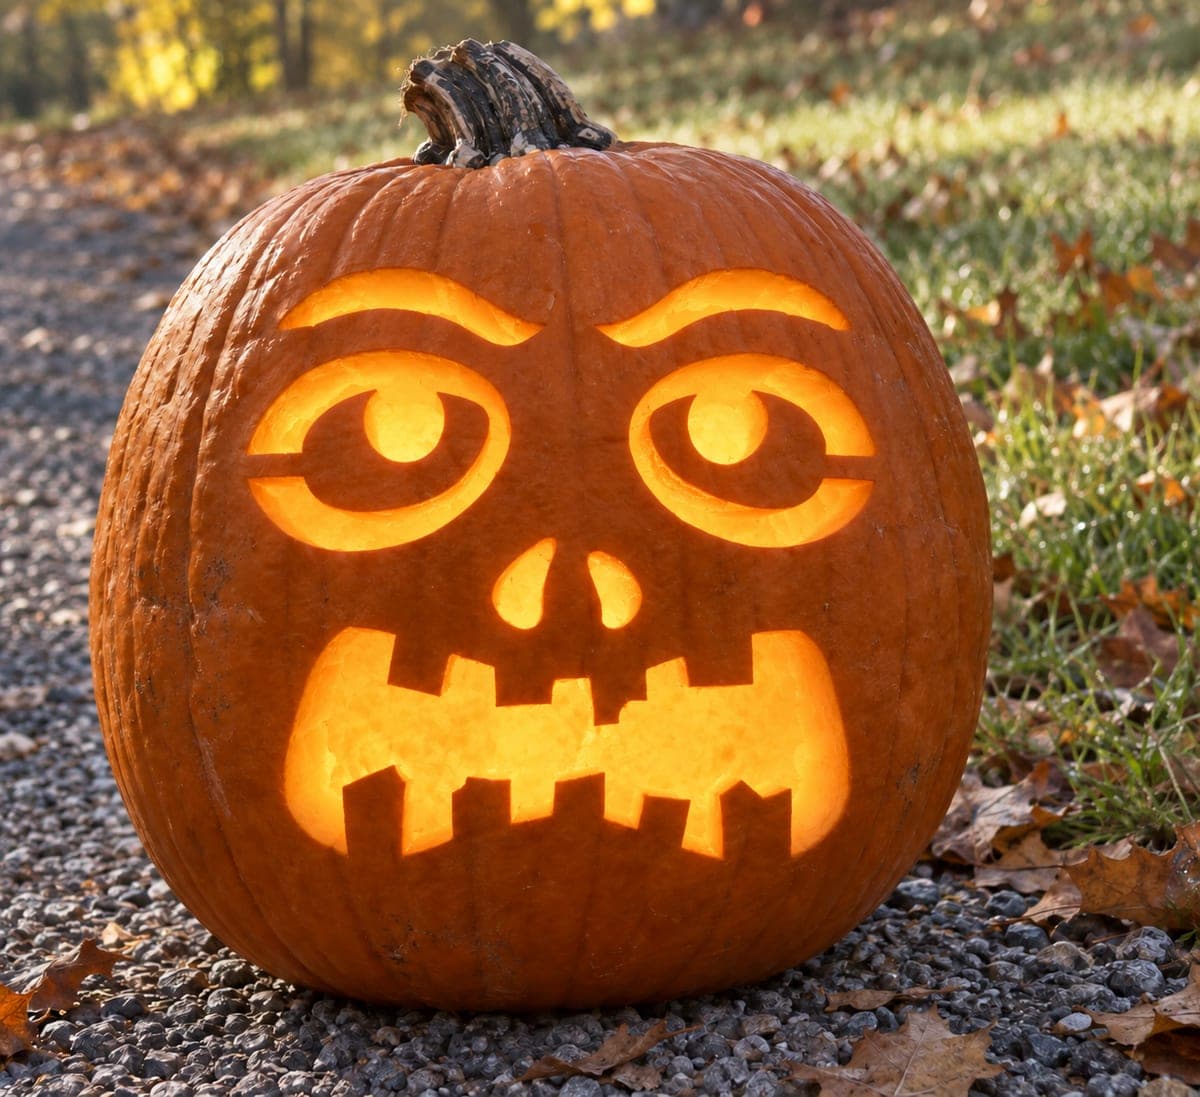
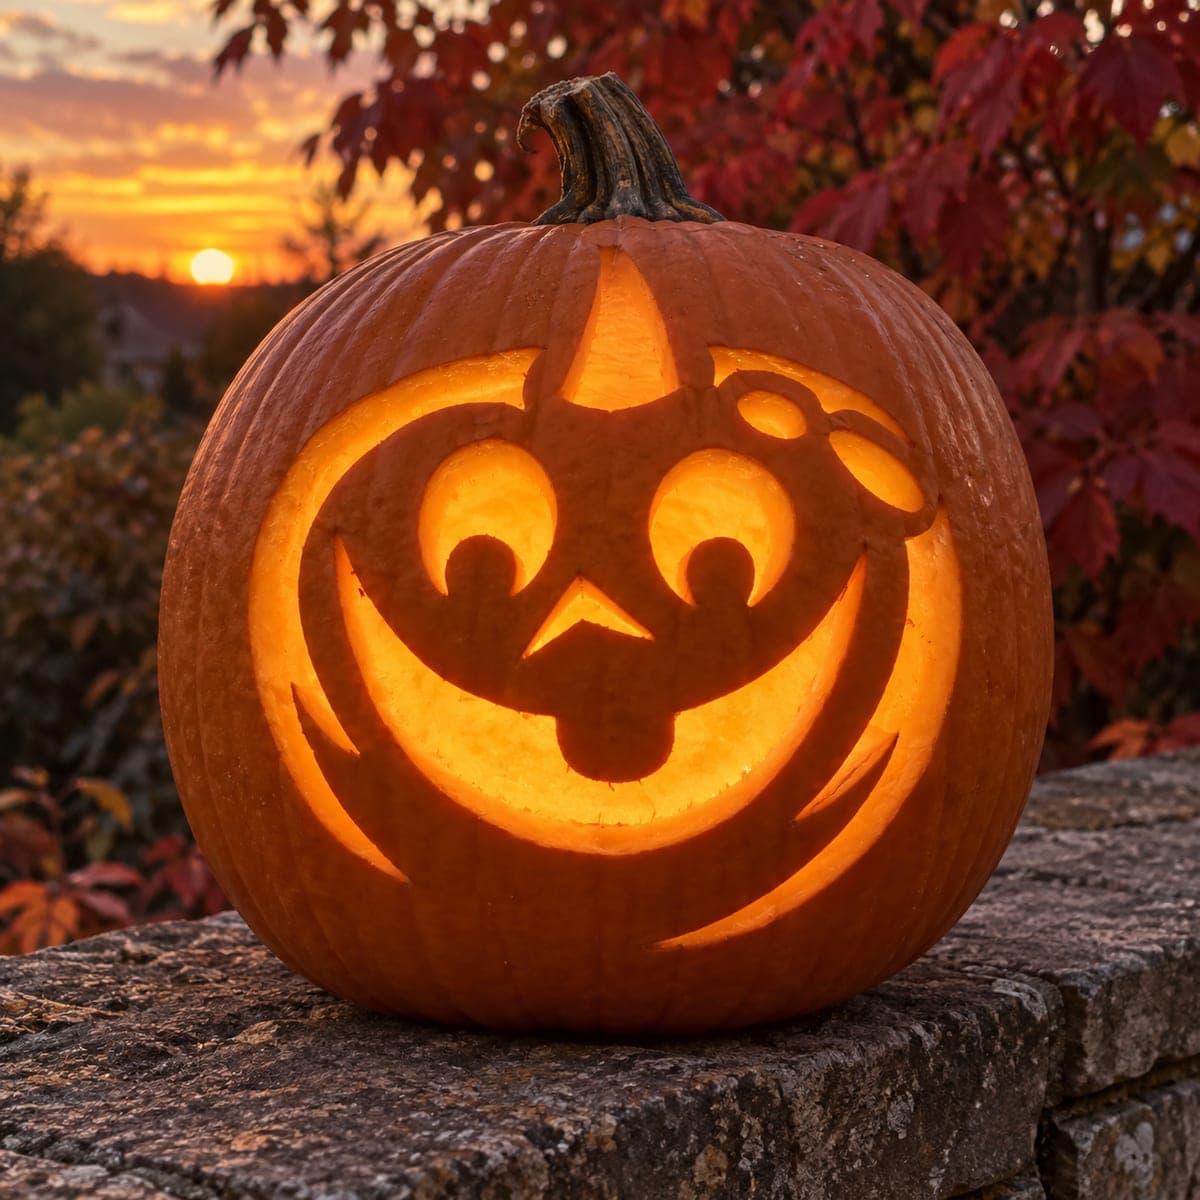
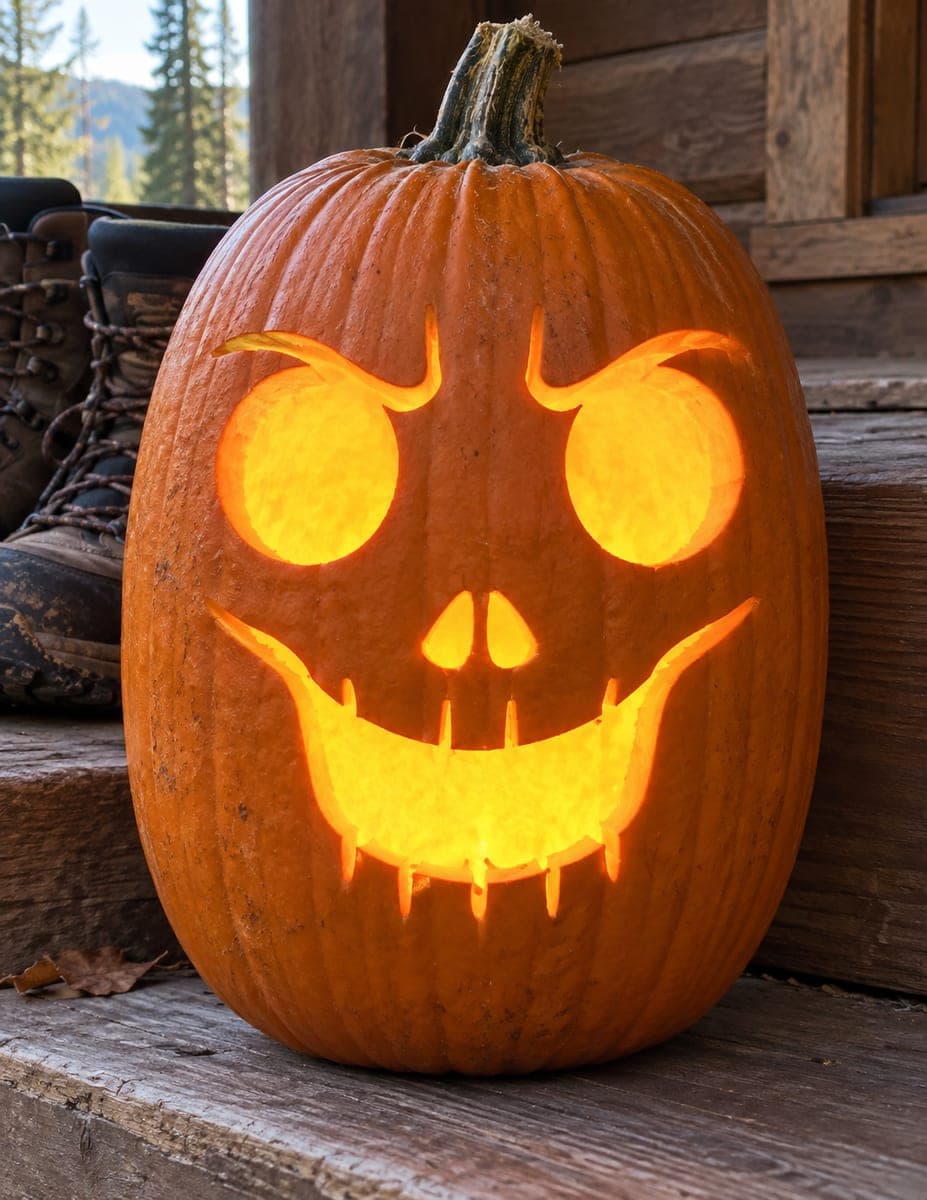
Two large round eyes each have a preserved skin pupil sitting inside the bright circular opening, and a wide slightly curved grin lined with short rectangular teeth completes this jack-o-lantern face. The design reads as playful and friendly despite the size of the grin. Carve the inner pupils before removing the surrounding eye area so you have full control over their position; even a small shift left or right changes the expression noticeably. Keeping the tooth separations narrow rather than wide gives the smile a neater, more finished appearance.

This is an AI-generated concept image: a realistic, carvable design idea rather than a photo of a finished carve. AI concepts are always labeled and sit out the leaderboard and the contest.

No ratings yet · Sign in to rate

Comments (0)

  • No comments yet — be the first.

Save without an account. Sign in to like or comment.

Our tips for carving a similar design

The core trick here is the floating pupil: a small disc of skin left standing inside each big round eye opening so the light frames it. This is an AI concept image, so no real pumpkin exists, but you could build the same face by cutting the two circular eyes with a bridge of shell holding each pupil in place, then carving the wide grin with narrow gaps between short rectangular teeth. Plan the eyes and mouth on paper first, since a small shift in a pupil changes the whole expression.

Written by PumpkinCarvingIdeas.com, inspired by the image above. These are our suggestions, not instructions from the uploader. This approach to the AI concept has not been tested on a real pumpkin.

From pumpkin to porch

  1. Prep the pumpkin and plan the face

    Pick a tall, evenly shaped pumpkin and wipe the surface clean. Cut a lid from the bottom instead of the top so the shell stays strong, then scoop the walls to about one inch thick where the face will go. Sketch or trace your two round eyes, the angled brows, the small nose, and the wide grin with a washable marker. Step back and check that the pupils sit centered before you cut anything.

  2. Score the outlines

    Using a small detail saw, lightly score along every marked line without cutting all the way through. This gives you a clean guide and lets you fix any wobble before it becomes permanent. Take extra care outlining the two pupils, since these small circles are the heart of the design. Keep the tooth separation lines short and narrow so the smile reads neat rather than gappy.

  3. Carve the pupils first

    Before you remove the surrounding eye area, decide how you want the pupils positioned and cut around each one so it stands as a raised disc of skin. Leave a thin bridge of shell connecting each pupil to the eye edge so it stays supported and cannot fall inward. Working the pupils first, as the caption suggests, gives you full control over the expression. A shift of even a quarter inch left or right changes a friendly stare into a surprised or angry one.

  4. Open the round eyes

    Now cut out the bright ring of the eye opening around each pupil, leaving that supporting bridge intact. Take your time keeping the circles smooth, since round shapes show every bump. Then cut the two angled brow slivers above the eyes to give the face its expression. These thin brow cuts are delicate, so make slow, controlled strokes.

  5. Cut the grin and teeth last

    Save the largest opening, the wide grin, for last so the shell stays rigid while you do the finer work. Cut the outer mouth curve first, then remove the gaps between the short rectangular teeth one at a time. Keep the tooth separations narrow for a cleaner, more finished smile. Cut the little nose openings and clean up all edges with a fine tool.

  6. Light it and photograph

    Drop in a battery LED light rather than a candle so the floating pupils and thin brows stay safe from heat. Set the pumpkin on a porch step at dusk and check that light fills the round eyes evenly around each pupil. Rub a little petroleum jelly on the cut edges to slow drying. Snap your photo while the glow is warmest against the evening light.

Gather your supplies

Check things off as you get ready.

Work on a stable surface, keep your free hand out of the cutting path, and have an adult handle sharp tools.

Three levels of light

  • Leave intact

    The pumpkin's outer skin across the cheeks and forehead stays dark.

  • Peel & shade

    The two raised pupil discs can be skin-thinned so they glow a soft dim orange inside the bright eyes.

  • Cut through

    The full round eye rings, the brows, the nose, and the toothy grin are cut through for the brightest light.

Learn the carving basics

Before you start cutting

How do I keep the floating pupils from falling out?

Leave a thin bridge of shell connecting each pupil to the edge of the eye opening, ideally at the top or side where it is least visible. Do not cut the pupil free on all sides. A single supporting bridge holds it steady while still letting light frame it.

Why carve the pupils before the eye openings?

Cutting the pupils first lets you set their exact position while the surrounding shell is still solid and easy to work. Once the big eye area is open, there is nothing left to hold or adjust the pupil. Even a small shift left or right changes the expression, so having full control early matters.

How wide should the gaps between the teeth be?

Keep the separations narrow, just enough to read as individual teeth. Wide gaps make the grin look ragged, while thin gaps give it a neater, more finished appearance. Cut them one at a time and check the balance as you go.

Your take belongs here, too.

Changed a detail? Made it simpler? Share a photo of your version and tell the community what worked.

Share your pumpkin

More pumpkins like this

You've reached the end · 8 pumpkins
The Patch Report

Fresh pumpkins, in your inbox.

The best new carvings, ideas worth stealing, and how-tos for carving season. Short, seasonal, and gone by November.

A short email during carving season. Unsubscribe anytime. See our privacy policy.