Halloween Pumpkin Carving Contest · Starts October 1st · $500 in prizes
← Back to ideas
@ai_concepts
Jul 19, 2026
Beagle Face Painted No-Carve Pumpkin for Dog LoversAI
0

Beagle Face Painted No-Carve Pumpkin for Dog Lovers

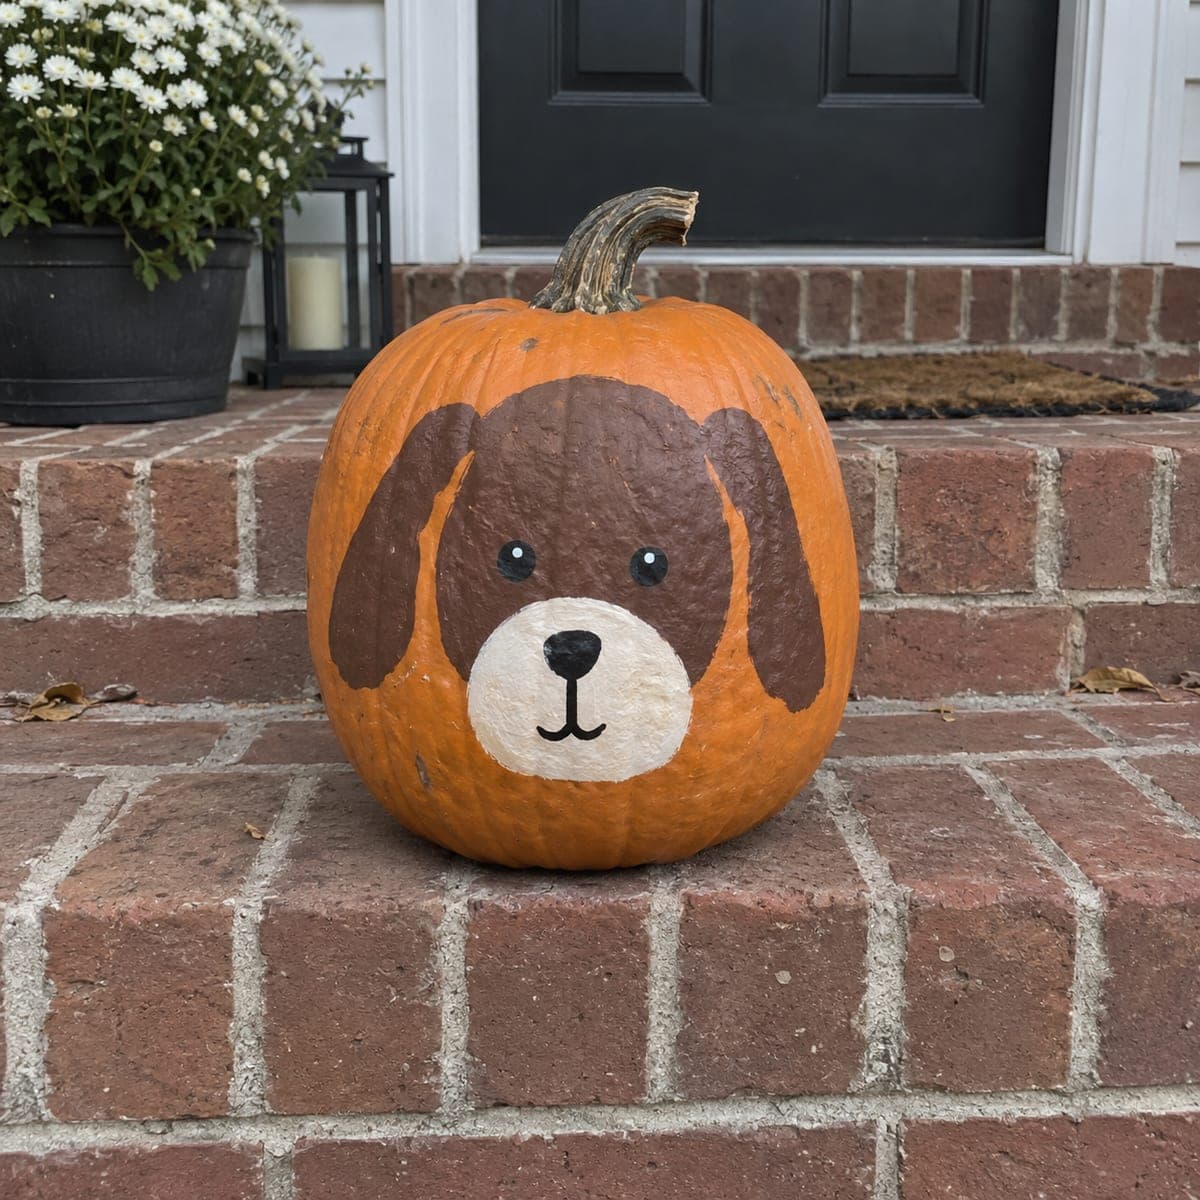
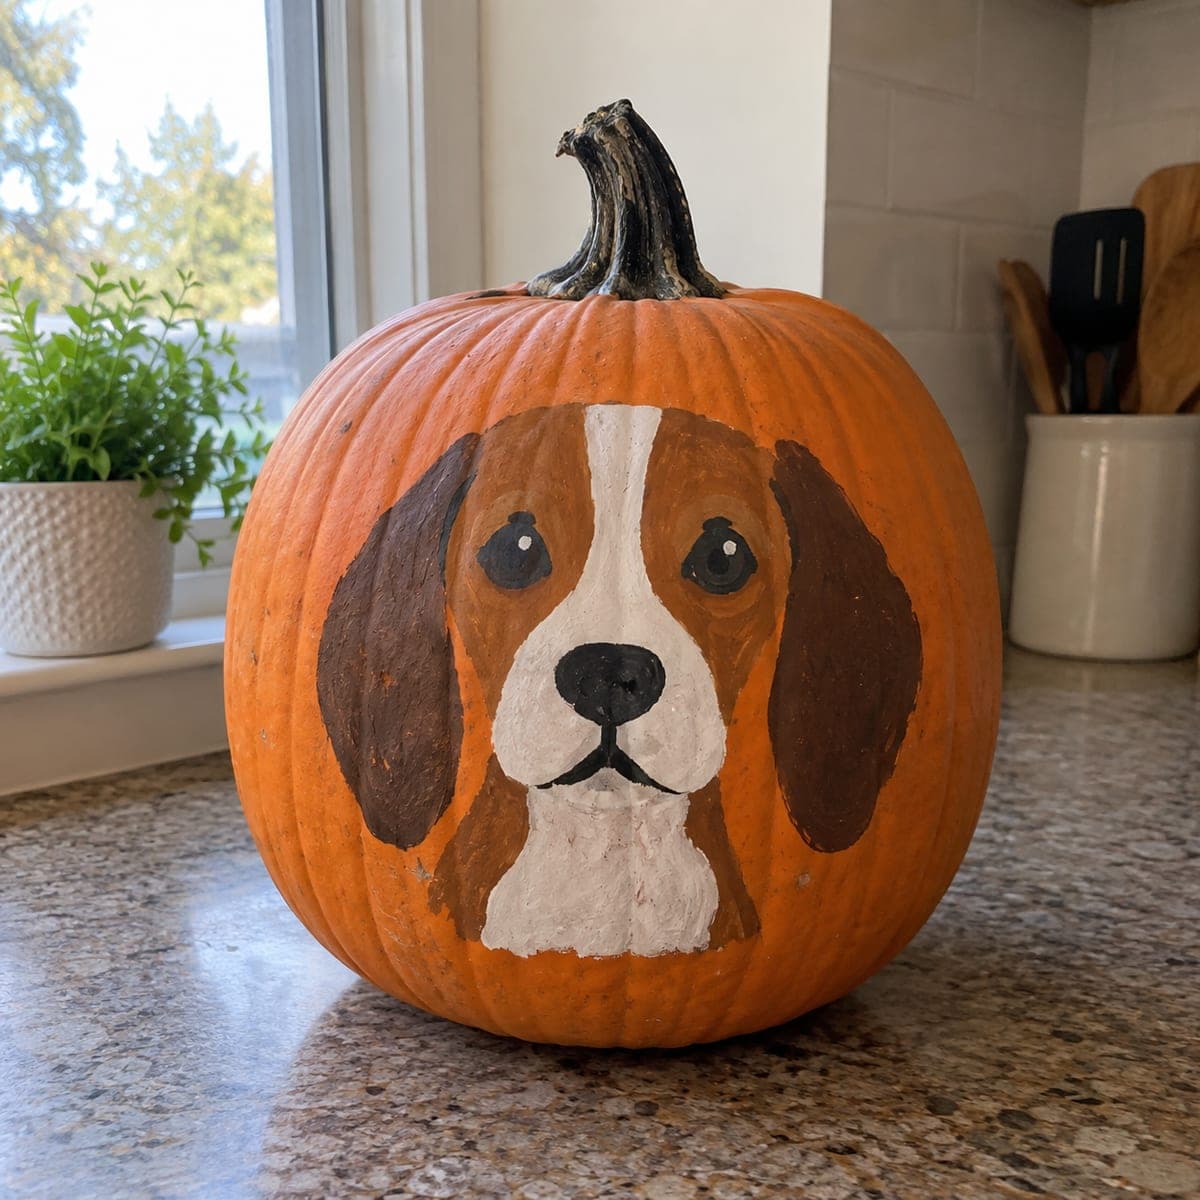
A sweet beagle face with soulful brown eyes, a black nose, and the breed's trademark tricolor markings is painted on the front of this uncarved pumpkin, making it an easy pet tribute project. The flat lay of acrylic paints captures the brown ears, white blaze, and black saddle pattern without any carving needed. Use a small round brush to add the fine black outline around the face markings, which gives the painting a clean illustrated look. This no-carve pumpkin idea works well as a gift for any beagle owner.

This is an AI-generated concept image: a realistic, carvable design idea rather than a photo of a finished carve. AI concepts are always labeled and sit out the leaderboard and the contest.

No ratings yet · Sign in to rate

Comments (0)

  • No comments yet — be the first.

Save without an account. Sign in to like or comment.

Our tips for carving a similar design

The core trick here is layering flat acrylic color, then locking every shape in place with a thin black outline so the beagle reads like a clean illustration. Block in the big tricolor areas first, let each layer dry, and save the fine linework and glossy eye highlights for last. Because nothing is cut, you can take your time and paint over any wobble.

Written by PumpkinCarvingIdeas.com, inspired by the image above. These are our suggestions, not instructions from the uploader. This approach to the AI concept has not been tested on a real pumpkin.

From pumpkin to porch

  1. Pick and prep a smooth pumpkin

    Choose a pumpkin with a flat, blemish-free front panel so the face sits evenly. Wipe it down with a damp cloth and let it dry fully. A quick pass of rubbing alcohol helps paint grip the waxy skin. Sketch the beagle's outline lightly in pencil or washable marker before you open any paint.

  2. Map the markings in pencil

    Lightly draw the white center blaze running down the muzzle, the two brown ear panels, and the brown mask around the eyes. Keep the shapes symmetrical by measuring from the stem down the center. Leave room at the bottom for the white chest and chin. This map keeps your color blocking from drifting once the brush is wet.

  3. Block in the big color areas

    Start with the white blaze and chest using two thin coats of white acrylic, letting each dry. Fill the brown ears and the tan mask next, working light to dark so mistakes stay easy to cover. Keep edges roughly inside your pencil lines since the outline will clean them up later. Use a flat brush for the large fills and rinse often.

  4. Add the nose, eyes, and dark saddle

    Paint the black nose as a soft rounded triangle at the muzzle tip, then the two brown eyes with black rims. Add a tiny dot of white in each eye for that soulful, wet-looking highlight. Deepen the darkest brown patches on the ears once the base is dry. Let everything set before the final linework.

  5. Outline with a fine round brush

    Switch to a small round brush and thinned black paint to trace around the blaze, ears, eyes, and muzzle. Work with light, steady strokes and turn the pumpkin as you go so your hand stays comfortable. This crisp outline is what gives the face its illustrated, finished look. Touch up any gaps once dry.

  6. Seal, style, and photograph

    Once fully cured, brush on a matte or satin acrylic sealer to protect the paint from smudges. Set the pumpkin on a windowsill or counter with soft daylight for the sweetest photo. An LED tealight tucked beside it adds a warm evening glow without any flame. Gift it to your favorite beagle owner.

Gather your supplies

Check things off as you get ready.

Work on a stable surface, keep your free hand out of the cutting path, and have an adult handle sharp tools.

Three levels of light

  • Leave intact

    The orange pumpkin skin around the face stays untouched as the background, and the painted brown ears and black saddle read as the darkest areas.

  • Peel & shade

    For an optional glow, lightly sand the white blaze area before painting so a faux pumpkin diffuses soft light through the thin coat.

  • Cut through

    This is a no-carve design, so nothing is cut through; if you want real light, save small eye openings for last and back them with an LED.

Learn the carving basics

Before you start cutting

Do I need to carve anything for this beagle?

No, this is a fully painted, no-carve project. Every marking is built up with acrylic paint on the surface, so there are no openings to cut. That makes it a safe pick for kids working alongside an adult and for pumpkins you want to keep longer.

How do I keep the tricolor markings looking symmetrical?

Sketch the whole face in pencil first and measure from the center of the stem down the muzzle to keep both ears even. Step back often to check balance before you commit to paint. Because acrylic covers well, you can repaint the background orange over any edge that drifts too far.

Will the paint hold up if I want to keep it out for weeks?

On a faux craft pumpkin, sealed acrylic will last for many seasons. On a real pumpkin the skin eventually softens, so keep it cool and out of direct sun and expect a couple of weeks. A coat of matte sealer helps protect the finish from smudges either way.

Your take belongs here, too.

Changed a detail? Made it simpler? Share a photo of your version and tell the community what worked.

Share your pumpkin

More pumpkins like this

You've reached the end · 8 pumpkins
The Patch Report

Fresh pumpkins, in your inbox.

The best new carvings, ideas worth stealing, and how-tos for carving season. Short, seasonal, and gone by November.

A short email during carving season. Unsubscribe anytime. See our privacy policy.