@the_gourdfather
Sep 5, 2026
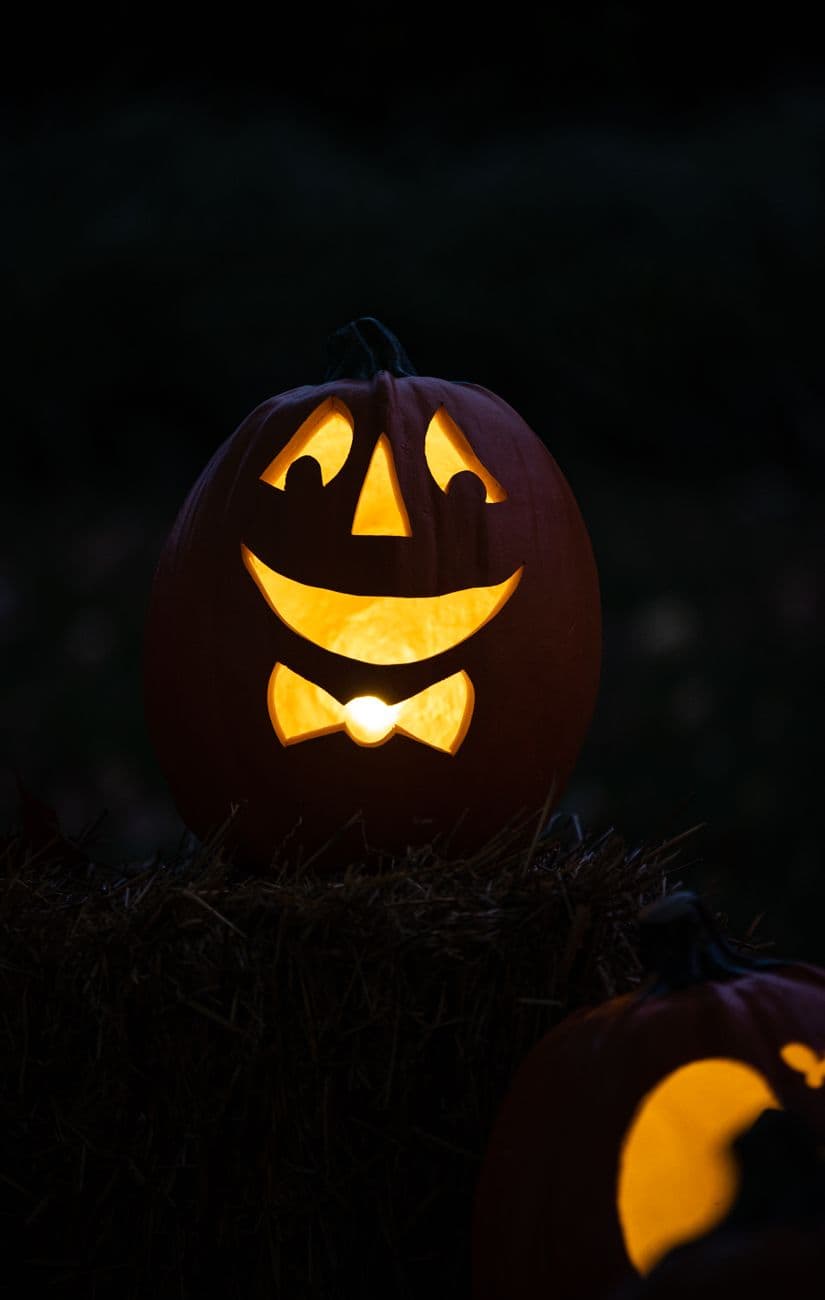
Bowtie jack
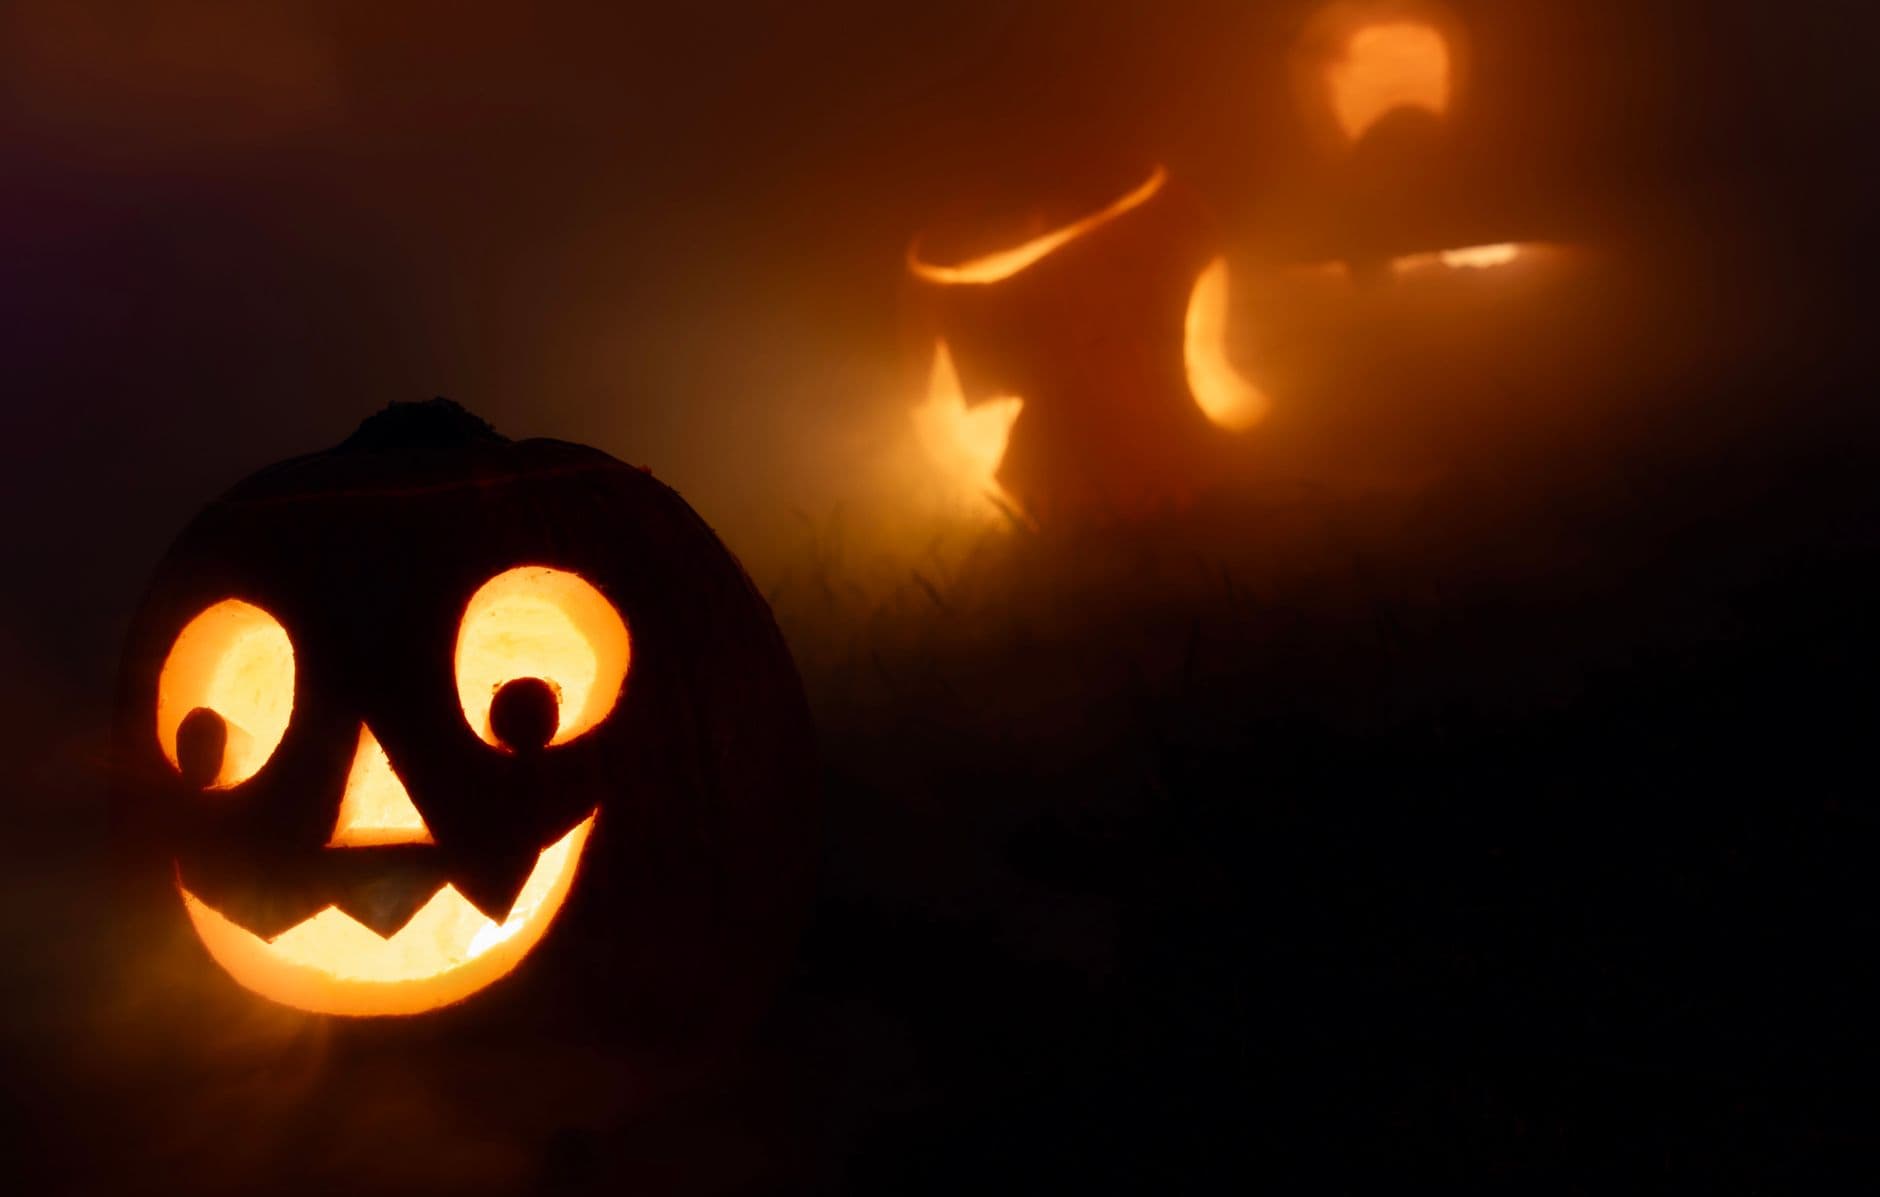
A round-cheeked smiler with a glowing bowtie under its chin, perched on a hay bale at dusk.
No ratings yet · Sign in to rate
A round-cheeked smiler with a glowing bowtie under its chin, perched on a hay bale at dusk.
The whole charm here is a happy, round face made from a few clean cutouts, with a little bowtie sitting under the chin as the surprise detail. Keep the shapes simple and separated so the light reads clearly: triangle eyes and nose, a big grinning mouth, and a two-piece bowtie below. Everything is a full cutout, so the trick is clean edges and leaving enough pumpkin wall between shapes to keep the face sturdy.
Written by PumpkinCarvingIdeas.com, inspired by @the_gourdfather's photo above. These are our suggestions, not instructions from the uploader, and this approach hasn't been tested on their exact carve.
Choose a round, tall pumpkin with a smooth front area big enough for a face plus a bowtie underneath. Cut a lid from the bottom or the back rather than the top so the pumpkin sits flat on a hay bale or table. Scoop out the insides and thin the carving wall on the front to about one inch so your knife glides through easily. A thinner wall also lets more light escape through the cuts.
Sketch or tape on your design with two triangle eyes, small curved brows or eyelid marks, a triangle nose, and a wide smiling mouth. Below the mouth, add the bowtie as two facing triangles meeting at a center knot. Space the shapes out so at least half an inch of pumpkin stays between them. Poke through the outlines with a pushpin or transfer tool so you can see the lines once the paper comes off.
Start with the eyes and nose since they are the smallest and easiest to control. Use a small serrated carving saw and let the tool do the work with gentle back and forth strokes, keeping your other hand clear of the blade. Cut each triangle fully through and push the piece out from the inside. Adults should handle all the sharp tools, especially on these tight corners.
Move to the big smile next, cutting the curved bottom edge first and the top edge last so the mouth piece stays supported while you work. Keep the grin one smooth arc for that friendly look. Then carve the two bowtie triangles, leaving the little center knot uncut so the tie holds its shape. Save these larger openings for after the small cuts so the face does not flex while you carve.
Run your saw back along every edge to shave off ragged bits and square up the openings. Rub a little petroleum jelly on the cut edges to slow drying and keep the shapes crisp. Drop in a battery LED light or a small string of LEDs, never a candle. A single bright LED near the bowtie gives that glowing knot effect you see in the photo.
Set the pumpkin on a hay bale or wood surface at dusk for that classic outdoor feel. Shoot from straight on so the symmetrical face and bowtie read clearly. Turn off nearby lights so the glow pops against a dark background. Take a few shots at different exposures to capture the warm inner light without blowing out the details.
Check things off as you get ready.
Work on a stable surface, keep your free hand out of the cutting path, and have an adult handle sharp tools.
The rounded cheeks and the rest of the pumpkin skin stay dark to frame the face.
The small center knot of the bowtie can be skin-peeled for a soft glow while the tie holds together.
The triangle eyes and nose, the wide smile, and the two bowtie triangles are cut through for the brightest light.
Leave the small center knot between the two triangles uncut so it bridges the pieces and holds the tie together. Cut the two triangle wings cleanly but stop short of connecting them. That little uncut bridge is what keeps the bowtie structurally sound.
Always carve the smallest shapes, the eyes and nose, before the big mouth. A large opening like the smile makes the pumpkin wall flexible, which can crack nearby cuts. Working small to large keeps the face stable throughout.
A bright LED placed low and near the front pushes extra light through the bowtie opening. You can angle or prop your light closer to that area for the same effect. Avoid candles, since an LED is safer and gives a steadier, controllable glow.
Changed a detail? Made it simpler? Share a photo of your version and tell the community what worked.
The best new carvings, ideas worth stealing, and how-tos for carving season. Short, seasonal, and gone by November.
Comments (0)