Halloween Pumpkin Carving Contest · Starts October 1st · $500 in prizes
← Back to ideas
@ai_concepts
Sep 25, 2026
Star-Crowned Smiley Pumpkin With Pupil TabsAI
0

Report this carving

Tell us what is wrong. Reports are private.

Star-Crowned Smiley Pumpkin With Pupil Tabs

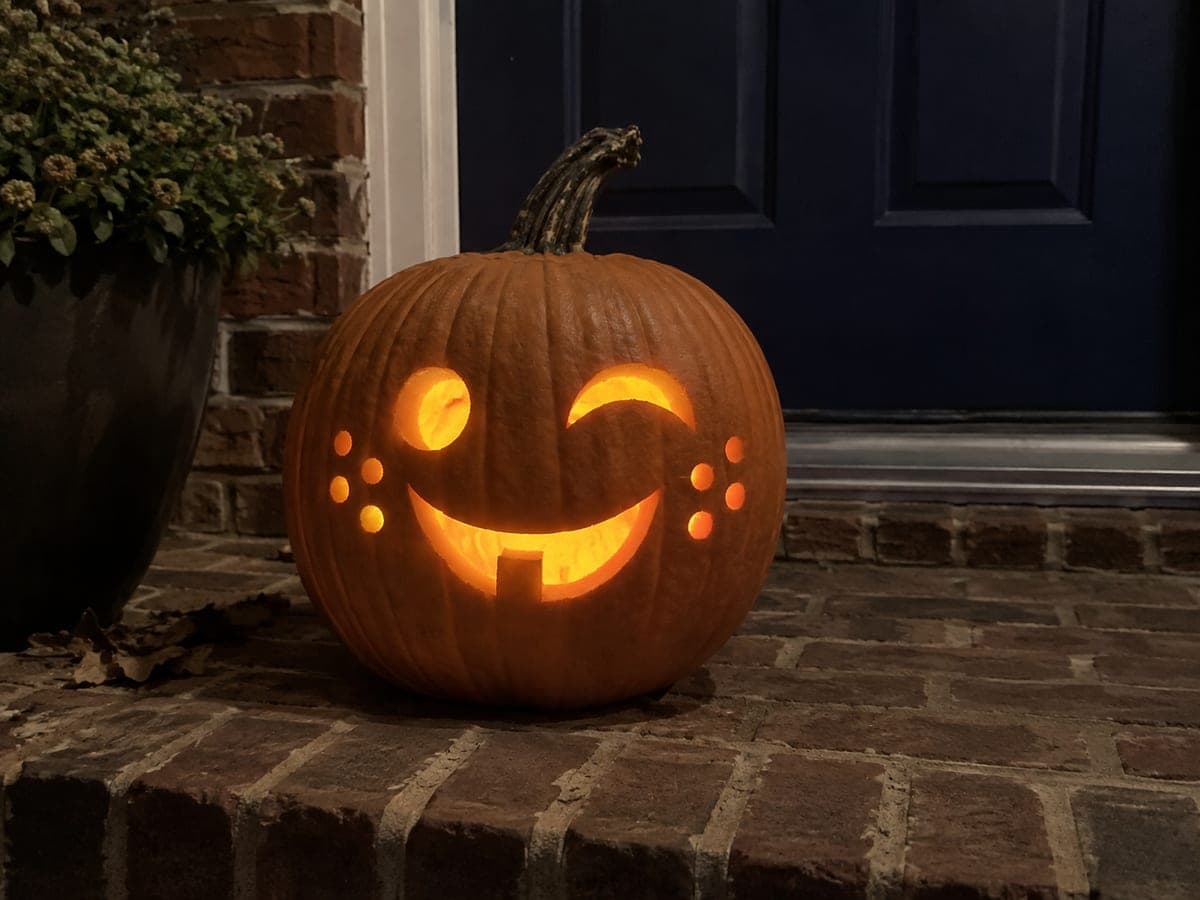
Two eye openings each with a thick pupil tab attached broadly to the top rim, two arched brows, a broad smile with five rooted square teeth, and twelve separate four-point star holes across the forehead and cheeks make this a satisfying hard smiley pumpkin face idea. The top-rooted pupils are critical: wide bases at the upper rim keep each tab secure when the pumpkin is moved. Cut the twelve stars with a sharp thin blade, working from the outer points inward, and keep each star separated from its neighbors by at least 12mm of rind.

No ratings yet · Sign in to rate

Comments (0)

  • No comments yet — be the first.

Save without an account. Sign in to like or comment.

Our tips for carving a similar design

The top-rooted pupil tabs are the structural priority: wide bases at the upper rim keep each tab secure when the pumpkin is moved or bumped. The twelve four-point stars are precise cuts that benefit from working from the outer points inward with a sharp thin blade. Plan all twelve star positions before cutting any to ensure even distribution across the forehead and cheeks.

From pumpkin to porch

  1. Scoop and map all openings

    Scoop to a consistent inch. Sketch both eye openings with their upper-rooted pupil tabs, two arched brow slots, the broad smile with five square tooth positions, and all twelve star positions. Confirm 12mm minimum separation between any star and its nearest neighbor.

  2. Carve the top-rooted pupil tabs

    Cut the full perimeter of each eye opening, leaving the pupil tab attached at the top rim. The tab should be wider at the root than at its free lower end; a broad flat base is more stable than a tapered one. Test each tab with a gentle fingertip press after cutting.

  3. Cut the arched brow slots

    Two gently arched slots sit above the eyes. Cut each brow in one sweep from tip to tip. Broad arches that angle slightly upward at their outer ends read as cheerful; flatter arches look neutral.

  4. Carve the broad smile with five square teeth

    Saw the smile boundary, then cut the four gaps between the five teeth. Score each tooth corner with a detail knife before sawing to prevent chipping. Wide square teeth look robust and joyful; narrow ones look fragile and anxious.

  5. Cut the twelve four-point stars

    Work from the outermost points of each star inward toward the center. A sharp thin-bladed detail knife is better than a saw for the four-point star shape. Separate adjacent stars by at least 12mm and check rind strength after every three stars.

  6. Light and display

    A warm LED or candle inside will project twelve small star-shaped shadows and pools of light around the base of the pumpkin. Elevate it slightly so the stars on the lower cheeks are visible from the front.

Written with AI to match this design

Gather your supplies

Check things off as you get ready.

Work on a stable surface, keep your free hand out of the cutting path, and have an adult handle sharp tools.

Three levels of light

  • Leave intact

    The pupil tabs, all rind between stars, tooth roots, and brow-to-eye bridges stay solid and dark

  • Peel & shade

    None, all glow from through-cuts

  • Cut through

    Both eye surrounds, two brow slots, smile perimeter, five tooth gaps, and twelve four-point stars are all cut through

Learn the carving basics

Before you start cutting

How do I cut a clean four-point star without the points tearing?

A sharp, narrow detail knife is essential. Mark each point with a pin tool first. Approach each point from two sides, making a V cut that meets at the tip, rather than trying to pivot a saw around the sharp corner. Work all four points before removing the center plug.

What happens if a pupil tab cracks at the root?

A cracked but still-attached tab can be reinforced from inside with a small strip of clear packing tape pressed firmly across the back of the root. If the tab has separated, remove it cleanly; the eye opening without a pupil reads as a wide-open surprised look instead.

Can I use a star cookie cutter to trace the star shapes?

A star cookie cutter pressed into the rind transfers the outline perfectly if the cutter is the right size. Press firmly and trace around the impression in pencil before cutting. This is the fastest way to get all twelve stars the same size.

Your take belongs here, too.

Changed a detail? Made it simpler? Share a photo of your version and tell the community what worked.

Share your pumpkin

More pumpkins like this

You've reached the end · 8 pumpkins
The Patch Report

Fresh pumpkins, in your inbox.

The best new carvings, ideas worth stealing, and how-tos for carving season. Short, seasonal, and gone by November.

A short email during carving season. Unsubscribe anytime. See our privacy policy.