Halloween Pumpkin Carving Contest · Starts October 1st · $500 in prizes
← Back to ideas
@ai_concepts
Sep 25, 2026
Ornate Smiley Jack-O-Lantern With Diamond Oval BorderAI
0

Report this carving

Tell us what is wrong. Reports are private.

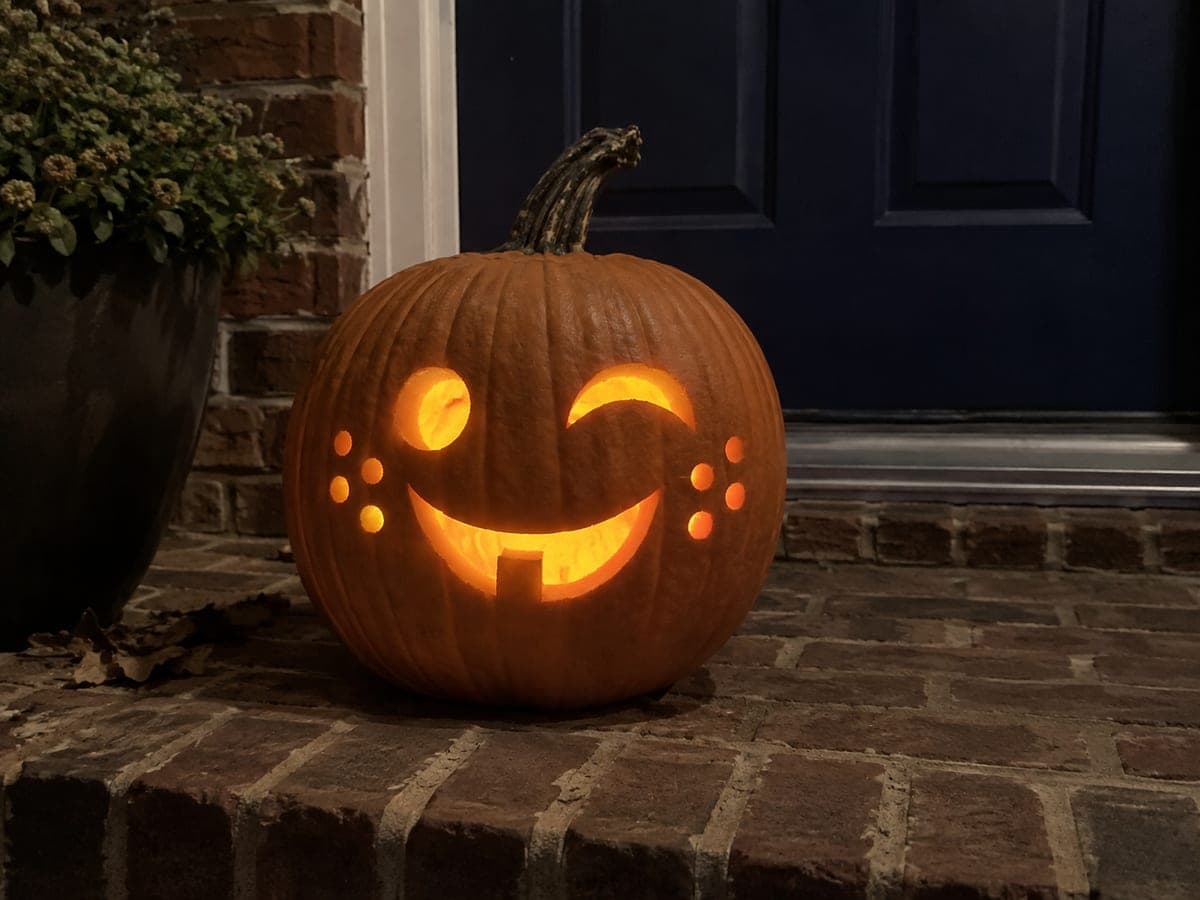
Ornate Smiley Jack-O-Lantern With Diamond Oval Border

Crescent laughing eyes, a crescent mouth with eight robust rooted teeth, and a full circular border of thirty alternating diamond and oval cutouts separated by tiny round holes make this the most elaborate smiley pumpkin carving idea in the bunch. The 12mm continuous rind network is non-negotiable: if any section between adjacent border holes drops below that width, the ring will crack under the pumpkin's own weight. Trace the entire border pattern before cutting a single hole, then carve from the outermost ring inward toward the face.

No ratings yet · Sign in to rate

Comments (0)

  • No comments yet — be the first.

Save without an account. Sign in to like or comment.

Our tips for carving a similar design

The full circular border of thirty alternating diamonds and ovals is the design's signature, and the 12mm continuous rind network is what keeps it intact. Trace the entire border pattern onto the pumpkin surface before making a single cut: any error in spacing is much easier to correct in pencil than in cut rind. Carve from the outermost ring inward toward the face.

From pumpkin to porch

  1. Create and transfer a full paper template

    Scoop to an even inch. Print or hand-draw the complete design: thirty alternating diamond and oval border holes plus tiny round spacers, crescent laughing eyes, and the crescent mouth with eight tooth positions. Transfer the full template with a pin tool before any cutting.

  2. Mark and verify all bridge widths

    Before picking up the saw, measure every planned bridge between adjacent border holes. Each must be at least 12mm. Adjust any hole that crowds a neighbor at this stage. The border ring cannot be reinforced after cutting.

  3. Cut the outermost border: diamonds first

    Begin with the fifteen diamond holes, working around the ring rather than adjacent holes back-to-back. Enter each diamond at one corner and saw each side from corner to corner. Complete the full diamond pass before starting the ovals.

  4. Cut the oval holes and tiny round spacers

    Return to the ring and cut all fifteen oval holes between the diamonds. Then drill or cut the small round spacer holes between each shape pair. Spacers are small enough for a drill bit; use the narrowest bit that makes a visible hole.

  5. Carve the crescent laughing eyes

    Both crescent eyes angle upward at the outer corners for a laughing expression. Saw each one from tip to tip in a single sweep. The eyes are surrounded by the completed border ring so handle the pumpkin carefully at this stage.

  6. Carve the crescent mouth with eight teeth, then light

    Saw the outer crescent boundary, then cut the eight tooth gaps between the robust vertical bars. Each bar must remain at full width. Insert a strong LED and replace the lid. The thirty-hole border will glow like a ring of stained glass around the face.

Written with AI to match this design

Gather your supplies

Check things off as you get ready.

Work on a stable surface, keep your free hand out of the cutting path, and have an adult handle sharp tools.

Three levels of light

  • Leave intact

    The 12mm continuous rind network between all border holes, the smile bars, and all structural bridges stay solid and dark

  • Peel & shade

    None, all glow comes from through-cuts

  • Cut through

    Fifteen diamonds, fifteen ovals, small round spacers, two crescent eye holes, and eight tooth gaps in the crescent mouth are all cut through

Learn the carving basics

Before you start cutting

What happens if a section of the border ring drops below 12mm?

A bridge under 12mm will likely crack as the pumpkin dries and shrinks over its display period, causing a section of the border to detach. If you notice a narrow bridge during cutting, stop and reinforce it from the inside with a toothpick dipped in wood glue before continuing.

How long should I expect to spend on this carving?

Expert carvers with experience in ornate designs should allow three to five hours. Most of that time is the border ring. If you are doing this for the first time, plan for an evening session with breaks. Start at least two days before Halloween to allow for pacing and any repairs.

Can I simplify the border to twenty holes instead of thirty?

Yes, and it is a good first step if you are new to ornate borders. Ten diamonds alternating with ten ovals and eliminating the tiny spacers still produces a striking decorative ring with fewer bridges to manage. The key rules about 12mm spacing still apply at any hole count.

Your take belongs here, too.

Changed a detail? Made it simpler? Share a photo of your version and tell the community what worked.

Share your pumpkin

More pumpkins like this

You've reached the end · 8 pumpkins
The Patch Report

Fresh pumpkins, in your inbox.

The best new carvings, ideas worth stealing, and how-tos for carving season. Short, seasonal, and gone by November.

A short email during carving season. Unsubscribe anytime. See our privacy policy.