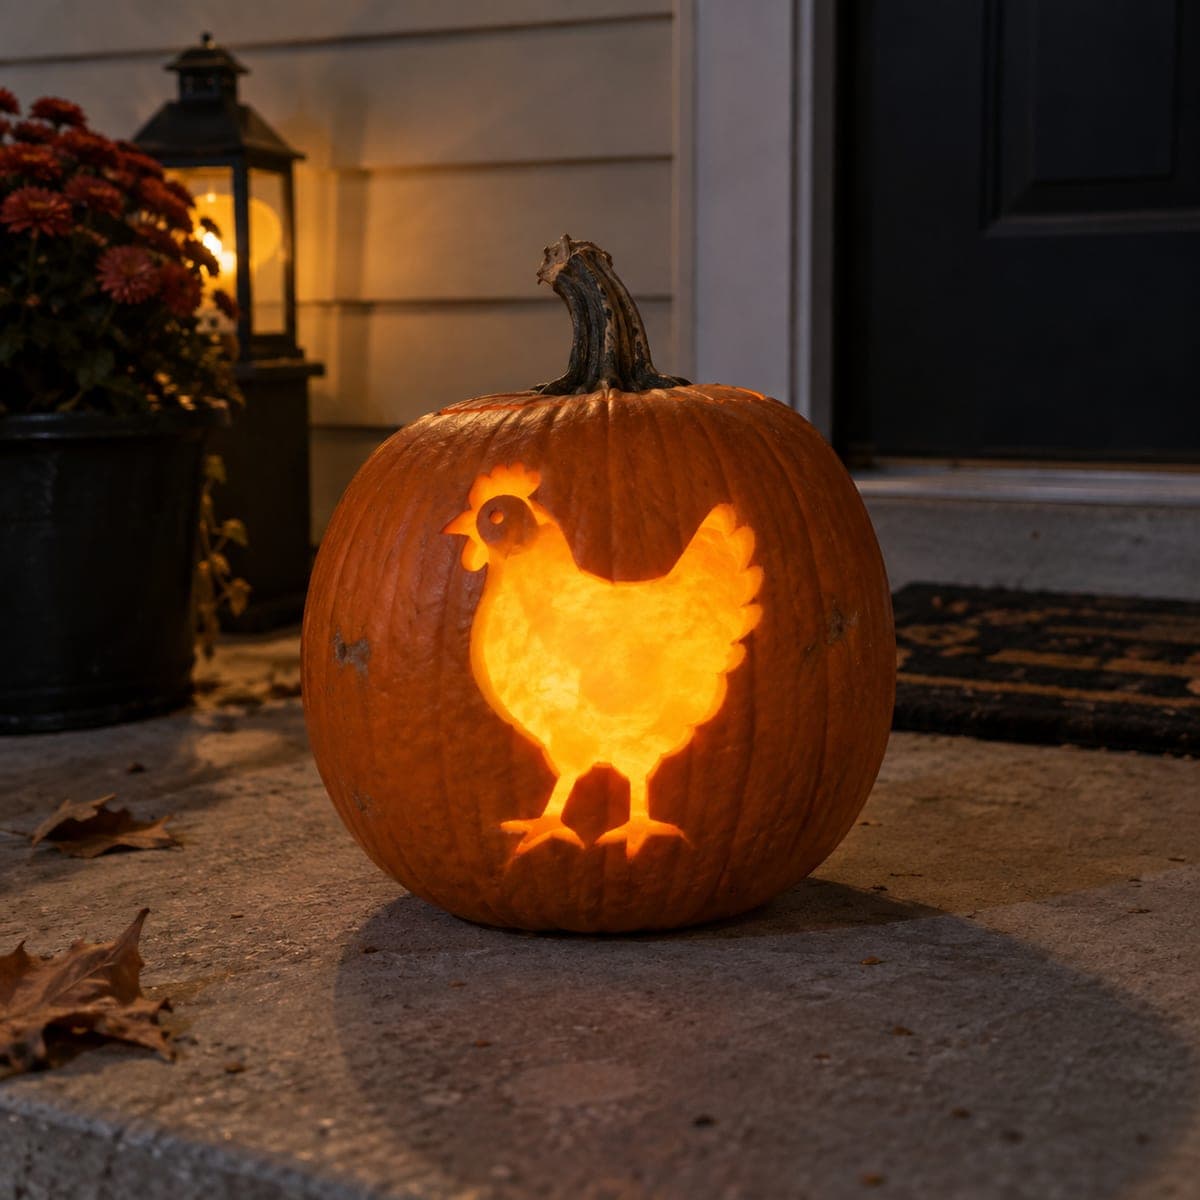
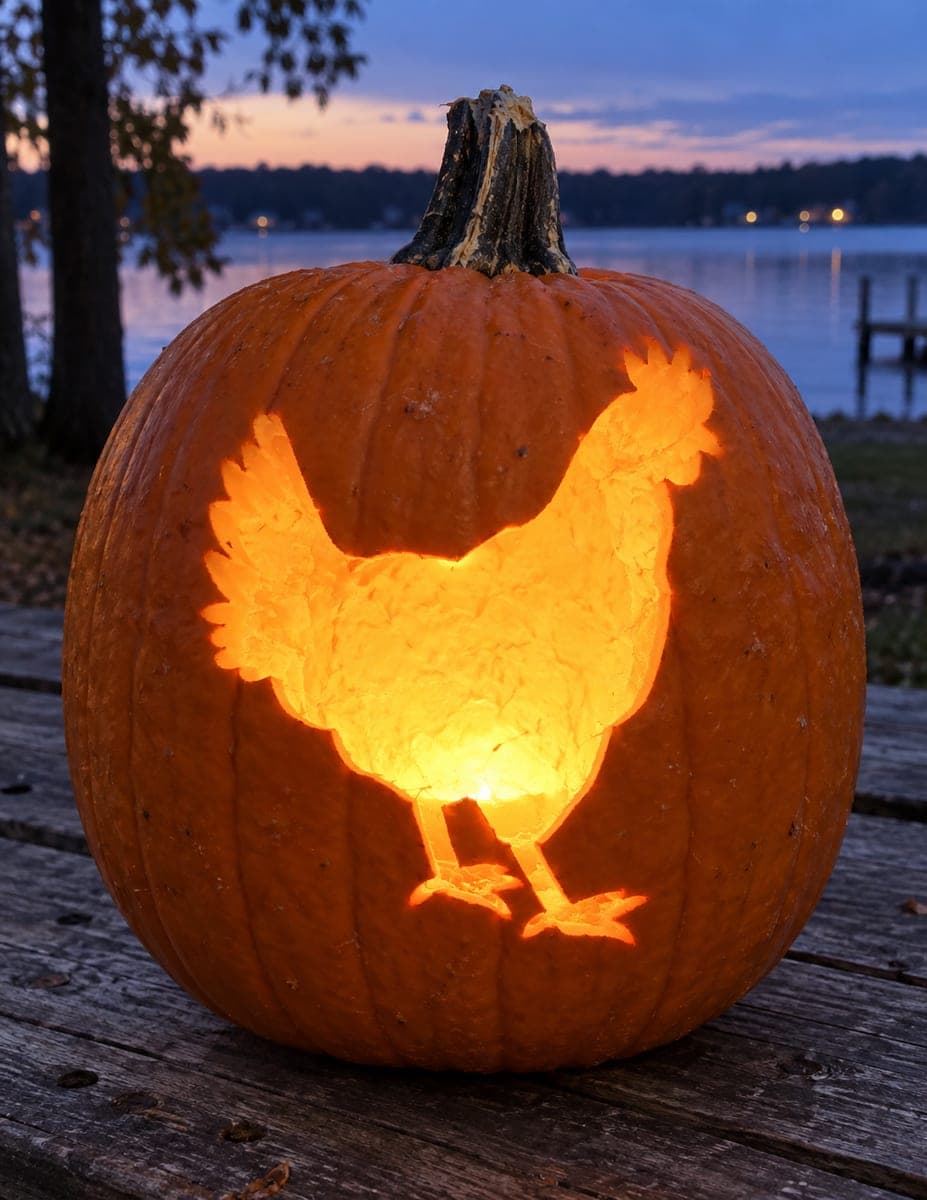
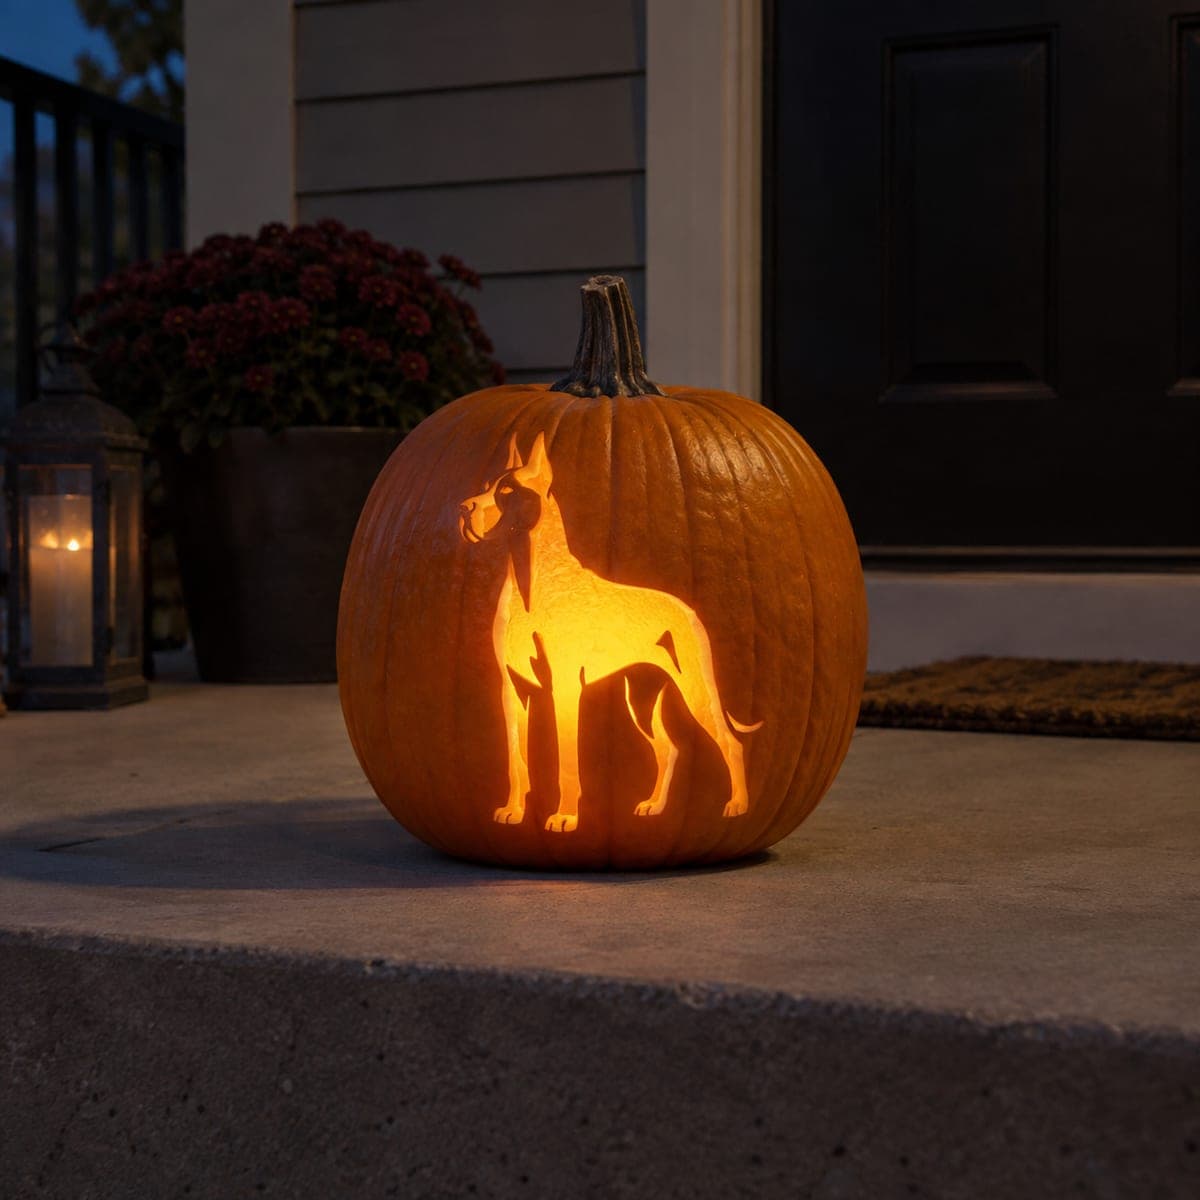
A plump, detailed hen silhouette is carved as a glowing cutout on a small to medium pumpkin, the bird's comb, wattle, and tail feathers all clearly legible against the warm backlit orange glow at night. The chicken outline is a single connected piece with no floating sections, making it surprisingly manageable for intermediate carvers. Print a side-view chicken reference, scale it to fit, and transfer the outline with a poker tool before cutting. A fun and unexpected pumpkin carving idea that is especially popular for farm-themed fall decorating.
This is an AI-generated concept image: a realistic, carvable design idea rather than a photo of a finished carve. AI concepts are always labeled and sit out the leaderboard and the contest.
The whole design is one connected chicken silhouette cut clean through, so the light does all the work behind a single crisp shape. The trick is keeping the comb, wattle, beak, tail feathers, and legs legible as one solid outline with no floating islands. Print a side-view hen, scale it to your pumpkin face, and let the backlight fill the body.
Written by PumpkinCarvingIdeas.com, inspired by the image above. These are our suggestions, not instructions from the uploader. This approach to the AI concept has not been tested on a real pumpkin.
From pumpkin to porch
1
Pick and prep the pumpkin
Choose a small to medium pumpkin with one broad, fairly flat face to hold the full chicken shape. Cut a lid from the bottom or the back rather than the top so the stem stays intact for looks. Scoop the insides and thin the carving wall to about one inch so your blade passes through easily. A thinner wall also lets more light glow through once it is lit.
2
Transfer the stencil
Tape your scaled side-view chicken printout flat against the face, snipping the paper edges so it hugs the curve. Trace the full outline with a poker tool, adding closely spaced dots along the comb points, beak, wattle, tail feathers, and each leg and toe. Mark a small separate circle for the eye. Peel the paper and connect the dots lightly with a pencil so you can read the shape before any cutting.
3
Score the outline first
Before cutting all the way through, run a shallow scoring pass along the entire pencil line with a fine detail saw. This gives you a controlled groove to follow and helps you catch any wobble in the comb spikes or thin toes early. Go slowly around the tight curves of the wattle and tail so the points stay sharp. Fix any awkward spots now while the shape is still solid.
4
Cut the small details, then the big body
Always work from the smallest openings toward the largest. Start with the eye circle, then the fine gaps between comb points, the beak notch, and the spaces between the toes, using gentle sawing and letting the tool do the work. Save the large body opening for last so the pumpkin stays rigid while you handle the delicate parts. Support each piece with your free hand as it releases so nothing tears out.
5
Clean up and test the glow
Trim the inside edges of the cut at a slight outward angle so more light spills forward through the opening. Drop in an LED tea light or a small battery puck, never a real candle, and check the shape in a dark room. If the body looks dim, shave a little more from the inside wall behind it to brighten the glow. Touch up any ragged edges on the comb and tail for a clean silhouette.
6
Stage it on the porch
Set the finished pumpkin at eye level on a step or crate so the chicken reads clearly from the walkway. Angle the flat carved face toward foot traffic and keep it out of direct rain. Pair it with mums, a lantern, or a few gourds for a farm-style fall vignette. Snap your photo at dusk when the surrounding light is low but the sky still has a little color.
Gather your supplies
Check things off as you get ready.
Work on a stable surface, keep your free hand out of the cutting path, and have an adult handle sharp tools.
Three levels of light
Leave intact
The outer body of the pumpkin and the ribbed skin around the bird stay untouched and dark, framing the shape.
Peel & shade
Optionally skin-peel a thin halo just outside the chicken outline for a soft dim ring that makes the silhouette pop.
Cut through
The entire chicken body, comb, wattle, beak, tail, legs, and the eye are cut through for the brightest glow.
Is a chicken silhouette really doable for an intermediate carver?
Yes, because the whole design is one connected shape with nothing floating on its own. The comb points, tail feathers, and toes are the fiddly parts, but they all stay attached to the solid body. Take those areas slowly and you will be fine.
How do I keep the thin comb points and toes from breaking?
Score the full outline before cutting through, and cut those small features before you open the large body. Keep the carving wall around an inch thick for support and hold each spike with your free hand as the blade passes. If a point feels too thin to survive, round it slightly rather than leaving a fragile sliver.
Why cut the big body opening last?
The large open area removes a lot of structure, so cutting it early makes the pumpkin flex and the fine details more likely to crack. By saving it for the end, the shell stays rigid while you handle the eye, comb, and toes. Once those are done, the body cut is quick and low risk.
Your take belongs here, too.
Changed a detail? Made it simpler? Share a photo of your version and tell the community what worked.
Comments (0)