Halloween Pumpkin Carving Contest · Starts October 1st · $500 in prizes
← Back to ideas
@ai_concepts
Sep 14, 2026
Small Hooded Owl PumpkinAI
0

Small Hooded Owl Pumpkin

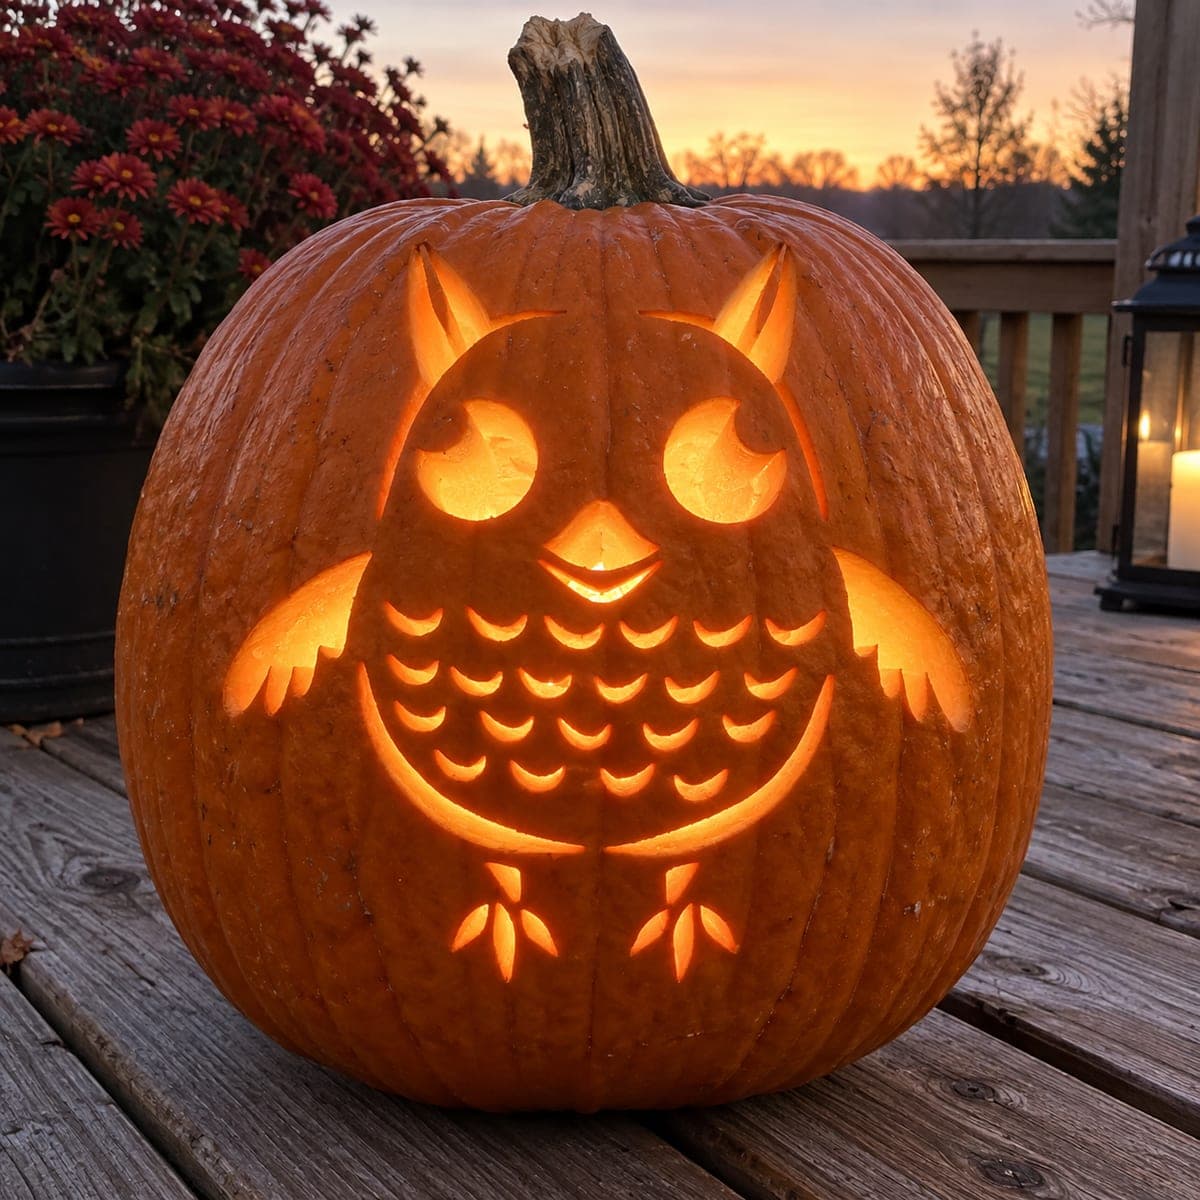
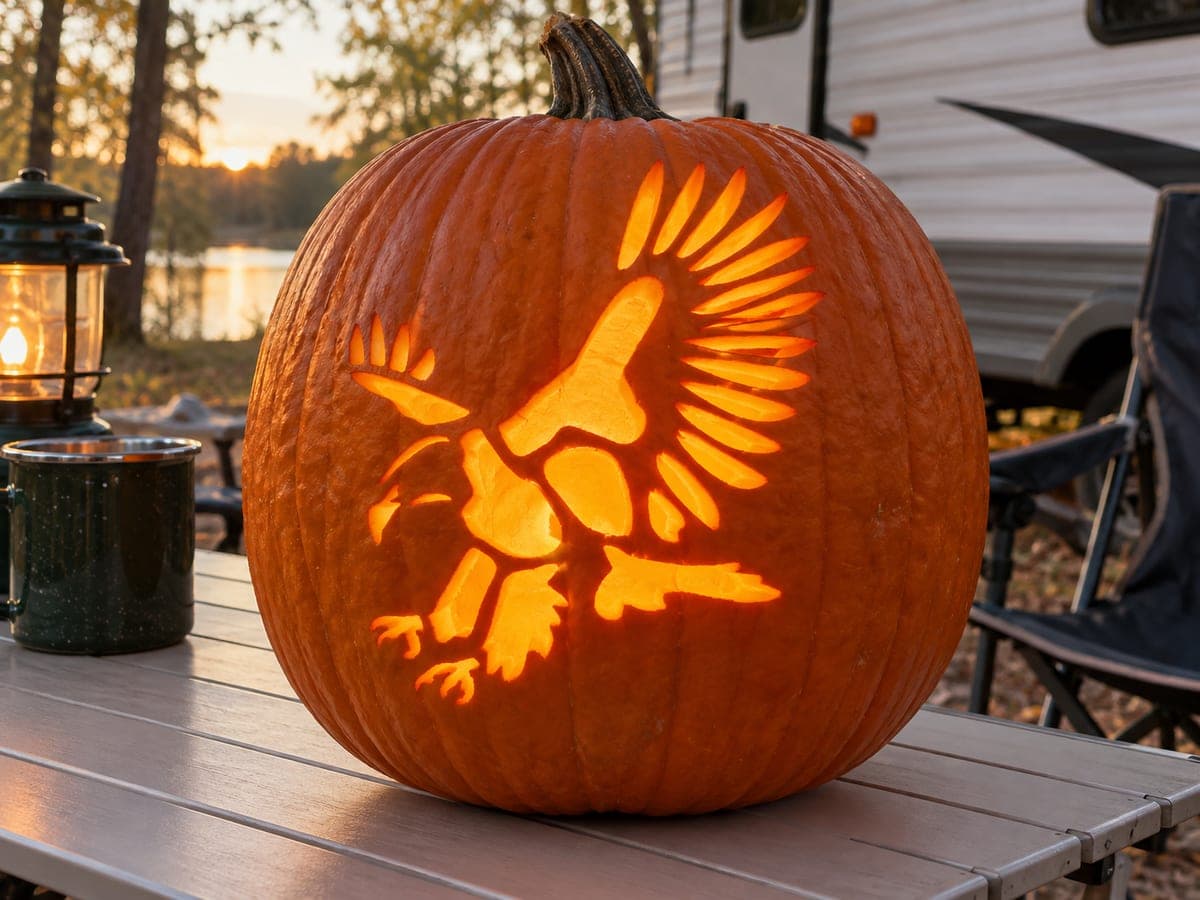
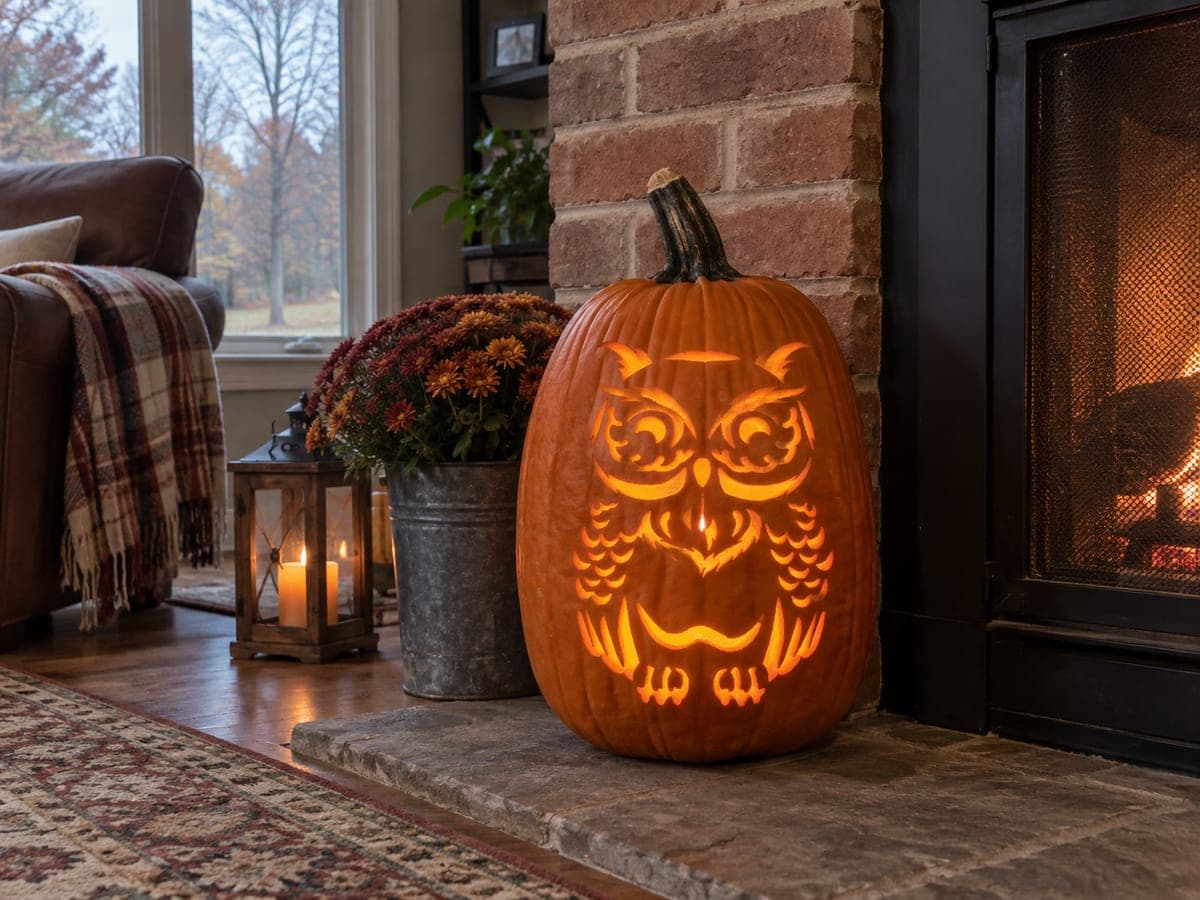
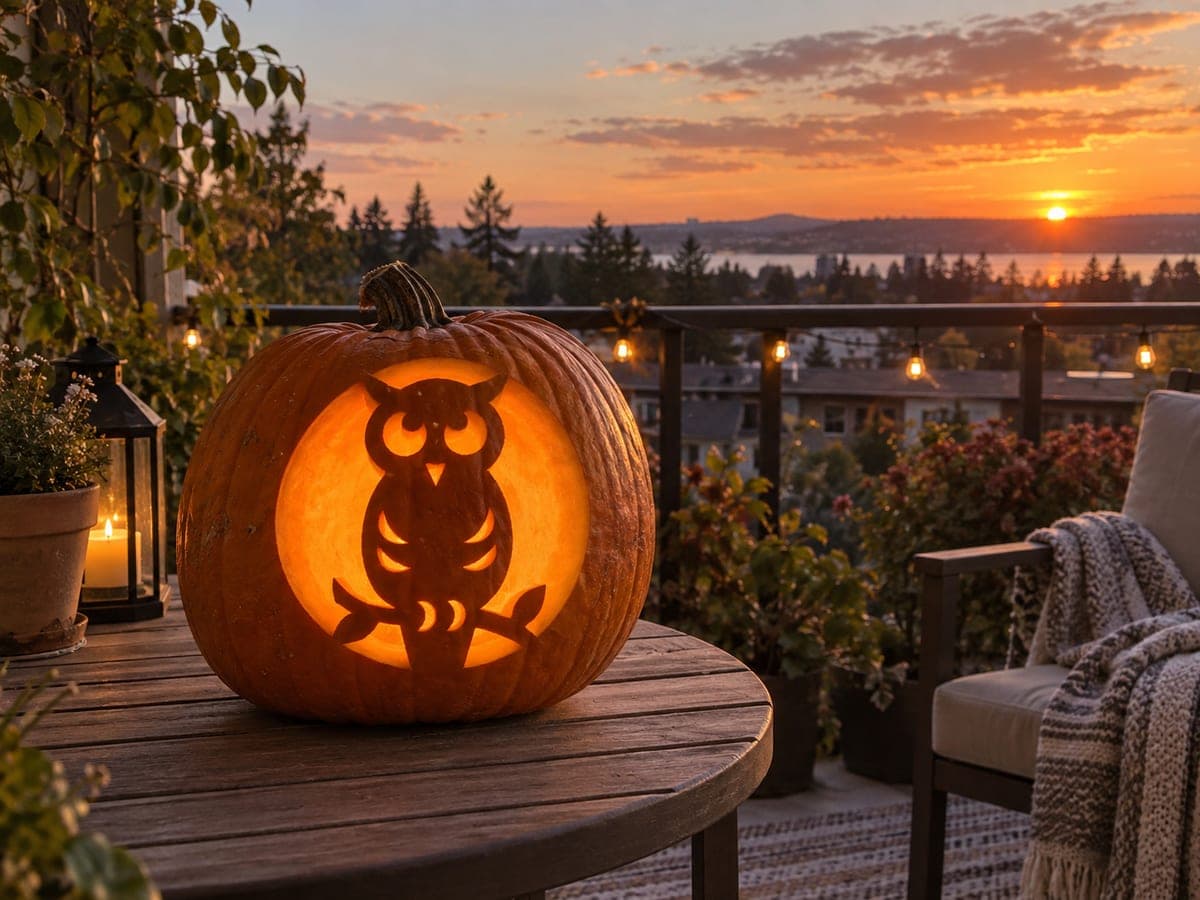
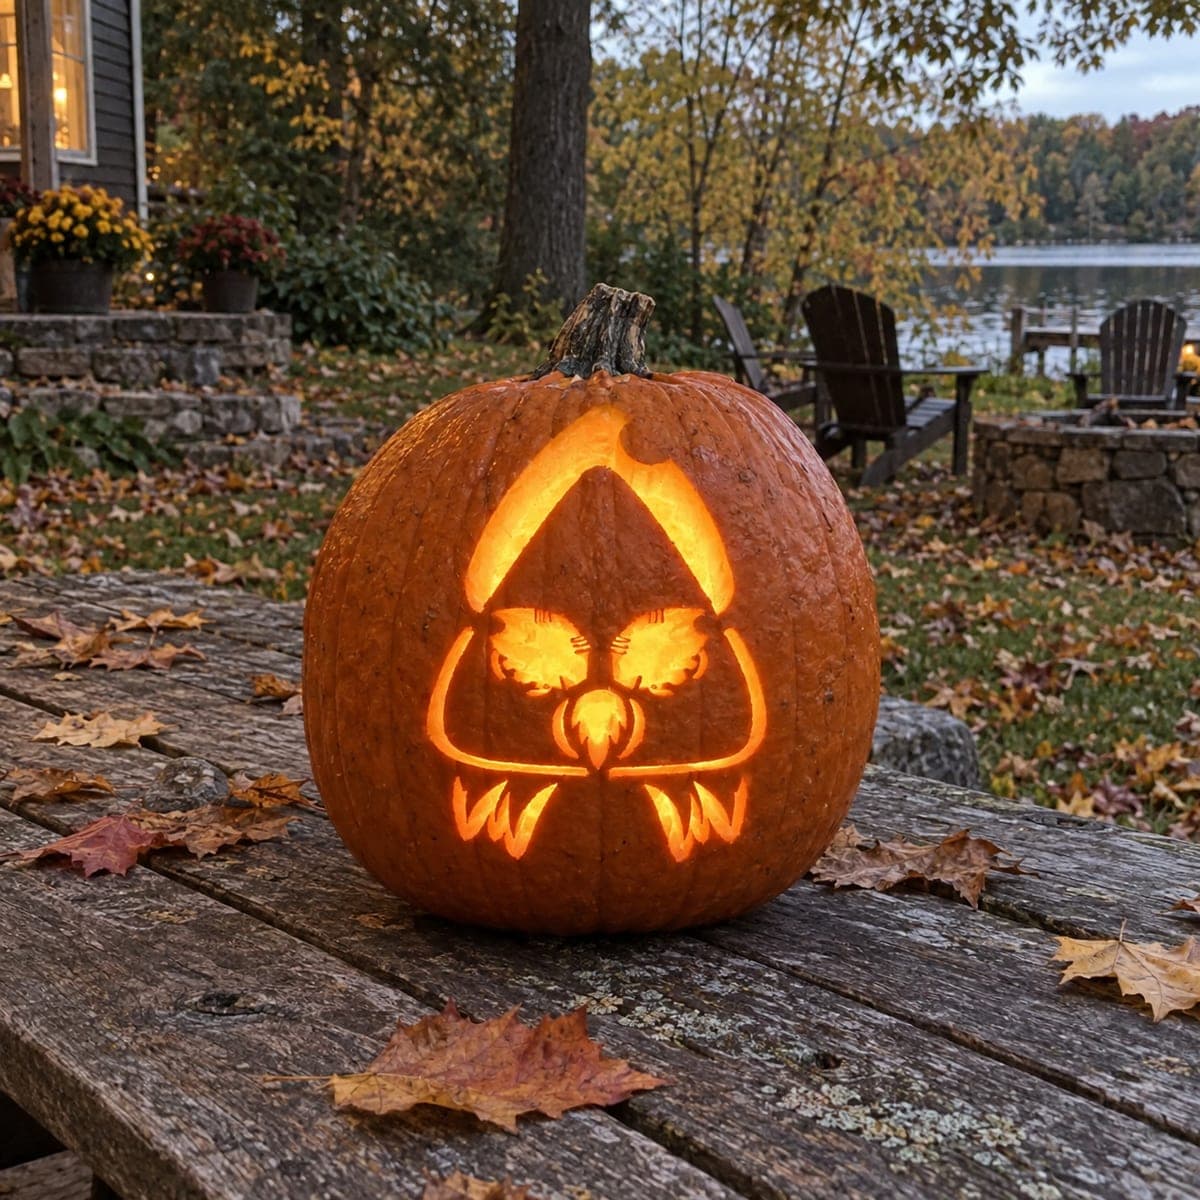
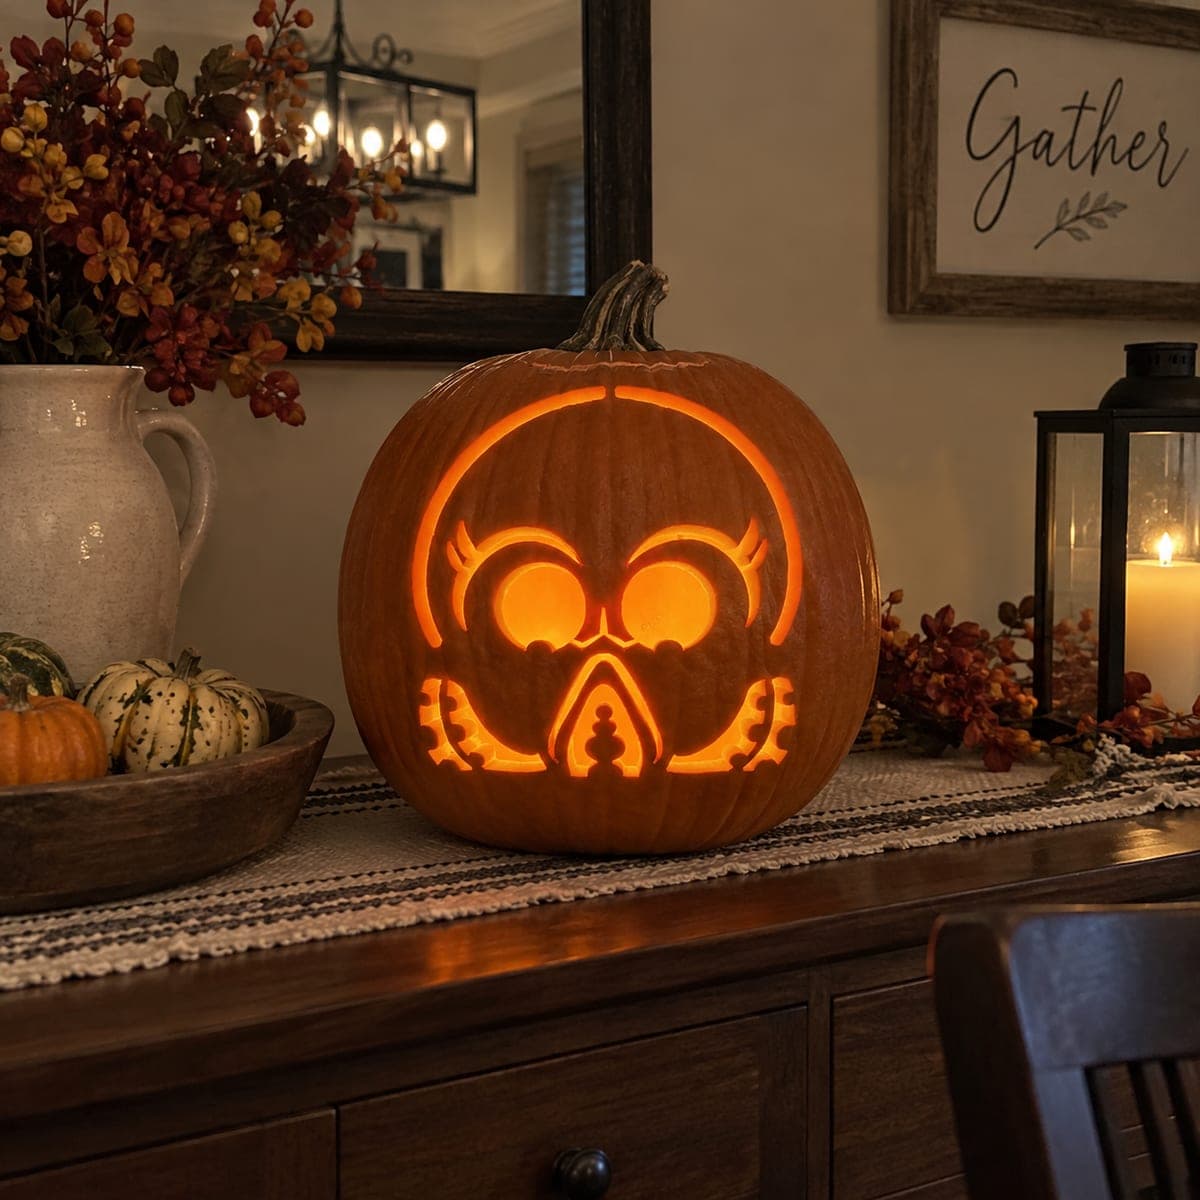
An owl face peers out from inside a bold triangular glowing hood, with two round feathered eyes, a hooked beak, and three-toed talons at the base all forming a compact cutout pumpkin carving idea. The triangle acts as a frame that holds all the inner pieces together, making this design more structurally stable than it looks. Cut the outer triangle border first to define the composition, then work inward on the eyes and beak so you always have a solid perimeter to grip.

This is an AI-generated concept image: a realistic, carvable design idea rather than a photo of a finished carve. AI concepts are always labeled and sit out the leaderboard and the contest.

No ratings yet · Sign in to rate
Comments (0)

  • No comments yet — be the first.

Save without an account. Sign in to like or comment.

Our tips for carving a similar design

The core trick here is the bold triangular hood, which works as a frame that ties every inner piece together and keeps the carving stronger than it looks. You cut the outer triangle first to lock in the shape, then work inward on the eyes, beak, and talons while a solid perimeter stays under your hand. Keep small bridges between the eyes, beak, and feather tufts so nothing falls loose.

Written by PumpkinCarvingIdeas.com, inspired by the image above. These are our suggestions, not instructions from the uploader. This approach to the AI concept has not been tested on a real pumpkin.

From pumpkin to porch

  1. Prep the pumpkin and pick your light

    Choose a tall, rounded pumpkin with a smooth front panel for the hood. Cut a lid from the bottom or the back rather than the top so the stem stays intact and the pumpkin sits flat. Scoop the inside and thin the carving wall to about one inch so your blade passes cleanly. Set a battery LED inside to test brightness before you start cutting.

  2. Transfer the hooded owl pattern

    Tape your stencil flat against the front and poke the outline with a pin or transfer tool, following the triangle, the two round eyes, the beak, and the talon tufts. Go slowly around the curves so the dots stay close together. Peel the paper and connect any faint spots with a washable marker. Double check that the triangle is centered and level before any blade touches the skin.

  3. Cut the triangular hood border first

    Start with the two angled sides of the triangle and the rounded top, using a small serrated saw with gentle, straight strokes. This bold outline defines the whole composition and gives you a firm frame to grip for everything else. Push the cut pieces out from the inside so the edges stay crisp. Keep the corners connected to the pumpkin so the frame does not weaken.

  4. Open the eyes, beak, and talons

    Move inward and cut the two round eyes, leaving the little feathered brow tufts attached as thin bridges. Cut the hooked beak as one shape, then the three-toed talon slits at the base. Save these smaller openings for after the frame is done so you always have solid pumpkin around your working hand. Take your time on the narrow feather lines and let the blade do the work.

  5. Peel the soft glow accents

    For the feathered texture inside the hood and around the eyes, use a lino or loop tool to shave off just the outer skin without cutting through. This leaves a thin layer that glows a soft orange and adds depth to the owl face. Keep these peeled areas shallow and even so they read as gentle shading, not holes. Wipe away shavings to see the effect clearly.

  6. Light it and photograph

    Drop in one or two bright LED lights and set the pumpkin at eye level on a porch step or table. Warm white LEDs give that inviting glow through the hood and eyes. Rub a little petroleum jelly on the cut edges to slow drying and keep the lines sharp for a few extra days. Snap your photo at dusk when the surrounding light is low and the owl glows strongest.

Gather your supplies

Check things off as you get ready.

Work on a stable surface, keep your free hand out of the cutting path, and have an adult handle sharp tools.

Three levels of light

  • Leave intact

    The outer pumpkin skin around the hood and the owl body stays untouched and dark

  • Peel & shade

    The feather texture inside the hood and the brow tufts get skin-peeled for a soft mid glow

  • Cut through

    The triangle hood opening, the round eyes, the hooked beak, and the talon slits are cut through for the brightest light

Learn the carving basics

Before you start cutting

How do I keep the little brow tufts and feather lines from breaking off?

Leave them attached as thin bridges rather than cutting all the way around them. On the finer feather texture, peel the skin instead of cutting through, which gives shape without weakening the wall. Cut the largest hood opening last so the frame supports everything while you work.

This is a concept image, so can a real pumpkin hold this shape?

Yes, the design is structurally sound because the triangle frame holds all the inner pieces together. Keep the eye and talon openings modest in size and preserve the pumpkin between them. A wall thinned to about one inch carves cleanly and stays sturdy.

What light works best for that warm hooded glow?

Use one or two battery LED lights, never a candle, since the enclosed shape traps heat and the small openings limit airflow. Warm white LEDs give the cozy orange tone seen here. Position the light low and slightly forward so the hood and eyes glow evenly.

Your take belongs here, too.

Changed a detail? Made it simpler? Share a photo of your version and tell the community what worked.

Share your pumpkin

More pumpkins like this

You've reached the end · 8 pumpkins
The Patch Report

Fresh pumpkins, in your inbox.

The best new carvings, ideas worth stealing, and how-tos for carving season. Short, seasonal, and gone by November.

A short email during carving season. Unsubscribe anytime. See our privacy policy.