Halloween Pumpkin Carving Contest · Starts October 1st · $500 in prizes
← Back to ideas
@ai_concepts
Sep 14, 2026
Simple Long-Legged Flamingo PumpkinAI
0

Simple Long-Legged Flamingo Pumpkin

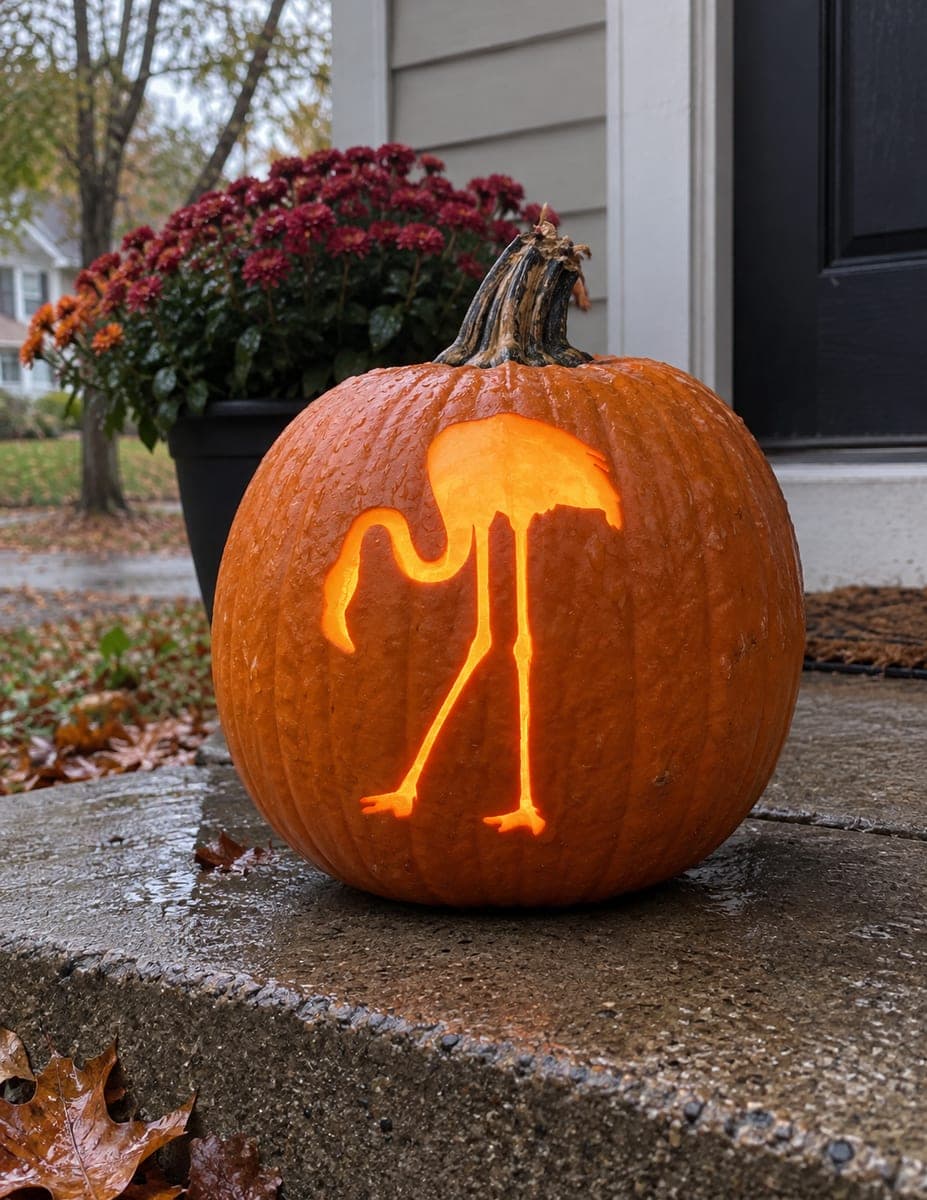
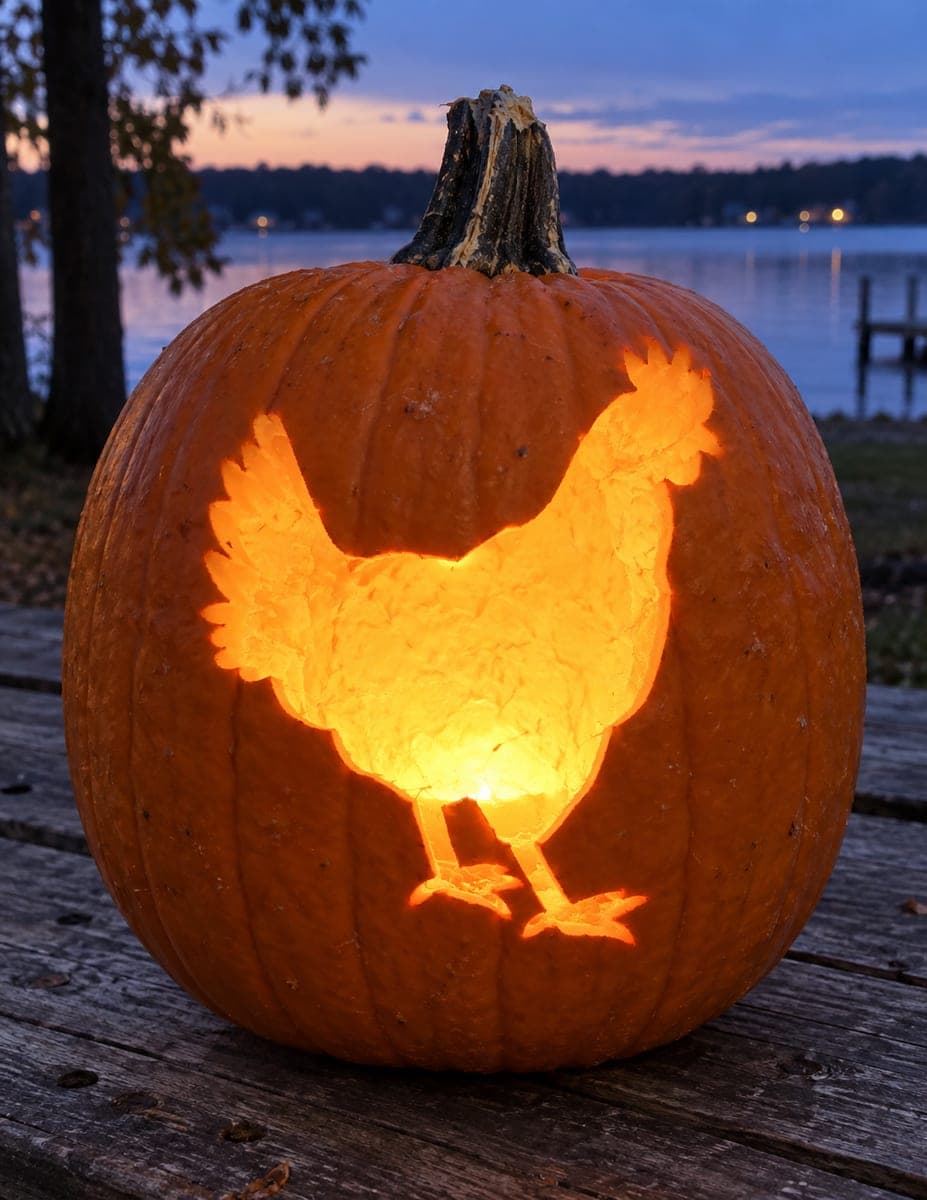
A flamingo stands in profile on two long thin legs with a gracefully curved neck and small round head, the entire bird rendered as a delicate cutout silhouette against the jack-o-lantern glow. The legs are the narrowest elements in this pumpkin carving idea and the most likely to break. Cut both leg sections while the large body area above is still uncarved so the blade has a stable rind surface to push against, then remove the body last.

This is an AI-generated concept image: a realistic, carvable design idea rather than a photo of a finished carve. AI concepts are always labeled and sit out the leaderboard and the contest.

No ratings yet · Sign in to rate
Comments (0)

  • No comments yet — be the first.

Save without an account. Sign in to like or comment.

Our tips for carving a similar design

The whole design lives in one bold silhouette, so the trick is order of operations. Those two long thin legs are the weak point, so you carve them while the large body opening above is still solid rind for the blade to steady against, then remove the big body last. Keep the neck curve and head as one flowing shape and let the glow do the rest.

Written by PumpkinCarvingIdeas.com, inspired by the image above. These are our suggestions, not instructions from the uploader. This approach to the AI concept has not been tested on a real pumpkin.

From pumpkin to porch

  1. Pick a tall pumpkin and prep the shell

    Choose a pumpkin with a smooth, fairly flat front panel so the tall flamingo shape fits from neck to feet. Cut a lid from the back rather than the top so the front stays clean, or open the base instead. Scoop the insides and thin the carving wall on the front to about one inch. A thinner wall makes the narrow legs far easier to cut cleanly.

  2. Transfer the flamingo stencil

    Tape a flamingo silhouette stencil to the front, positioning the head high and the feet near the bottom curve. Poke the outline with a pin or a poking tool, following the body, the curved neck, the small round head, and both thin legs. Space your dots a little closer together along the legs and feet so you have a clear line to follow. Peel the paper and connect the dots with a pencil if the pattern is faint.

  3. Cut the thin legs first

    Start with the two long legs while the whole body area above them is still uncut and solid. That surrounding rind gives your blade something firm to push against so the narrow strips do not flex and snap. Use a small detail saw and make slow, straight passes, letting the saw do the work rather than forcing it. Cut the little feet at the bottom the same way, keeping each toe as its own short slot.

  4. Remove the body last

    Once the legs are safely done, cut the large body, neck, and head opening as the final step. Saw the outline in sections and gently push each piece inward so you do not tug on the delicate legs below. Take your time at the point where the body meets the top of the legs, since that junction is where a slip could crack a leg. Clean up any ragged edges with a light pass of the saw.

  5. Bevel the edges for a brighter glow

    Angle your saw slightly so the cut edges flare wider toward the inside. This lets more light spill through the narrow leg slots, which otherwise read as thin dark lines. Trim any stringy pulp still clinging inside the openings so nothing blocks the light. Wipe the front clean with a damp cloth.

  6. Light it and photograph

    Drop in a battery LED tea light or a small puck light rather than a candle, since the open silhouette shows off a steady even glow. Set the pumpkin at eye level on a step and shoot a little after dusk when the sky still holds some color. Rub the cut edges with petroleum jelly to slow drying and keep the legs looking crisp. A second small LED behind the pumpkin can add depth if you want.

Gather your supplies

Check things off as you get ready.

Work on a stable surface, keep your free hand out of the cutting path, and have an adult handle sharp tools.

Three levels of light

  • Leave intact

    The pumpkin skin all around the bird stays untouched and dark, framing the silhouette.

  • Peel & shade

    Optional shallow scraping along the flamingo's back or wing edge can add a dim orange highlight without cutting through.

  • Cut through

    The body, curved neck, head, and both thin legs are cut all the way through for the brightest glow.

Learn the carving basics

Before you start cutting

How do I keep the thin legs from breaking?

Cut them first, while the large body area above is still solid rind. That surrounding shell braces your blade so the narrow strips cannot flex and crack. Thin the carving wall to about an inch beforehand and use slow, gentle saw strokes.

My leg slots look too dark and thin to see. What helps?

Bevel the inside edges so they flare wider than the front opening, which lets more light escape through the narrow cuts. Clearing all the pulp behind the legs also helps. A brighter LED close behind the front wall makes the legs pop.

Since this is a concept image, can a real pumpkin really hold this shape?

Yes, as long as you keep the legs as their own attached slots and carve them before the big body opening. Do not make the legs any thinner than a pencil width, and leave a solid base of rind under the feet. Following the leg-first order keeps a real carving structurally sound.

Your take belongs here, too.

Changed a detail? Made it simpler? Share a photo of your version and tell the community what worked.

Share your pumpkin

More pumpkins like this

You've reached the end · 8 pumpkins
The Patch Report

Fresh pumpkins, in your inbox.

The best new carvings, ideas worth stealing, and how-tos for carving season. Short, seasonal, and gone by November.

A short email during carving season. Unsubscribe anytime. See our privacy policy.