Halloween Pumpkin Carving Contest · Starts October 1st · $500 in prizes
← Back to ideas
@ai_concepts
Sep 14, 2026
Seated Teddy Bear Pumpkin
1/2
AI
0

Seated Teddy Bear Pumpkin

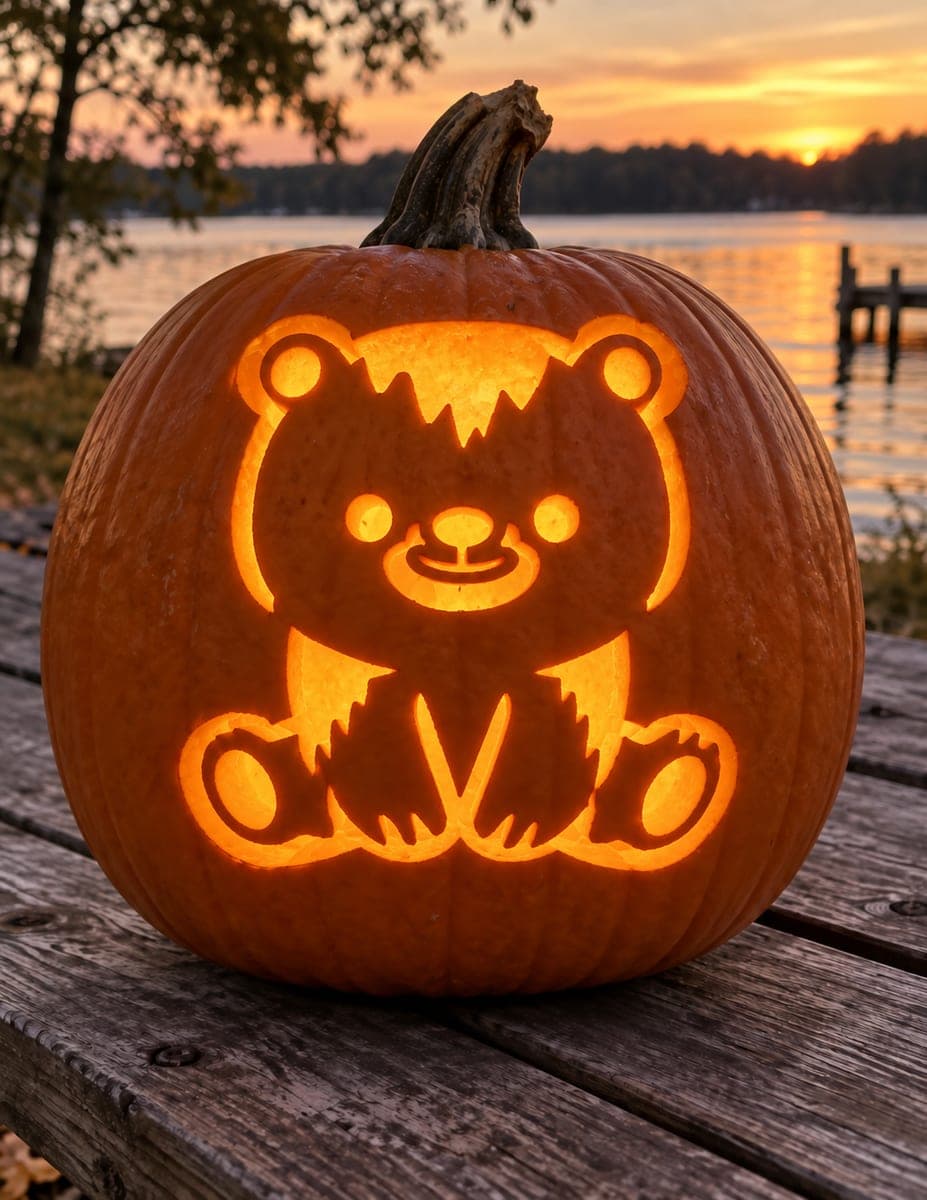
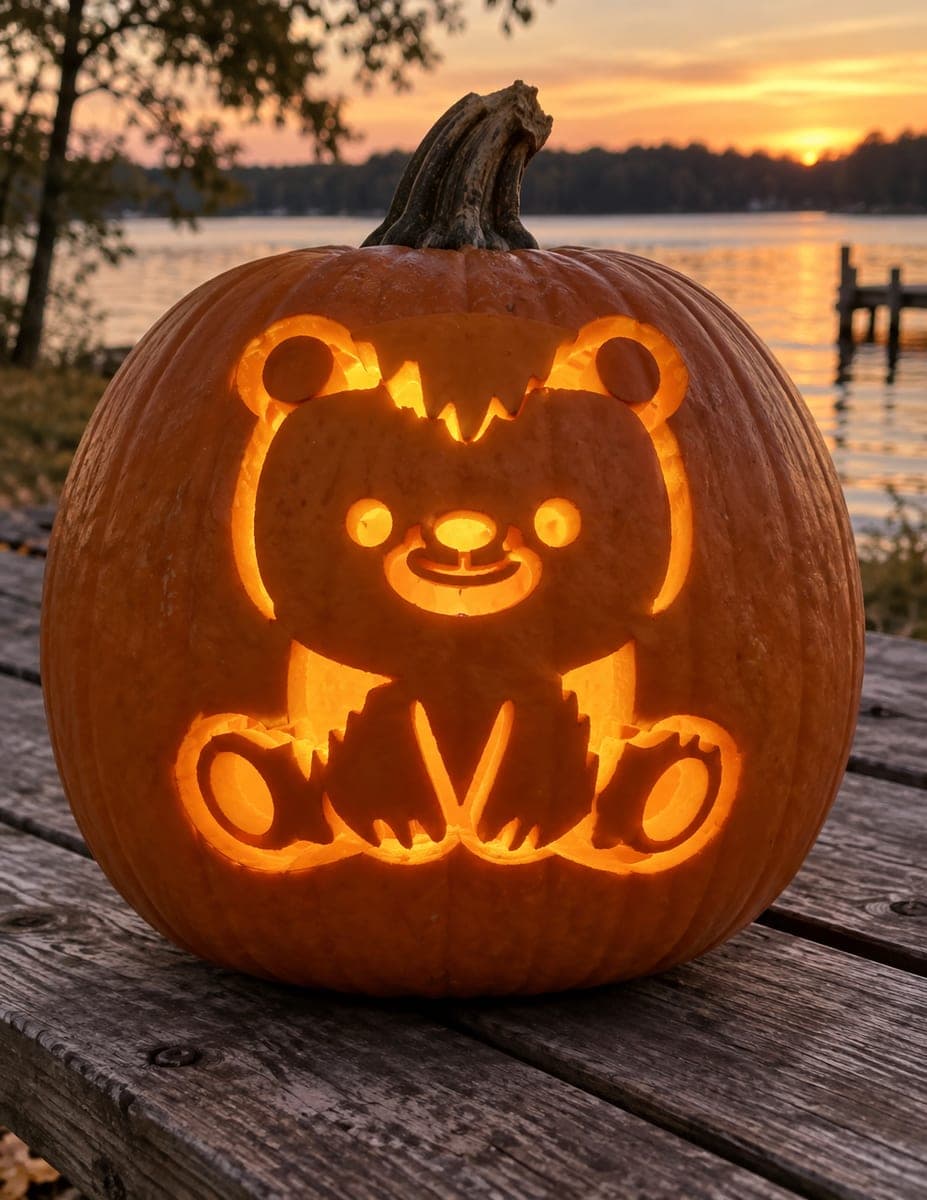
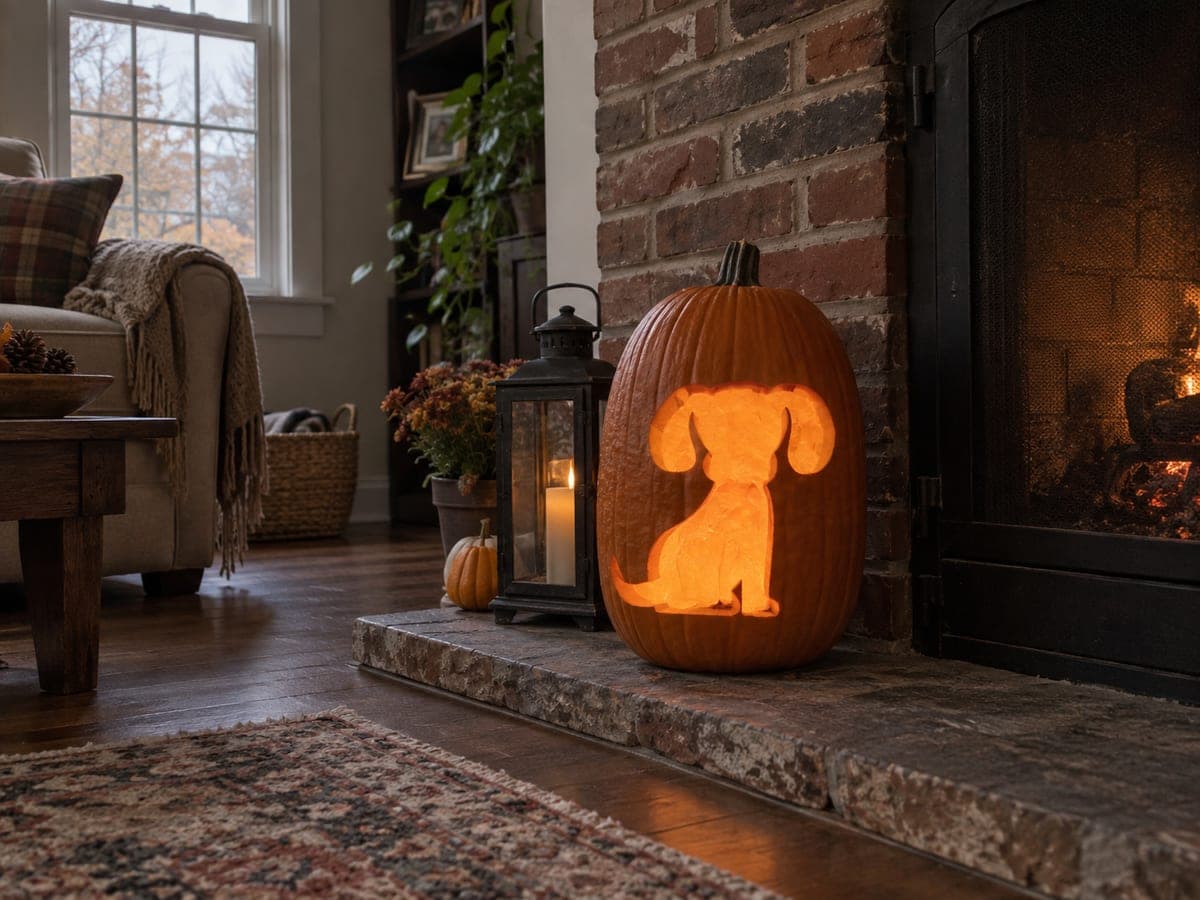
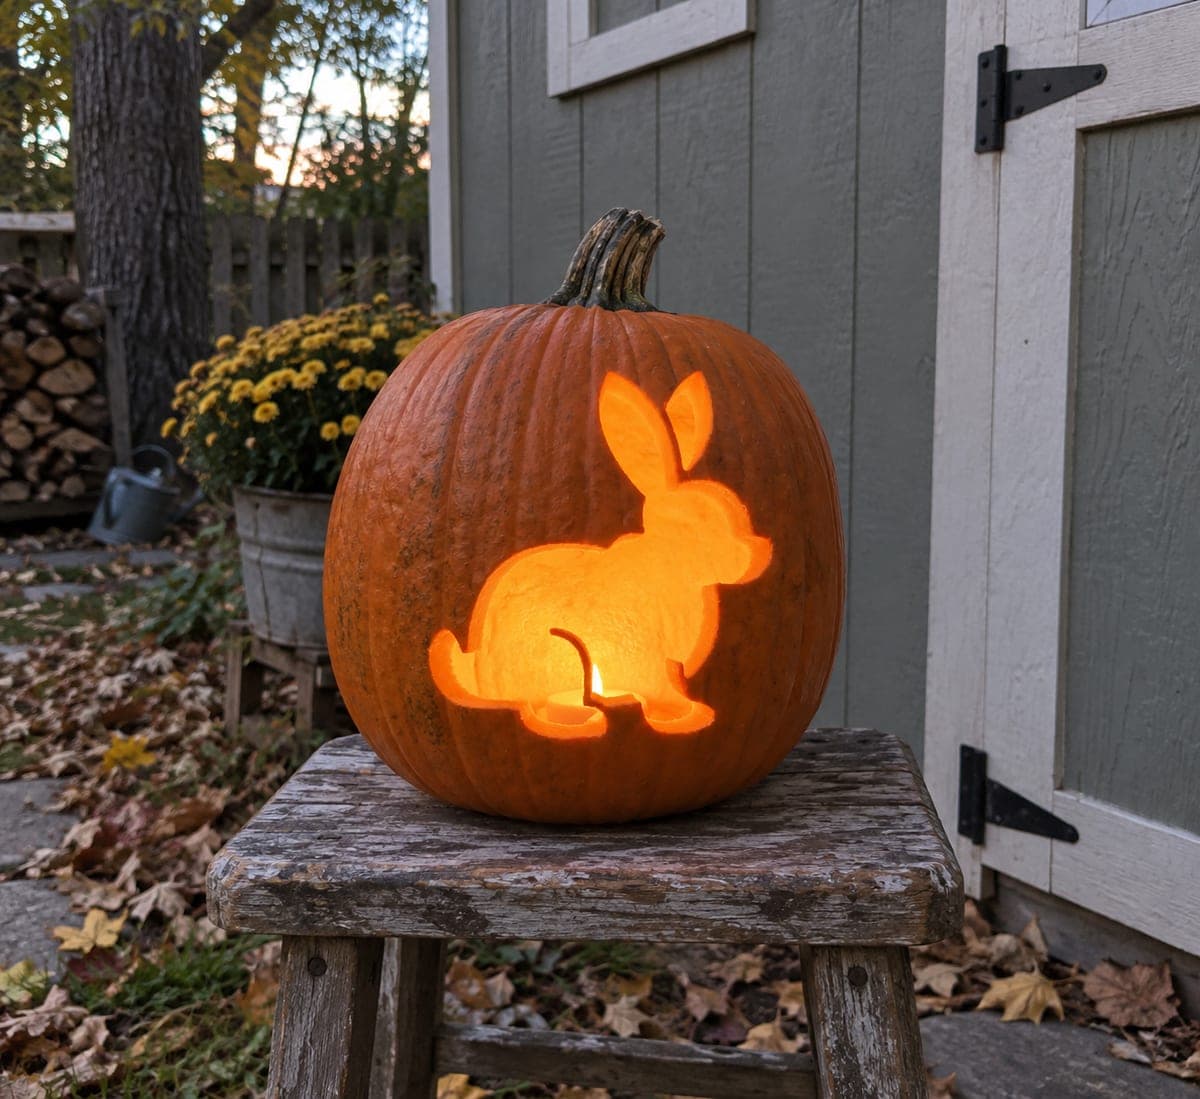
A cute teddy bear sits facing forward, its round ears perched on top, stubby arms at its sides, chubby body tapering to two small round feet, and a cheerful face with circular eyes and a small nose-and-mouth detail. The bear outline and all interior details are carved as cutouts in this pumpkin carving idea, with tiny uncut bridges holding the eyes and nose dots in place within the glowing body. Carve the small facial detail openings before you remove the large chest and belly area, since having solid surrounding wall makes the precision cuts on the face much easier to control.

This is an AI-generated concept image: a realistic, carvable design idea rather than a photo of a finished carve. AI concepts are always labeled and sit out the leaderboard and the contest.
No ratings yet · Sign in to rate

Comments (0)

  • No comments yet — be the first.

Save without an account. Sign in to like or comment.

Our tips for carving a similar design

The whole trick here is layering delicate face cuts against one big glowing belly, with tiny uncut bridges holding the eye and nose dots in place so they float inside the light. Plan to carve the small, precise face openings first while the surrounding shell is still solid and stable, then save the large chest and belly cutout for the very end. Everything on this bear is a full cutout, so clean, confident edges matter more than shading.

Written by PumpkinCarvingIdeas.com, inspired by the image above. These are our suggestions, not instructions from the uploader. This approach to the AI concept has not been tested on a real pumpkin.

From pumpkin to porch

  1. Transfer the bear pattern

    Since this is an AI concept and no real pumpkin exists, start by printing or drawing a seated teddy bear outline sized to your pumpkin's flattest front face. Tape the pattern smoothly and poke closely spaced dots along every line with a pin or awl. Pay special attention to the round ears, the two eye dots, and the small nose and mouth so their placement stays symmetrical. Pull the paper and connect the dots lightly in pencil if the outline looks faint.

  2. Scoop and thin the front wall

    Have an adult cut a lid or a bottom access hole, then clean out the seeds and pulp. Use a scraper to thin the front carving wall to about one inch so your tools pass through without a fight. A thinner, even wall makes the fine face cuts far more controllable. Keep the rest of the shell thicker for strength.

  3. Cut the tiny face details first

    While the front is still one solid, supported surface, carve the two circular eyes and the small nose and mouth openings. Leave a couple of narrow uncut bridges across each eye and the nose dot so those little shapes stay anchored in the glow later. Use a fine saw or a craft knife and take slow, short strokes. Working these precision cuts now, before any large opening weakens the wall, keeps everything from flexing.

  4. Outline the ears, arms, and feet

    Next carve the smaller shaped openings that define the body: the gap inside each round ear, the notches marking the stubby arms, and the two little round feet. These medium cuts read as the bear's outline against the dark skin. Keep the connecting fur edges slightly jagged for that soft, plush look. Support each piece with your free hand as it releases so nothing tears.

  5. Remove the big chest and belly last

    Now open the large central belly and chest area that gives the bear its bright body glow. Cutting this generous opening last means the shell stayed rigid during all the fine work. Ease the tool along your outline and lift the waste piece straight out rather than prying. Trim any ragged inside edges so the light spreads evenly.

  6. Light it and photograph

    Drop in a battery LED light, never a candle, so the thin bridges and edges stay cool and safe. Set the brightness so the belly reads as a warm sheet of light and the floating eyes and nose show clearly. Photograph at dusk from straight on to capture the bear's cheerful face. A little petroleum jelly on cut edges slows drying if you want it to last a few extra days.

Gather your supplies

Check things off as you get ready.

Work on a stable surface, keep your free hand out of the cutting path, and have an adult handle sharp tools.

Three levels of light

  • Leave intact

    The bear's body, head, ears, arms, and feet stay as untouched skin so the animal reads dark against the glow.

  • Peel & shade

    Optional light skin-peeling around the fur edges of the arms and belly can add a soft dim halo if you want more depth.

  • Cut through

    The large chest and belly, the ear openings, the eyes, and the nose and mouth are full cutouts that shine brightest.

Learn the carving basics

Before you start cutting

How do I keep the eye and nose dots from falling out?

Leave two or three narrow uncut bridges of skin across each small dot so it stays fastened to the surrounding wall. These slivers are nearly invisible once the light is on but do the structural work. Cut around the dot slowly and check that each bridge is still attached before moving on.

Why carve the face before the big belly opening?

A solid, unbroken front wall stays rigid, so your knife tracks smoothly through the tiny eye and nose cuts. Once the large belly is removed the shell flexes and those precision cuts become shaky. Do all the delicate face work first, then open the big area last.

What size pumpkin works best for this bear?

Pick a medium to large pumpkin with a broad, fairly flat front so the round seated shape fits without wrapping around a curve. Too small and the eyes and nose crowd together, making the bridges fragile. A smoother rind also helps your outline stay crisp.

Your take belongs here, too.

Changed a detail? Made it simpler? Share a photo of your version and tell the community what worked.

Share your pumpkin

More pumpkins like this

You've reached the end · 8 pumpkins
The Patch Report

Fresh pumpkins, in your inbox.

The best new carvings, ideas worth stealing, and how-tos for carving season. Short, seasonal, and gone by November.

A short email during carving season. Unsubscribe anytime. See our privacy policy.