Halloween Pumpkin Carving Contest · Starts October 1st · $500 in prizes
← Back to ideas
@ai_concepts
Aug 4, 2026
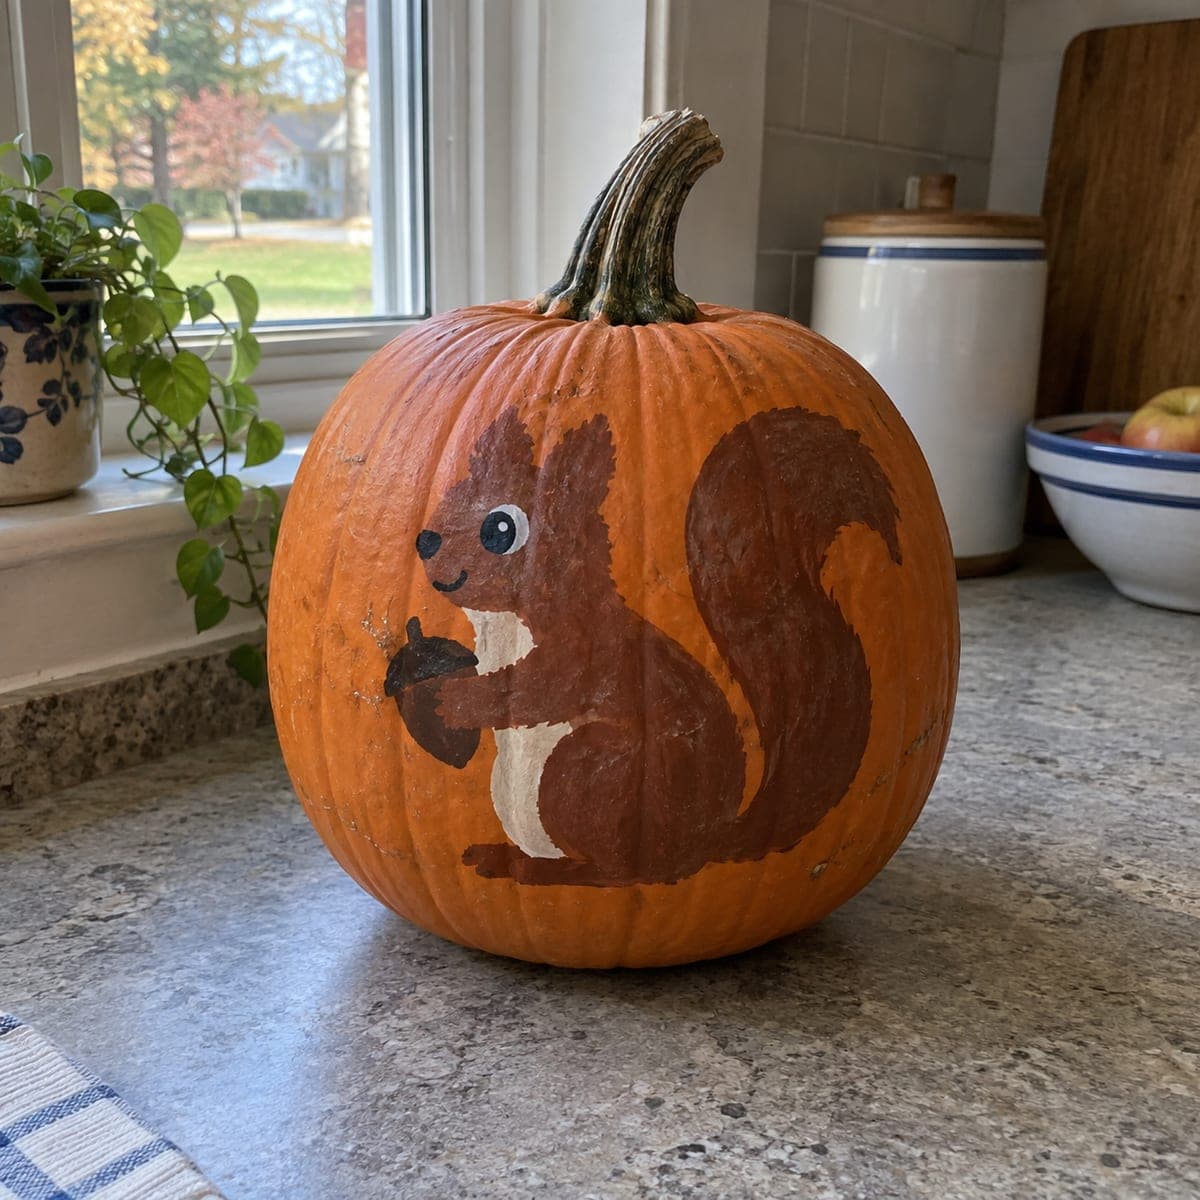
Chipmunk With Acorn Painted PumpkinAI
0

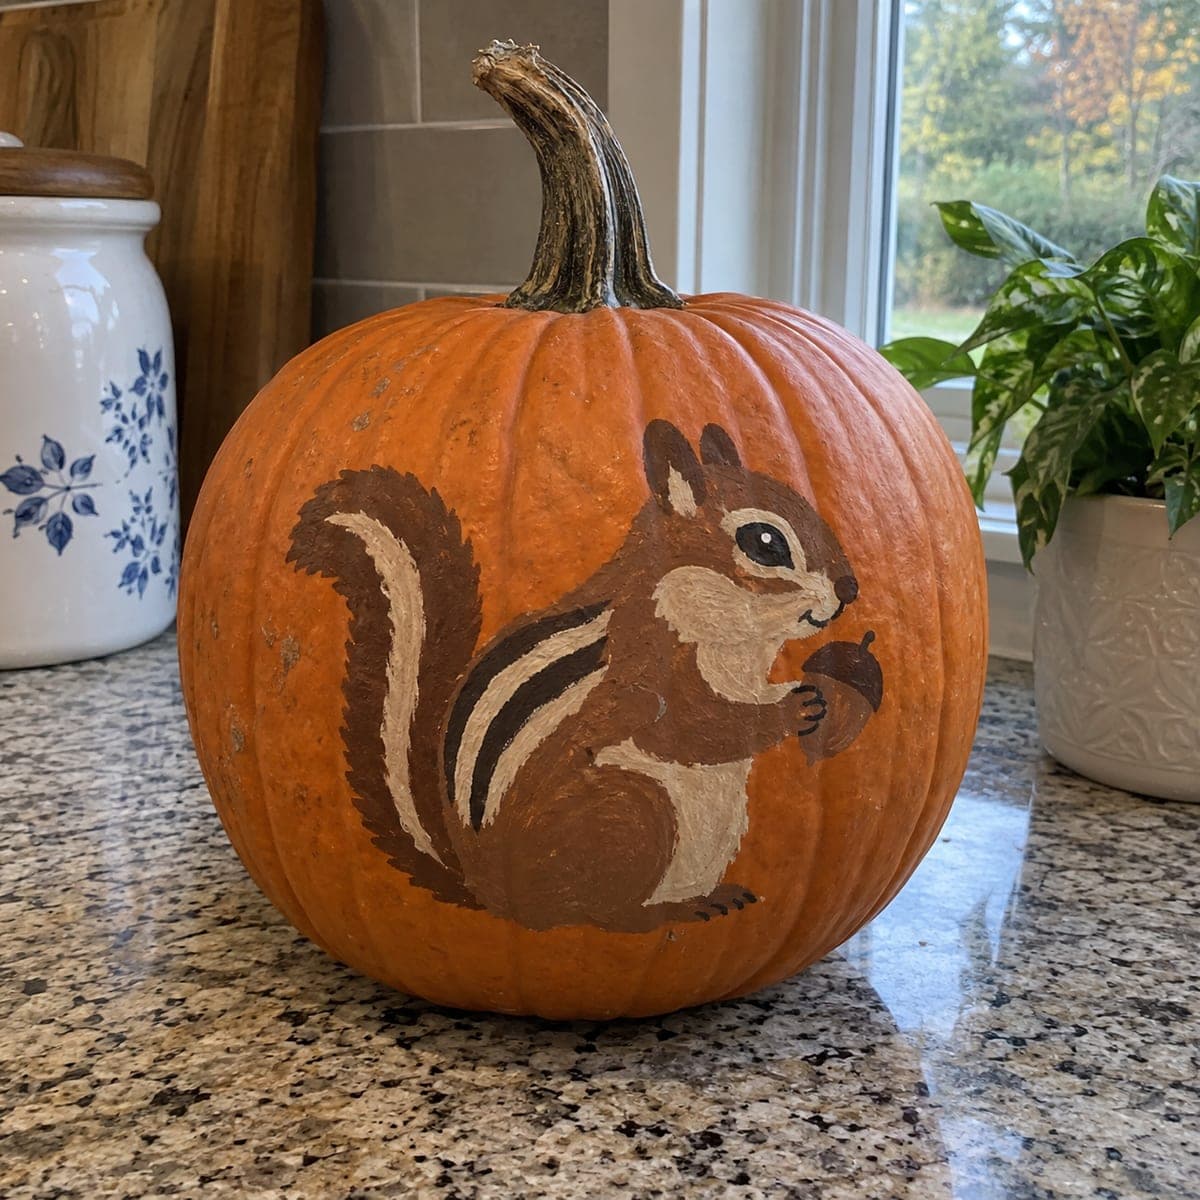
Chipmunk With Acorn Painted Pumpkin

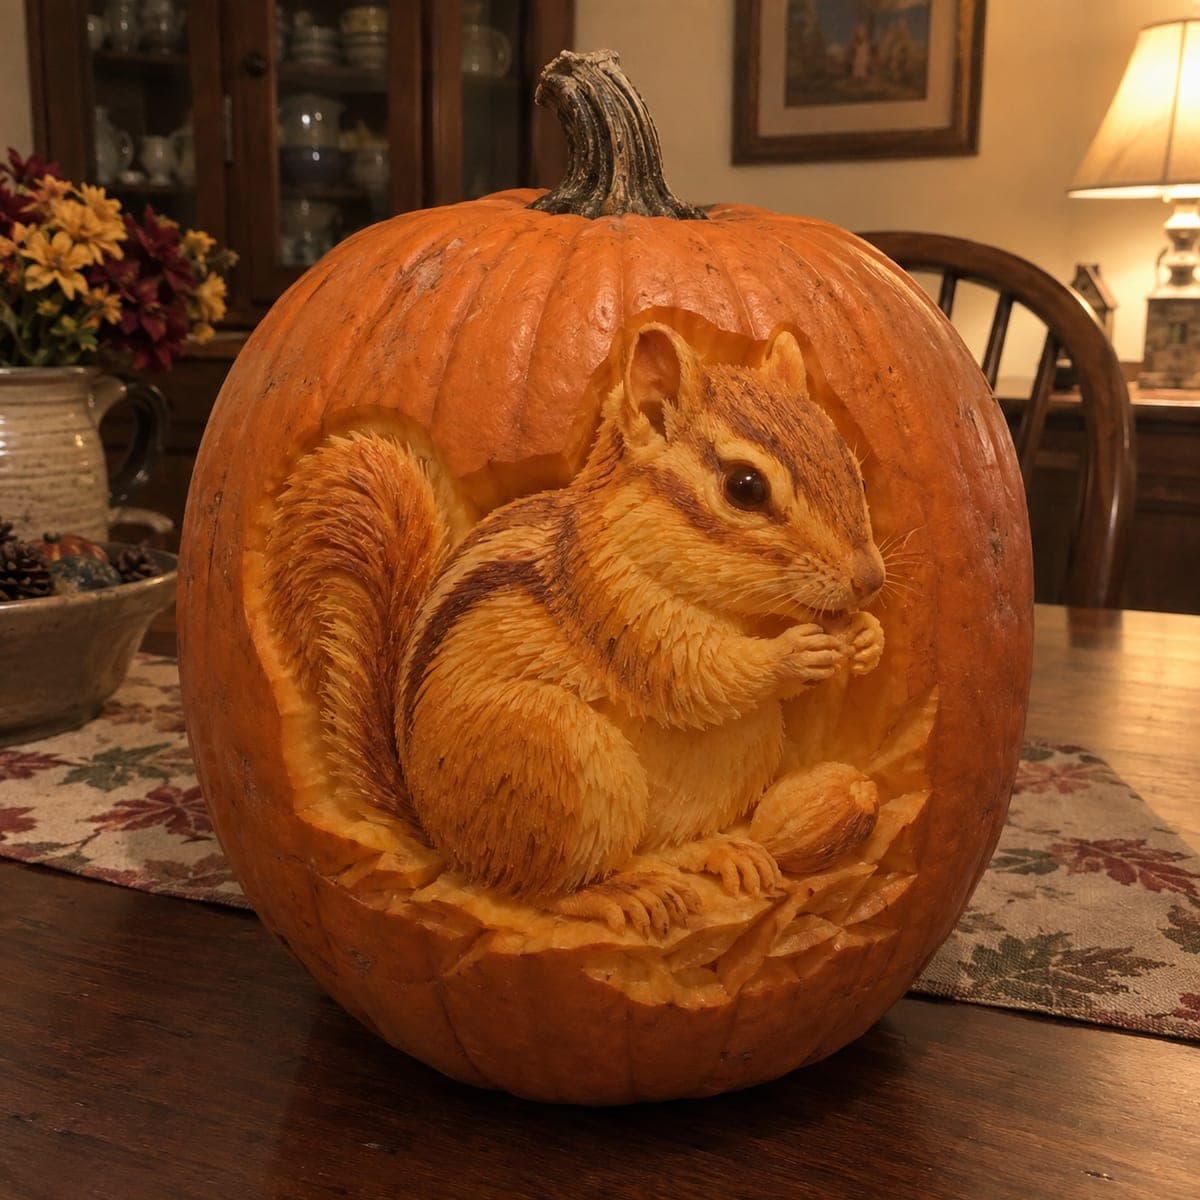
A striped chipmunk clutches an acorn on this no-carve pumpkin, painted in warm browns and creams that suit a fall kitchen as much as Halloween. Block in the body with a flat brush, then add the back stripes, fluffy tail edges, and tiny paws with a liner brush once the base coat dries. Seal it with matte spray and it will last from September through Thanksgiving. A cozy harvest craft for anyone who prefers paint to knives.

This is an AI-generated concept image: a realistic, carvable design idea rather than a photo of a finished carve. AI concepts are always labeled and sit out the leaderboard and the contest.

No ratings yet · Sign in to rate
Comments (0)

  • No comments yet — be the first.

Save without an account. Sign in to like or comment.

Our tips for carving a similar design

The core trick here is layering acrylic paint from broad to fine: block the chipmunk body as a flat silhouette, then build the striped back, fluffy tail, and acorn on top once each layer dries. Because this is a no-carve design, the pumpkin skin becomes your canvas, so the warm browns and creams read best against the untouched orange. Since this is an AI concept image, treat it as a plan for a real pumpkin you paint rather than a copy of any existing one.

Written by PumpkinCarvingIdeas.com, inspired by the image above. These are our suggestions, not instructions from the uploader. This approach to the AI concept has not been tested on a real pumpkin.

From pumpkin to porch

  1. Clean and dry the surface

    Wipe the pumpkin with a damp cloth and a little dish soap to remove wax and field dirt, then dry it fully. Paint grips poorly on a greasy or damp rind, so give it a few minutes to air dry. Pick the smoothest, flattest panel between the ribs for your chipmunk. Set the pumpkin on a towel so it does not roll while you work.

  2. Sketch the chipmunk lightly

    Use a washable marker or a soft pencil to draw the seated chipmunk profile, the arched tail, and the acorn held at the chest. Keep the body one simple teardrop shape with a rounded head and upright ears. Mark where the dark back stripes and pale cream belly will sit. Step back and check the proportions before you commit any paint.

  3. Block in the base body

    With a flat brush and mid brown acrylic, fill the whole chipmunk body, head, and tail as a solid shape. Leave the cream areas of the cheek, belly, and tail edge unpainted for now, or block them in a separate cream pass. Let this base coat dry completely, which usually takes 20 to 30 minutes. A second coat gives you cleaner color if the first looks streaky.

  4. Add stripes, tail, and cream markings

    Switch to a smaller round brush and paint the dark brown back stripes with the thin cream stripes between them. Feather the tail edge with short outward strokes so it looks fluffy rather than solid. Fill the cream cheek, chest, and belly, keeping the edges soft where fur would blend. Add the brown acorn with a darker cap held in the paws.

  5. Paint the fine details with a liner

    Load a liner brush with dark brown or black for the eye, nose, mouth line, tiny toes, and whisker hints. Add a single white dot in the eye to bring it to life, and a soft white highlight on the acorn. Keep these marks small and let a steady hand do the work. Wait for full drying before touching, since fine lines smear easily.

  6. Seal and stage your photo

    Once everything is bone dry, take it outdoors and mist it with two light coats of matte clear spray, letting each coat set. Sealing protects the paint and helps the pumpkin last from September into Thanksgiving. Display it on a counter or shelf, and since there is no flame involved you can tuck a battery tea light or fairy lights nearby for a warm glow. Snap your photo in soft daylight to keep the browns rich.

Gather your supplies

Check things off as you get ready.

Work on a stable surface, keep your free hand out of the cutting path, and have an adult handle sharp tools.

Three levels of light

  • Leave intact

    The bare orange rind around the chipmunk stays untouched as the natural background.

  • Peel & shade

    For a hint of texture you could lightly score the acorn cap or tail outline, but this design relies on paint rather than peeling.

  • Cut through

    Nothing is cut on this no-carve design; if you want inner glow, keep any optional cutout small and off the painted area.

Learn the carving basics

Before you start cutting

Do I need to carve anything at all for this design?

No, this is fully no-carve, so knives stay in the drawer. Everything you see is built with acrylic paint on the uncut rind. If you crave a little glow, set battery lights beside it rather than cutting into the painted surface.

How do I keep the fine stripes and whiskers from smearing?

Let every layer dry completely before adding the next, especially before the liner details. Acrylic feels dry to the touch faster than it fully cures, so give it a full 20 to 30 minutes between passes. Rest your painting hand on a paper towel to steady it and pull thin lines in one confident stroke.

Will a painted pumpkin really last through fall?

A firm, unblemished pumpkin kept indoors and out of direct sun can last many weeks since it is never cut open. Cleaning the skin first and sealing with matte spray at the end both help the paint stay put. Wipe it gently with a dry cloth if it gets dusty.

Your take belongs here, too.

Changed a detail? Made it simpler? Share a photo of your version and tell the community what worked.

Share your pumpkin

More pumpkins like this

You've reached the end · 8 pumpkins
The Patch Report

Fresh pumpkins, in your inbox.

The best new carvings, ideas worth stealing, and how-tos for carving season. Short, seasonal, and gone by November.

A short email during carving season. Unsubscribe anytime. See our privacy policy.