Halloween Pumpkin Carving Contest · Starts October 1st · $500 in prizes
← Back to ideas
@ai_concepts
Aug 4, 2026
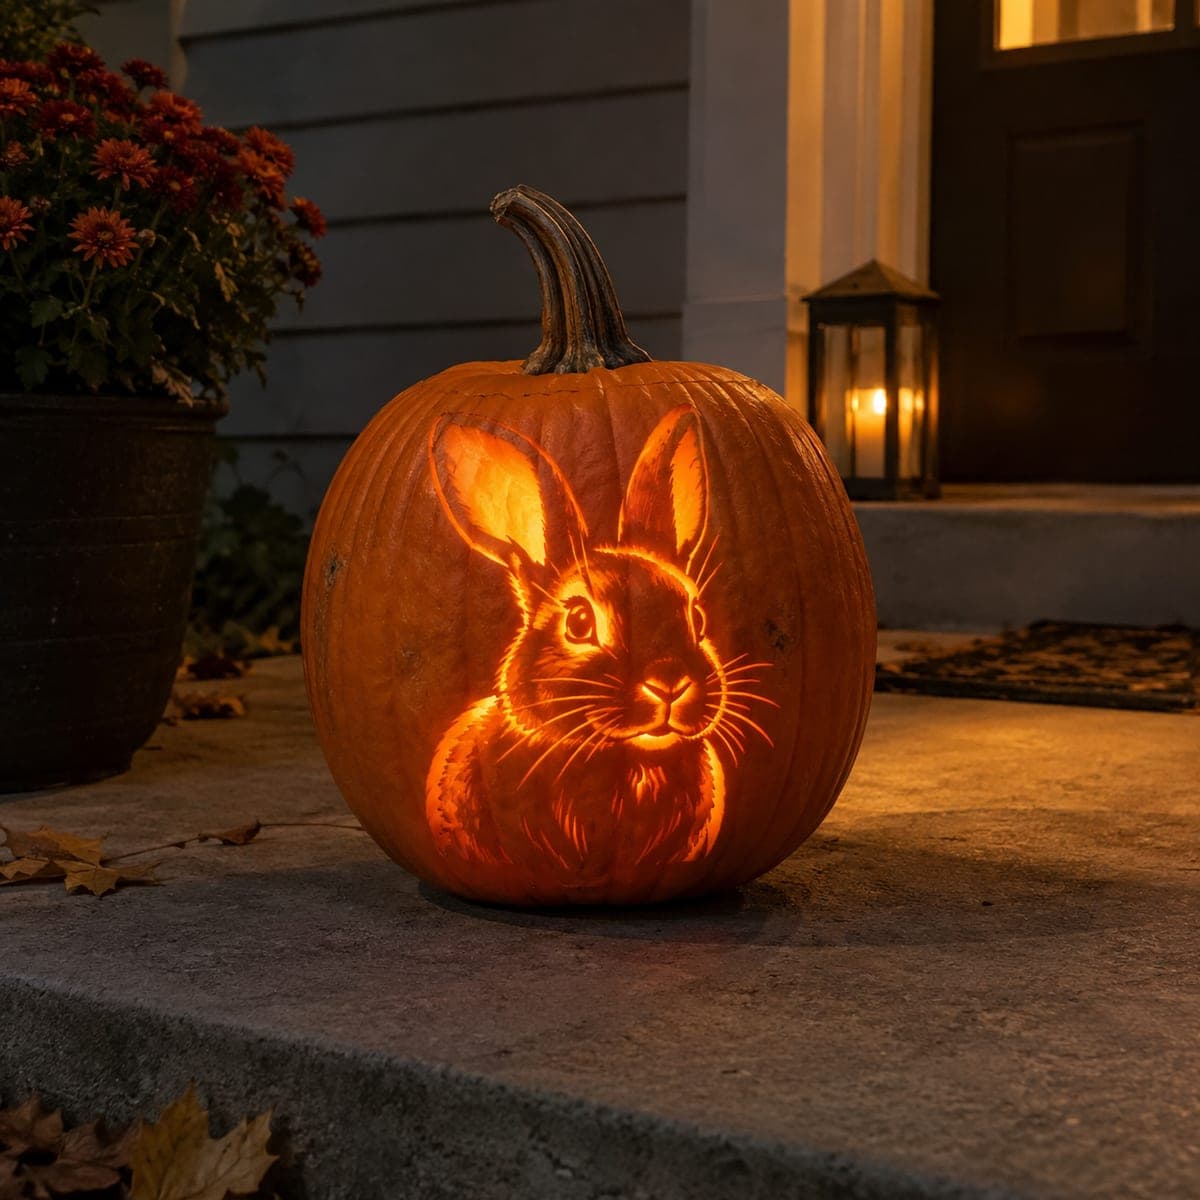
Cottontail Bunny Among Wildflowers Etched PumpkinAI
0

Cottontail Bunny Among Wildflowers Etched Pumpkin

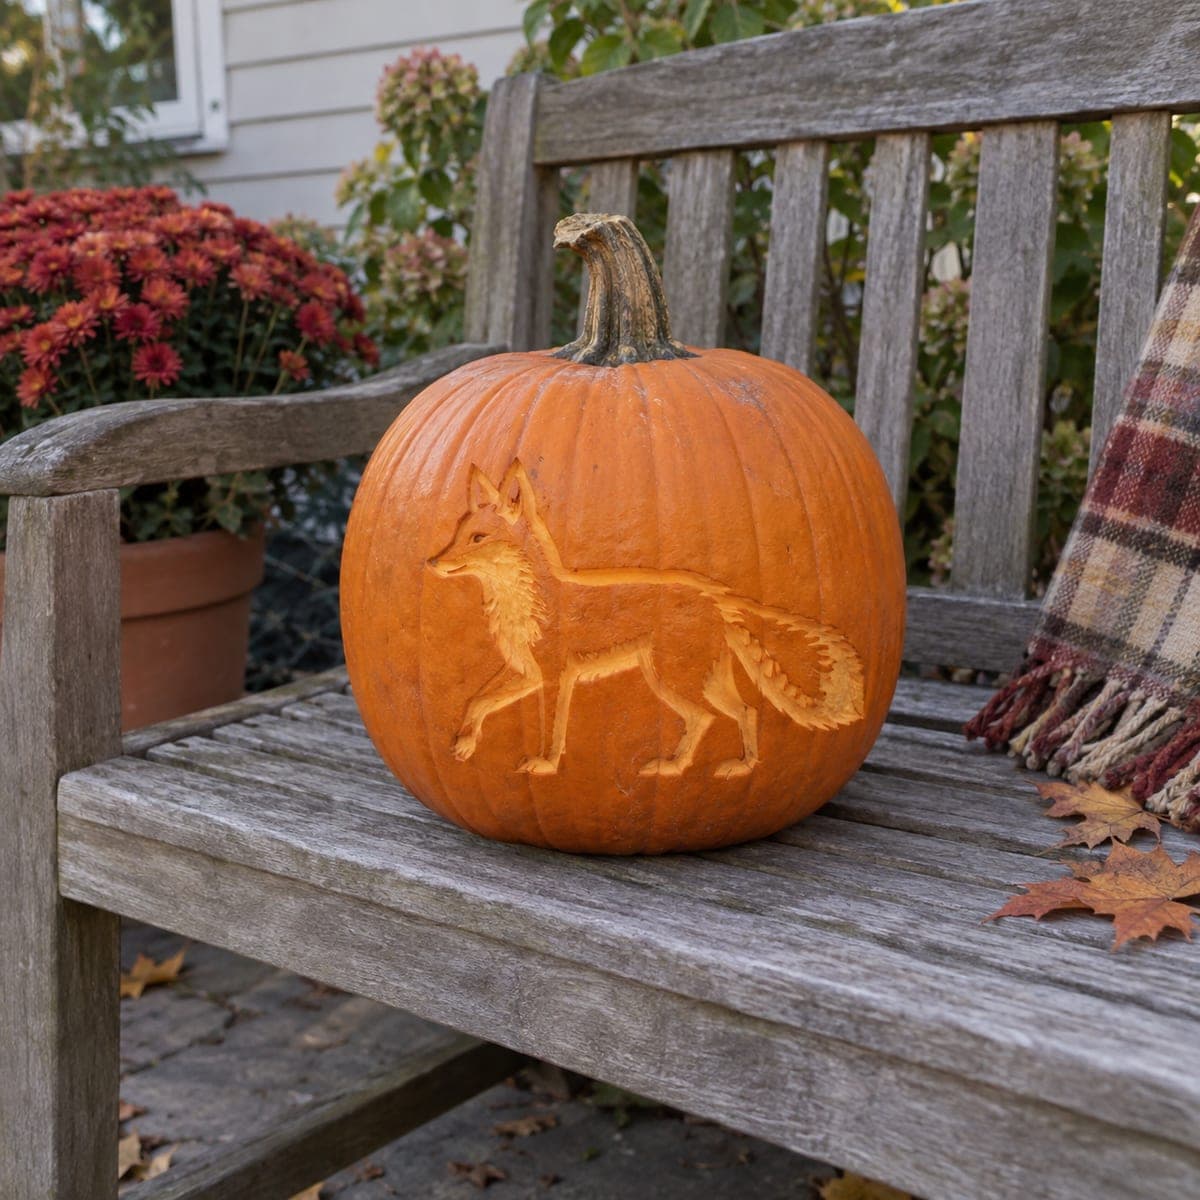
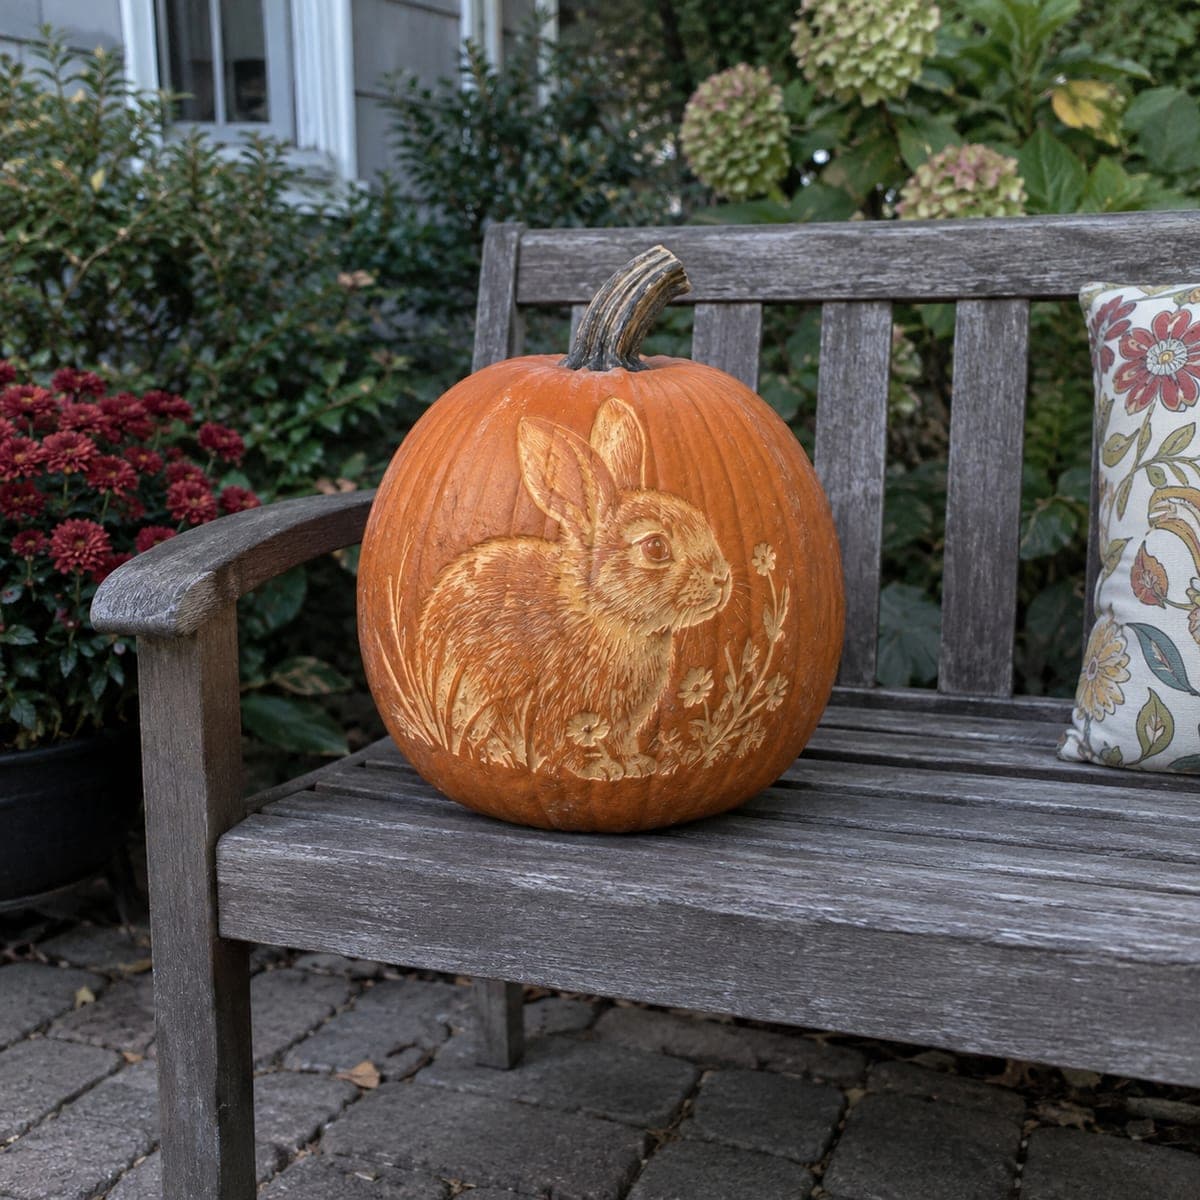
A soft-eyed cottontail rabbit sits in a patch of etched daisies and grasses, giving this pumpkin the look of a woodland storybook illustration. All the texture comes from shallow surface carving, with fine fur strokes cut in the direction the coat would grow. It displays beautifully unlit on a garden bench, and a coat of spray matte sealer will keep the pale etched areas from browning for about a week.

This is an AI-generated concept image: a realistic, carvable design idea rather than a photo of a finished carve. AI concepts are always labeled and sit out the leaderboard and the contest.

No ratings yet · Sign in to rate
Comments (0)

  • No comments yet — be the first.

Save without an account. Sign in to like or comment.

Our tips for carving a similar design

The whole look here is built from shallow surface carving, not open cuts, so the bunny and wildflowers read as a soft illustration rather than a lantern. The core trick is removing only the skin at different depths, letting untouched orange act as your darkest shadow while scraped areas glow pale. Plan it as a portrait first, then let the grasses and daisies fade out toward the edges.

Written by PumpkinCarvingIdeas.com, inspired by the image above. These are our suggestions, not instructions from the uploader. This approach to the AI concept has not been tested on a real pumpkin.

From pumpkin to porch

  1. Prep and transfer the scene

    Since this is a concept image, you would start with a smooth, evenly colored real pumpkin that has a flat display side. Leave the pumpkin whole and do not gut it, because etched designs stay firmer and browning slows when the wall is intact. Tape your bunny-and-wildflower pattern onto the chosen face and poke light dots along the main outlines with a needle tool. Keep the transfer simple, marking just the body, ear, eye, and the largest flower stems.

  2. Outline the shapes with a shallow score

    Trace the bunny's back, head, ear, and the flower stems with a fine detail knife or a lino-style U-gouge, cutting only a couple of millimeters deep. These score lines are guides, not openings, so keep them light and continuous. Work slowly around the ear and face where the curves are tight. Adults should handle all blades, and always cut away from your holding hand.

  3. Scrape the body to a mid glow

    Switch to a ribbon or loop tool and peel the skin off the whole rabbit body, leaving a thin pale layer that will read as soft fur color. Vary your pressure so the belly and cheek come out a touch lighter than the shadowed back. Leave the eye and the darkest crease behind the front leg as untouched skin so they stay dark. This mid layer is the heart of the design, so take your time and keep the surface even.

  4. Add fur strokes and flower detail

    With a small V-gouge, carve short fur strokes in the direction the coat grows, sweeping down the back and curving around the haunch. Go deeper on the brightest highlights along the chest and around the eye so they catch the most light. Etch the daisies and grasses with the same light hand, scraping petals to a soft glow and leaving the spaces between blades of grass as dark skin. Let the flowers fade to just a few scratches near the outer edges.

  5. Refine contrast and clean up

    Step back and check your values from a few feet away, since etched work reads best at a distance. Deepen any spot that should pop, like the rim of the ear or the eye highlight, and leave alone anything that already looks dark enough. Brush away all the pulp dust with a dry paintbrush so fine lines stay crisp. Wipe the surface with a barely damp cloth to lift stray flecks.

  6. Seal and display

    Because the pale etched areas will brown quickly, mist the carved face with a light coat of clear matte spray sealer and let it dry fully. This design shines unlit on a bench or step, so you can display it as is. If you want a faint evening glow, set a battery LED behind or beside it rather than inside, since there are no cutouts to pass light through. Skip real candles entirely.

Gather your supplies

Check things off as you get ready.

Work on a stable surface, keep your free hand out of the cutting path, and have an adult handle sharp tools.

Three levels of light

  • Leave intact

    The eye, the deep crease behind the front leg, and the gaps between grass blades stay as untouched dark skin.

  • Peel & shade

    The rabbit's body, ears, and the daisy petals get skin-peeled for a soft mid glow.

  • Cut through

    Nothing is fully cut through on this design, so the brightest notes are the deepest fur highlights on the chest and around the eye.

Learn the carving basics

Before you start cutting

Do I need to hollow out the pumpkin for this?

No, and it is better not to. Etched designs like this rely on an intact wall for firmness and detail, and there are no openings for a light to shine through. Leaving it solid also slows the browning of the pale carved areas.

How do I keep the fur looking soft instead of scratchy?

Follow the direction the coat would actually grow, sweeping strokes down the back and curving them over the haunch and cheek. Use a small V-gouge with light, consistent pressure and keep the strokes short. Overlapping many fine lines reads as soft fur, while a few deep gouges will look harsh.

How long will the pale etched areas stay looking fresh?

Unsealed, expect the scraped areas to start browning within a day or two. A light coat of clear matte spray sealer can hold the color for roughly a week. Keeping it in a cool, shaded spot and out of direct sun also helps.

Your take belongs here, too.

Changed a detail? Made it simpler? Share a photo of your version and tell the community what worked.

Share your pumpkin

More pumpkins like this

You've reached the end · 8 pumpkins
The Patch Report

Fresh pumpkins, in your inbox.

The best new carvings, ideas worth stealing, and how-tos for carving season. Short, seasonal, and gone by November.

A short email during carving season. Unsubscribe anytime. See our privacy policy.