Halloween Pumpkin Carving Contest · Starts October 1st · $500 in prizes
← Back to ideas
@ai_concepts
Sep 25, 2026
Daisy-Painted Pumpkin With White and Yellow BloomsAI
0

Report this carving

Tell us what is wrong. Reports are private.

Daisy-Painted Pumpkin With White and Yellow Blooms

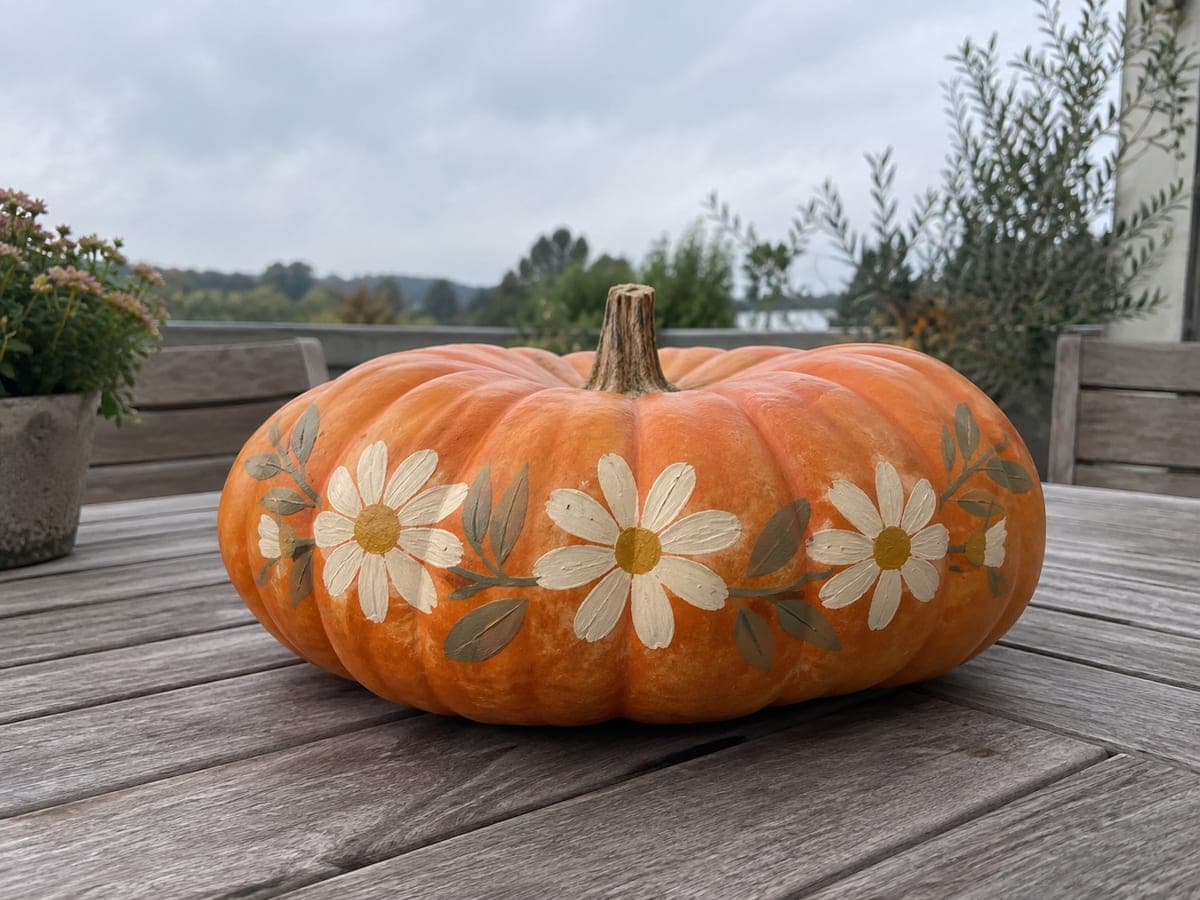
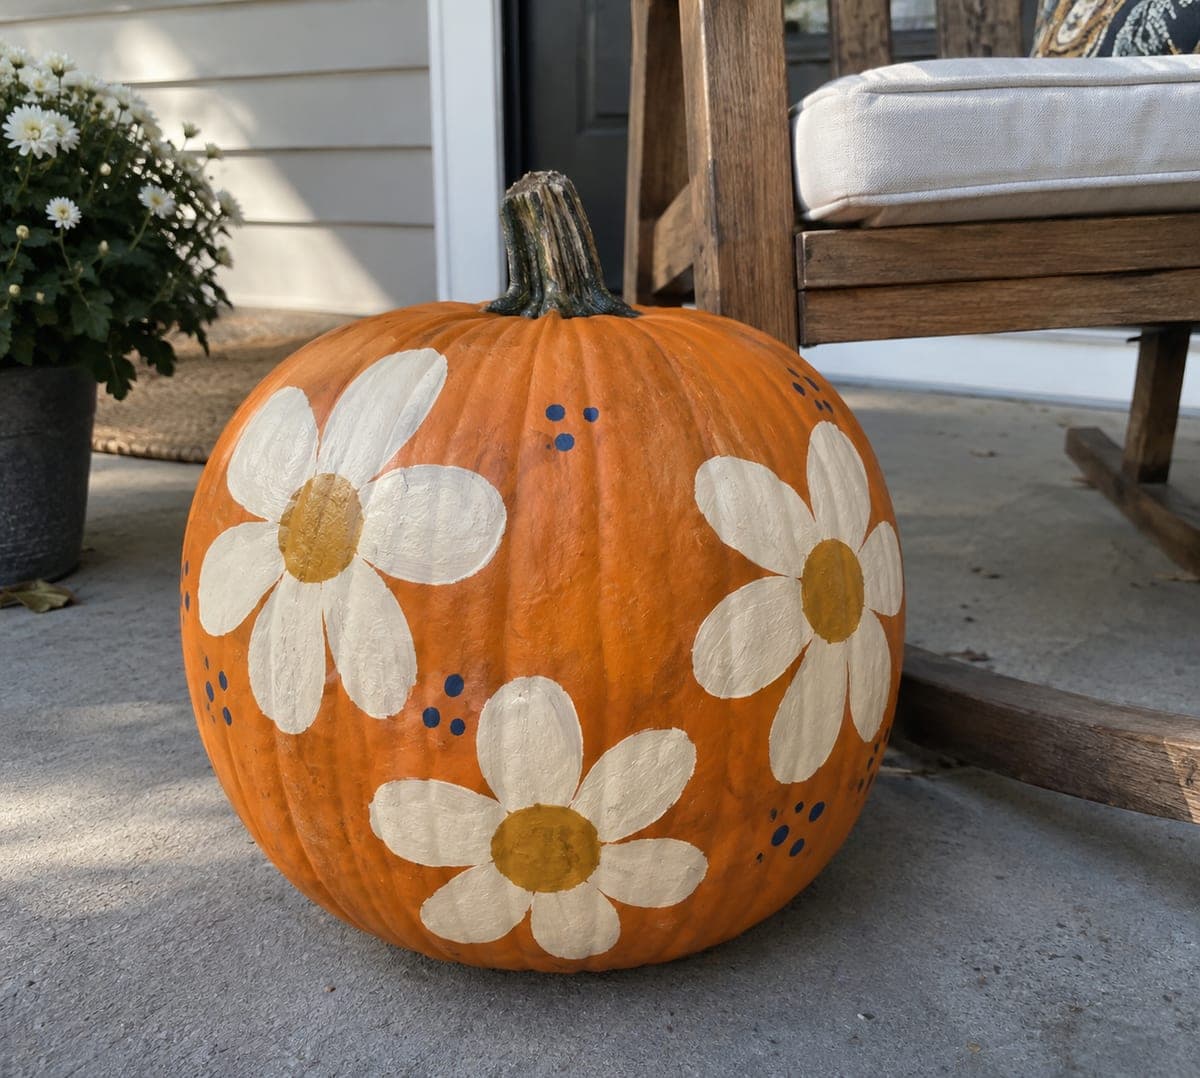
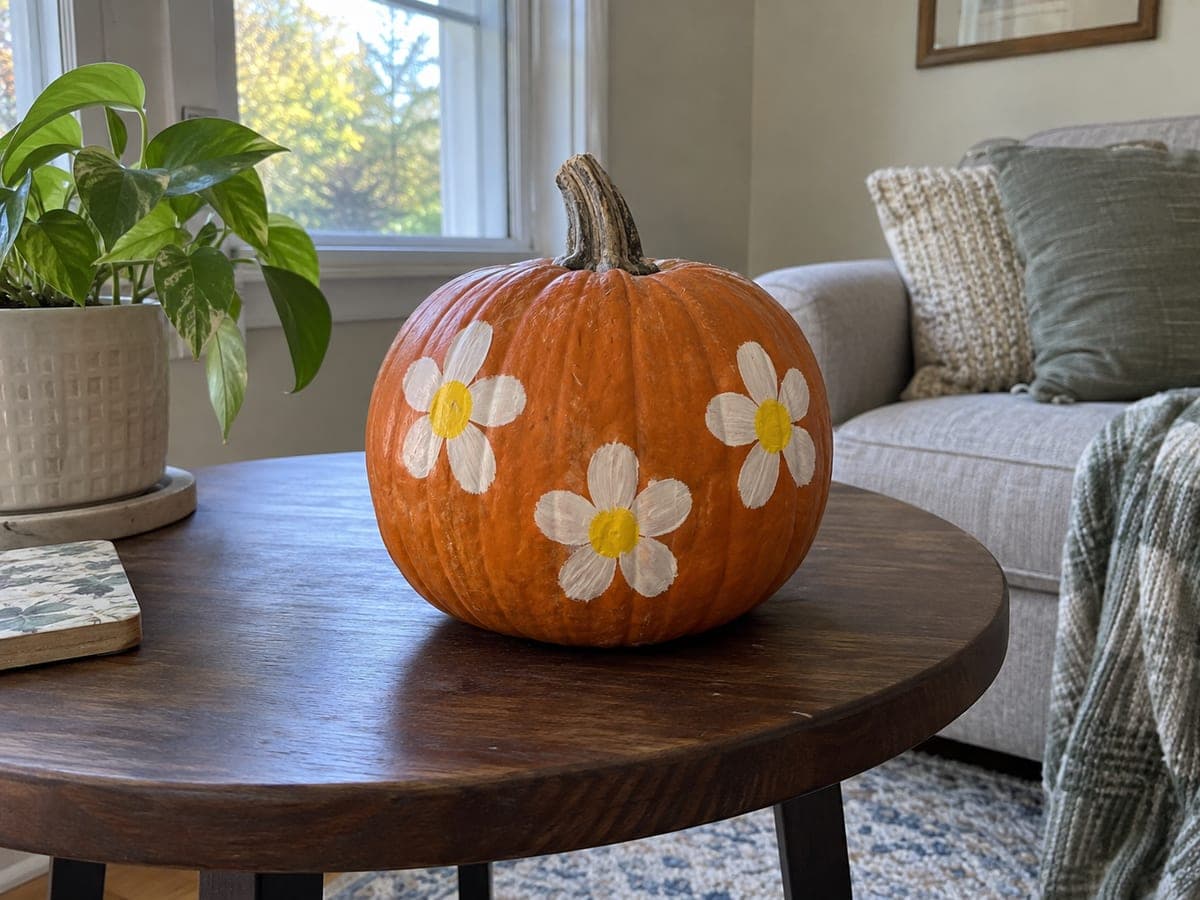
Three cheerful daisies painted in white and yellow turn an intact orange pumpkin into a fresh no-carve pumpkin carving idea. For each flower, dab five broad white petals first using a flat brush, then drop a single yellow dot at the center while the petals are still slightly wet so the colors blend softly at the edges. Space the three flowers in a loose triangle across the front face and finish with a matte sealant spray to keep the paint from chipping through October.

No ratings yet · Sign in to rate

Comments (0)

  • No comments yet — be the first.

Save without an account. Sign in to like or comment.

Our tips for carving a similar design

The design is three simple daisy clusters, each built from five broad petal strokes and one center dot. Because the paint is applied wet-into-wet at the center, the yellow dot softly bleeds into the white petals for a natural look. Spacing the three flowers in a loose triangle across the front keeps the composition balanced without requiring precision measuring.

From pumpkin to porch

  1. Clean and dry the pumpkin

    Wipe the pumpkin with a damp cloth to remove dust and field debris, then dry it thoroughly with a paper towel. Let it air-dry for 15 minutes before painting. Paint does not adhere well to any surface moisture, so patience here saves touch-up work later.

  2. Sketch the placement

    Use a soft pencil to lightly mark three small x marks where the center of each daisy will sit, arranging them in a rough triangle across the front face. The marks will be covered by paint. Leave enough space between flowers so the orange rind reads clearly as background.

  3. Paint the white petals

    Load a flat brush with white acrylic and dab five broad petal strokes radiating from each center mark. Press the full width of the brush to the surface and pull outward for each petal. Keep petals wide at the base and slightly tapered at the tip. Repeat for all three flowers.

  4. Add the yellow centers

    While the white petals are still slightly tacky, drop a generous yellow dot at the center of each flower using a round brush. The slight wetness lets the yellow blend softly at the petal edges without sharp boundaries. If the petals have dried fully, apply the dot anyway and accept a crisper center edge.

  5. Let dry and touch up

    Allow all paint to dry fully, at least 30 minutes for acrylic. Add a second coat of white on any petal that looks thin or streaky. Keep the final shapes simple, as overworking the paint while it is drying creates muddy edges.

  6. Seal and display

    Once completely dry, apply two light coats of matte spray sealant, letting each coat dry between applications. Display the pumpkin on a porch, windowsill, or table where it will be viewed from the front. No interior lighting is needed since this is a painted design.

Written with AI to match this design

Gather your supplies

Check things off as you get ready.

Work on a stable surface, keep your free hand out of the cutting path, and have an adult handle sharp tools.

Three levels of light

  • Leave intact

    The orange rind surrounding the flowers stays fully intact as the background

  • Peel & shade

    None, this design leaves the shell completely intact

  • Cut through

    None, use an outside spotlight or porch light to illuminate the painted design if desired

Learn the carving basics

Before you start cutting

Can I use craft paint instead of artist acrylic?

Yes, standard craft acrylic works fine. Avoid watercolor or tempera since they will run with any moisture. If using craft paint, apply two coats per petal as craft paint tends to be more translucent than artist acrylic, especially in white.

How do I keep the three flowers from looking lopsided?

After marking your three center points, step back and look at the overall triangle shape before painting. Adjust any mark that looks too close to another flower or too near the edge. Once you start painting, commit to the placement and keep each flower the same diameter.

Will the sealant change the color of the paint?

A matte sealant adds almost no visible sheen and does not significantly shift acrylic colors. Gloss sealant adds a noticeable shine that can make painted designs look plasticky. Use matte or satin finish for the most natural result.

Your take belongs here, too.

Changed a detail? Made it simpler? Share a photo of your version and tell the community what worked.

Share your pumpkin

More pumpkins like this

You've reached the end · 8 pumpkins
The Patch Report

Fresh pumpkins, in your inbox.

The best new carvings, ideas worth stealing, and how-tos for carving season. Short, seasonal, and gone by November.

A short email during carving season. Unsubscribe anytime. See our privacy policy.