Halloween Pumpkin Carving Contest Β· Starts October 1st Β· $500 in prizes
← Back to ideas
@ai_concepts
Jul 23, 2026
Doberman Pinscher Painted Pumpkin PortraitAI
0

Doberman Pinscher Painted Pumpkin Portrait

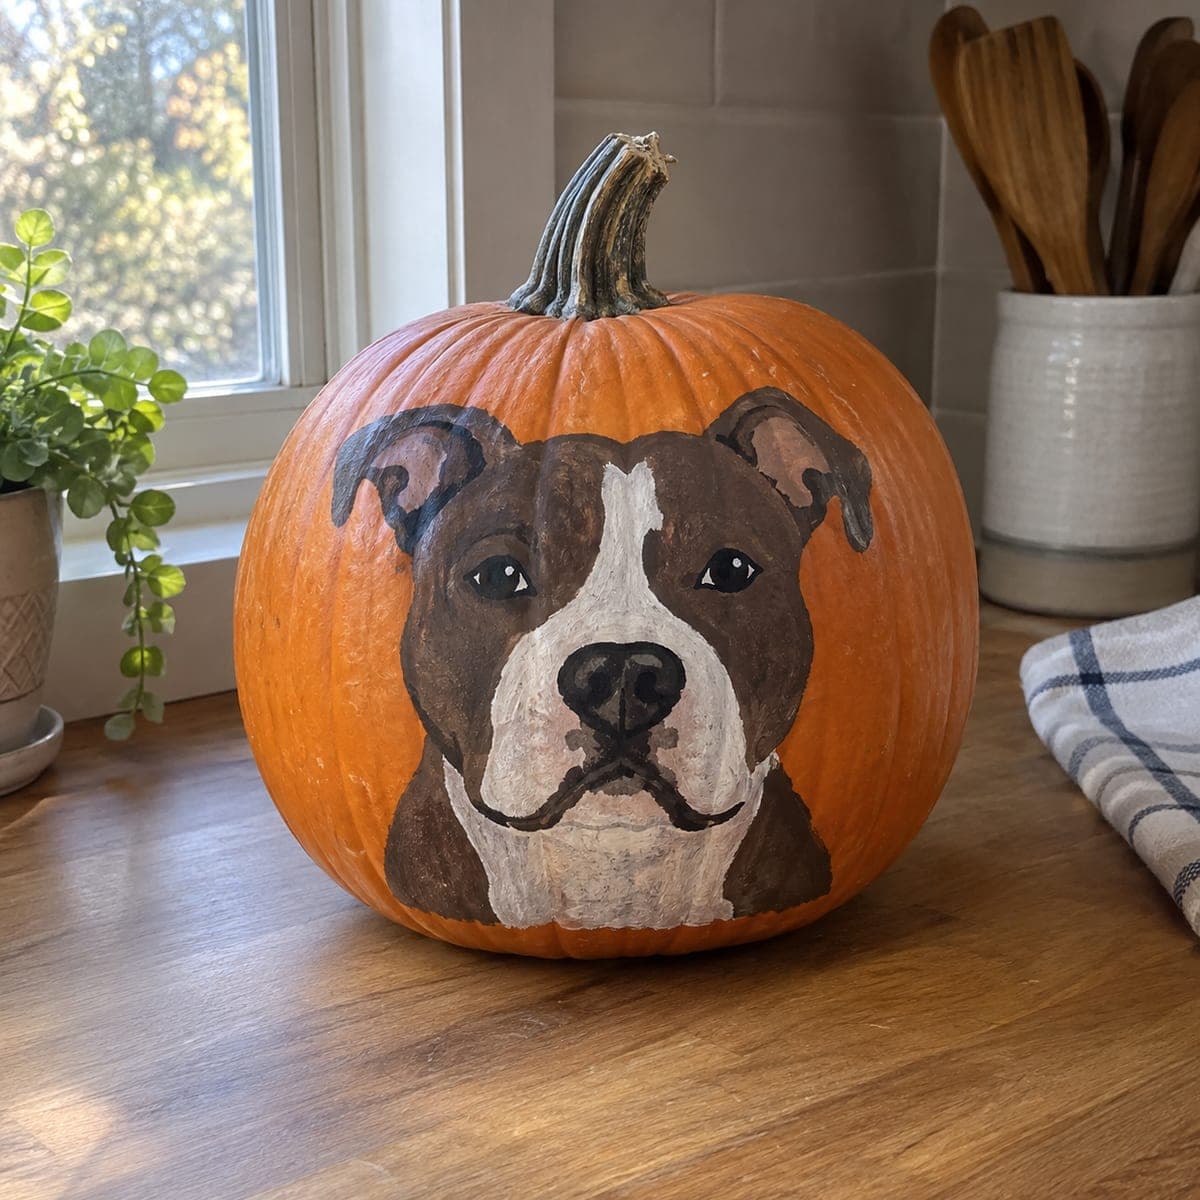
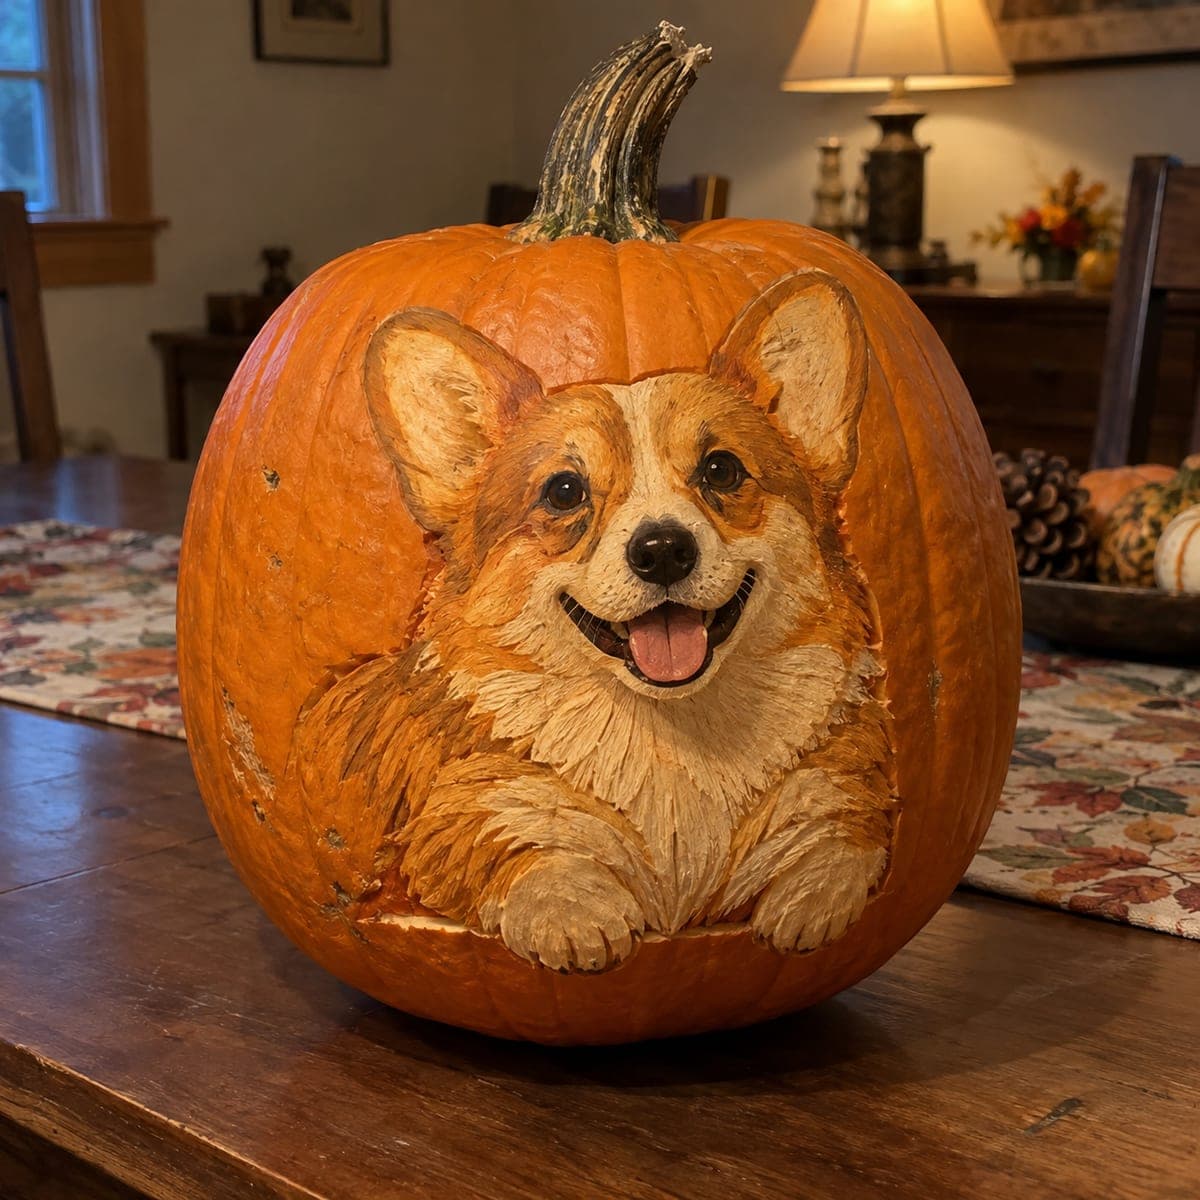
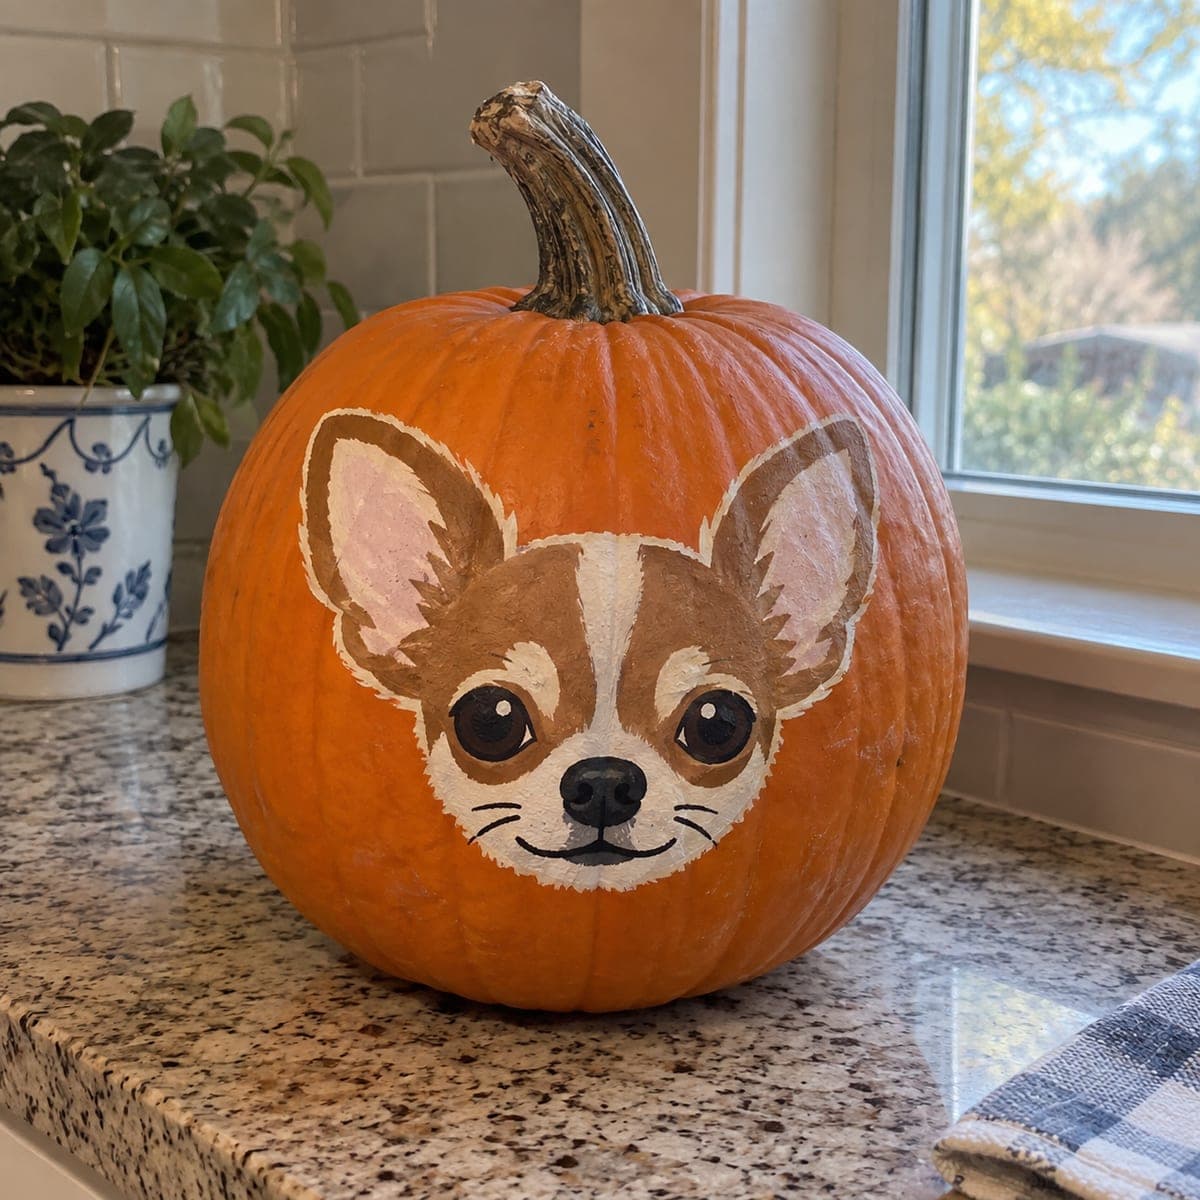
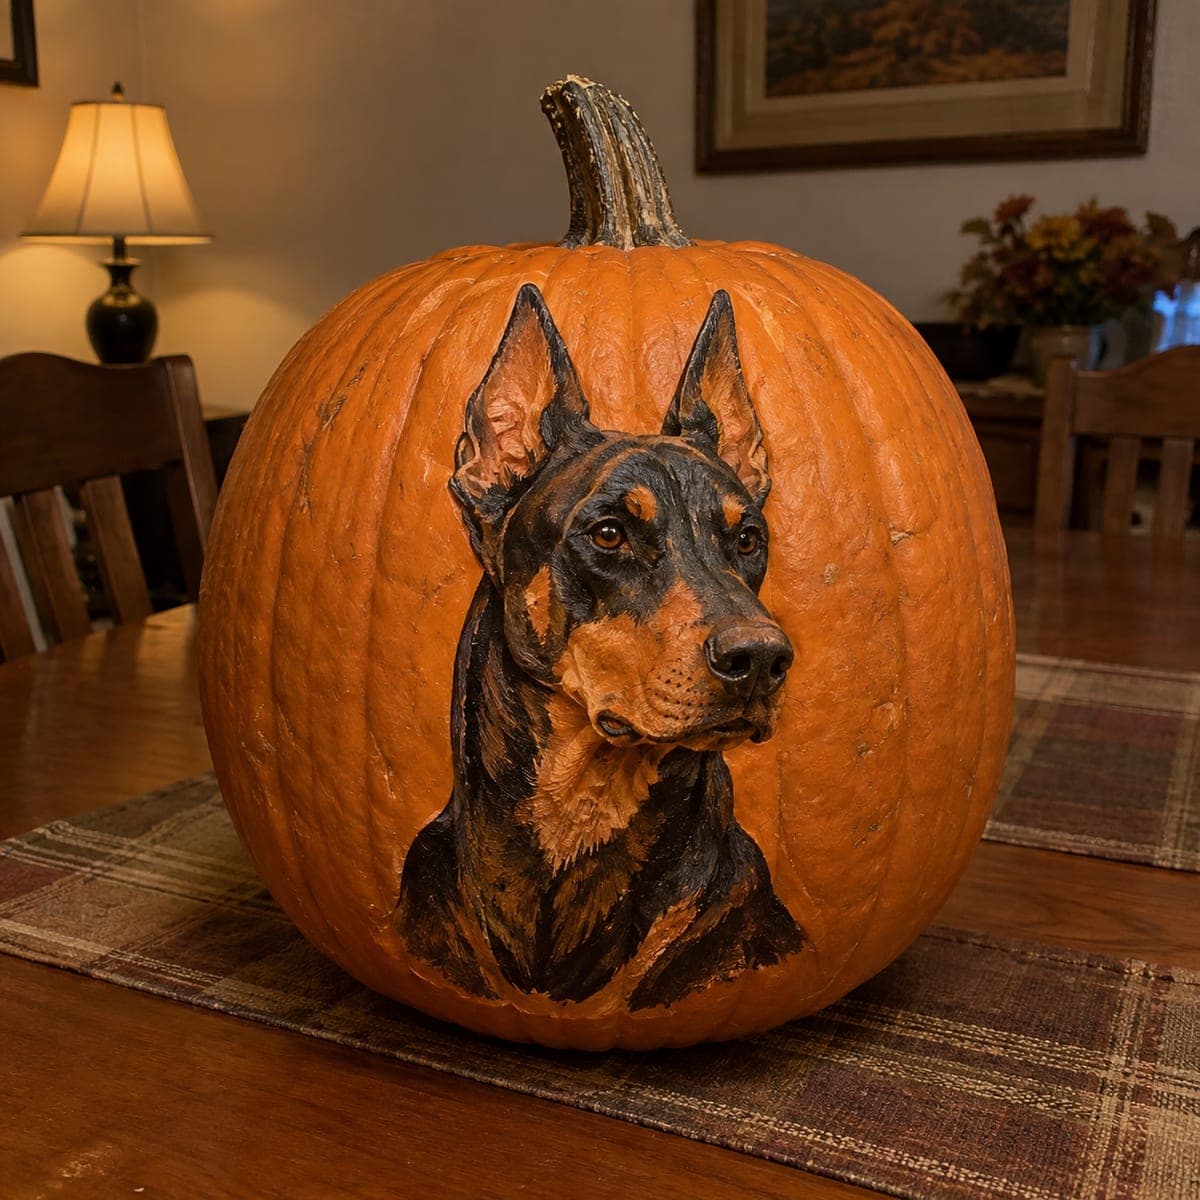
Painted in full color with cropped ears and a glossy black-and-tan coat, this Doberman portrait turns a pumpkin into pet art for the dining table. Acrylic paint sits well on a clean, dry pumpkin, so wipe the surface with rubbing alcohol before you start. Build the coat in thin layers, darkest values first, then add the tan points and chest markings once dry.

This is an AI-generated concept image: a realistic, carvable design idea rather than a photo of a finished carve. AI concepts are always labeled and sit out the leaderboard and the contest.

No ratings yet Β· Sign in to rate

Comments (0)

  • No comments yet β€” be the first.

Save without an account. Sign in to like or comment.

Our tips for carving a similar design

This is a no-carve painted portrait, so the core trick is treating the pumpkin like a rounded canvas and building the coat in thin layers from dark to light. You lay in the black base coat and shadows first, then add the tan points on the muzzle, chest, and above the eyes once the dark is fully dry. The cropped ears and shine in the eyes come from careful highlights, not cutting, which keeps the whole design structurally safe.

Written by PumpkinCarvingIdeas.com, inspired by the image above. These are our suggestions, not instructions from the uploader. This approach to the AI concept has not been tested on a real pumpkin.

From pumpkin to porch

  1. Prep and clean the surface

    Pick a tall, smooth pumpkin with an even front face and set it on a towel so it will not roll. Wipe the whole painting area with rubbing alcohol on a paper towel and let it dry completely. This removes the waxy film so acrylic grips instead of beading up. A clean, dry surface is the single biggest factor in getting crisp, lasting color.

  2. Sketch the portrait

    Trace or lightly draw the Doberman with a washable marker or a soft pencil, keeping the head centered and the ears reaching up toward the shoulder of the pumpkin. Block in the big shapes first: the head, the alert cropped ears, the long muzzle, and the chest. Check that the eyes sit level and that the muzzle points slightly toward you. Step back often, since curves distort proportions up close.

  3. Paint the dark base

    Start with your darkest values and lay a thin black base over the coat, ears, and the top of the head. Use thin coats and let each dry before adding the next, since thick acrylic can crack on the curved surface. Leave the areas that will become tan mostly bare for now. Two light coats read richer than one heavy one.

  4. Add the tan points and markings

    Once the black is dry, paint the rust-tan points: the eyebrows, the sides of the muzzle, the chest patches, and the lower legs. Blend the edge where tan meets black with a nearly dry brush for a soft, natural transition rather than a hard line. Build the tan in layers too, adding a lighter warm tone on the raised muzzle and brow. Keep a reference photo nearby to place the markings correctly.

  5. Detail the eyes, nose, and fur

    Give the eyes a warm brown iris, a dark pupil, and one tiny white dot of reflection to bring them to life. Paint the nose glossy black with a soft highlight on top, then flick short fur strokes along the coat to add texture. Add fine light-tan whiskers and stray hairs with the tip of a liner brush. These small highlights are what make the portrait look three dimensional.

  6. Seal and stage the final photo

    Let everything cure for a few hours, then brush on a thin coat of matte or satin acrylic sealer to protect the paint. If you want a warm glow behind the portrait, you can carve a small vent low on the back and drop in a battery LED, but keep the front fully intact. Set the pumpkin on a runner in soft lamp light for a cozy dining-table shot. An adult should handle any tool if you add the back vent.

Gather your supplies

Check things off as you get ready.

Work on a stable surface, keep your free hand out of the cutting path, and have an adult handle sharp tools.

Three levels of light

  • Leave intact

    The painted black coat and dark ears stay opaque and unlit, reading as deep shadow in the portrait.

  • Peel & shade

    An optional light scrape of skin behind the head can give a faint halo if you add a back light, but the front stays painted.

  • Cut through

    Keep cuts to a single small hidden vent on the back for an LED, since the design is meant to be no-carve.

Learn the carving basics

Before you start cutting

Do I need to carve anything at all for this design?

No, this is a painted portrait, so the pumpkin stays whole. If you want a soft glow you can add one small vent low on the back for a battery LED, but the front face is all paint. Leaving it uncarved actually helps the portrait last longer.

How do I keep the acrylic from peeling or beading up?

Wipe the surface with rubbing alcohol first to strip the natural wax, and let it dry fully before painting. Work in thin layers and let each coat dry so the paint bonds instead of sliding. A final coat of matte sealer locks everything in.

How do I get the tan and black to blend like real fur?

Let the black base dry completely, then feather the tan into it with a nearly dry brush using short strokes that follow the fur direction. Build up in light passes rather than one thick blend. Adding a few fine light hairs with a liner brush on top sells the texture.

Your take belongs here, too.

Changed a detail? Made it simpler? Share a photo of your version and tell the community what worked.

Share your pumpkin

More pumpkins like this

You've reached the end Β· 8 pumpkins
The Patch Report

Fresh pumpkins, in your inbox.

The best new carvings, ideas worth stealing, and how-tos for carving season. Short, seasonal, and gone by November.

A short email during carving season. Unsubscribe anytime. See our privacy policy.