Halloween Pumpkin Carving Contest · Starts October 1st · $500 in prizes
← Back to ideas
@ai_concepts
Aug 23, 2026
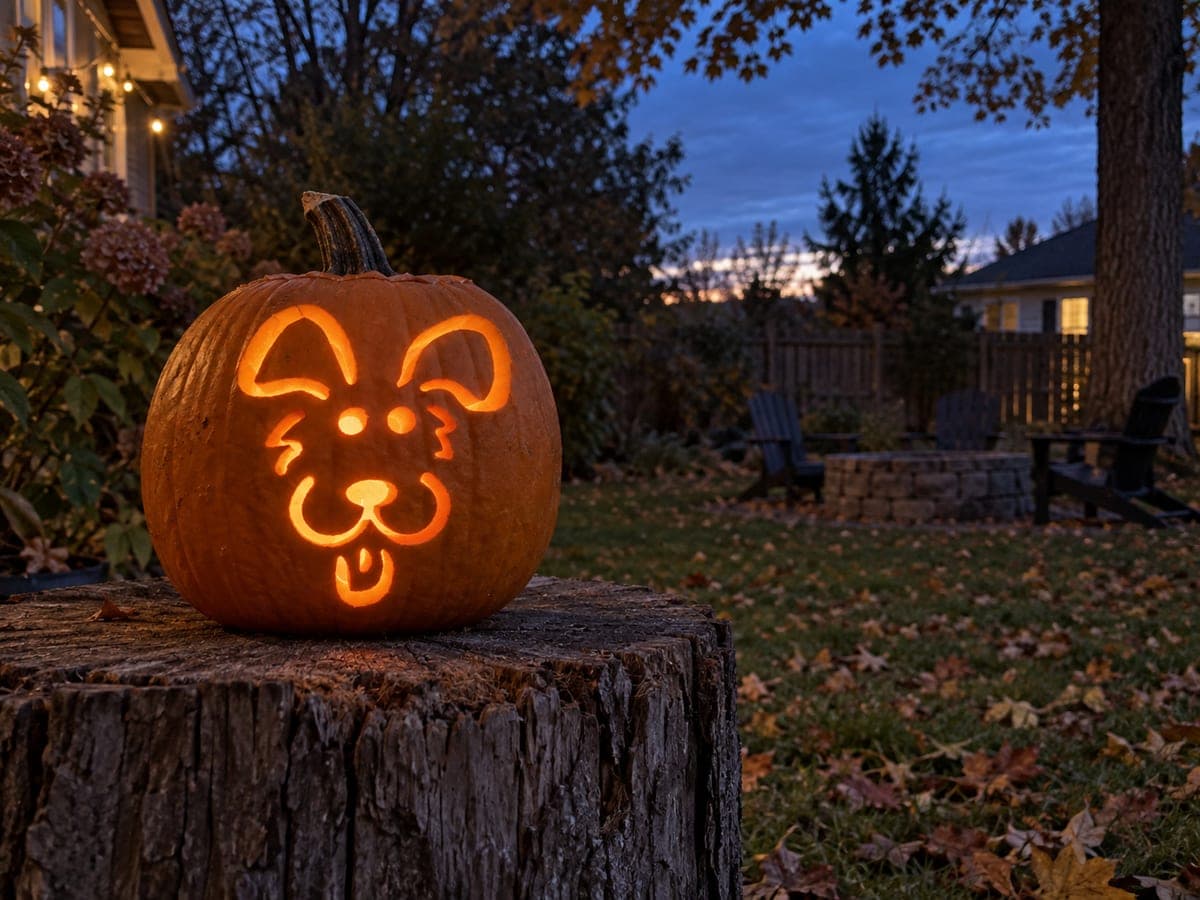
Fluffy Maltese Puppy Etched on a PumpkinAI
0

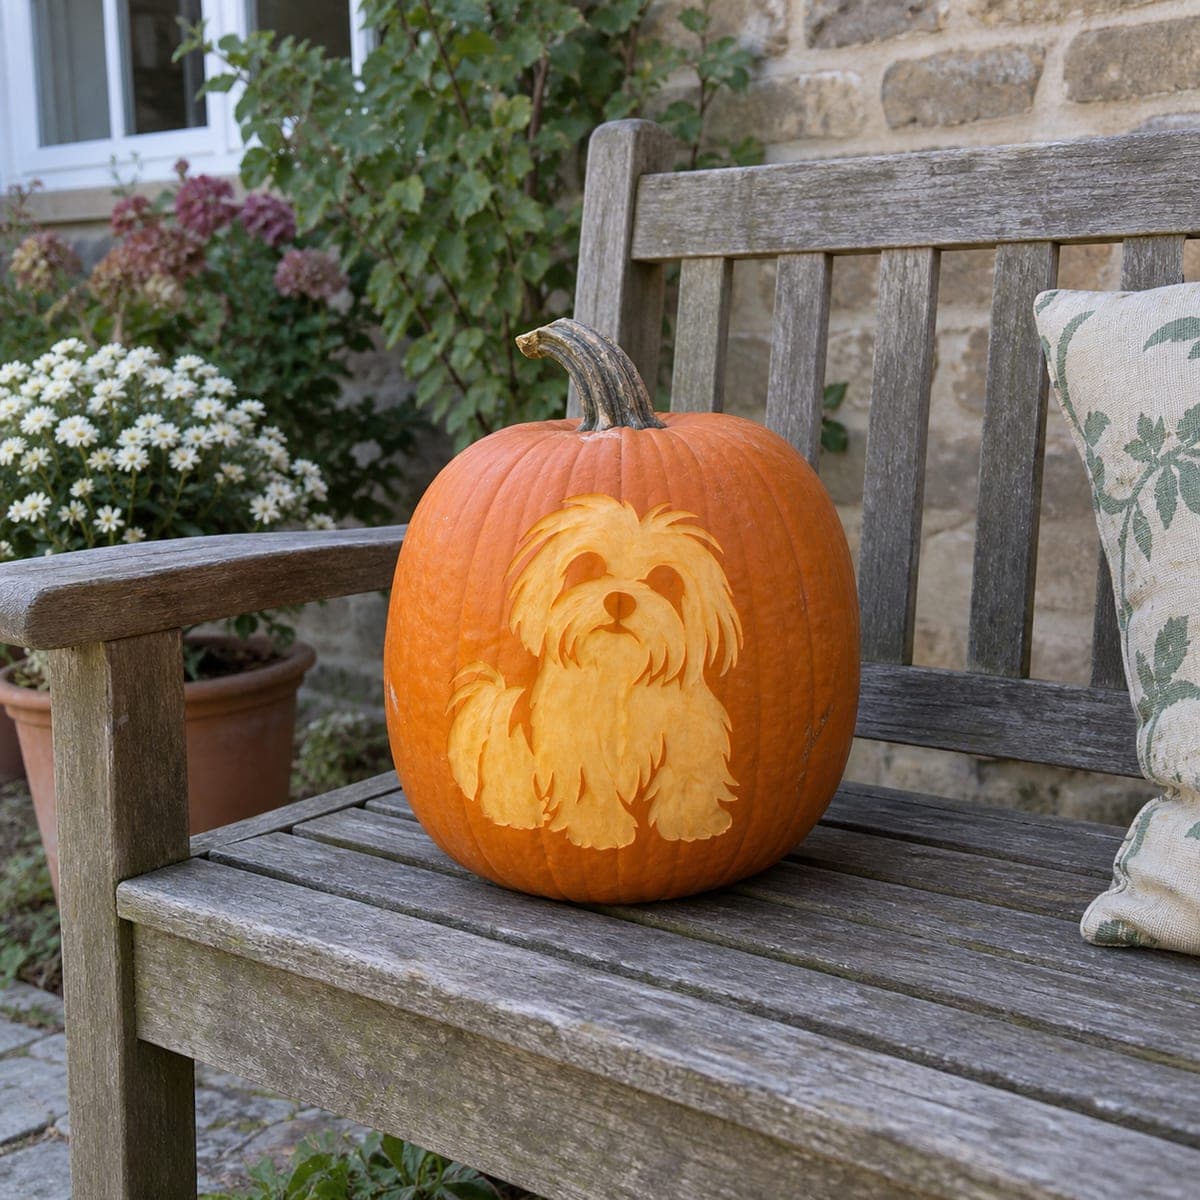
Fluffy Maltese Puppy Etched on a Pumpkin

This sweet Maltese sits patiently on the pumpkin's face, rendered by peeling away the orange skin so the pale flesh forms its shaggy coat. Short flicking strokes with a linoleum gouge or lemon zester create the fluffy fur texture, and the eyes and nose are simply left as uncarved rind. It reads beautifully in daylight, making it a great pumpkin carving idea for a bench or doorstep display that does not need a candle.

This is an AI-generated concept image: a realistic, carvable design idea rather than a photo of a finished carve. AI concepts are always labeled and sit out the leaderboard and the contest.

No ratings yet · Sign in to rate
Comments (0)

  • No comments yet — be the first.

Save without an account. Sign in to like or comment.

Our tips for carving a similar design

The core trick here is shading rather than cutting: you peel away only the orange skin so the pale flesh underneath shows the puppy, while the eyes and nose stay as dark uncarved rind. Short flicking strokes give the coat its shaggy texture, and because nothing is cut all the way through, this design reads best in daylight without a light inside. Plan your fur direction before you start so every stroke flows the way real hair falls.

Written by PumpkinCarvingIdeas.com, inspired by the image above. These are our suggestions, not instructions from the uploader. This approach to the AI concept has not been tested on a real pumpkin.

From pumpkin to porch

  1. Transfer the puppy outline

    Wipe the pumpkin dry and tape your Maltese stencil flat against the smoothest side. Poke the main outlines with a pin or transfer tool: the head, the body, the two front paws, and small marks where the eyes and nose sit. Keep those eye and nose dots clearly marked so you remember to leave them alone later. Peel off the paper and connect any faint dots with a washable marker.

  2. Score the edges first

    With a small detail knife held by an adult, lightly score along the outer outline of the whole puppy. This gives your peeled area a clean border and stops the skin from tearing past where you want it. Do not cut deep, just break through the outer skin. Trace the eye and nose shapes too so you can peel right up to them without slipping.

  3. Peel the coat area

    Switch to a linoleum gouge or lemon zester and start removing the orange skin inside the outline, exposing the pale flesh that forms the fur. Work in thin, even layers so the surface glows a soft cream color. Leave the eyes and nose untouched as raised dark rind. Peel a little deeper in the shadowy gaps under the chin and between the legs to add contrast.

  4. Flick in the fur texture

    Now build the shaggy look with short flicking strokes that follow the direction the hair grows: down the sides of the face, out along the ears, and down the chest and legs. Vary the pressure so some strokes go slightly deeper for lighter streaks. Keep strokes close together for a dense, fluffy coat. Step back often to check the fur reads as one flowing coat rather than random scratches.

  5. Refine eyes, nose, and edges

    Tidy the border of the puppy so the shape stays crisp against the surrounding orange skin. Round the raised eyes and nose slightly so they catch shadow and stand out as the darkest points. If any peeled spot looks too pale, add a few more flicks to blend it. Clean stray marker lines with a damp cloth.

  6. Display and photograph in daylight

    Because this is an etched design with no cut-through openings, set it where natural light rakes across the surface, like a bench or doorstep. Morning or late afternoon light brings out the fur texture best. To slow drying, coat the peeled areas with a thin layer of petroleum jelly. Snap your photo the same day, since etched flesh darkens over time.

Gather your supplies

Check things off as you get ready.

Work on a stable surface, keep your free hand out of the cutting path, and have an adult handle sharp tools.

Three levels of light

  • Leave intact

    The eyes and nose, left as untouched rind so they stay the darkest points

  • Peel & shade

    The entire shaggy coat, face, ears, chest, and legs, skin-peeled to a soft cream glow

  • Cut through

    Optional only: a few of the deepest shadow gaps under the chin and between the legs for extra contrast

Learn the carving basics

Before you start cutting

Do I need a light inside this pumpkin?

No, this design is made to shine in daylight. All the detail comes from peeled flesh catching natural light, not from a glow inside. If you want a subtle evening effect, a dim LED can add warmth, but the fur texture will mostly disappear once it is dark.

How do I keep the fur from looking messy?

Decide the hair direction for each area before you carve and commit to it. Fur on a Maltese falls straight down, so keep your flicking strokes flowing downward on the body and outward on the ears. Working in the same direction with tight, overlapping strokes reads as a coat, while random angles look like scratches.

Will the etched flesh turn brown before Halloween?

Peeled flesh does dry and darken within a day or two, which is normal for shading designs. Coat the exposed areas with a thin layer of petroleum jelly to slow it down, and keep the pumpkin cool and out of direct sun. Plan to carve this close to when you want to show it off.

Your take belongs here, too.

Changed a detail? Made it simpler? Share a photo of your version and tell the community what worked.

Share your pumpkin

More pumpkins like this

You've reached the end · 8 pumpkins
The Patch Report

Fresh pumpkins, in your inbox.

The best new carvings, ideas worth stealing, and how-tos for carving season. Short, seasonal, and gone by November.

A short email during carving season. Unsubscribe anytime. See our privacy policy.