Halloween Pumpkin Carving Contest · Starts October 1st · $500 in prizes
← Back to ideas
@ai_concepts
Sep 25, 2026
Friendly Owl Face Pumpkin Carving Idea for KindergartenAI
0

Report this carving

Tell us what is wrong. Reports are private.

Friendly Owl Face Pumpkin Carving Idea for Kindergarten

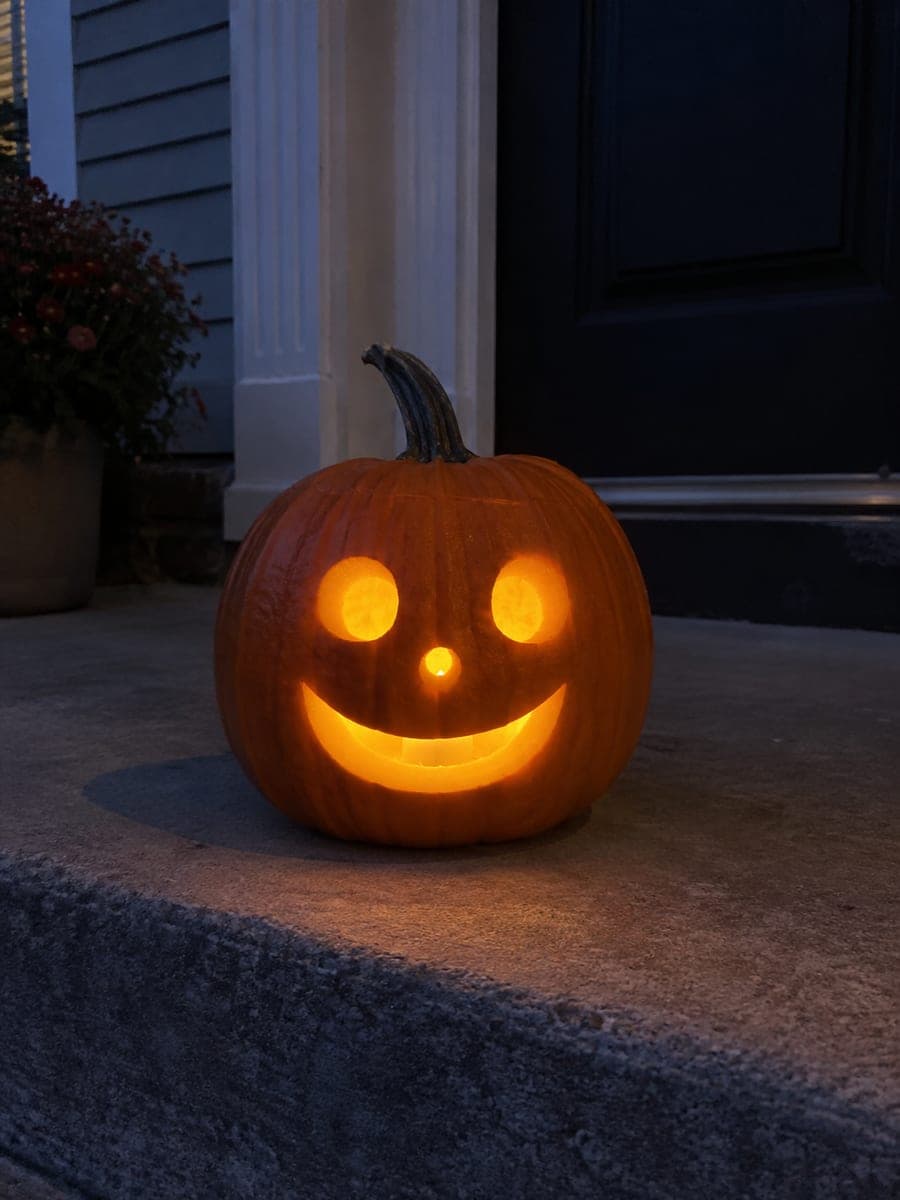
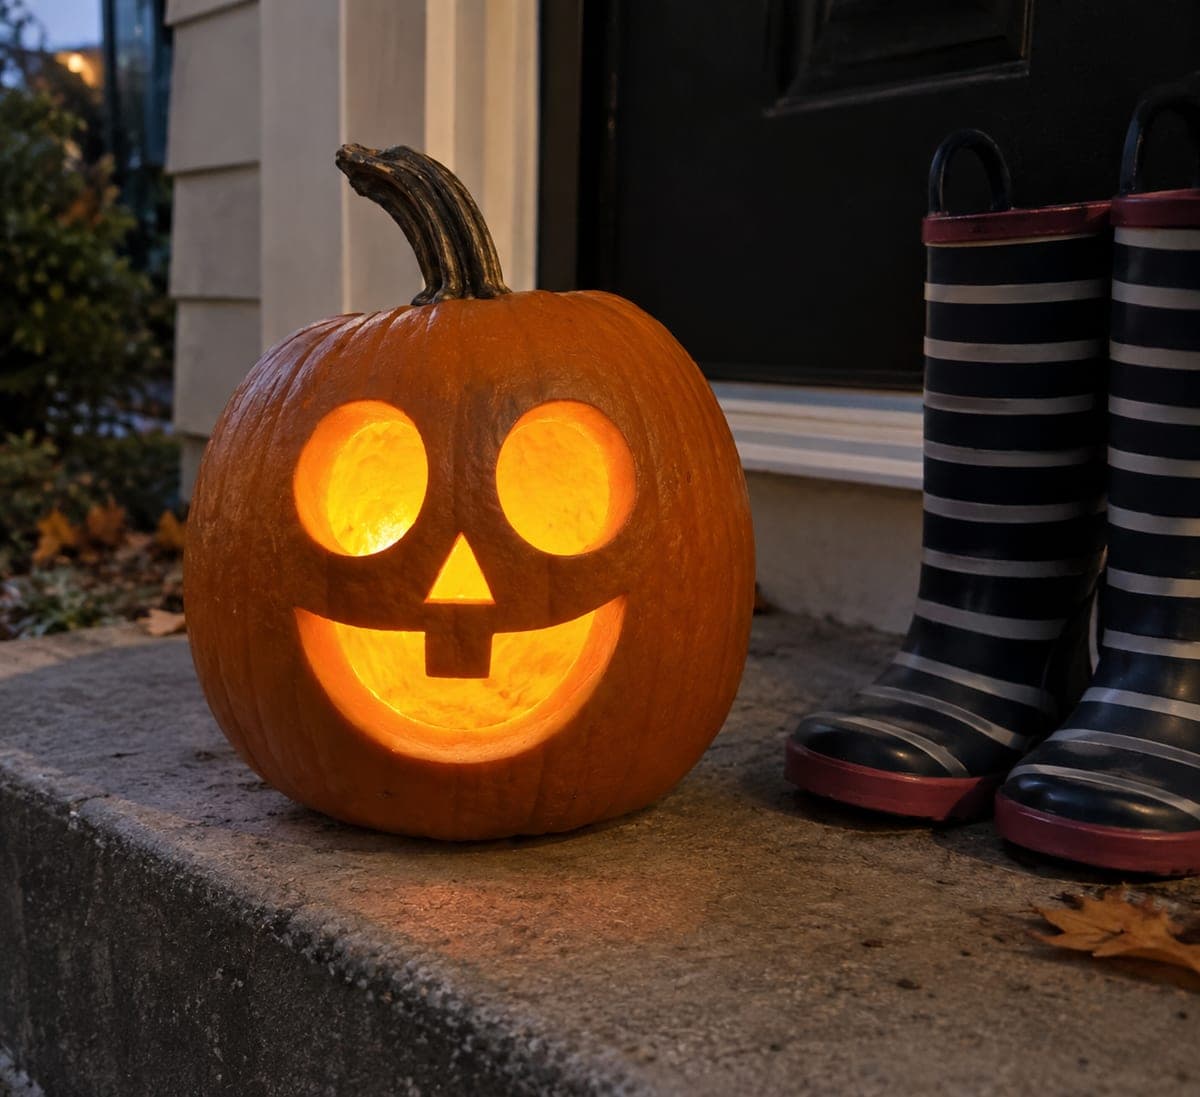
Round glowing eyes, a beak opening, and wing-shaped cuts build a friendly owl face on this adult-carved intermediate kindergarten pumpkin idea, with separate openings preserving a solid face panel between each cut. The owl motif is a classroom classic that pairs well with autumn leaf and tree decorations. Cut the large round eyes first since they define the owl's character, then add the beak and wing openings working outward. Arrange this pumpkin carving alongside leaf-printed artwork for a cohesive kindergarten October display.

No ratings yet · Sign in to rate

Comments (0)

  • No comments yet — be the first.

Save without an account. Sign in to like or comment.

Our tips for carving a similar design

The owl face is built from distinct openings: round eyes, a beak slot, and wing-shaped cuts on either side. Solid rind between each opening acts as the face structure, so every cut must stay separate. Establishing the eyes first locks in the owl's expression before adding the surrounding details.

From pumpkin to porch

  1. Gut and flatten the carving face

    Cut a back or bottom lid and hollow the pumpkin to a consistent wall depth of about one inch. If the front face bows outward, choose the flattest area for the owl's eyes. Dry the interior so the template sticks cleanly.

  2. Transfer the full template

    Print an owl face template sized so both eye circles have a solid margin of rind between them and the outer edge. Tape the template and pin-poke all outlines, including the beak and wing shapes. Remove the paper and trace the dots with a marker.

  3. Cut the round eyes first

    Work the saw around each circular eye opening slowly, keeping the blade perpendicular so the disc comes out cleanly. Remove each eye disc and check that the rind between them is at least half an inch wide. This bridge preserves the face structure.

  4. Cut the beak and wing openings

    Cut the triangle beak opening below the eyes, then move outward to each wing-shaped cut. Saw the concave curves in short strokes, repositioning the blade often. Remove each piece and push out any stuck rind gently from behind.

  5. Refine edges and light

    Scrape any rough edges smooth with the tip of a detail knife. Rub petroleum jelly on all cut surfaces. Insert a battery LED candle and set the pumpkin on a low shelf so children can see the glowing owl face at eye level.

Written with AI to match this design

Gather your supplies

Check things off as you get ready.

Work on a stable surface, keep your free hand out of the cutting path, and have an adult handle sharp tools.

Three levels of light

  • Leave intact

    The solid rind between the eyes, around the beak, and between the wing cuts stays dark, forming the owl's face and feather outline.

  • Peel & shade

    None. All illuminated areas are full cut-throughs.

  • Cut through

    Both round eyes, the beak opening, and both wing-shaped cuts are cut entirely through for full glow.

Learn the carving basics

Before you start cutting

How wide should the rind bridge be between the two eyes?

Aim for at least half an inch, ideally three-quarters. A thinner bridge risks cracking when you remove the second eye disc. If the pumpkin wall is thin, size the eyes down slightly so the bridge stays thick.

What if my pumpkin is bumpy and the circles come out lopsided?

Score the circle outline with the tip of a knife before sawing so you can follow a clear groove rather than fighting the curve of the rind. Slow down on bumps and let the saw do the work without forcing it.

Can I add eyebrow arches above the eyes for a friendlier look?

Yes. Score shallow curved lines above each eye with a detail knife, removing only the outer orange skin to create a lighter raised-brow look without cutting all the way through. This adds expression without weakening the shell.

Your take belongs here, too.

Changed a detail? Made it simpler? Share a photo of your version and tell the community what worked.

Share your pumpkin

More pumpkins like this

You've reached the end · 8 pumpkins
The Patch Report

Fresh pumpkins, in your inbox.

The best new carvings, ideas worth stealing, and how-tos for carving season. Short, seasonal, and gone by November.

A short email during carving season. Unsubscribe anytime. See our privacy policy.