Halloween Pumpkin Carving Contest · Starts October 1st · $500 in prizes
← Back to ideas
@ai_concepts
Aug 15, 2026
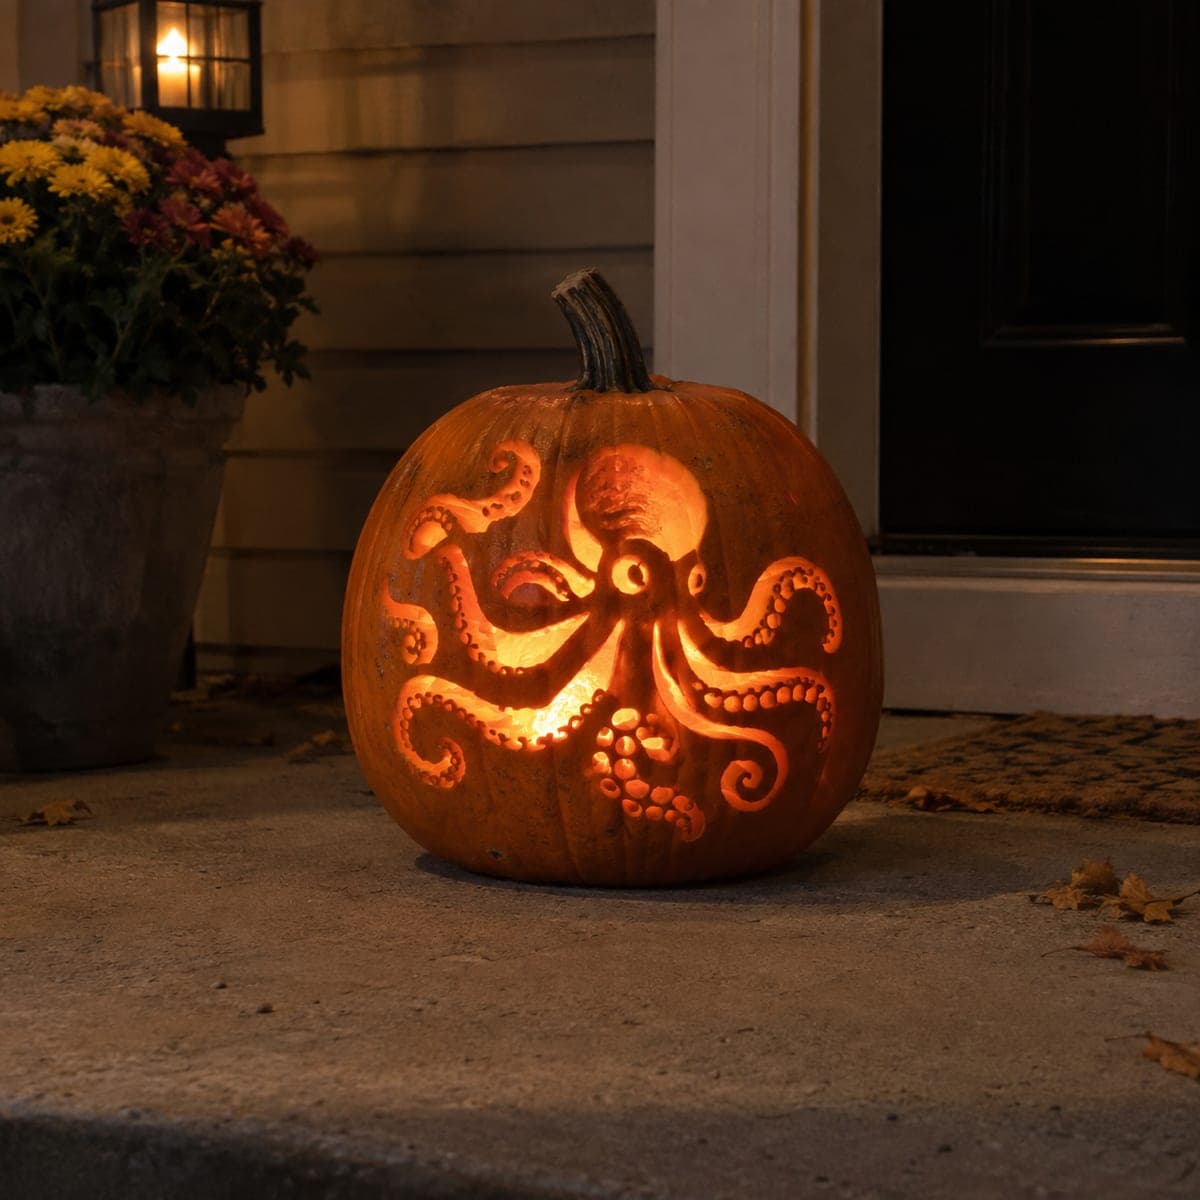
Glowing Blue Whale Cutout Jack-O-LanternAI
0

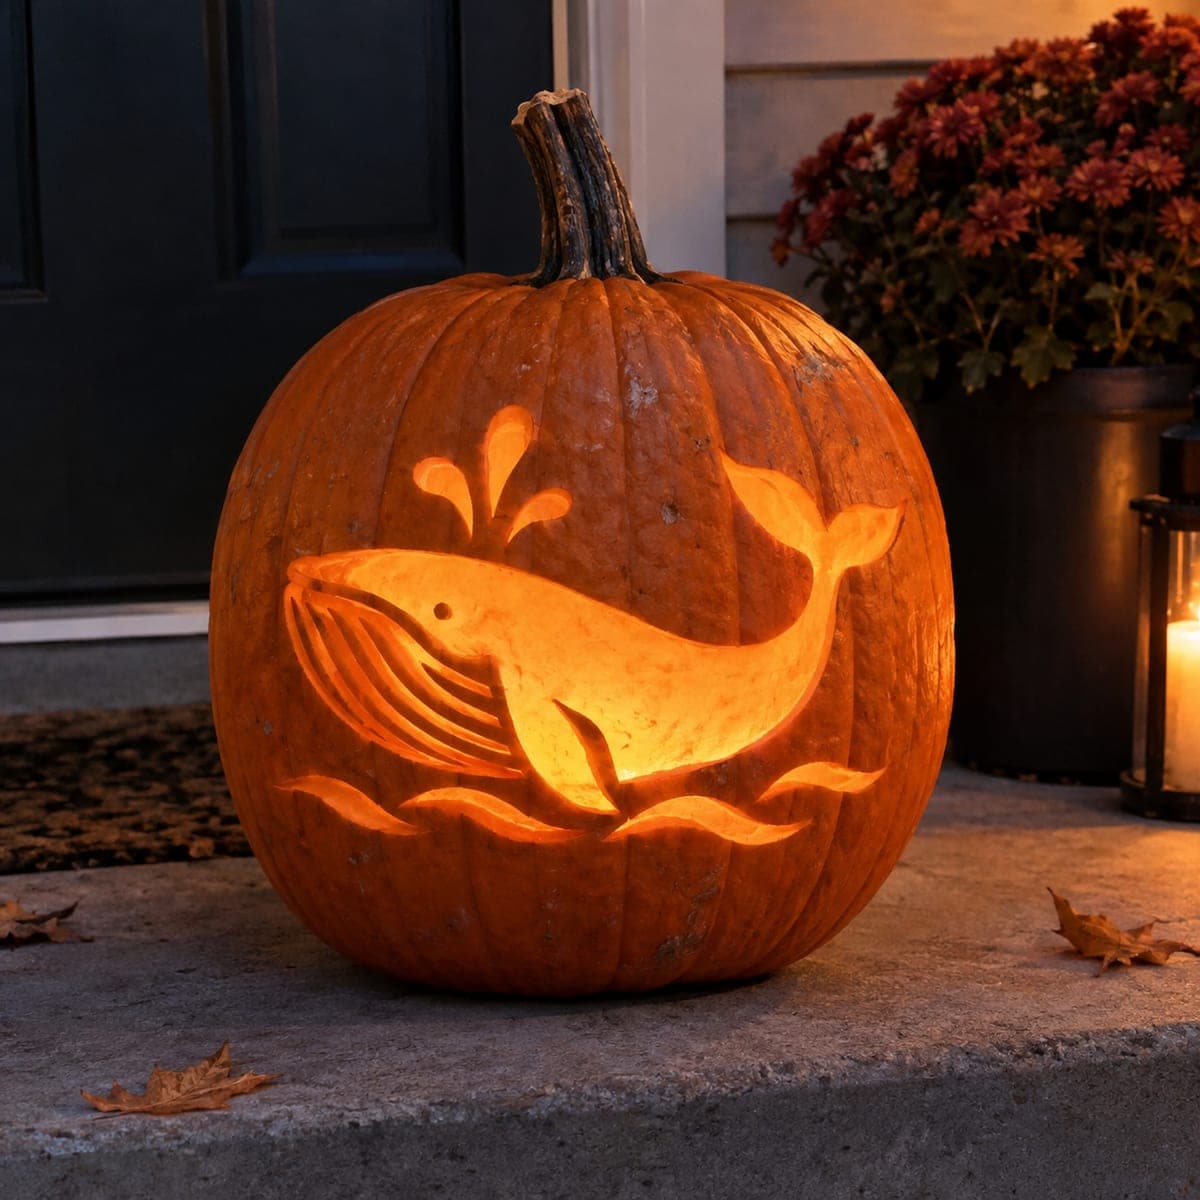
Glowing Blue Whale Cutout Jack-O-Lantern

A humpback whale breaches above stylized waves, its blowhole spouting a playful spray, all cut through a large pumpkin and glowing warmly from within. The cutout design uses flowing, curved lines that are beginner-friendly despite looking elaborate once lit. Carve the wave crests first to establish the composition, then work upward to the whale body, and use a small drill bit for the tiny blowhole spray dots.

This is an AI-generated concept image: a realistic, carvable design idea rather than a photo of a finished carve. AI concepts are always labeled and sit out the leaderboard and the contest.

No ratings yet · Sign in to rate
Comments (0)

  • No comments yet — be the first.

Save without an account. Sign in to like or comment.

Our tips for carving a similar design

The core trick here is letting one large glowing whale silhouette carry the whole panel while thin bridges of skin hold the fin details and wave crests in place. You could plan it as a bright cutout body floating above a row of stylized waves, with a small spout of dots for the blowhole. Carve the waves first to set your baseline, then build the whale upward so the composition stays balanced.

Written by PumpkinCarvingIdeas.com, inspired by the image above. These are our suggestions, not instructions from the uploader. This approach to the AI concept has not been tested on a real pumpkin.

From pumpkin to porch

  1. Prep the pumpkin and transfer the design

    Pick a tall, wide, smooth pumpkin so the whale has room to swim across the front. Cut a lid from the bottom or the back rather than the top so the stem stays intact and the pumpkin sits flat. Scrape the inside wall behind your design down to about one inch thick so light passes through easily. Tape your stencil on smoothly and poke the outlines with a pin or transfer tool.

  2. Score the wave crests first

    Start at the bottom with the stylized waves since they anchor the whole scene. Use a small saw to cut fully through the curved wave shapes, leaving short gaps of skin between crests so the section does not weaken. Keep each cut flowing and continuous rather than choppy. Working bottom up means falling scraps never crowd the parts you have not carved yet.

  3. Cut the main whale body

    Move up to the large whale silhouette, which is your biggest bright opening. Cut this shape through completely, but save it for after the smaller nearby details so the wall stays firm while you work. Follow the smooth belly curve in one steady motion for a clean edge. Support the pumpkin against your body, keep both hands behind the blade, and let an adult handle all cutting.

  4. Add fins, tail, and belly lines

    The tail flukes, side fin, and the ribbed throat grooves read best as thin gaps, so leave narrow bridges of skin between them to hold everything together. Cut the tail and fin as slim slivers so they stay attached at the tips. For the throat pleats, you can either cut thin lines or peel just the skin for a softer glow. Take these slowly since thin details snap if you rush.

  5. Drill the blowhole spray

    The playful spout above the head is a cluster of small dots and teardrop shapes. Use a small drill bit or a round clay tool to make clean, even holes rising in a fan. Vary the size slightly so the spray looks lively. These small openings glow like bubbles once the light is in.

  6. Light it and photograph

    Drop in a battery LED puck or string, never a candle, so the deep cuts stay safe and the glow is even. Set the pumpkin on a porch step at dusk and check that the whale body reads clearly from a few feet back. If any area looks dim, thin the inside wall behind it a little more. Snap your photo in low light so the warm cutout really pops.

Gather your supplies

Check things off as you get ready.

Work on a stable surface, keep your free hand out of the cutting path, and have an adult handle sharp tools.

Three levels of light

  • Leave intact

    The wide field of pumpkin skin around the scene stays untouched and dark to frame the whale.

  • Peel & shade

    The whale's throat grooves and any soft shading can be skin-peeled for a dim glow that adds texture.

  • Cut through

    The whale body, tail, side fin, wave crests, and blowhole dots are cut through for the brightest light.

Learn the carving basics

Before you start cutting

How do I keep the thin tail and fin from breaking off?

Leave small bridges of uncut skin where the slim shapes meet the body or each other. These little connectors are almost invisible once lit but hold the fragile tips in place. Cut these delicate parts before the large body opening so the wall stays strong while you work them.

Should the throat grooves be cut all the way through?

You have two good options. Cutting them as thin lines gives crisp bright stripes, while peeling just the skin makes a softer, dimmer glow that still shows the ribbed texture. Peeling is more forgiving if you worry about weakening the belly area.

Why carve the waves before the whale?

The waves sit at the bottom and set the baseline of the whole composition, so placing them first helps you position the whale correctly above them. Working from the bottom up also keeps loose scraps from getting in the way of parts you have not carved yet. It makes the elaborate look much easier to control.

Your take belongs here, too.

Changed a detail? Made it simpler? Share a photo of your version and tell the community what worked.

Share your pumpkin

More pumpkins like this

You've reached the end · 8 pumpkins
The Patch Report

Fresh pumpkins, in your inbox.

The best new carvings, ideas worth stealing, and how-tos for carving season. Short, seasonal, and gone by November.

A short email during carving season. Unsubscribe anytime. See our privacy policy.