Halloween Pumpkin Carving Contest · Starts October 1st · $500 in prizes
← Back to ideas
@ai_concepts
Sep 25, 2026
Glowing Haunted House Pumpkin with Window and Roof SlotsAI
0

Report this carving

Tell us what is wrong. Reports are private.

Glowing Haunted House Pumpkin with Window and Roof Slots

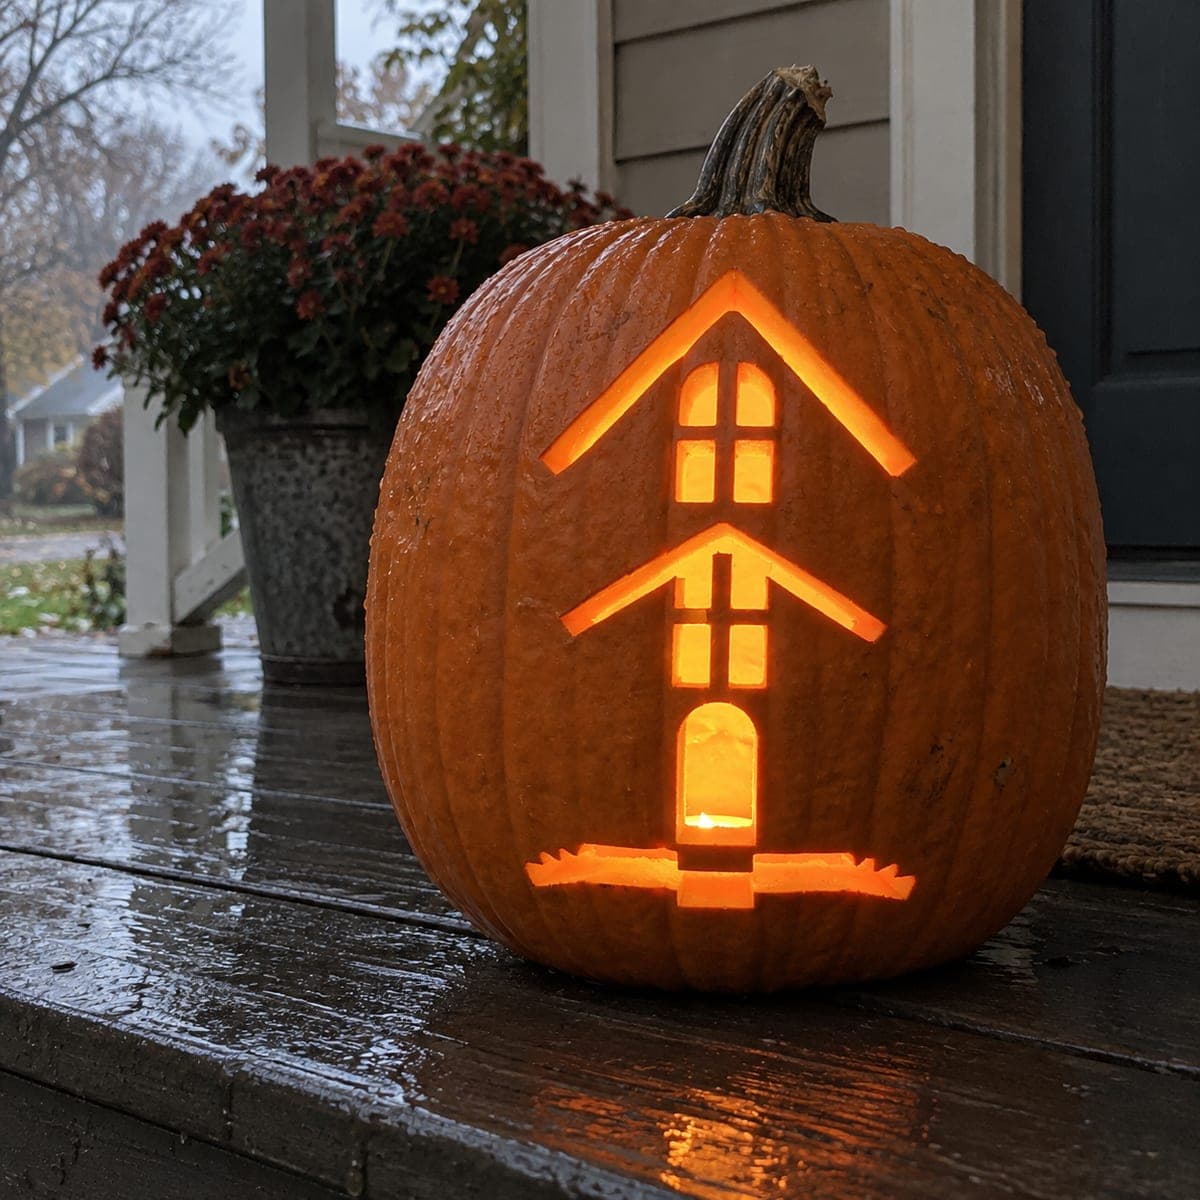
Window cutouts, door openings, and roof slots as separate apertures against solid house walls make this haunted house pumpkin carving a clean, geometric design that reads clearly as a building silhouette. Start by cutting the roof slots first to establish the peak of the house, then add the rectangular windows and door below. Leave the wall and window dividers intact since they define the house shape. A warm candle inside turns every window slot into a yellow-lit square, suggesting light in every haunted room.

No ratings yet · Sign in to rate

Comments (0)

  • No comments yet — be the first.

Save without an account. Sign in to like or comment.

Our tips for carving a similar design

The design reads as a clean building silhouette because the solid house walls and window dividers stay fully intact while the windows, door, and roof slots are cut as separate openings. Cutting the roof slots first establishes the peak and gives you a clear reference line for placing everything below. Warm LED light inside turns every rectangular slot into a glowing yellow square, suggesting lit rooms throughout the haunted building.

From pumpkin to porch

  1. Prep the pumpkin

    Cut a wide lid from the bottom of the pumpkin so it sits flat and the light source is easy to place. Scoop out seeds and stringy pulp until the inner wall is about an inch thick. Wipe the outer surface dry before transferring your pattern.

  2. Transfer the house outline

    Tape a printed template to the pumpkin and use a poking tool or stylus to trace all the aperture edges through the paper. Remove the template and connect the dots with a marker. Keep the wall strips and window dividers clearly marked so you know what stays.

  3. Cut the roof slots first

    Use a small detail saw to cut the rectangular slots along the roofline before anything else. These establish the peak of the house and give you a stable reference point. Cut inward from a starting hole rather than pressing straight through to maintain control.

  4. Add windows and door

    Work downward, cutting each window rectangle and the door opening as separate pieces. Keep the window divider strips at least three-quarters of an inch wide so they hold their shape. Remove each piece cleanly and use a damp cloth to wipe sawdust from the cuts.

  5. Check structural integrity

    Gently press along the wall areas to confirm nothing flexes or shifts. If any divider feels thin, rub a small amount of petroleum jelly into the cut edges to slow drying and add a day or two of display life. Smooth any ragged edges with a linoleum tool.

  6. Light and display

    Place a battery-operated LED candle inside through the bottom opening and replace the lid. The warm glow through the window and door slots should look like lit rooms from a distance. Display at eye level on a railing or step where the silhouette reads cleanly against the dark.

Written with AI to match this design

Gather your supplies

Check things off as you get ready.

Work on a stable surface, keep your free hand out of the cutting path, and have an adult handle sharp tools.

Three levels of light

  • Leave intact

    Solid house walls and all window divider strips between openings

  • Peel & shade

    None, this design relies entirely on through-cuts for light

  • Cut through

    Roof slots, all rectangular window openings, and the door aperture

Learn the carving basics

Before you start cutting

How do I keep the window dividers from breaking?

Mark them clearly before you start and always cut parallel to the strip rather than across it. Keep each divider at least three-quarters of an inch wide. If a strip does crack, a toothpick inserted into the break and sealed with a dab of petroleum jelly can stabilize it.

Should I cut from the inside or outside?

Cutting from the outside gives you the clearest view of your pattern lines. Use a small piercing saw held at a slight inward angle so the cut piece pops out toward the inside cleanly. Keep one hand inside the pumpkin to catch falling pieces and protect your fingers.

Can I use a real candle instead of an LED?

A battery-operated LED is strongly preferred because it stays cool and does not char the rind at the cut edges. If you do use a tea light, never leave it unattended and keep the pumpkin away from dry leaves or decorations. An LED also lets you use the pumpkin indoors safely.

Your take belongs here, too.

Changed a detail? Made it simpler? Share a photo of your version and tell the community what worked.

Share your pumpkin

More pumpkins like this

You've reached the end · 8 pumpkins
The Patch Report

Fresh pumpkins, in your inbox.

The best new carvings, ideas worth stealing, and how-tos for carving season. Short, seasonal, and gone by November.

A short email during carving season. Unsubscribe anytime. See our privacy policy.