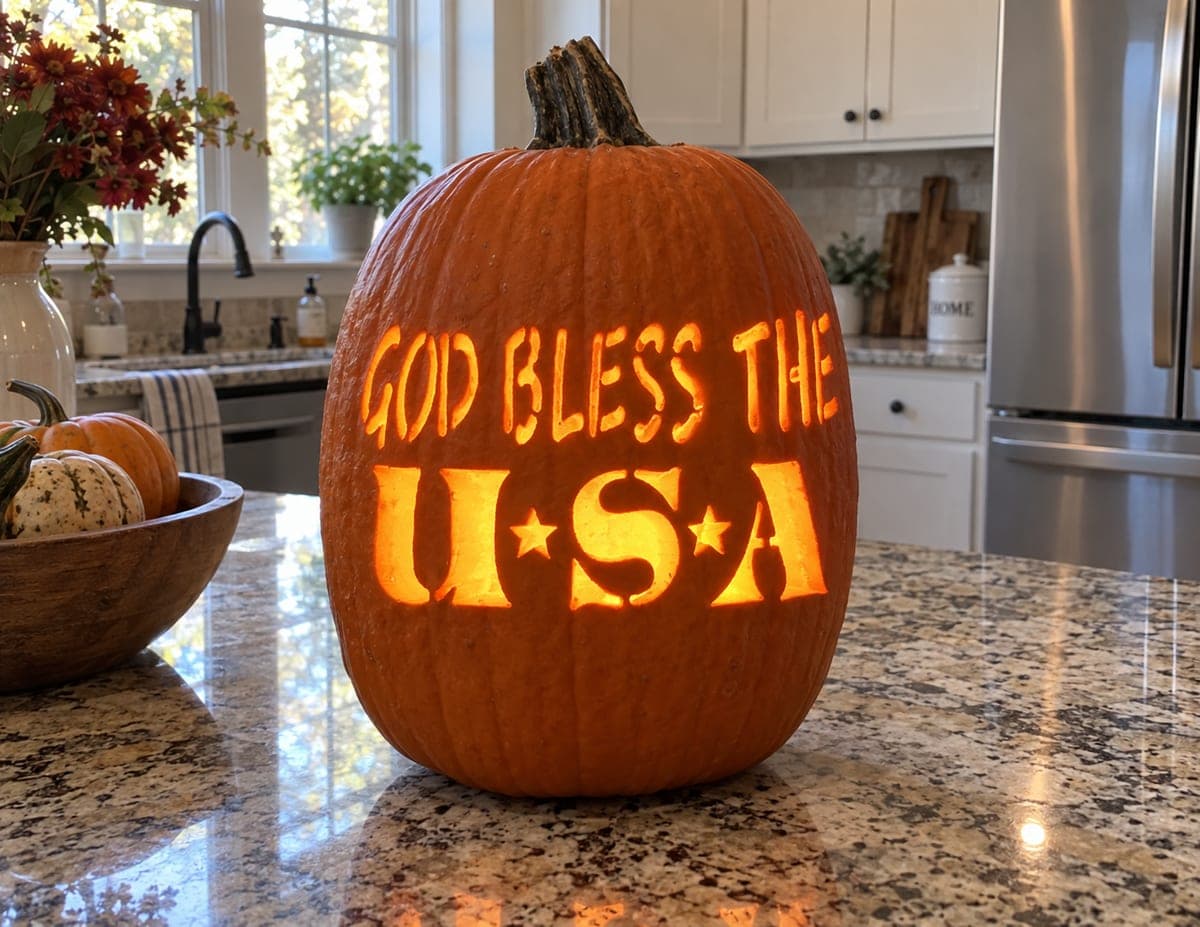
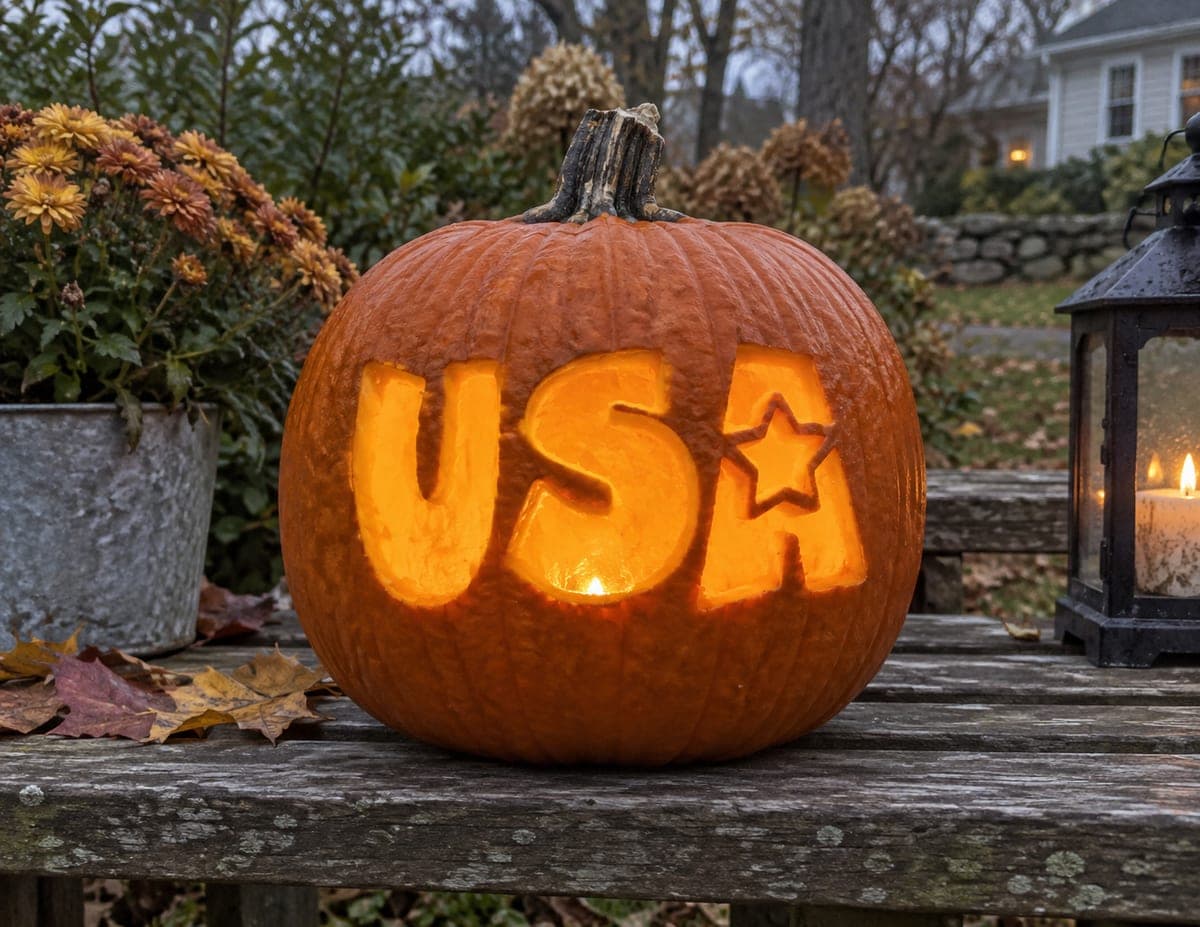
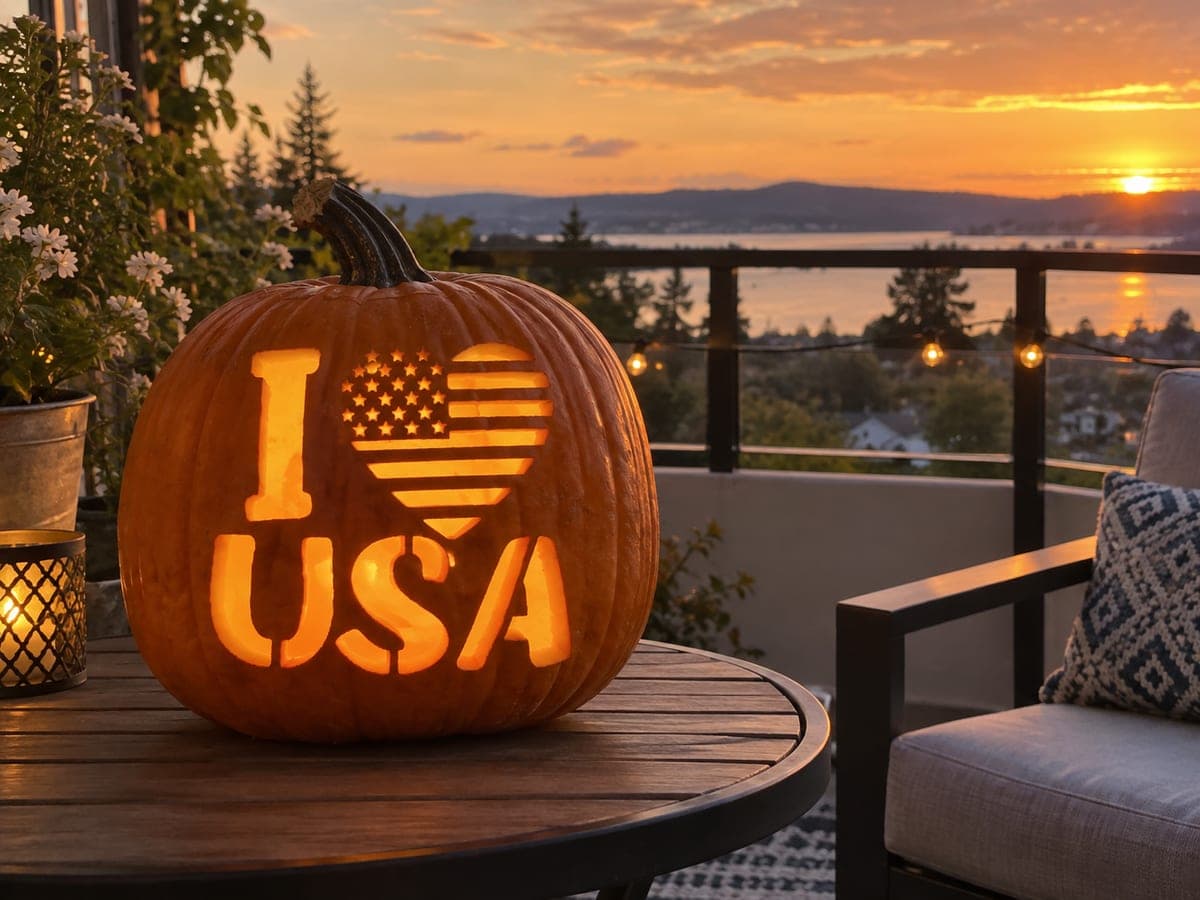
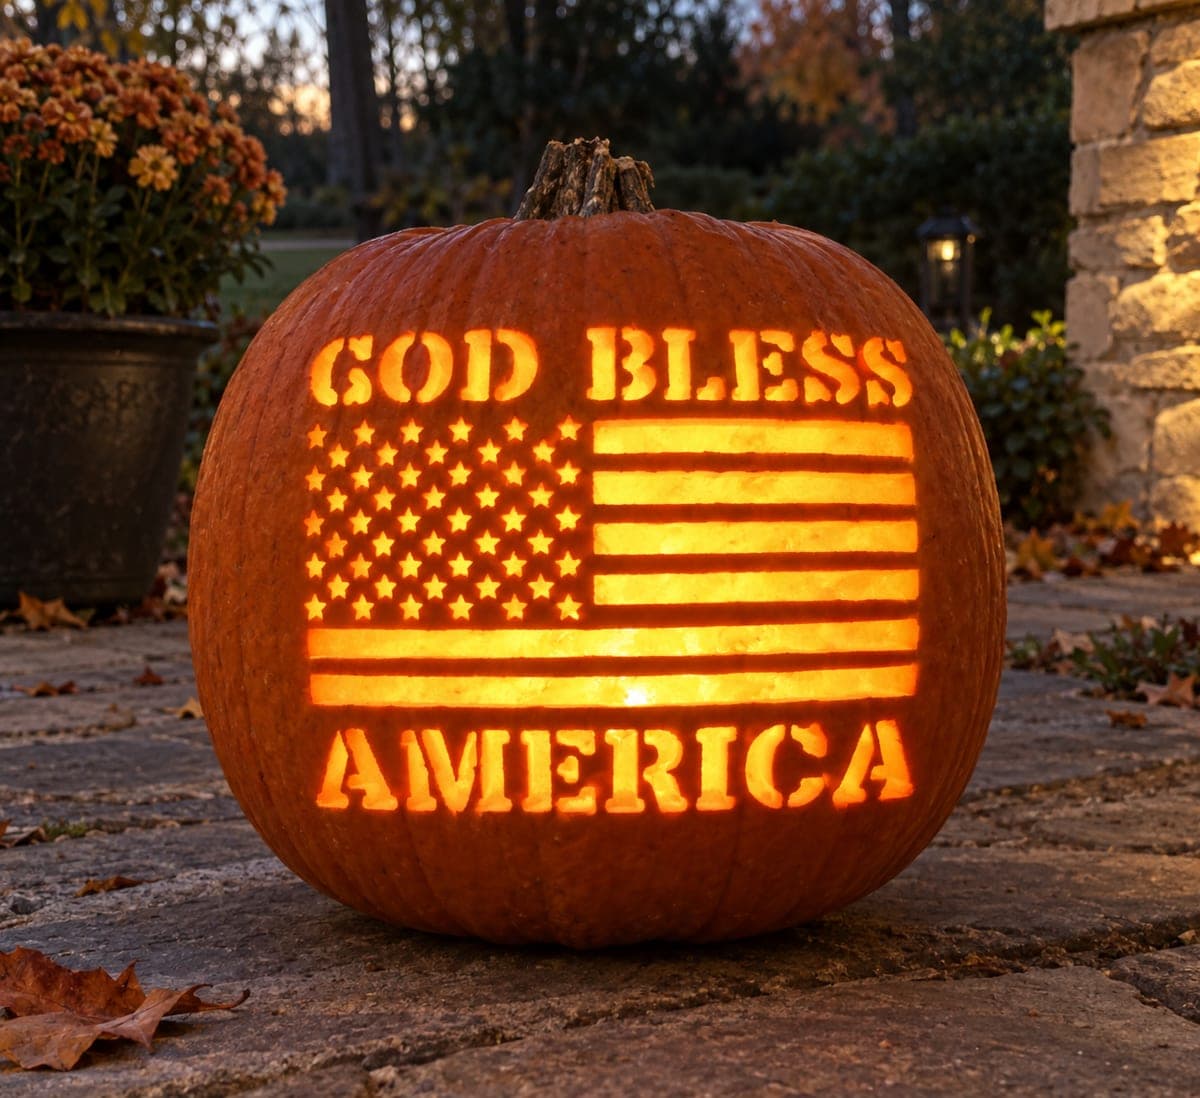
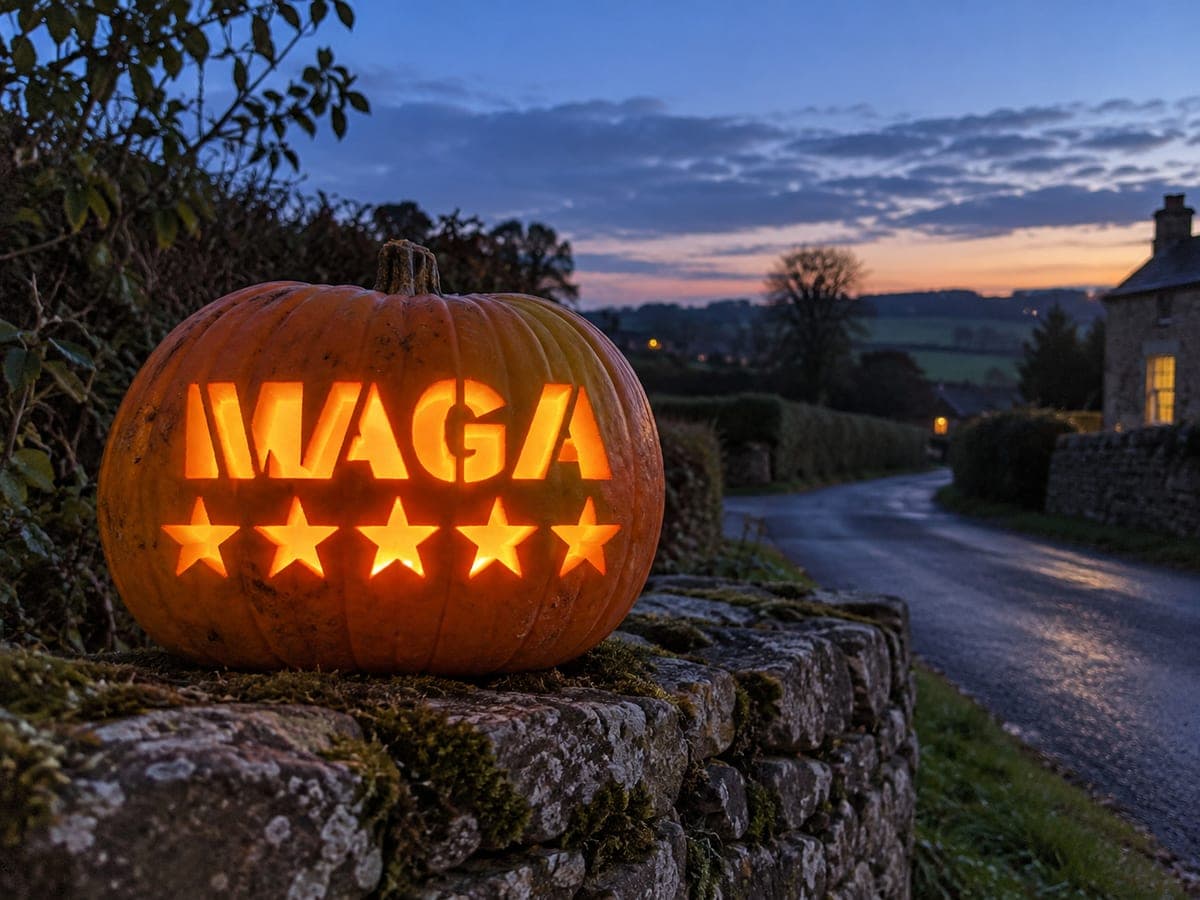
GOD BLESS THE runs in casual rounded letters across the top of this pumpkin carving idea, with large block U, star, S, star, A letters filling the lower half in a much bigger size. All letters are fully cut out so orange light pours through the entire message. The enclosed center of the D and the curved interior of the U need tiny rind bridges to stay attached; mark those connection points before cutting and leave them slightly thicker than you think necessary. Sitting on a kitchen counter, the two-scale lettering is easy to read at a glance.
This is an AI-generated concept image: a realistic, carvable design idea rather than a photo of a finished carve. AI concepts are always labeled and sit out the leaderboard and the contest.
The core trick here is two sizes of lettering: a smaller rounded GOD BLESS THE line up top and huge block U, star, S, star, A letters below, all fully cut through so light pours out. Because everything is an open cutout, the plan hinges on saving the little rind bridges that keep the center of the D and the curve of the U attached. Map the whole layout first, cut the small line before the big one, and leave those bridges thicker than feels necessary.
Written by PumpkinCarvingIdeas.com, inspired by the image above. These are our suggestions, not instructions from the uploader. This approach to the AI concept has not been tested on a real pumpkin.
From pumpkin to porch
1
Pick a tall pumpkin and open the back
Choose a tall, smooth pumpkin with a flat front panel large enough for two lines of text. Cut a wide access hole in the back rather than the top so the face stays clean and the letters have room. Scrape the front wall from the inside down to about one inch thick so your cuts go through easily. A thinner wall also lets the light glow evenly across every letter.
2
Transfer the two-scale layout
Print or trace the stencil so GOD BLESS THE sits in smaller rounded letters up top and U, star, S, star, A fill the lower half much larger. Tape the pattern flat and poke the outlines with a pin tool, adding extra dots where the D center and the U curve connect. Before you lift the paper, mark those bridge points clearly with a pen. Step back and check spacing so the message stays centered and easy to read.
3
Carve the small top line first
Start with the smaller GOD BLESS THE letters using a fine detail saw. Work slowly on the tight curves of the G, B, and S, keeping the blade upright and letting it do the work. Small letters are easier to control while the surrounding rind is still solid. Clear each cut piece gently by pushing it inward or outward so you do not tear neighboring edges.
4
Cut the big block letters, saving bridges
Move to the large lower letters and cut the outer edges of each block shape first. Leave the marked rind bridges in the enclosed center of the D and the inner curve of the U uncut, and keep them a little wider than you think you need. Those slivers hold the inner shapes in place, so trim them only if they look bulky once everything is out. Cut the two small stars last since they are the most delicate.
5
Clean edges and test the glow
Run your blade back through any ragged cuts and shave the inside edges of each opening at a slight bevel to widen the light path. Wipe away pulp dust with a damp cloth so no strings block the openings. Drop in an LED light or two, never a candle, and check that every letter reads clearly. Adjust any bridge that casts an awkward shadow.
6
Stage and photograph
Set the finished pumpkin on a clean surface with the message facing your best light. A pair of LEDs, one low and one higher inside, fills both the small and large letters evenly. Dim the room and shoot slightly off to one side so the ridges catch a little shadow. Snap a few frames and share your patriotic carve with the community.
Gather your supplies
Check things off as you get ready.
Work on a stable surface, keep your free hand out of the cutting path, and have an adult handle sharp tools.
Three levels of light
Leave intact
The untouched orange skin around and between the letters stays dark and frames the message.
Peel & shade
Optional shallow skin peeling just inside a letter edge can add a soft halo glow around the brightest cutouts.
Cut through
Every letter and both stars are cut fully through, so they blaze bright when lit.
How thick should I leave the bridges in the D and U?
Aim for roughly a quarter inch or a bit more, since thin bridges dry out and snap. You can always shave a chunky bridge down after everything else is cut. Leaving them slightly thick during carving protects the inner shapes from tearing loose.
Why carve the small line before the big letters?
The smaller GOD BLESS THE letters have tight curves that are easier to control while the pumpkin wall is still mostly solid. Cutting the huge lower letters first removes a lot of support and makes the top area flex. Working top to bottom keeps the surface stable longer.
This is a concept image, so can a real pumpkin look like this?
Yes, the design is fully carveable on a real pumpkin as long as you save the rind bridges shown in the D and U. Thin the front wall to about an inch, cut big openings last, and use LED lights so the whole message glows safely. The two-scale layout reads just as clearly in person.
Your take belongs here, too.
Changed a detail? Made it simpler? Share a photo of your version and tell the community what worked.
Comments (0)