Halloween Pumpkin Carving Contest · Starts October 1st · $500 in prizes
← Back to ideas
@ai_concepts
Sep 14, 2026
I Love Wyoming Heart Lettering PumpkinAI
0

I Love Wyoming Heart Lettering Pumpkin

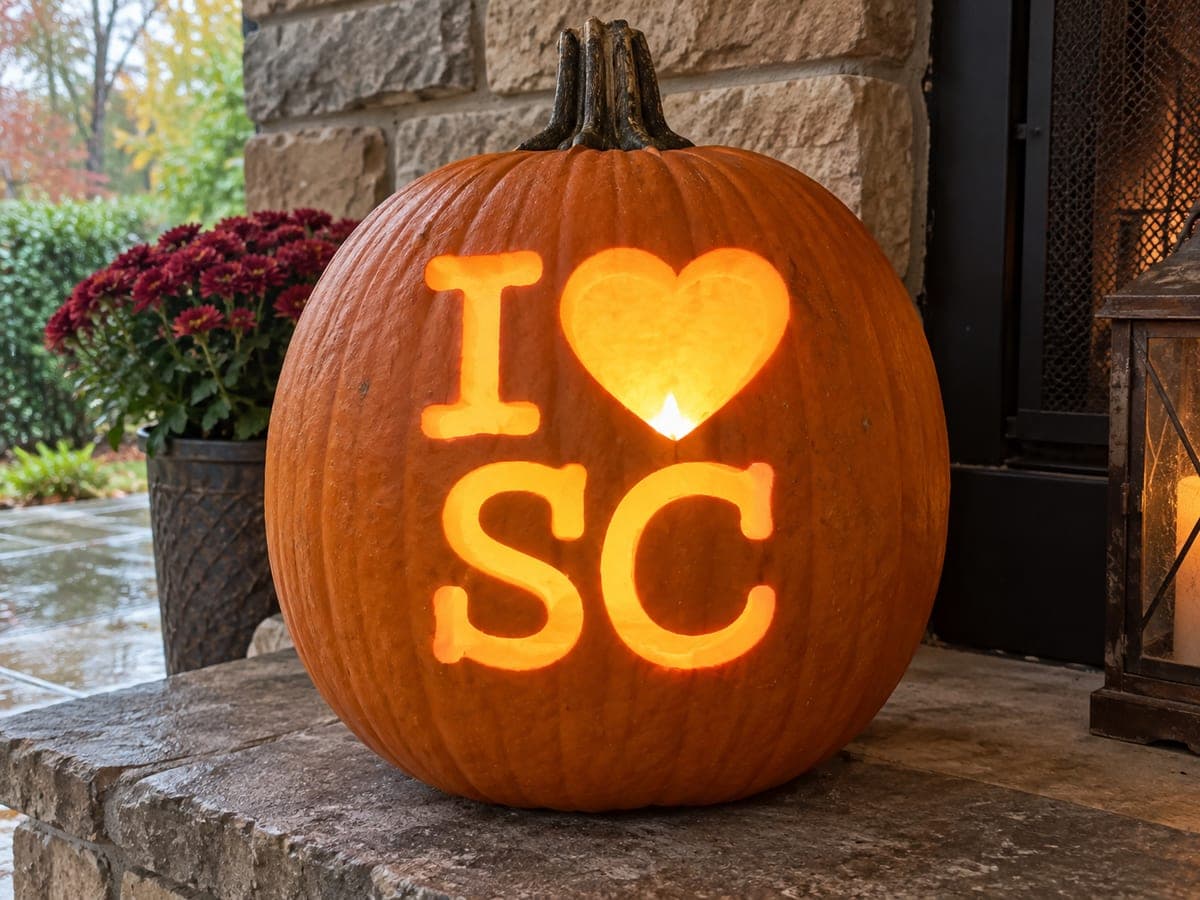
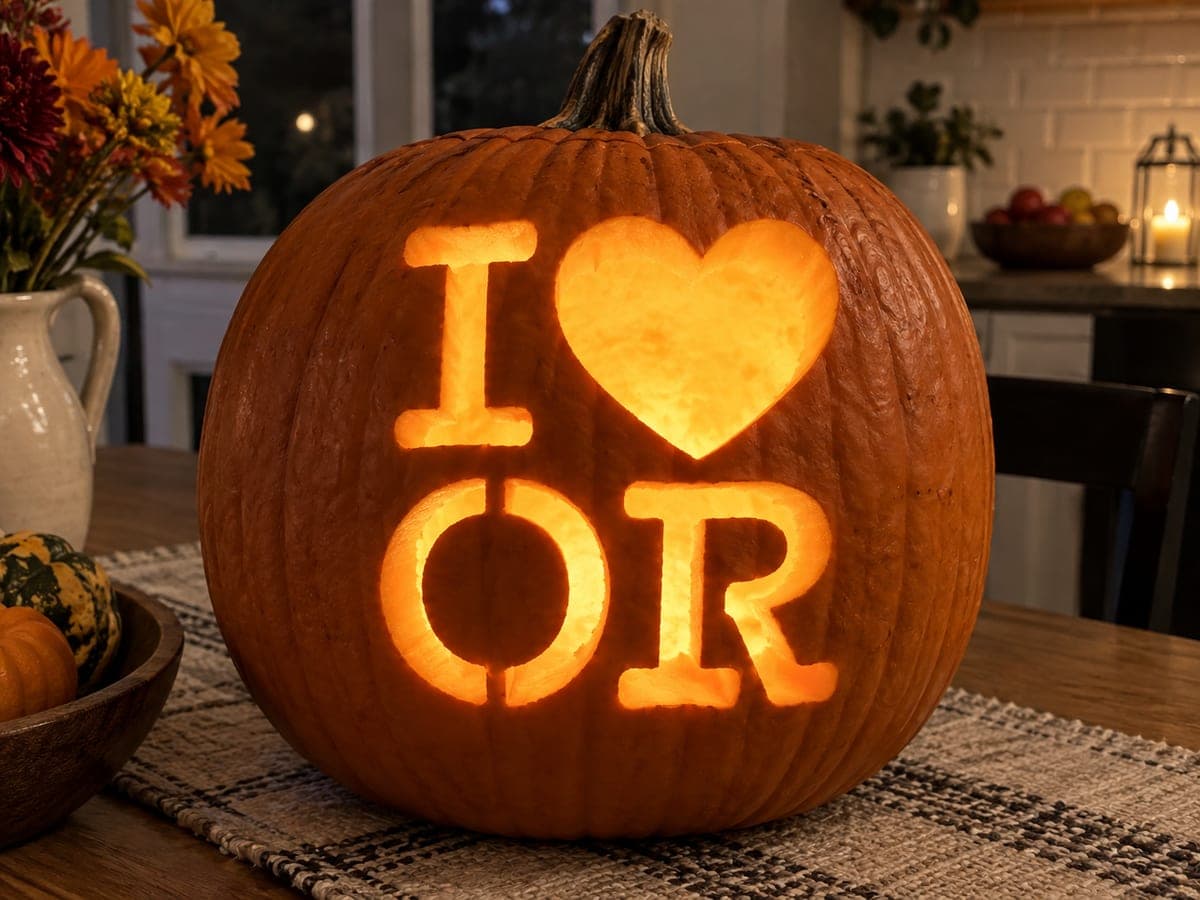
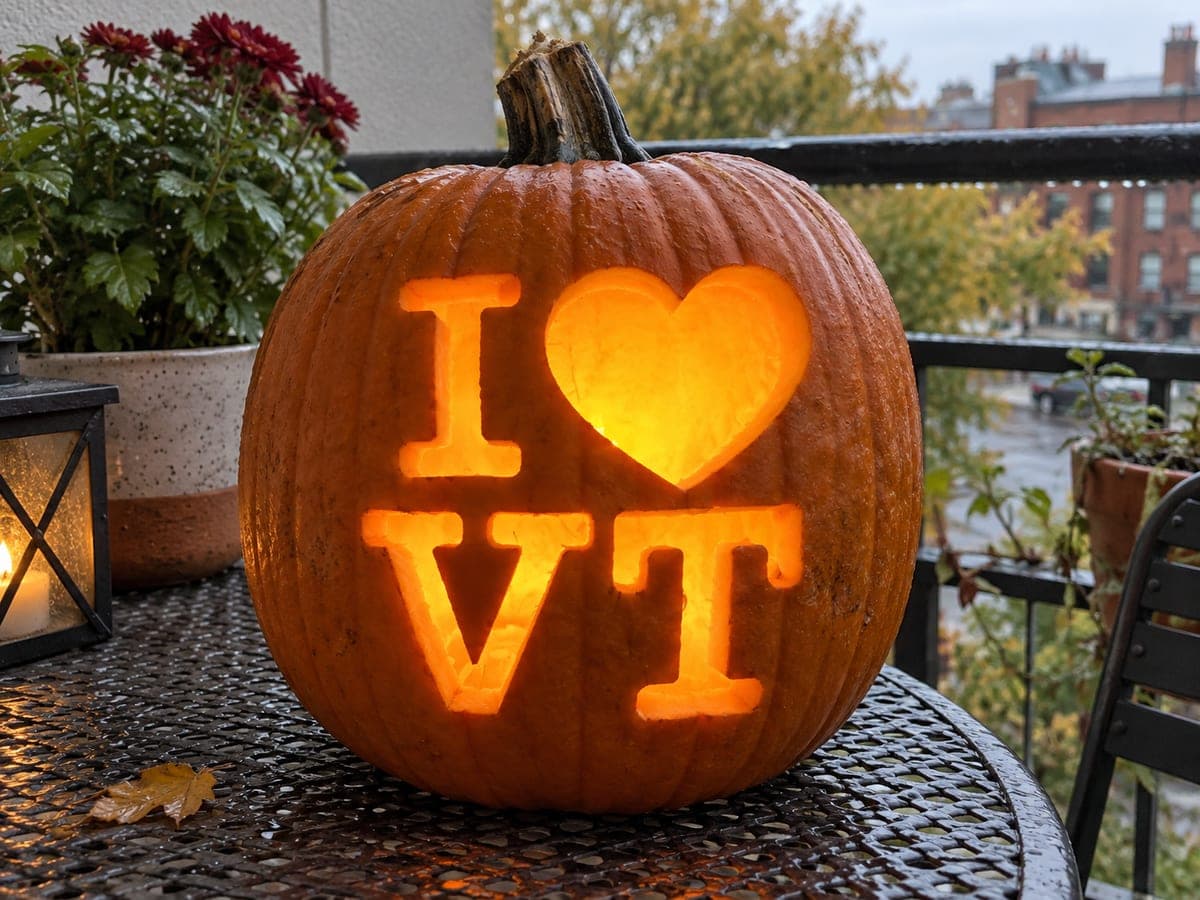
On a rain-wet deck ringed by autumn leaves and yellow chrysanthemums, this Wyoming pumpkin carving idea glows with I, a heart, and WY in wide, open block letters pierced through the rind. The Y's upper two arms and lower stem all meet at a junction point; cut each arm from the tip inward, leaving the central meeting point intact until last so the strokes support each other during carving. Both letters read well at dusk when the orange rind darkens and the inner candlelight brightens by contrast. Waterproofing the cut edges with a thin coat of petroleum jelly is especially useful here given the rainy outdoor setting.

This is an AI-generated concept image: a realistic, carvable design idea rather than a photo of a finished carve. AI concepts are always labeled and sit out the leaderboard and the contest.


No ratings yet · Sign in to rate

Comments (0)

  • No comments yet — be the first.

Save without an account. Sign in to like or comment.

Our tips for carving a similar design

The core trick here is treating each letter and the heart as a full cutout while keeping the shapes structurally sound as you work. Since this is a concept design, the plan is to transfer clean block letters, carve the small enclosed openings first, and save the biggest hole, the heart, for last. The Y is the tricky part because its two upper arms and lower stem all meet at one junction, so you leave that meeting point intact until every arm is cut.

Written by PumpkinCarvingIdeas.com, inspired by the image above. These are our suggestions, not instructions from the uploader. This approach to the AI concept has not been tested on a real pumpkin.

From pumpkin to porch

  1. Pick your pumpkin and open the lid

    Choose a tall, smooth pumpkin with a broad flat face so the letters have room to breathe. Cut a lid from the top at an angle so it rests without falling in, or cut a hatch in the back if you want the front rind uninterrupted. Scoop the insides and scrape the front wall down to about one inch thick where the letters will go. A thinner wall makes the full cutouts much easier to push through.

  2. Transfer the I, heart, and WY

    Print or draw wide block letters spelling I, a heart, and WY, sized to fill the face evenly. Tape the pattern down, then poke closely spaced dots along every edge with a pin or a poking tool. Peel the paper and connect the dots lightly with a washable marker so you can see the full layout. Step back and check spacing before you cut anything.

  3. Score the outlines

    With a small serrated carving saw, trace shallow cuts along all your outlines first without going all the way through. This gives your blade a groove to follow and keeps edges crisp. Take the letters slowly and keep the saw close to vertical so the openings have clean walls. Working shallow first also lets you fix a wobbly line before it becomes permanent.

  4. Cut the letters, saving the Y junction

    Push through and remove the I first, then the W, keeping steady even pressure. For the Y, cut each of the three strokes from its outer tip inward toward the center, and leave the small central meeting point uncut until the very end so the arms brace each other while you work. Once all three strokes are freed, clean out that last junction. Support each piece with your free hand as it releases so it does not tear the rind.

  5. Cut the heart last and waterproof

    The heart is the largest opening, so carve it last to keep the face rigid while you handle everything else. Cut the two top curves first, then the point, and ease the plug out gently. Smooth all inner edges with your saw or a small knife, then rub a thin coat of petroleum jelly on the cut edges to slow drying and shed rain if you display it outside. Wipe away any excess so it does not look shiny.

  6. Light it and photograph at dusk

    Drop a battery LED tealight or a small LED puck inside and skip real candles, especially outdoors in damp weather. The letters and heart read best at dusk when the orange rind darkens and the inner light glows brighter by contrast. Set the pumpkin on a dry board or tray if the ground is wet, and surround it with fallen leaves for a fall backdrop. Snap your photo while there is still a little blue in the sky for the richest color.

Gather your supplies

Check things off as you get ready.

Work on a stable surface, keep your free hand out of the cutting path, and have an adult handle sharp tools.

Three levels of light

  • Leave intact

    The untouched orange rind across the rest of the face and body stays dark

  • Peel & shade

    Optional shallow-shaved borders around each letter would give a soft dim halo

  • Cut through

    The I, the heart, and the W and Y are cut fully through for the brightest glow

Learn the carving basics

Before you start cutting

How do I keep the Y from breaking while I carve it?

Cut each of the three strokes starting at the outer tip and working inward toward the center. Leave the small point where all three meet uncut until every arm is freed, so the strokes support one another during carving. Clean out that junction as your final cut on the letter.

Will the carving survive being displayed in the rain?

A thin coat of petroleum jelly on all the cut edges helps seal in moisture and shed rainwater, which slows drying and curling. Set the pumpkin on a dry board rather than directly on wet decking. Even so, expect an outdoor pumpkin to last only several days, so carve close to when you want to show it off.

How big should the letters be so they stay readable?

Make the strokes wide and the openings generous, since narrow letters get lost and weaken the rind. Keep even spacing between the I, heart, and WY, and leave at least an inch of rind between each shape. Step back a few feet after transferring the pattern to check that it reads clearly before you cut.

Your take belongs here, too.

Changed a detail? Made it simpler? Share a photo of your version and tell the community what worked.

Share your pumpkin

More pumpkins like this

You've reached the end · 8 pumpkins
The Patch Report

Fresh pumpkins, in your inbox.

The best new carvings, ideas worth stealing, and how-tos for carving season. Short, seasonal, and gone by November.

A short email during carving season. Unsubscribe anytime. See our privacy policy.