Halloween Pumpkin Carving Contest · Starts October 1st · $500 in prizes
← Back to ideas
@ai_concepts
Jul 19, 2026
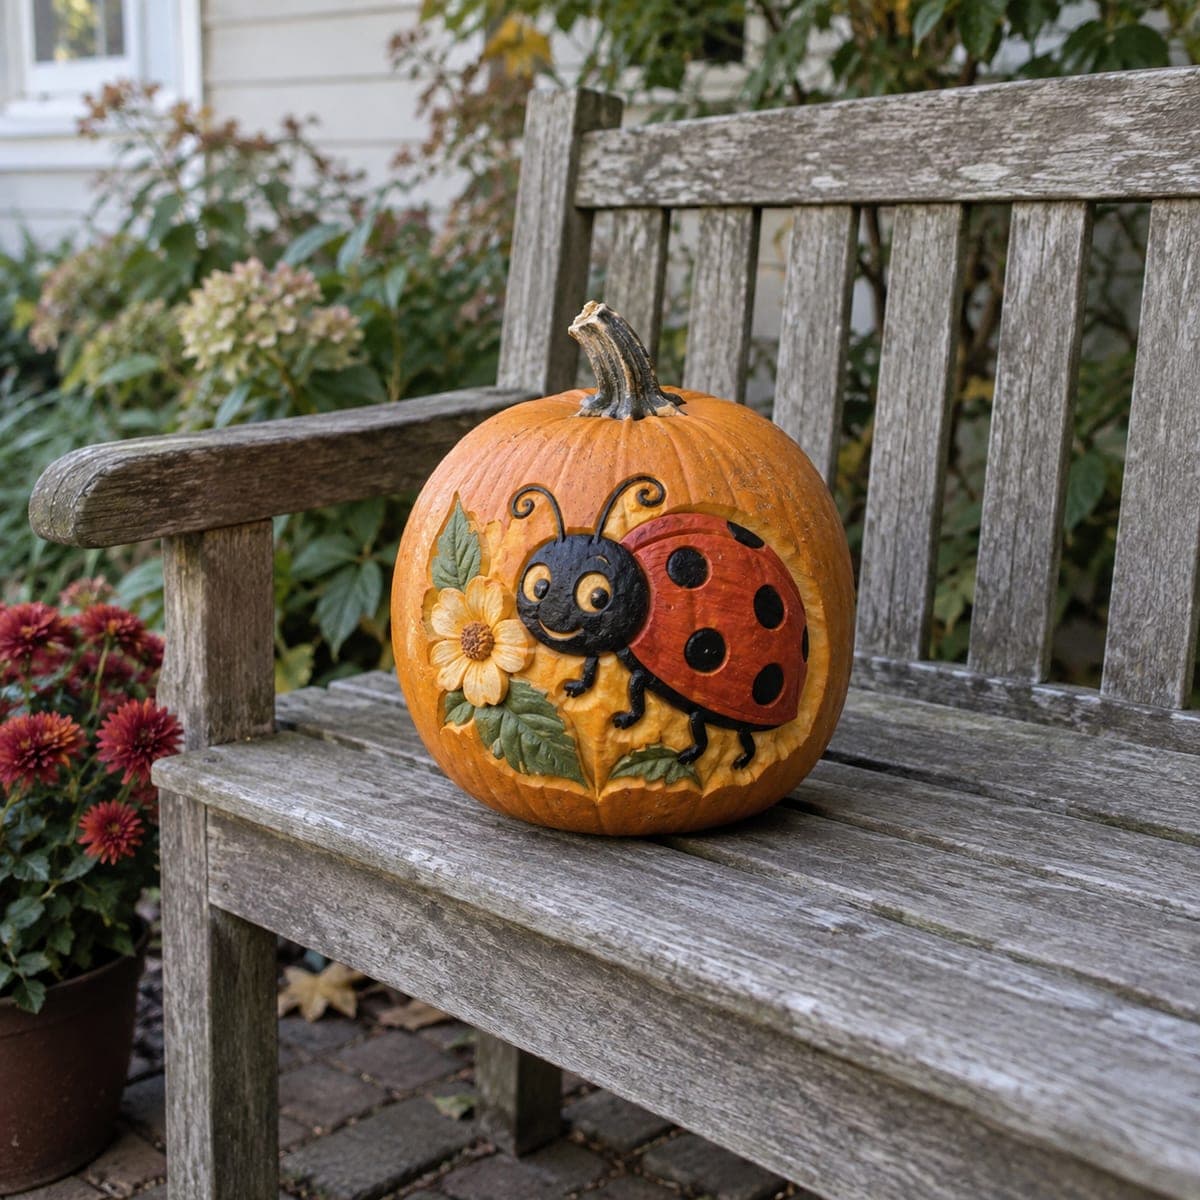
Honeybee and Flower Blossom Carved PumpkinAI
0

Honeybee and Flower Blossom Carved Pumpkin

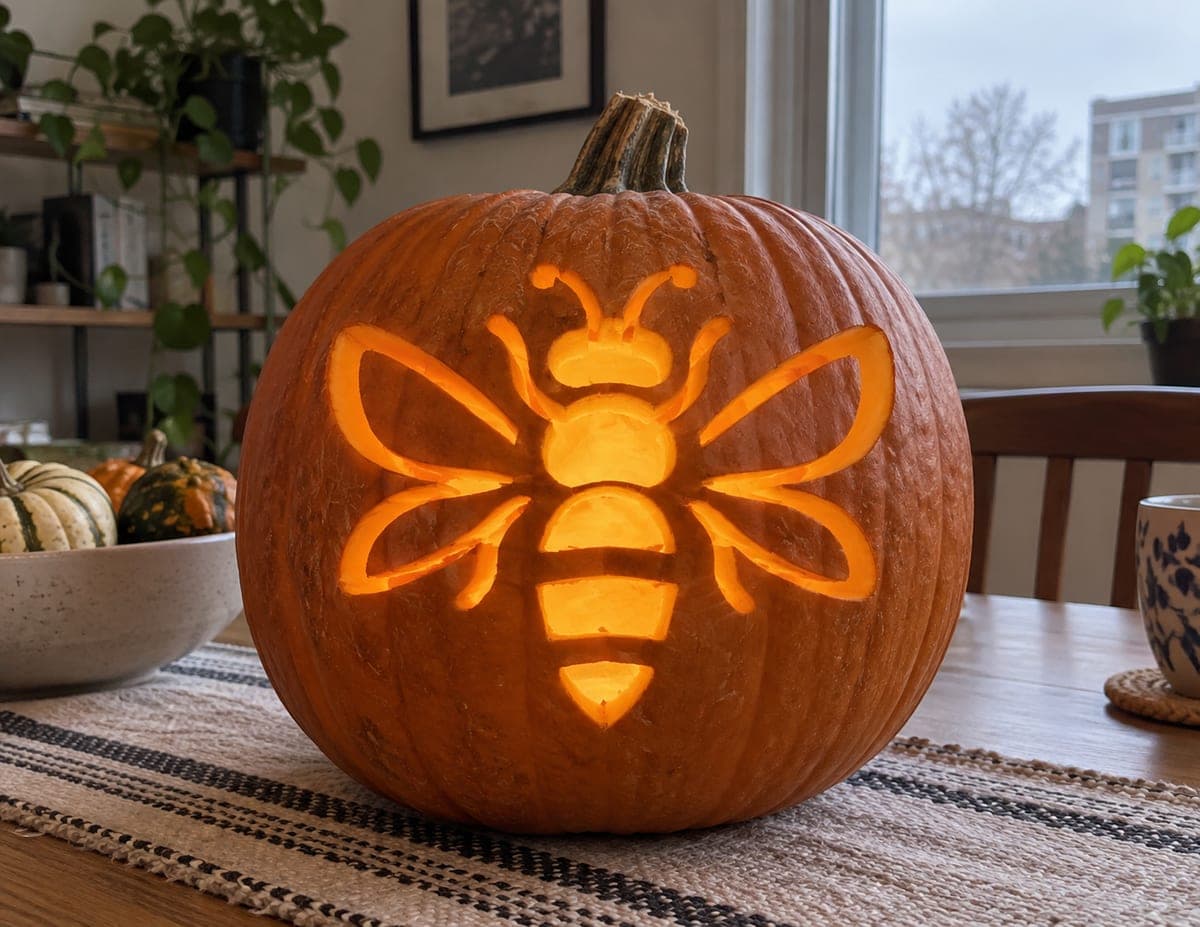
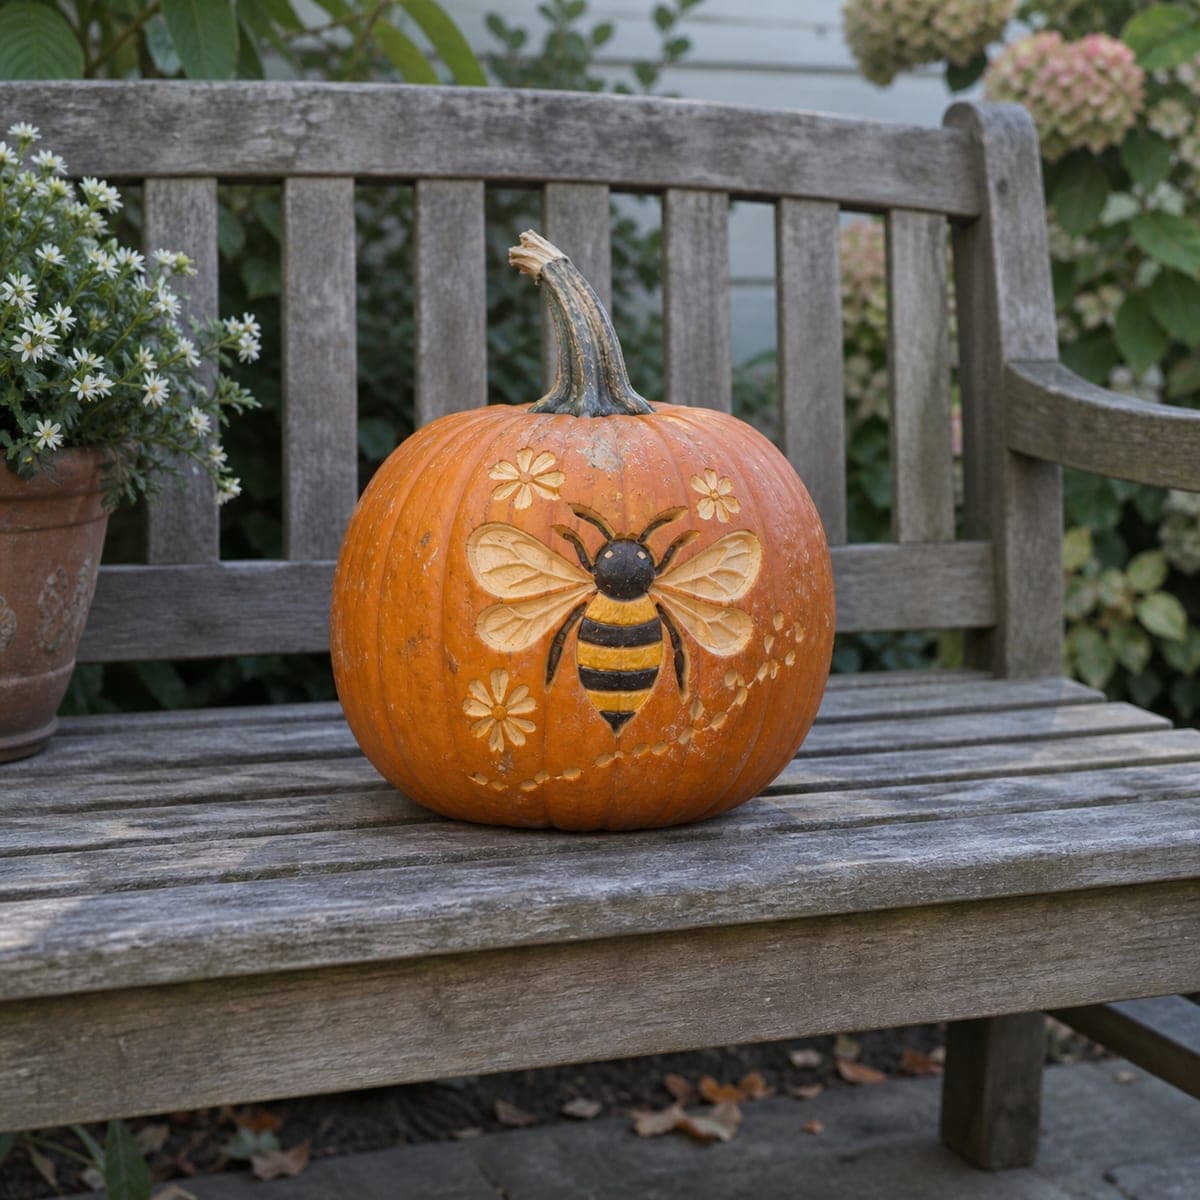
A plump honeybee hovers among peeled daisy blossoms on this garden-themed pumpkin, its striped body picked out in carved bands of black and gold. Trailing dotted flight paths and scattered petals fill the space so the design wraps naturally around the curve. Etch the flowers and wings as shallow peels, and darken the bee's stripes with black craft paint for contrast.

This is an AI-generated concept image: a realistic, carvable design idea rather than a photo of a finished carve. AI concepts are always labeled and sit out the leaderboard and the contest.

No ratings yet · Sign in to rate
Comments (0)

  • No comments yet — be the first.

Save without an account. Sign in to like or comment.

Our tips for carving a similar design

This is an AI concept image, so no real pumpkin exists here, but you could recreate the look with a shading technique rather than deep cuts. The core trick is peeling away just the skin for the wings, flowers, and dotted flight trails so they glow dim, then painting the bee's stripes black and gold for contrast against the untouched skin. Keep almost everything shallow and add a small back cutout so an LED can light the peeled areas.

Written by PumpkinCarvingIdeas.com, inspired by the image above. These are our suggestions, not instructions from the uploader. This approach to the AI concept has not been tested on a real pumpkin.

From pumpkin to porch

  1. Prep and transfer the design

    Wipe the pumpkin clean and dry it. Tape your bee and daisy stencil in place, centering the bee on the flattest front panel. Poke through the outlines with a pin or transfer tool so you have a dotted map to follow. Since the peels are shallow, accurate lines matter more than deep scoring here.

  2. Cut a small back vent

    Have an adult cut a modest lighting hole in the back of the pumpkin, not the top, so the stem stays intact. Keep it just big enough for your hand and an LED light. Scrape the inside wall behind the bee down to about one inch thick so light passes through your peeled areas more easily. Do this early so the shell is ready before you carve detail.

  3. Peel the wings and daisies

    Using a lino or ribbon gouge, shave off only the orange skin inside the wings, the daisy petals, and the flower centers. Aim for a shallow, even peel that exposes the pale flesh without cutting through the wall. These areas will glow a soft dim orange when lit. Work slowly and keep the tool moving away from your other hand.

  4. Etch the flight trails and petal accents

    Switch to a small detail tool or the tip of your gouge to dot in the trailing flight paths and scattered petals. Keep these as light etch marks so they read as delicate texture, not big holes. Leaving thin skin between dots keeps the design strong and the curve of the pumpkin readable. Step back often to check the trail wraps naturally around the side.

  5. Shape and paint the bee

    Peel the bee's body lightly so the gold bands catch a little glow, but leave the black stripe zones as untouched skin. Once carving is done, brush black craft paint on the dark stripes, head, and wing edges, then add warm gold or yellow on the body bands. Let the paint dry fully before lighting. The painted contrast is what makes the bee pop against the peeled wings.

  6. Light it and photograph

    Set a battery LED inside through the back vent, using a warm white bulb for that honey glow. Test in a dark room and deepen any peels that look too faint. Keep the pumpkin out of direct sun and mist the cut edges with water if it starts to dry. Snap your photo at dusk when the peeled areas and painted bee both show up best.

Gather your supplies

Check things off as you get ready.

Work on a stable surface, keep your free hand out of the cutting path, and have an adult handle sharp tools.

Three levels of light

  • Leave intact

    The bee's black stripes, head, and the pumpkin's background skin stay untouched and dark.

  • Peel & shade

    The wings, daisy petals, flower centers, and gold body bands are skin-peeled for a dim glow.

  • Cut through

    Only the small hidden back vent is a true cutout, so the front stays soft and shaded rather than brightly pierced.

Learn the carving basics

Before you start cutting

Do I need to cut all the way through for the wings?

No, and that is the whole point of this design. The wings and flowers are shallow peels that only remove the skin, so they glow dim rather than blasting light. Cutting through would lose the soft, painterly look and weaken the shell.

Will the craft paint hold up outdoors?

Acrylic craft paint sticks well to clean, dry pumpkin skin and lasts several days. Let each color dry fully before adding the next so the black and gold stay crisp. Keep the pumpkin out of rain and direct sun to slow drying and fading.

How do I keep the dotted flight trails from looking messy?

Mark them from your stencil first so the spacing is even, then etch each dot with the same light pressure. Leave plenty of skin between dots so they read as a gentle trail, not a torn line. Step back every few dots to check the curve as it wraps around the side.

Your take belongs here, too.

Changed a detail? Made it simpler? Share a photo of your version and tell the community what worked.

Share your pumpkin

More pumpkins like this

You've reached the end · 8 pumpkins
The Patch Report

Fresh pumpkins, in your inbox.

The best new carvings, ideas worth stealing, and how-tos for carving season. Short, seasonal, and gone by November.

A short email during carving season. Unsubscribe anytime. See our privacy policy.