Halloween Pumpkin Carving Contest · Starts October 1st · $500 in prizes
← Back to ideas
@ai_concepts
Sep 10, 2026
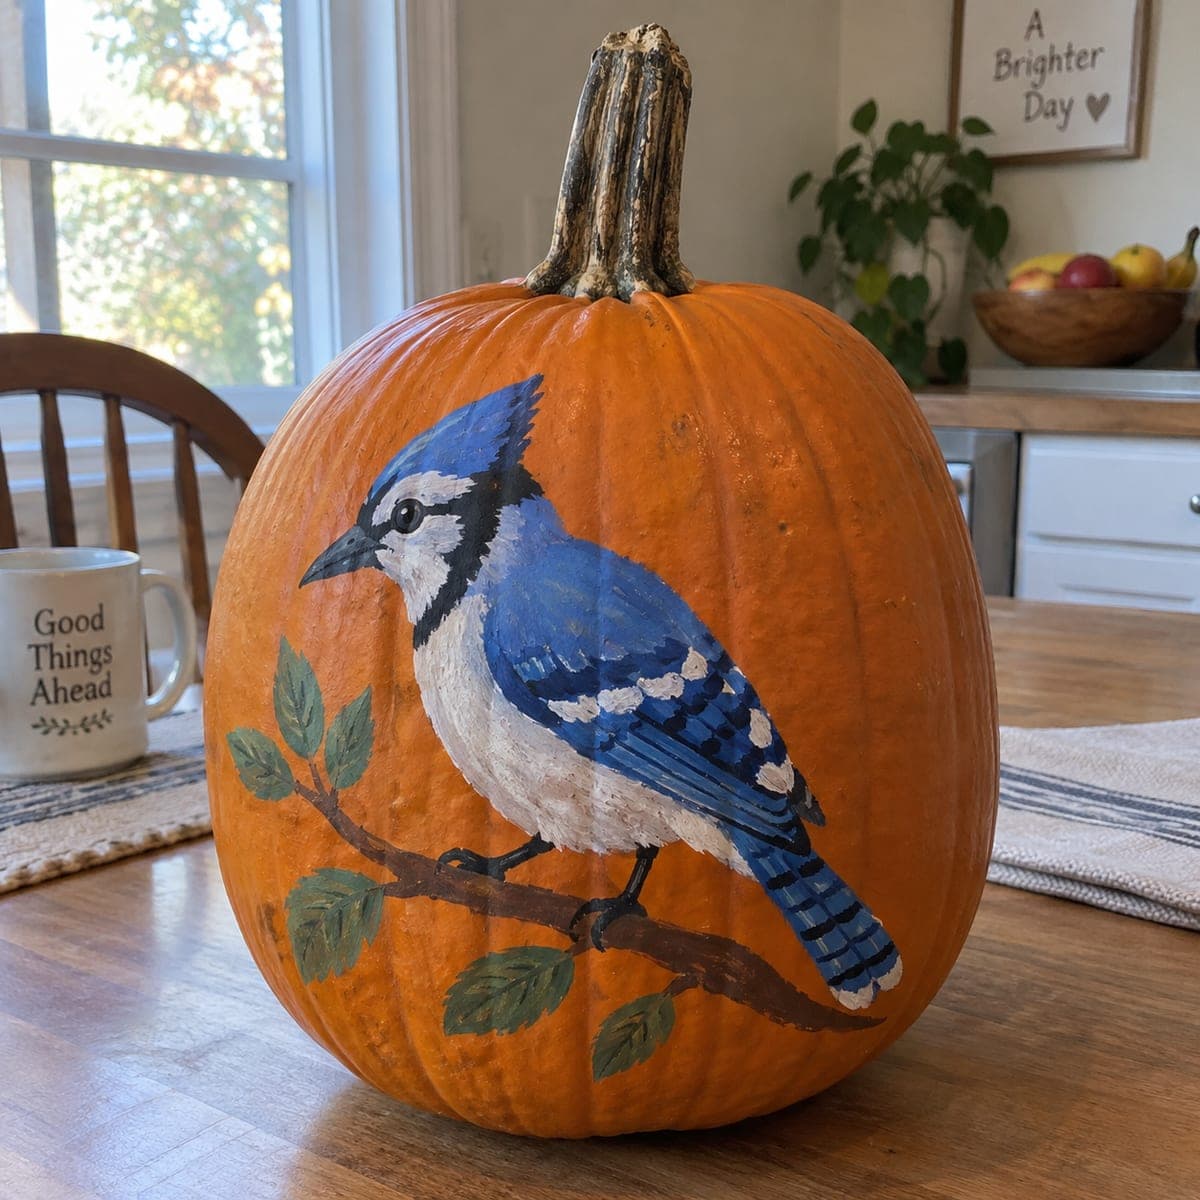
Chickadee on a Branch Painted PumpkinAI
0

Chickadee on a Branch Painted Pumpkin

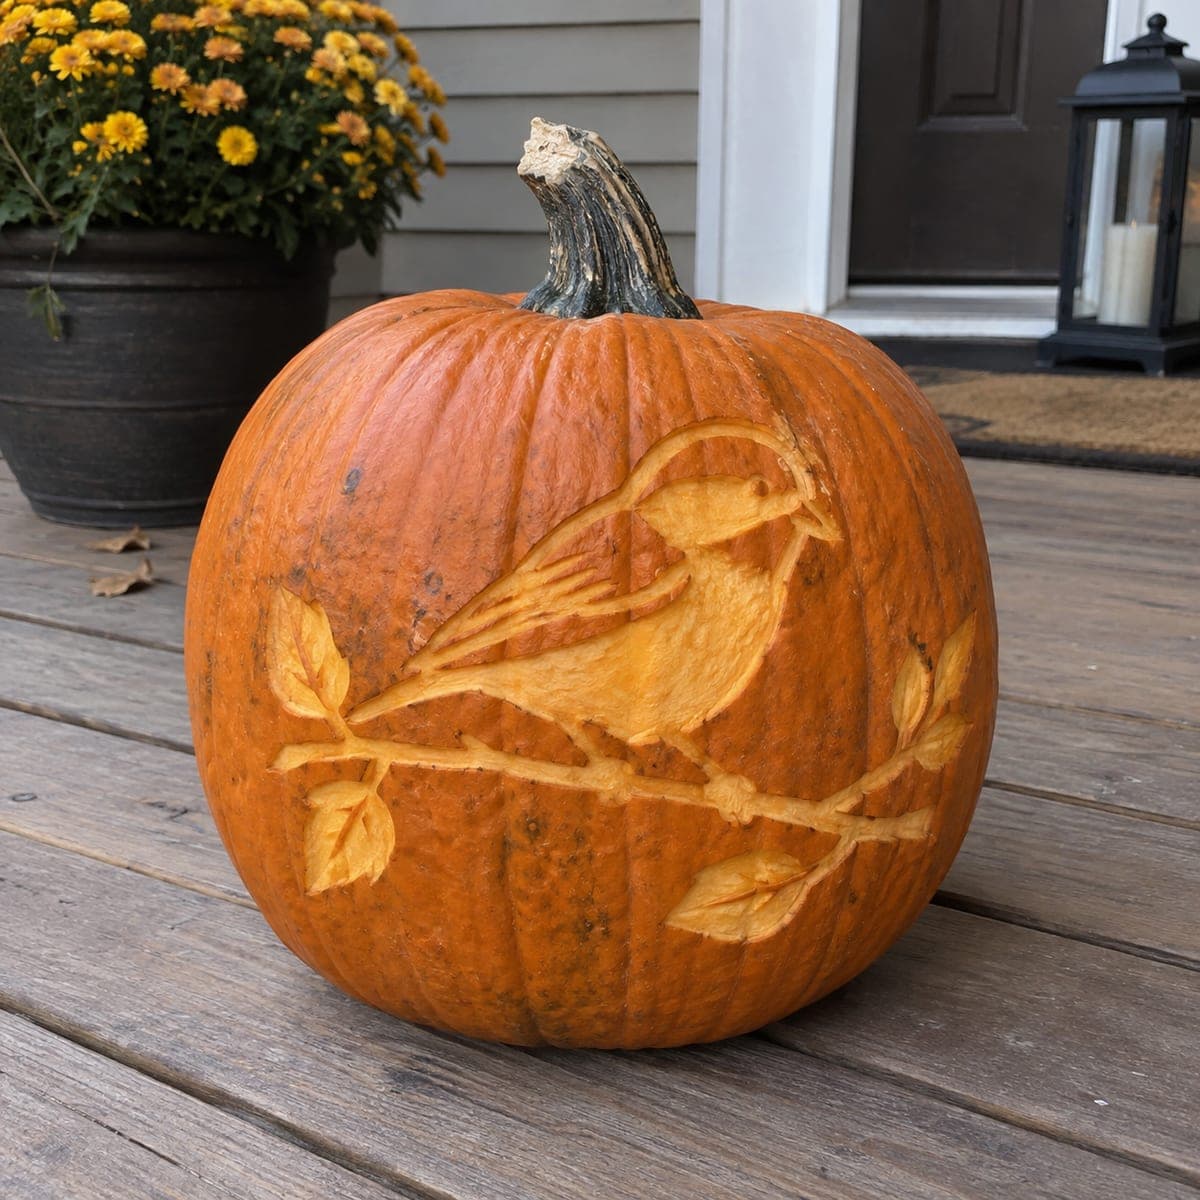
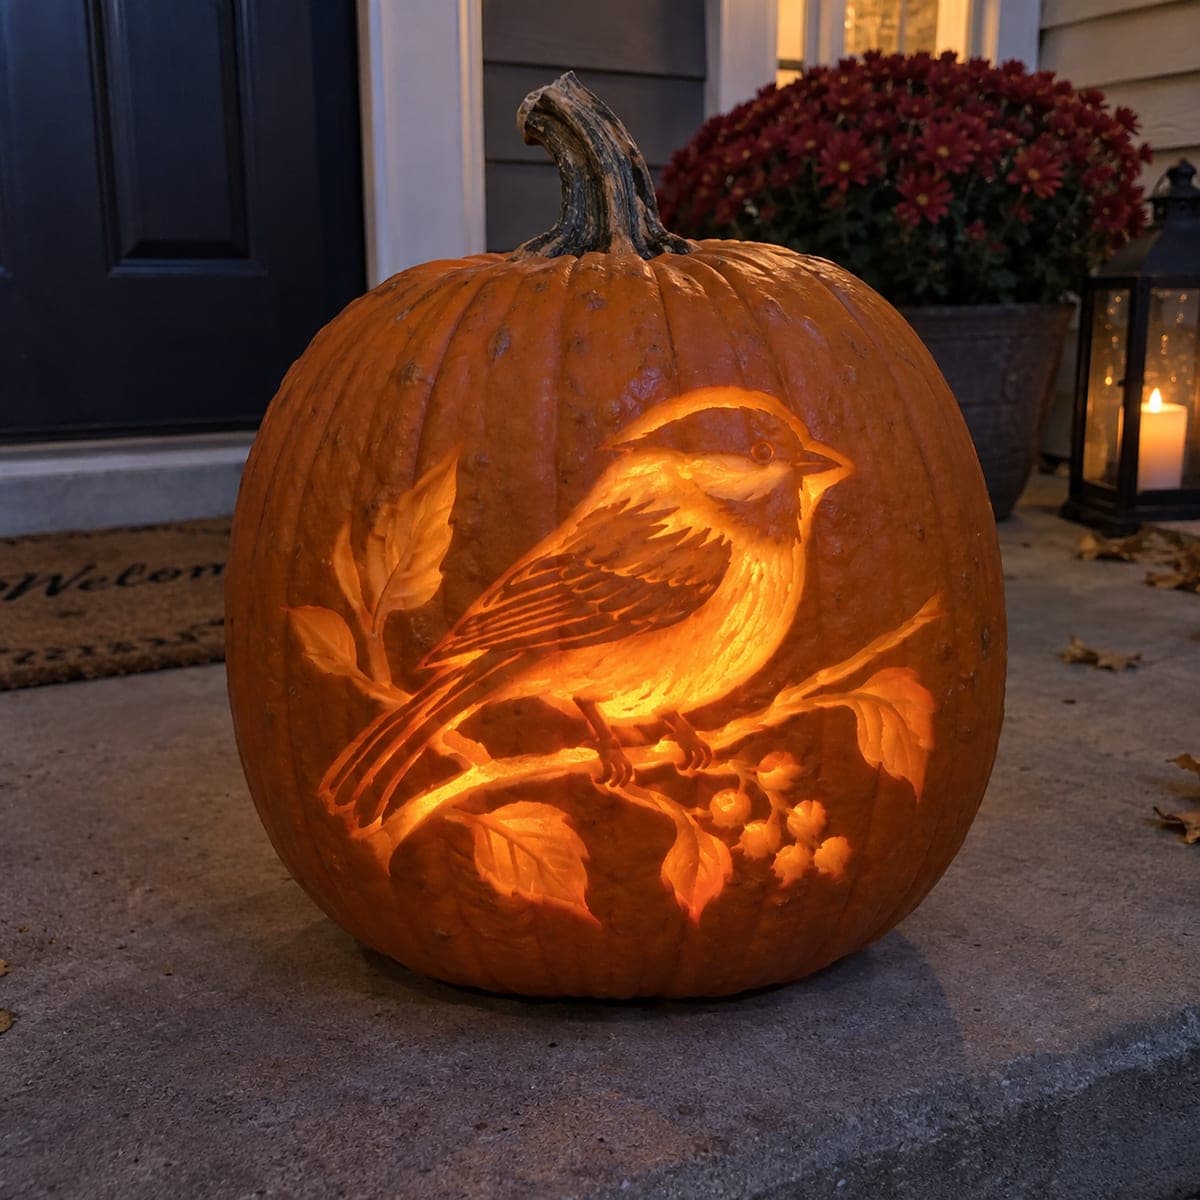
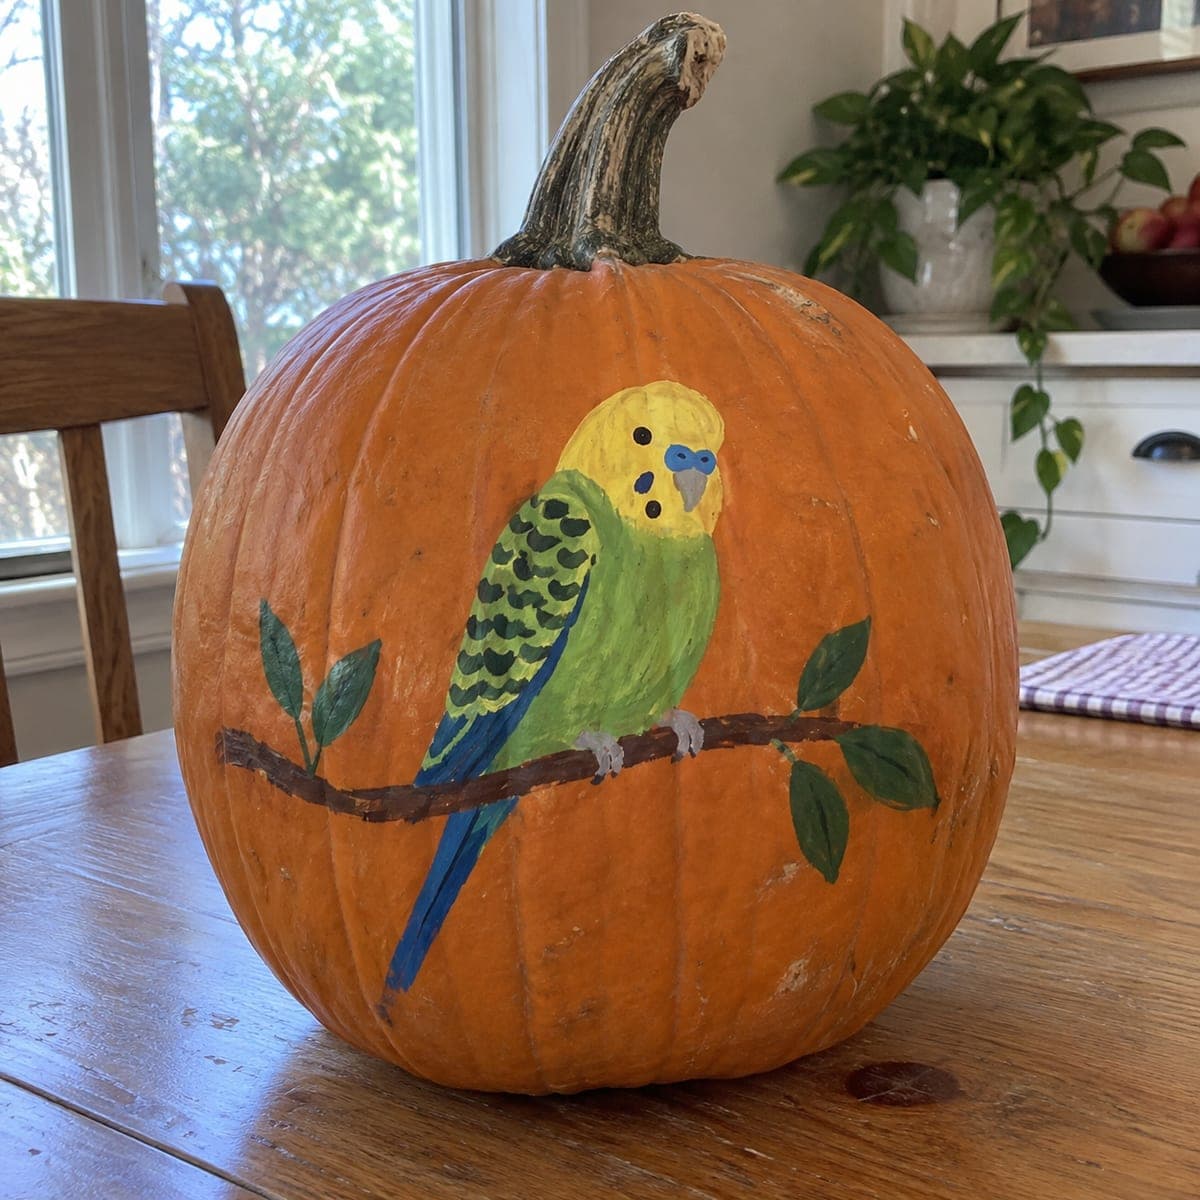
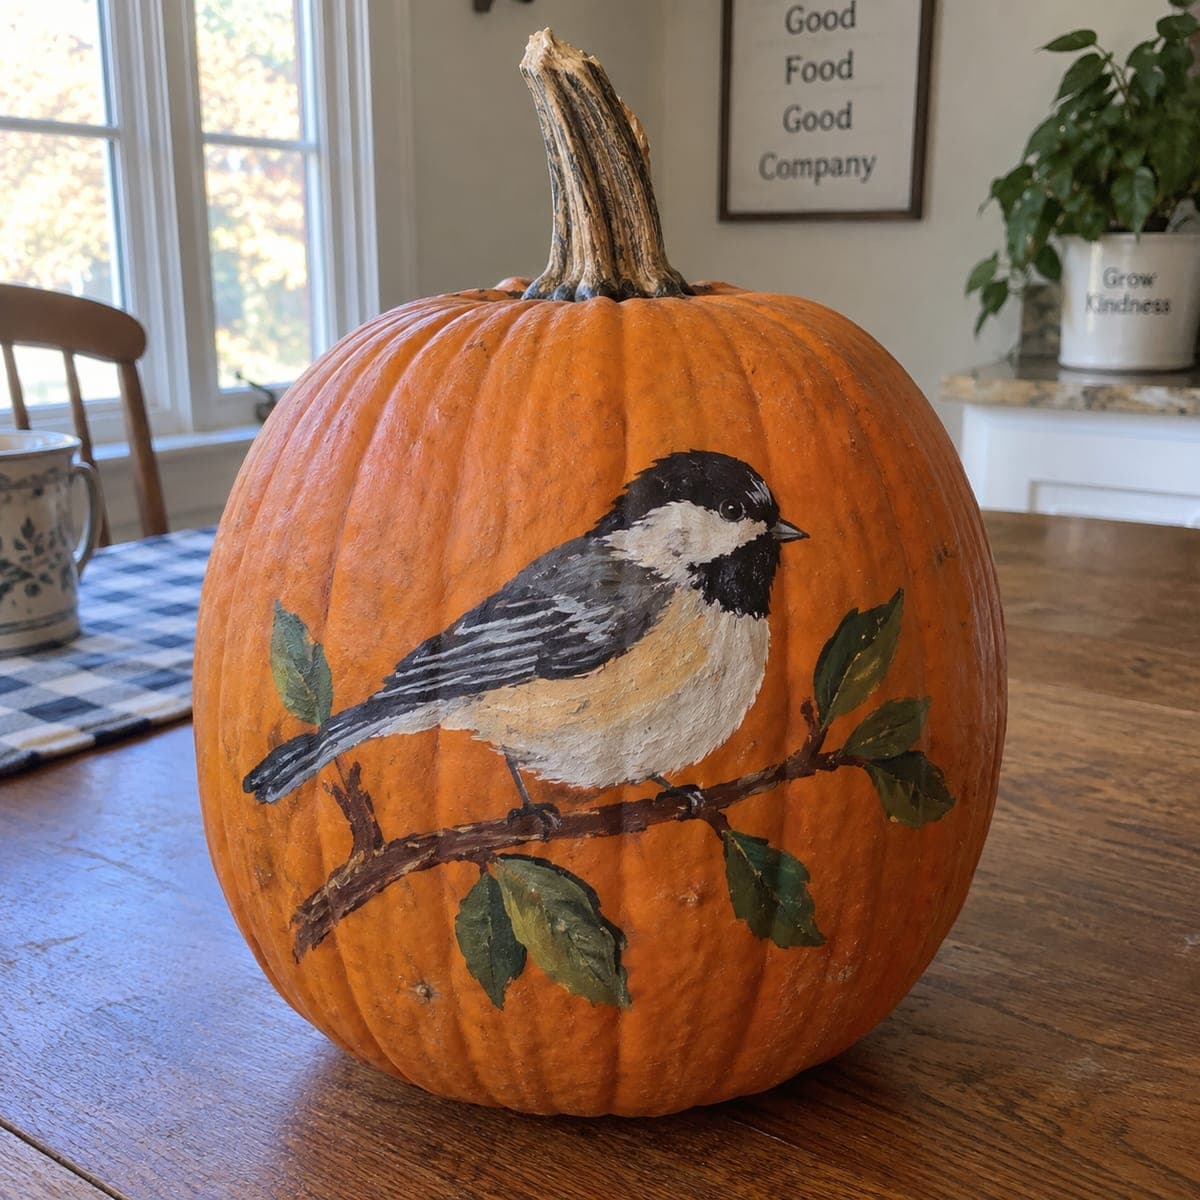
A black-capped chickadee perches on a leafy painted branch that wraps naturally around the curve of this pumpkin. The little bird's cap, bib, and buff flanks are rendered in soft acrylic layers, making it a rewarding no-carve pumpkin for anyone who enjoys nature painting. Paint the branch first so the feet have somewhere to land, then build the bird from light base colors up to the black markings. Lovely on a kitchen table beside fall greenery.

This is an AI-generated concept image: a realistic, carvable design idea rather than a photo of a finished carve. AI concepts are always labeled and sit out the leaderboard and the contest.

No ratings yet · Sign in to rate
Comments (0)

  • No comments yet — be the first.

Save without an account. Sign in to like or comment.

Our tips for carving a similar design

The core trick here is a fully painted, no-carve pumpkin where a black-capped chickadee perches on a branch that follows the natural curve of the shell. You build the image in layers, starting with the branch so the feet have a place to land, then working the bird from pale base colors up to its crisp black cap and bib. Because nothing is cut, the pumpkin stays sturdy and can sit indoors for weeks.

Written by PumpkinCarvingIdeas.com, inspired by the image above. These are our suggestions, not instructions from the uploader. This approach to the AI concept has not been tested on a real pumpkin.

From pumpkin to porch

  1. Clean and prep the surface

    Wipe the whole pumpkin with a damp cloth and let it dry fully so paint grips well. Pick the smoothest, flattest panel between the ribs for the bird, since a flat area is easier to paint on. If you want extra durability, brush on a thin coat of clear matte sealer or a light layer of gesso where the design will go. Let any primer dry before you sketch.

  2. Sketch the branch and bird lightly

    Use a soft pencil or a washable marker to draw the branch first, angling it across the curve so it looks natural. Add a few leaf shapes coming off the branch, then place the plump chickadee body sitting on top with its feet gripping the wood. Keep the head round, the beak small and pointed, and mark where the black cap and bib will sit. Step back and check the proportions before you commit to paint.

  3. Paint the branch and leaves

    Block in the branch with brown acrylic, then add darker brown and a touch of gray on the underside for shadow. Paint the leaves in layered greens, letting some look sun-faded for a fall feel. Paint these background elements first so the bird's feet and body can overlap them cleanly later. Let each color dry before adding the next so they do not muddy together.

  4. Build the bird from light to dark

    Start with the pale buff flanks and white cheek and belly, laying down soft base tones. Add the gray wings and back next, then feather in a bit of white on the wing edges with short strokes. Save the solid black cap and bib for last so their crisp edges sit right on top. Use a fine brush and thin layers, building up rather than trying to nail it in one heavy coat.

  5. Add details and highlights

    Paint the small dark eye, then drop a tiny white dot in it to bring the bird to life. Sharpen the beak and add the little feet gripping the branch. Use short flicking strokes for feather texture on the breast and wings, and add faint highlights where light would hit the head and back. Keep a damp brush handy to soften any hard edges.

  6. Seal and stage

    Let everything cure for several hours, then brush or spray on a clear acrylic sealer to protect the paint from smudges. Set the pumpkin on a kitchen table or shelf beside real fall greenery, pinecones, or a small string of warm LED fairy lights for a soft glow. Since nothing is cut, keep it out of direct sun and heat so the shell lasts. Snap a photo in soft daylight to show off the feather detail.

Gather your supplies

Check things off as you get ready.

Work on a stable surface, keep your free hand out of the cutting path, and have an adult handle sharp tools.

Three levels of light

  • Leave intact

    The whole orange shell stays intact and untouched, since this is a no-carve painted design.

  • Peel & shade

    If you want a subtle glow, you could lightly skin-peel a thin halo of background around the bird before painting, letting warm light seep through.

  • Cut through

    No full cutouts are needed, but a small vent hole in the back lets you tuck in LED fairy lights for a gentle backlight.

Learn the carving basics

Before you start cutting

Do I need to cut this pumpkin at all?

No, this is a painted no-carve design, so the shell stays whole and sturdy. That means it lasts longer indoors and is safe for kids to help decorate. If you want a little glow, you can drill one small vent hole in the back for LED lights, but it is optional.

What if I cannot paint the chickadee freehand?

Trace a bird outline from a printed reference or a backyard bird stencil, then transfer it with pencil. Paint the branch and leaves first, then fill the bird from light base colors up to the black cap and bib. Working in thin layers lets you correct shapes as you go.

Should I use a real or artificial pumpkin?

Both work for a no-carve piece. A real pumpkin gives natural color and texture but should be kept cool and dry so it does not soften. A craft foam pumpkin lets you reuse the painting year after year, which is nice for a detailed design like this.

Your take belongs here, too.

Changed a detail? Made it simpler? Share a photo of your version and tell the community what worked.

Share your pumpkin

More pumpkins like this

You've reached the end · 8 pumpkins
The Patch Report

Fresh pumpkins, in your inbox.

The best new carvings, ideas worth stealing, and how-tos for carving season. Short, seasonal, and gone by November.

A short email during carving season. Unsubscribe anytime. See our privacy policy.