Halloween Pumpkin Carving Contest · Starts October 1st · $500 in prizes
← Back to ideas
@ai_concepts
Aug 18, 2026
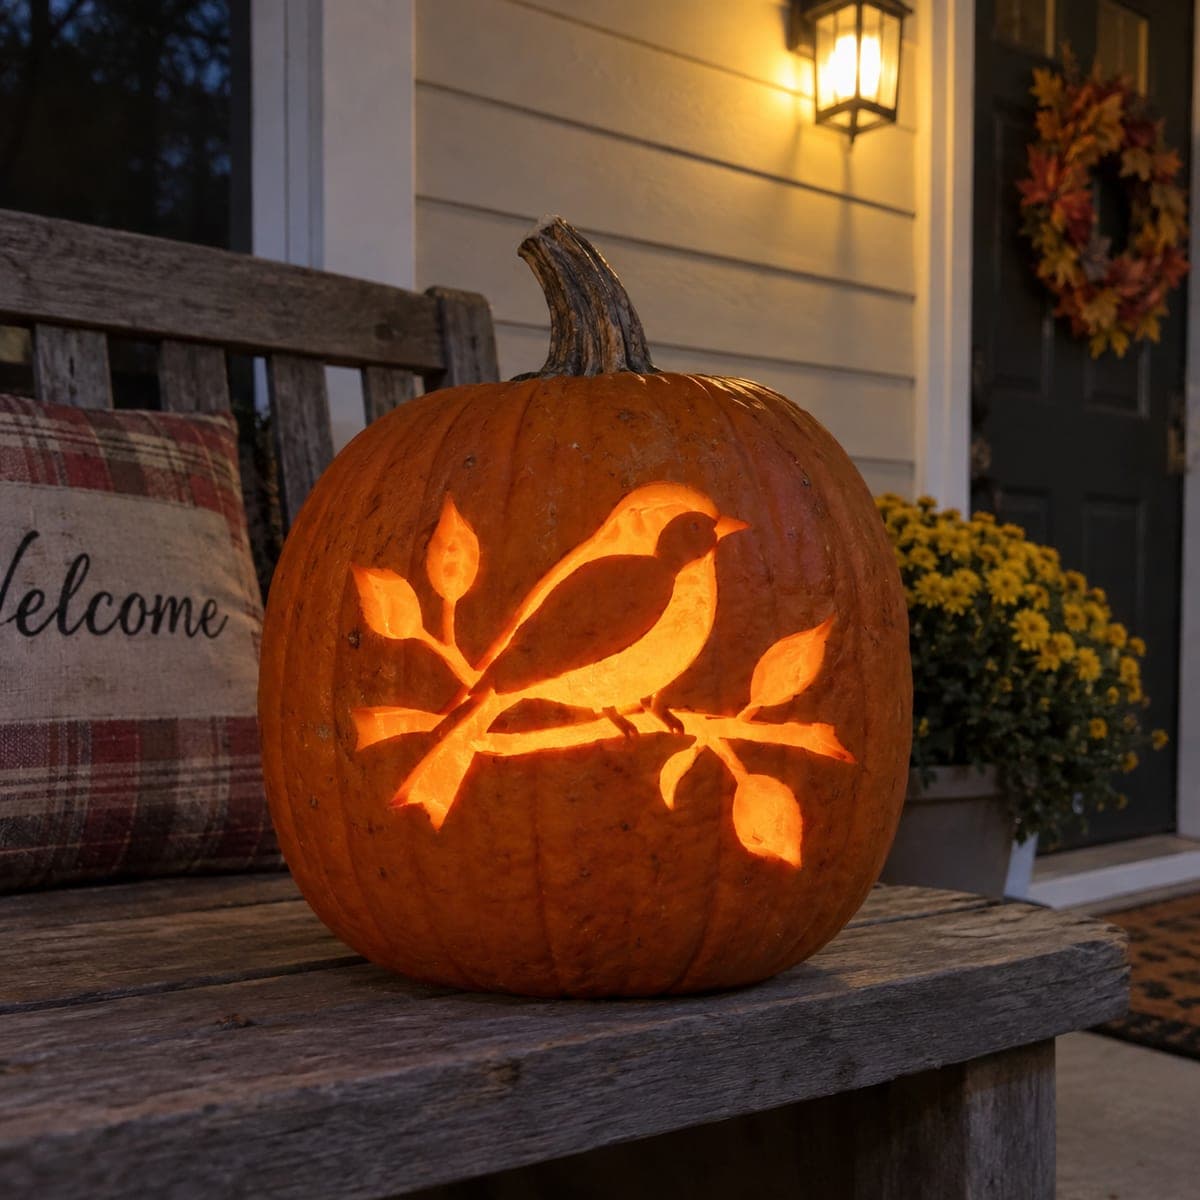
Songbird on a Berry Branch Relief PumpkinAI
0

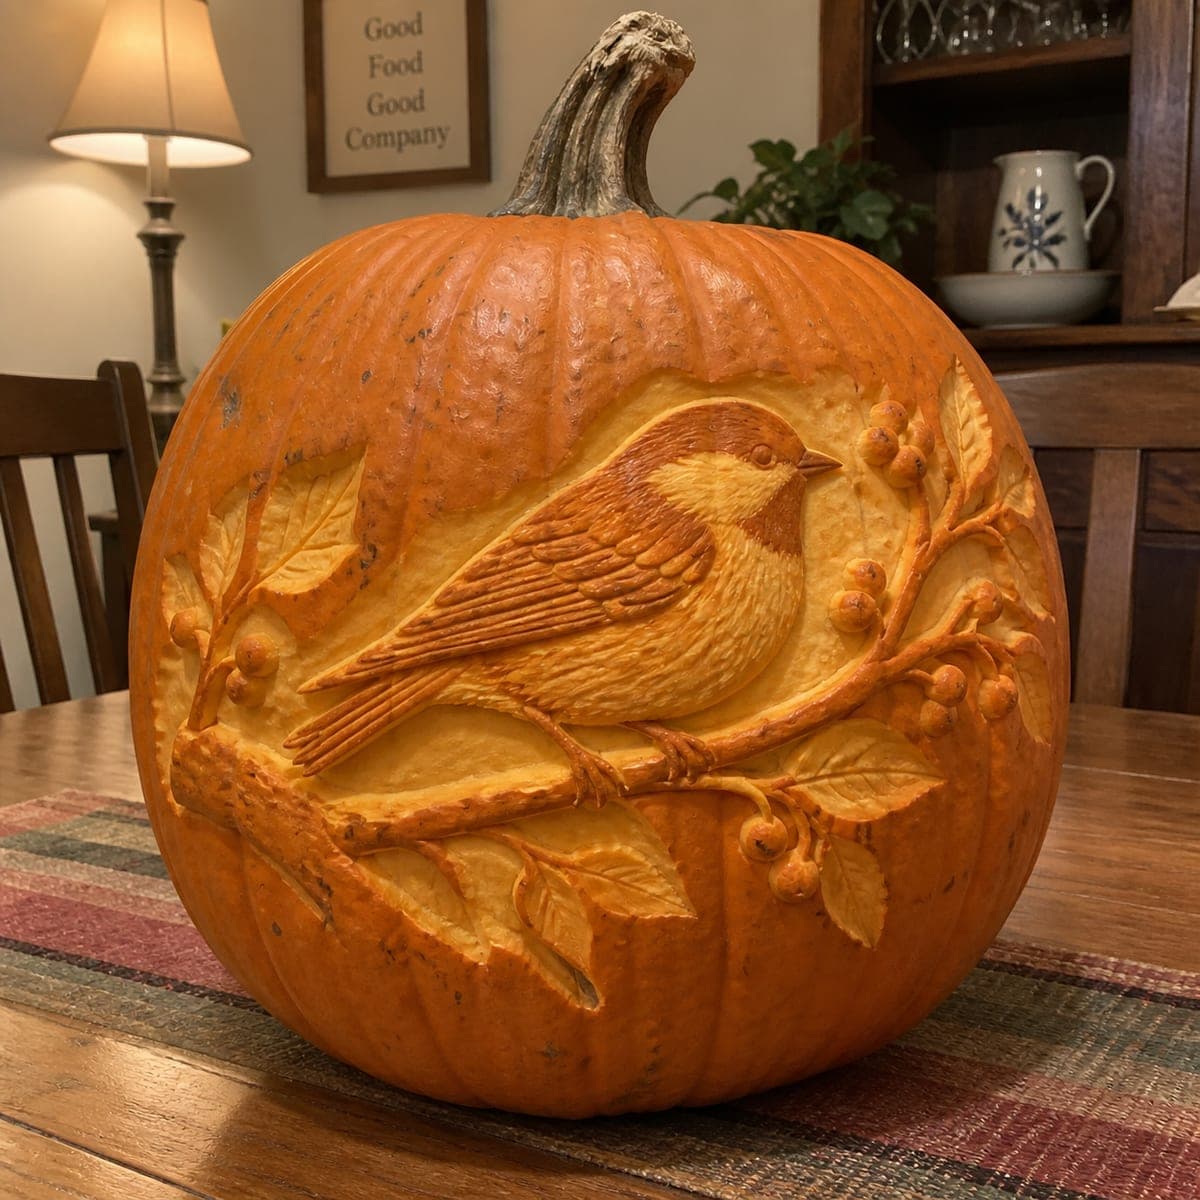
Songbird on a Berry Branch Relief Pumpkin

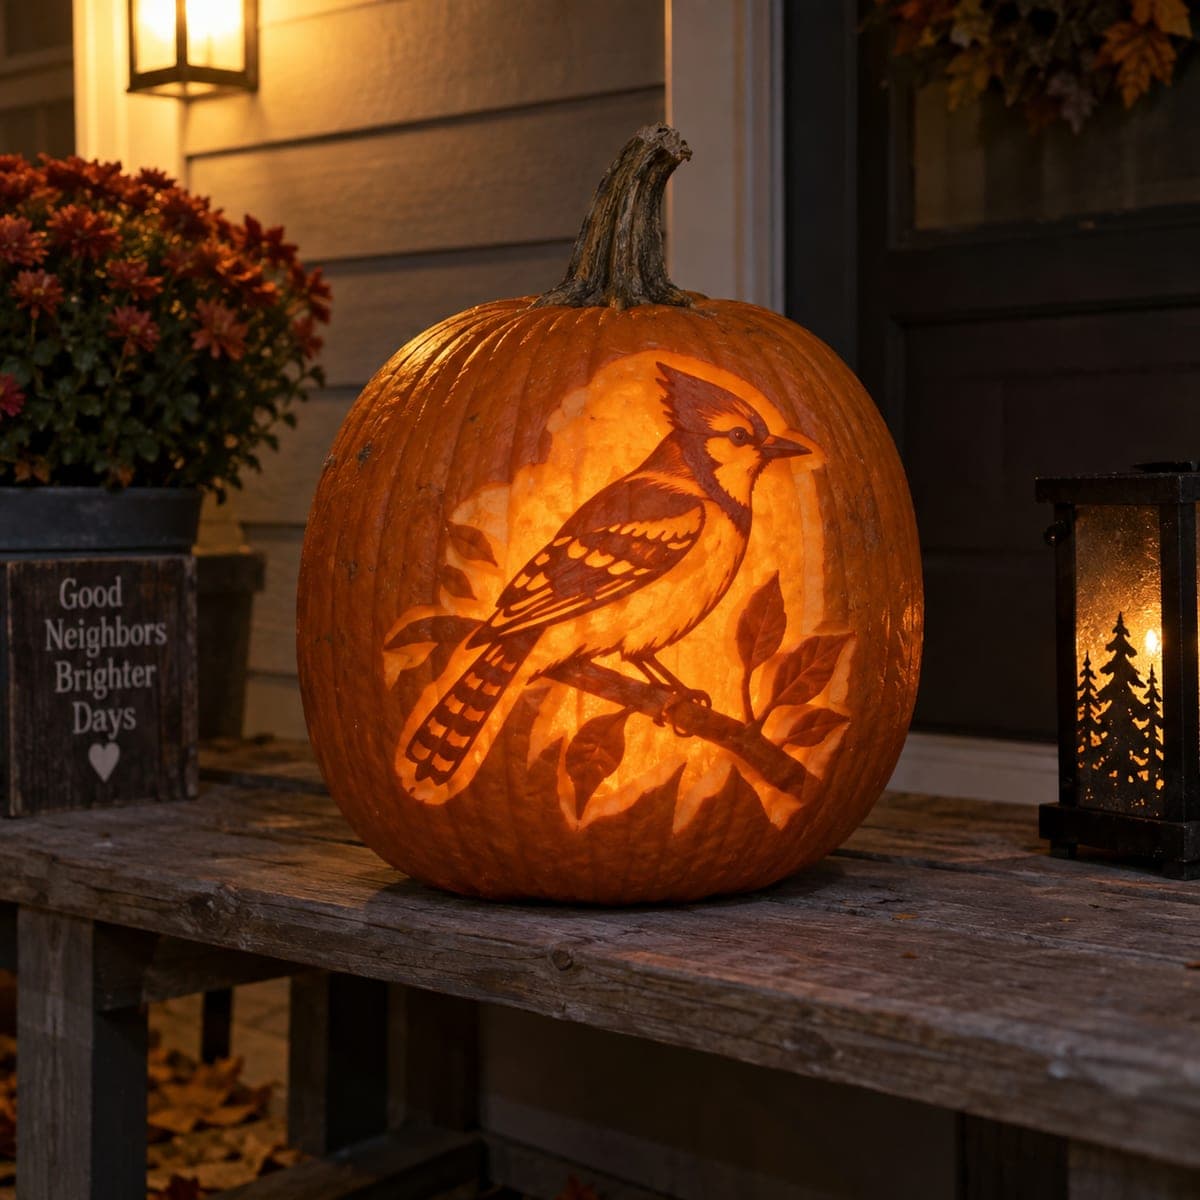
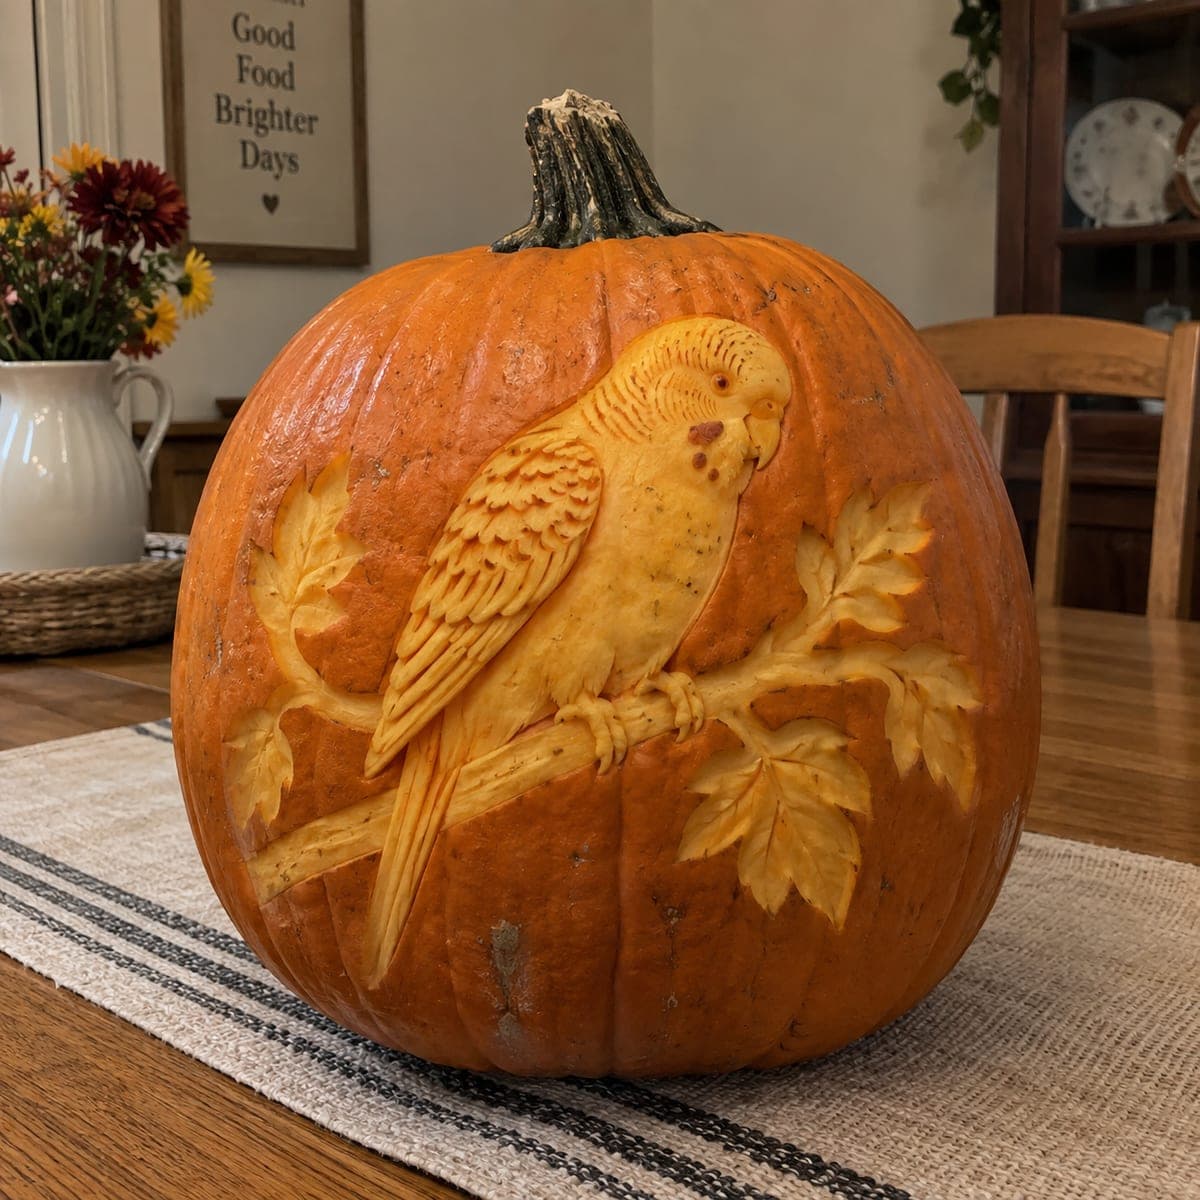
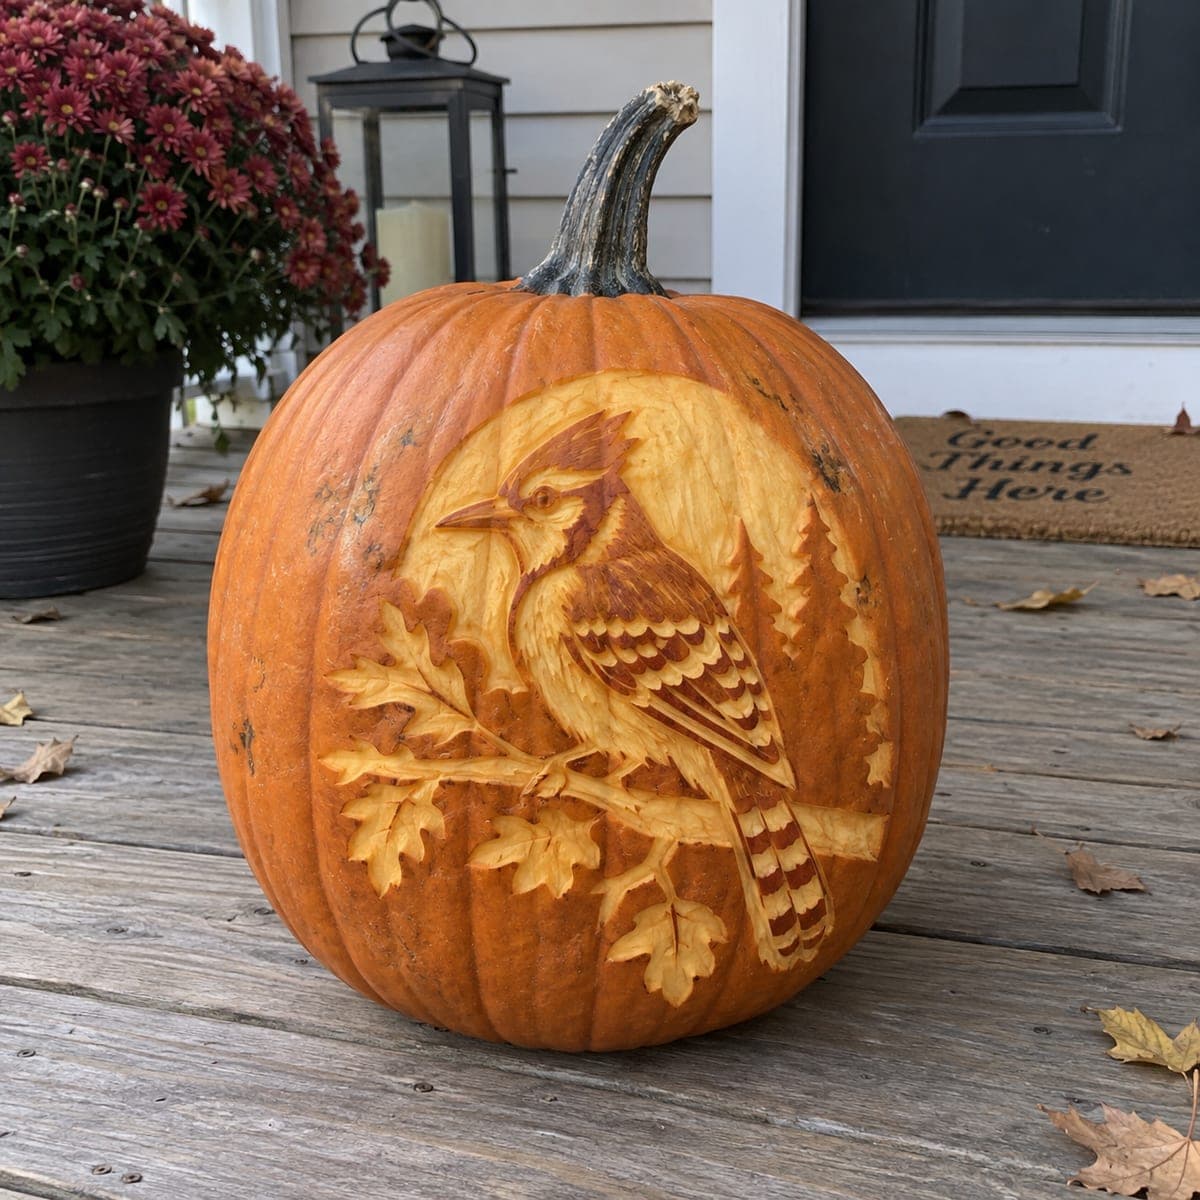
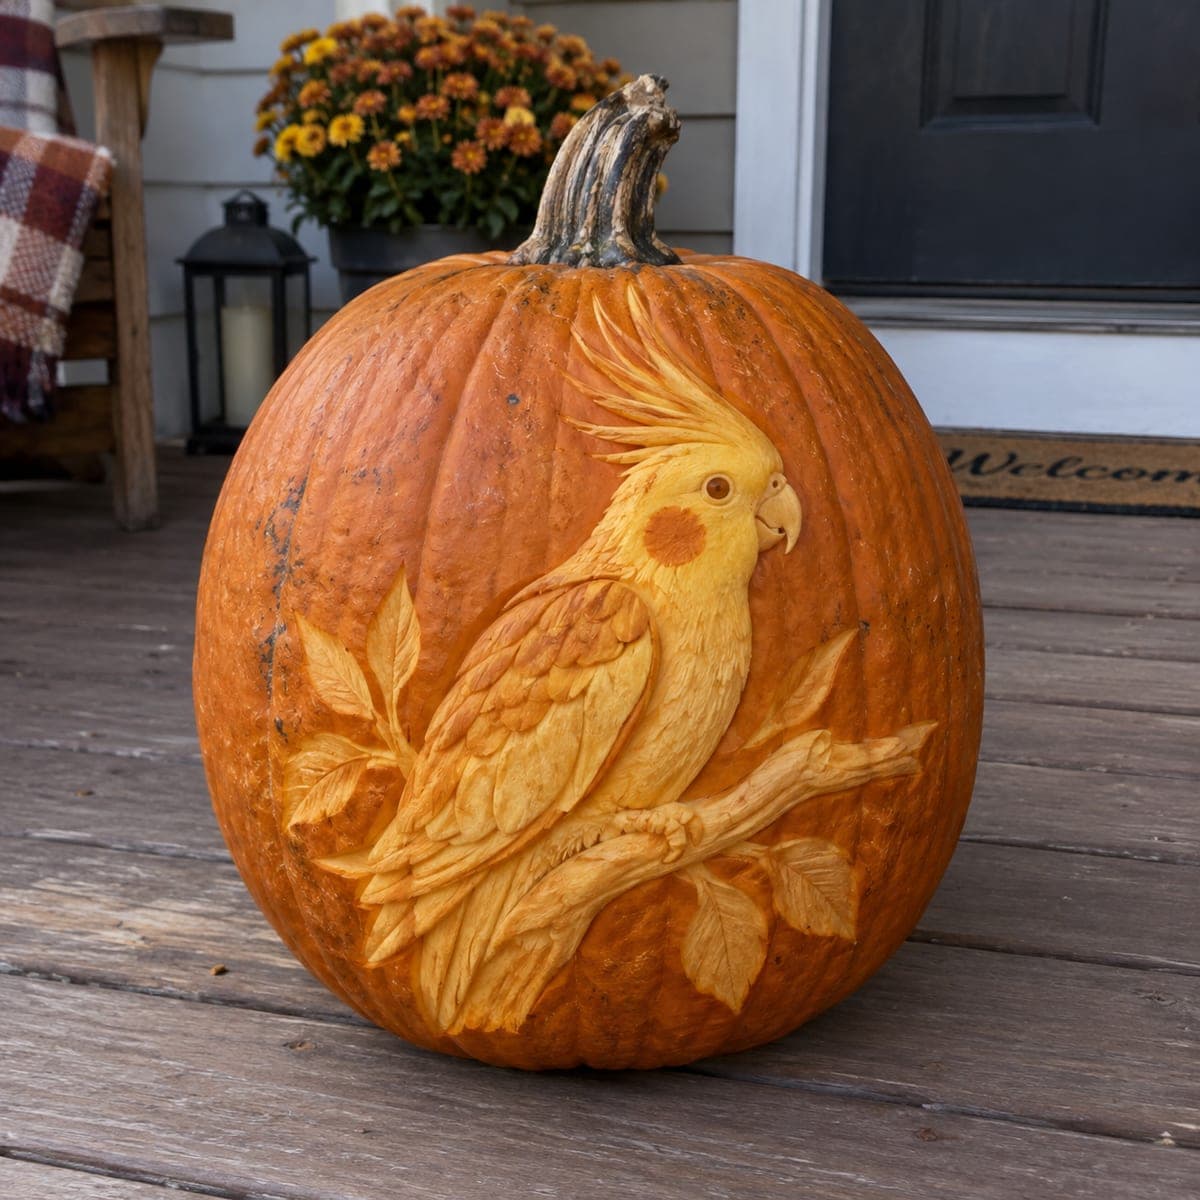
A plump songbird perches on a berry-laden branch in this deeply carved relief pumpkin, surrounded by veined leaves that curl around the sides. Layered feather groups on the breast and wing are cut as overlapping scallops, each catching light at a different angle. Start with the bird's silhouette, recess the background a half inch around it, then add leaves and berries outward so the composition stays balanced.

This is an AI-generated concept image: a realistic, carvable design idea rather than a photo of a finished carve. AI concepts are always labeled and sit out the leaderboard and the contest.

No ratings yet · Sign in to rate
Comments (0)

  • No comments yet — be the first.

Save without an account. Sign in to like or comment.

Our tips for carving a similar design

The core trick here is relief carving, where you shave away pumpkin skin and flesh at different depths instead of cutting all the way through. The bird stays raised and rounded while the background is recessed around it, so light glows through the thinned areas rather than open holes. Build outward from the bird to the berries and leaves so the whole scene stays balanced.

Written by PumpkinCarvingIdeas.com, inspired by the image above. These are our suggestions, not instructions from the uploader. This approach to the AI concept has not been tested on a real pumpkin.

From pumpkin to porch

  1. Prep the pumpkin and transfer the design

    Pick a large pumpkin with a smooth, flat area on one side for your scene. Wipe it clean and dry, then tape your songbird and branch stencil in place. Poke the outlines with a pin or transfer tool so you have dotted guides for the bird, branch, berries, and leaves. Cut a lid in the back or bottom, not the top, so the front stays uninterrupted for carving.

  2. Outline the bird and drop the background

    With a small detail knife, score cleanly around the bird silhouette, the branch, the berries, and each leaf. Then use a ribbon or loop tool to lower the background flesh about a half inch everywhere outside those shapes. Keep the recessed floor even so the raised subjects pop forward. Work slowly around thin leaf tips and berry clusters so you do not undercut and snap them off.

  3. Round and shade the bird

    Shave the raised bird so its back, breast, and head curve gently, thinning the flesh where you want more glow. Carve the overlapping feather groups on the breast and wing as shallow scallops, each stepped slightly so it catches light at its own angle. Peel the skin off the pale belly and cheek for a brighter tone, and leave the crown and wing patch as darker skin for contrast. A small U-gouge helps set the soft feather lines and the eye.

  4. Detail the branch, berries, and leaves

    Carve the branch so it reads as one solid limb passing behind the bird's feet, keeping it attached along its full length for strength. Round each berry into a little dome and leave a tiny skin dot on top for a highlight. Shape the leaves last, pressing veins in with a small gouge and thinning the blades so they glow softly. Leave narrow skin bridges where leaf tips meet the background so nothing works loose.

  5. Balance the shading and clean up

    Step back and check that light and dark areas feel even across the scene. Deepen any shadows under the wing, the branch, and the leaf edges to add depth. Scrape stray flesh from the recessed background so it stays smooth and translucent. Trim any ragged cuts with the tip of your detail knife.

  6. Light it and photograph

    Set a battery LED puck or string inside, never a candle, since the thin relief can scorch. Warm white light brings out the orange tones best. Turn off the room lights and check that the belly and leaves glow while the bird stays defined. Shoot slightly off to one side so the raised feather scallops throw visible shadows.

Gather your supplies

Check things off as you get ready.

Work on a stable surface, keep your free hand out of the cutting path, and have an adult handle sharp tools.

Three levels of light

  • Leave intact

    The dark crown, the wing patch, and berry highlight dots stay as untouched skin

  • Peel & shade

    The bird's pale belly and cheek, the thinned leaves, and the branch glow dim orange where skin is peeled

  • Cut through

    No full cutouts here, this relief design keeps the whole surface intact for even glow

Learn the carving basics

Before you start cutting

This is an AI concept image, so can a real pumpkin actually look like this?

Yes, a skilled carver can get close using relief and shading techniques on a fresh pumpkin. Since no real pumpkin exists here, treat the image as a target and expect your feather detail and leaf edges to be a little softer. Keep leaves and berries slightly thicker than the render so they hold up.

How do I keep the leaves and berries from breaking off?

Do not cut all the way through anywhere on this design. Leave the leaf tips and berry clusters connected to the background with the pumpkin wall behind them, and avoid deep undercuts. If a spot feels fragile, leave a small skin bridge to anchor it.

How deep should I recess the background?

About a half inch below the raised bird and branch is enough to make the subject stand out. Keep that depth consistent across the whole background so the glow reads evenly. Thin the recessed floor a bit more only if you want the surrounding area brighter than the bird.

Your take belongs here, too.

Changed a detail? Made it simpler? Share a photo of your version and tell the community what worked.

Share your pumpkin

More pumpkins like this

You've reached the end · 8 pumpkins
The Patch Report

Fresh pumpkins, in your inbox.

The best new carvings, ideas worth stealing, and how-tos for carving season. Short, seasonal, and gone by November.

A short email during carving season. Unsubscribe anytime. See our privacy policy.