Halloween Pumpkin Carving Contest · Starts October 1st · $500 in prizes
← Back to ideas
@ai_concepts
Aug 6, 2026
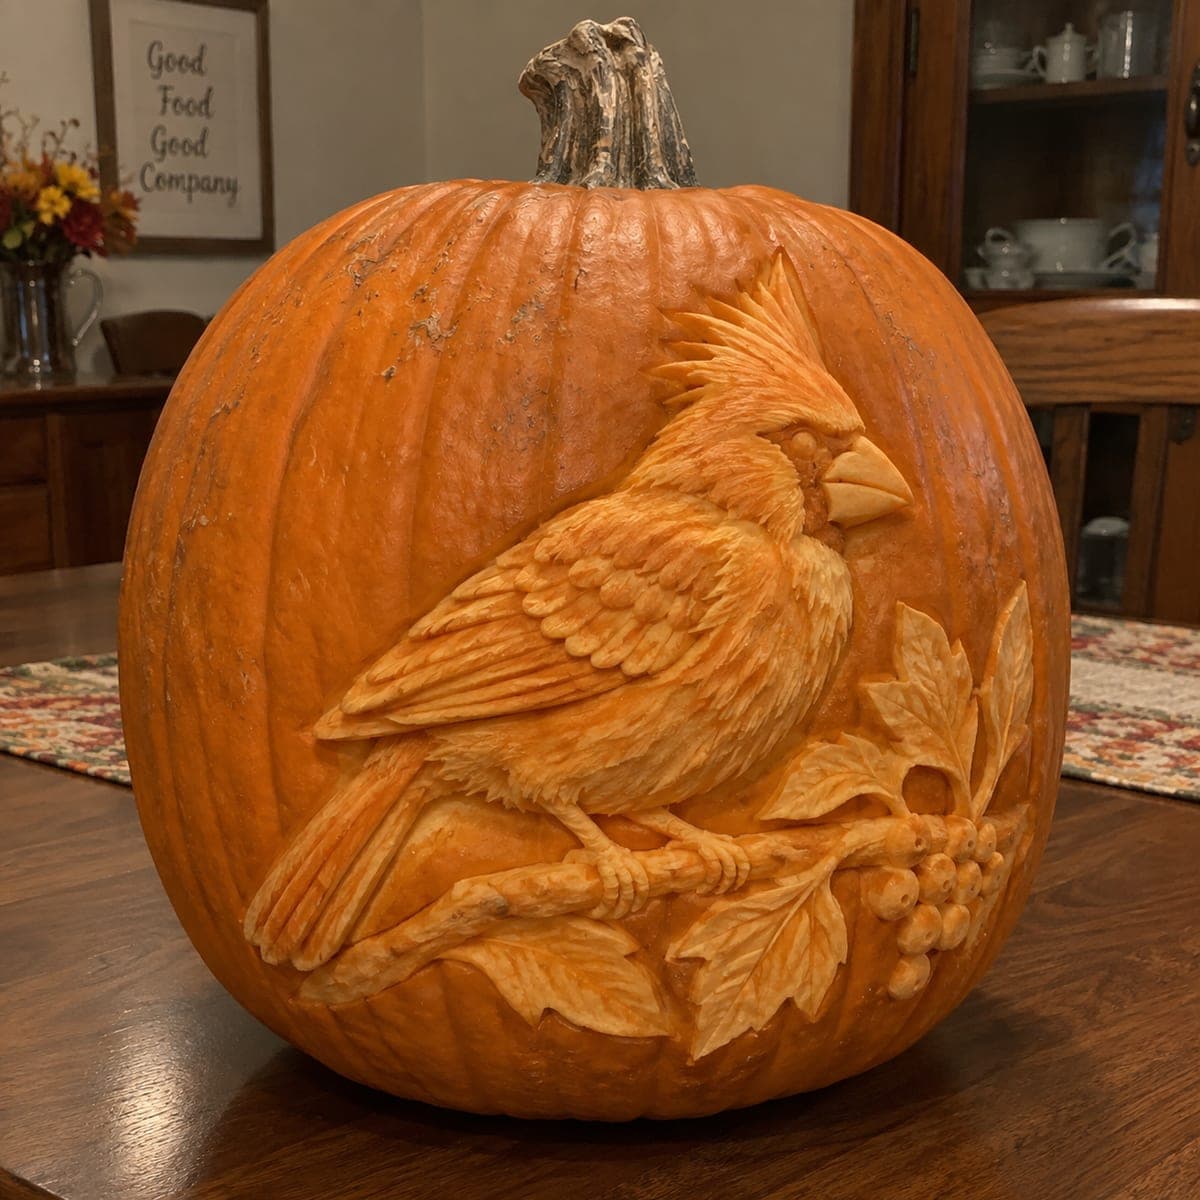
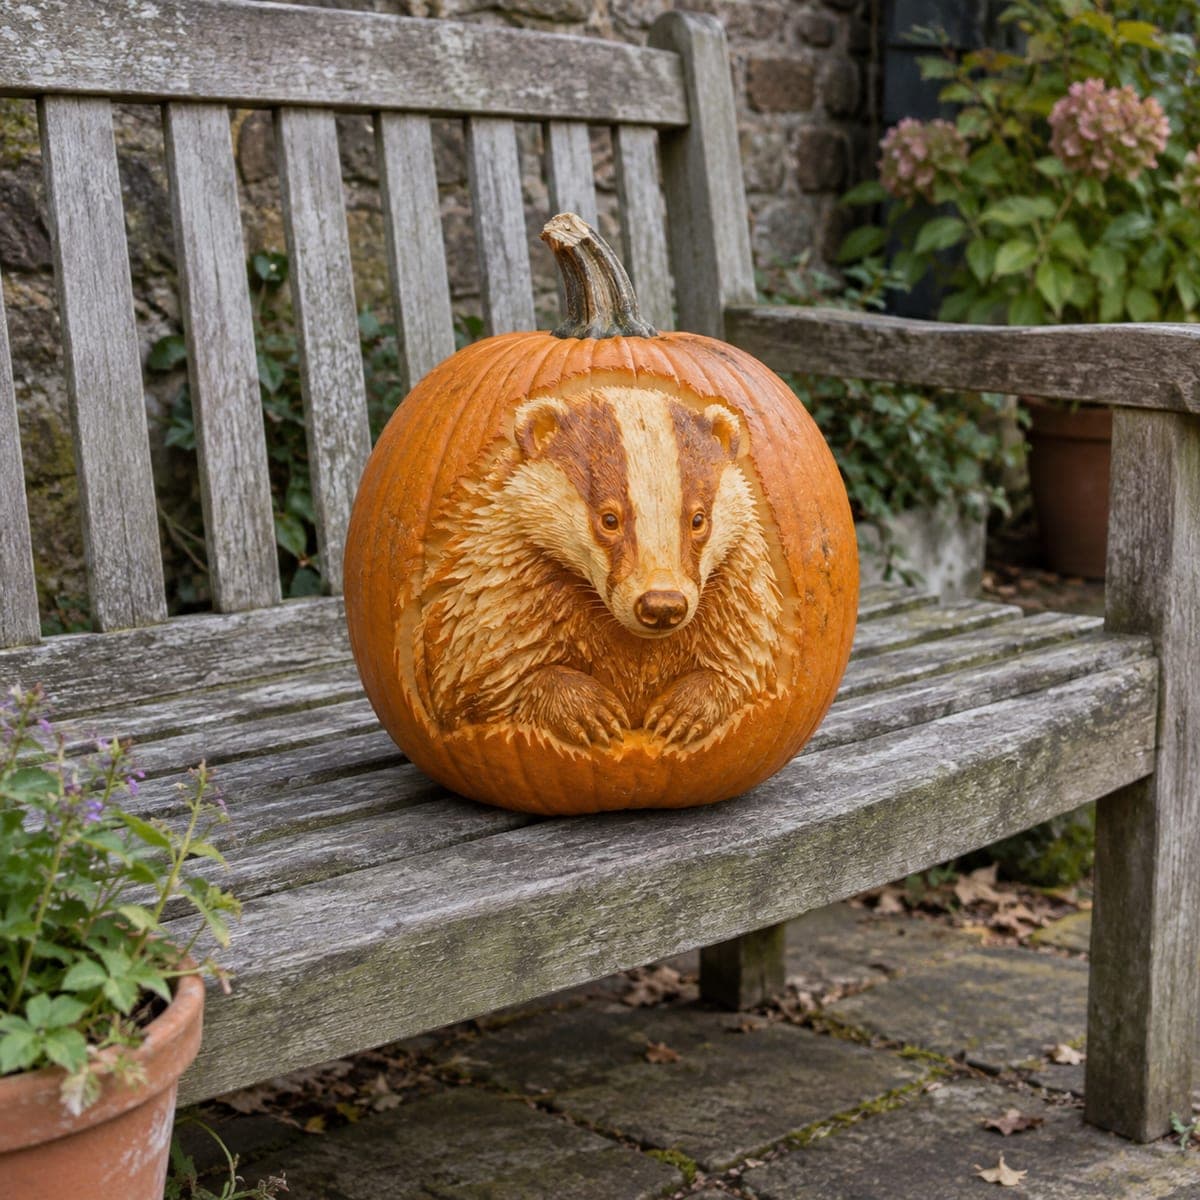
Cardinal on a Berry Branch Relief PumpkinAI
0

Cardinal on a Berry Branch Relief Pumpkin

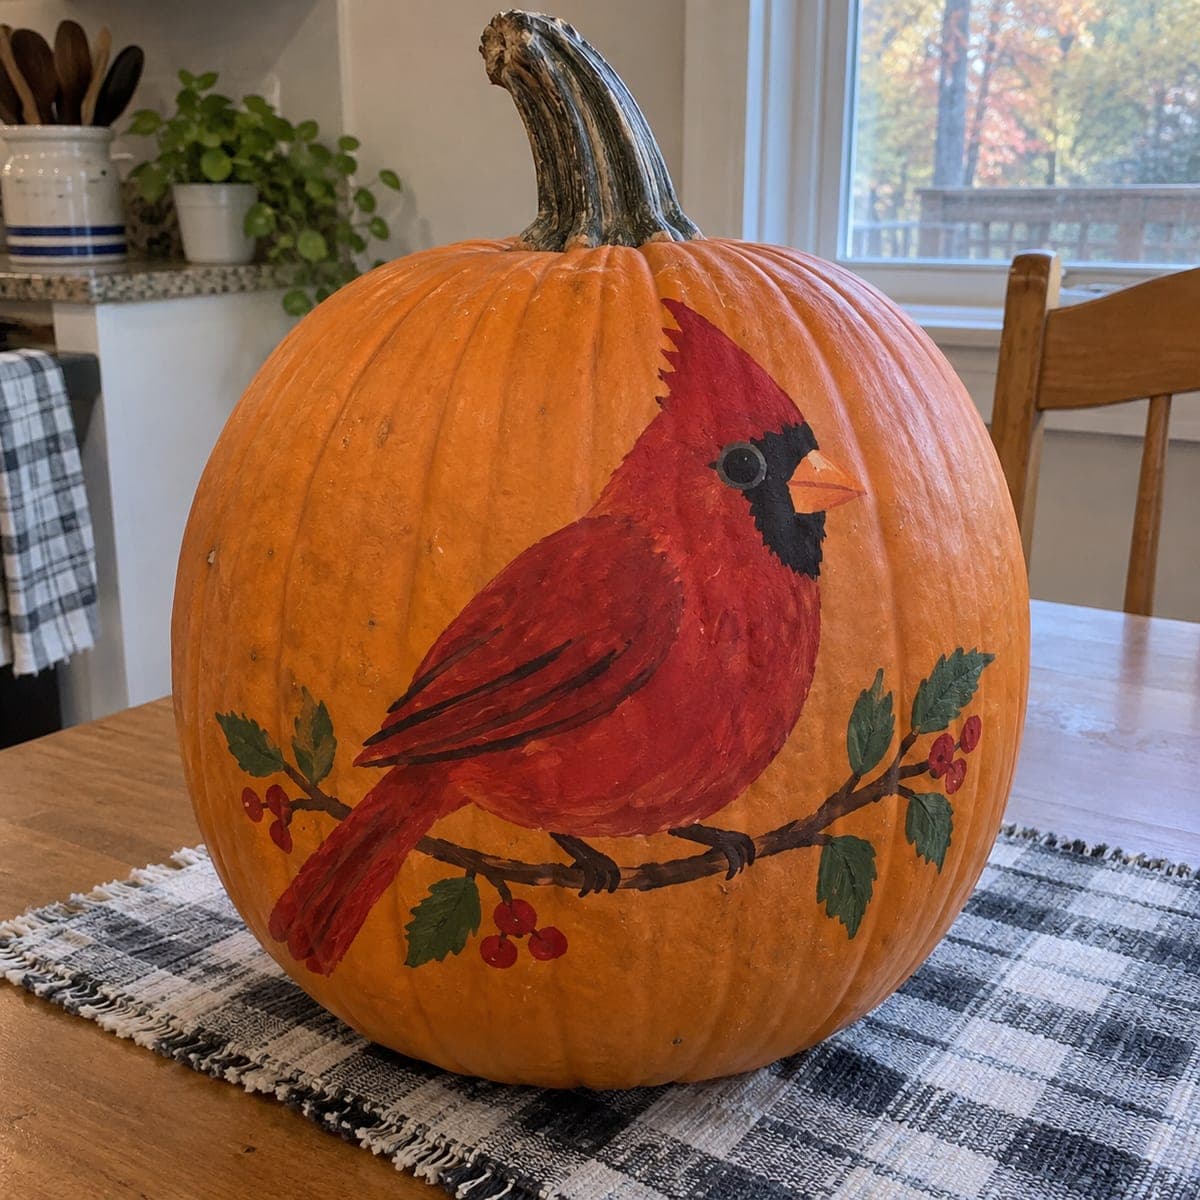
A crested cardinal perches on a berry-laden branch in this sculpted pumpkin, every wing feather, leaf vein, and berry cluster raised in crisp relief. It reads more like woodcarving than Halloween decor, which makes it a lovely fall centerpiece that can stay out through Thanksgiving. Rough in the bird before the foliage so the composition stays balanced, use a detail knife for the crest, and keep it indoors away from heat vents.

This is an AI-generated concept image: a realistic, carvable design idea rather than a photo of a finished carve. AI concepts are always labeled and sit out the leaderboard and the contest.

No ratings yet · Sign in to rate
Comments (0)

  • No comments yet — be the first.

Save without an account. Sign in to like or comment.

Our tips for carving a similar design

This is a relief carving, which means the picture is sculpted out of the pumpkin wall rather than cut through it, so no interior light passes through. The core trick is depth control: the cardinal sits proudest, the branch and leaves step back behind it, and the untouched skin becomes the dark background. Rough in the whole bird first, then layer the foliage and berries so the composition stays balanced.

Written by PumpkinCarvingIdeas.com, inspired by the image above. These are our suggestions, not instructions from the uploader. This approach to the AI concept has not been tested on a real pumpkin.

From pumpkin to porch

  1. Transfer and map your depths

    Pick a large, firm pumpkin with a smooth flat area on one side. Trace or draw the cardinal, branch, berries, and leaves onto the surface. Before cutting, note which parts sit forward (the bird body and crest) and which sit back (the leaves and branch). A quick pencil shade of the dark background areas keeps you from carving the wrong spot later.

  2. Outline and lower the background

    With a sturdy detail knife, score firmly along the outer edge of the whole design. Then use a loop or ribbon tool to scoop away the background skin around the bird and branch, sinking it maybe a quarter inch so the subject stands up in relief. Work slowly and keep the walls of your carving vertical and clean. Leave the very outer background as untouched skin so it stays dark.

  3. Rough in the cardinal

    Shape the big masses of the bird first: the round body, the raised wing, the head, and the tail. Round these forms with the loop tool so light will roll across them naturally. Establish the crest and beak as the highest points. Do not add feather detail yet, just get the silhouette and volume right so the whole bird reads well from a few feet away.

  4. Carve the branch, leaves, and berries

    Now sculpt the perch under the bird's feet, then step the leaves and berry clusters slightly behind it so the cardinal clearly sits in front. Round each berry into a little dome and give the leaves a raised central vein. Keep leaf tips and thin twigs a bit thicker than they look in the concept image so they do not snap. Berries and leaf edges can stay attached to the branch as bridges for strength.

  5. Add the fine shading detail

    Switch to your detail knife for the crest, individual wing feathers, and leaf veins. Use short, overlapping strokes and peel just the skin for the lightest feather highlights. Vary how deep you scrape so you get a range of tones from dark skin to bright peeled surface. Take your time here since this shading is what gives the piece its woodcarving look.

  6. Clean up and light it

    Brush out all the shavings with a soft dry brush and wipe stray pulp from the recesses. Set a battery LED puck or a small warm spotlight to the side rather than inside, since a relief has no cutouts to glow through. Side lighting rakes across the raised feathers and berries and makes the texture pop. Photograph it against a plain dark backdrop and keep it away from heat vents so it lasts.

Gather your supplies

Check things off as you get ready.

Work on a stable surface, keep your free hand out of the cutting path, and have an adult handle sharp tools.

Three levels of light

  • Leave intact

    The flat background around the bird and the deepest shadow lines between feathers stay as untouched skin for contrast.

  • Peel & shade

    The bird's body, crest highlights, leaves, and rounded berries get skin peeled to catch a soft orange glow.

  • Cut through

    Nothing is cut fully through on a relief carving, so all light comes from a side lamp raking across the surface.

Learn the carving basics

Before you start cutting

Since this is a relief, does it light up from inside like a normal jack-o-lantern?

No. A relief carving has no openings for interior light to shine through, so gutting it and dropping a light inside will not do much. Instead, place a warm LED off to one side so the light skims across the raised feathers and leaves. That side lighting is what reveals all the sculpted depth.

How do I keep the crest and thin twigs from breaking off?

Carve them a little thicker and more rounded than the reference suggests, and leave them connected to a solid mass rather than free-standing. The crest should stay attached along the back of the head, and twigs should merge into the main branch as bridges. Thicker berries and leaf stems also hold up far better over a week on the table.

What pumpkin should I choose for this much detail?

Look for a large pumpkin with a thick wall and a broad, smooth flat panel with few ribs or scars. Thick walls give you room to carve depth without breaking through. A blemish-free face means your fine feather and vein shading will read cleanly instead of fighting the pumpkin's natural bumps.

Your take belongs here, too.

Changed a detail? Made it simpler? Share a photo of your version and tell the community what worked.

Share your pumpkin

More pumpkins like this

You've reached the end · 8 pumpkins
The Patch Report

Fresh pumpkins, in your inbox.

The best new carvings, ideas worth stealing, and how-tos for carving season. Short, seasonal, and gone by November.

A short email during carving season. Unsubscribe anytime. See our privacy policy.