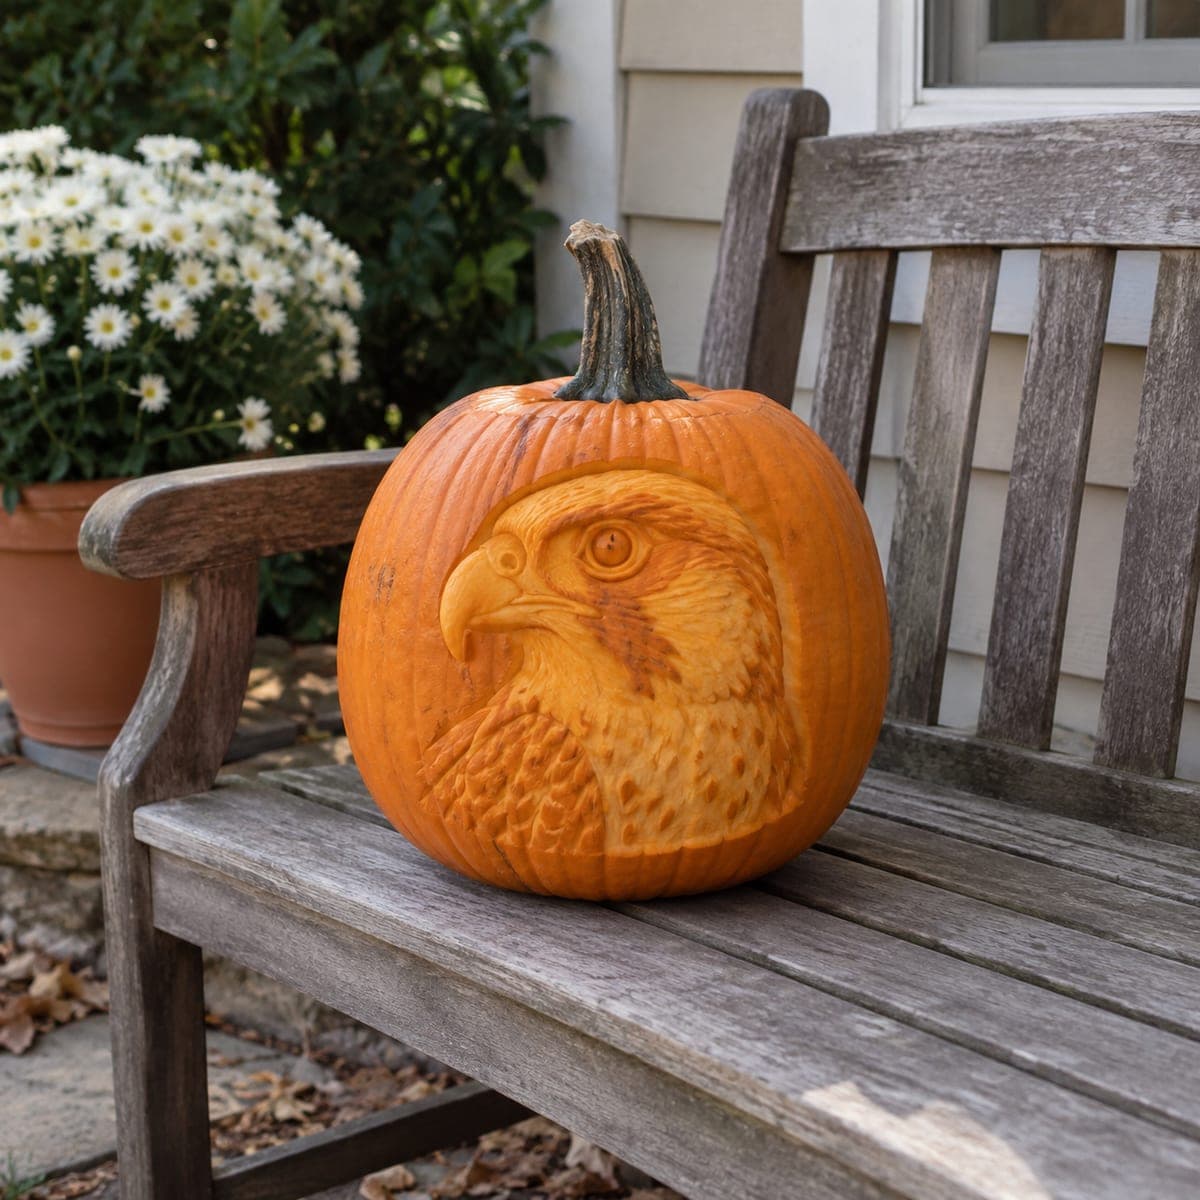
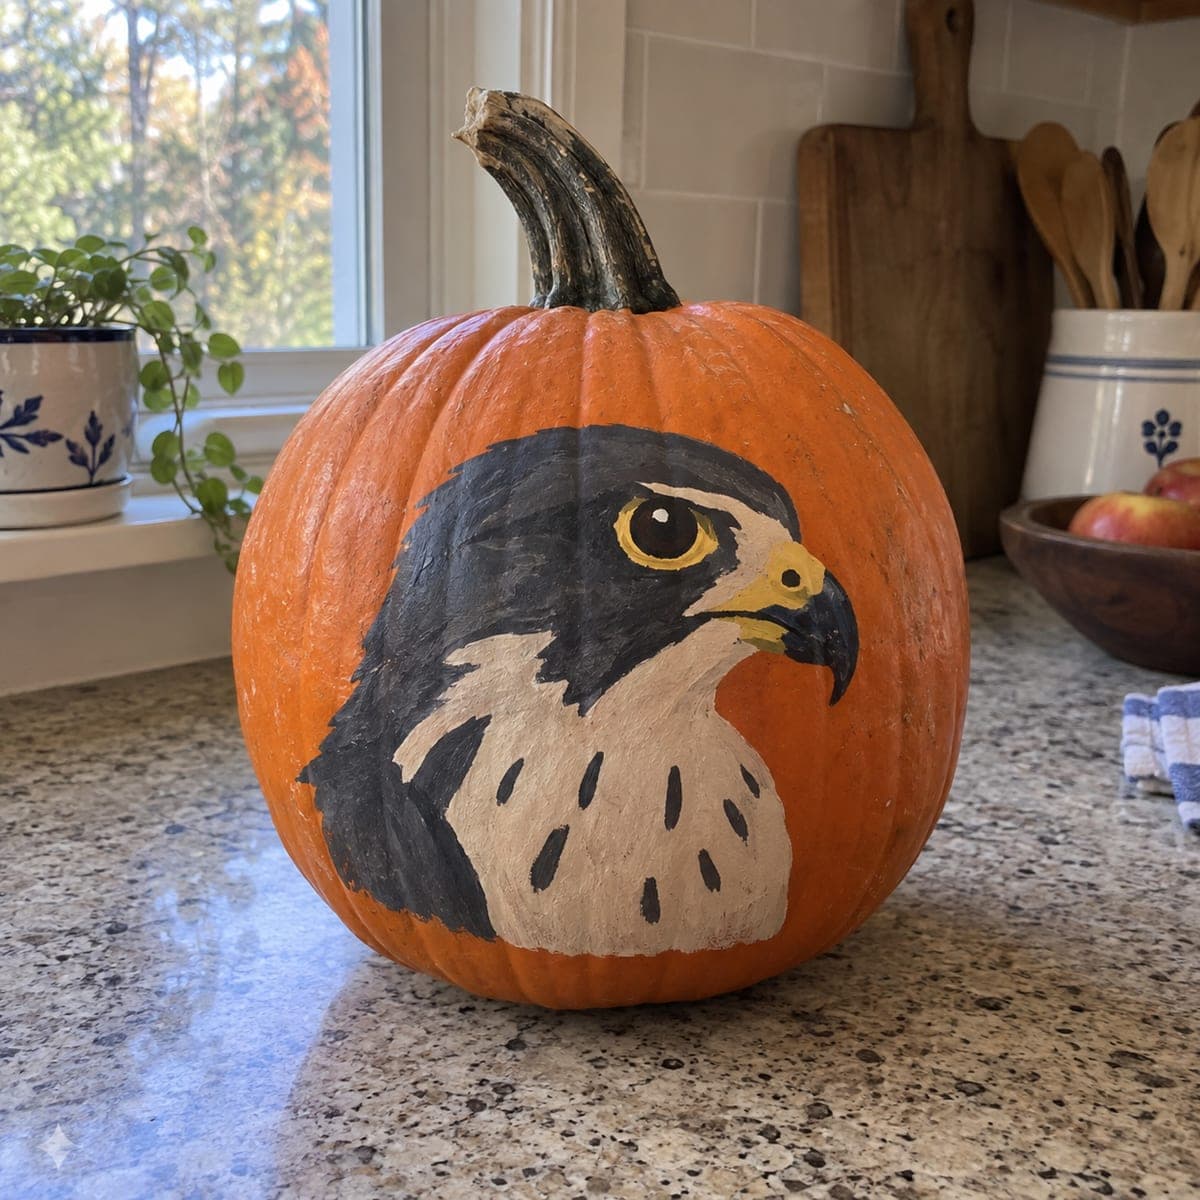
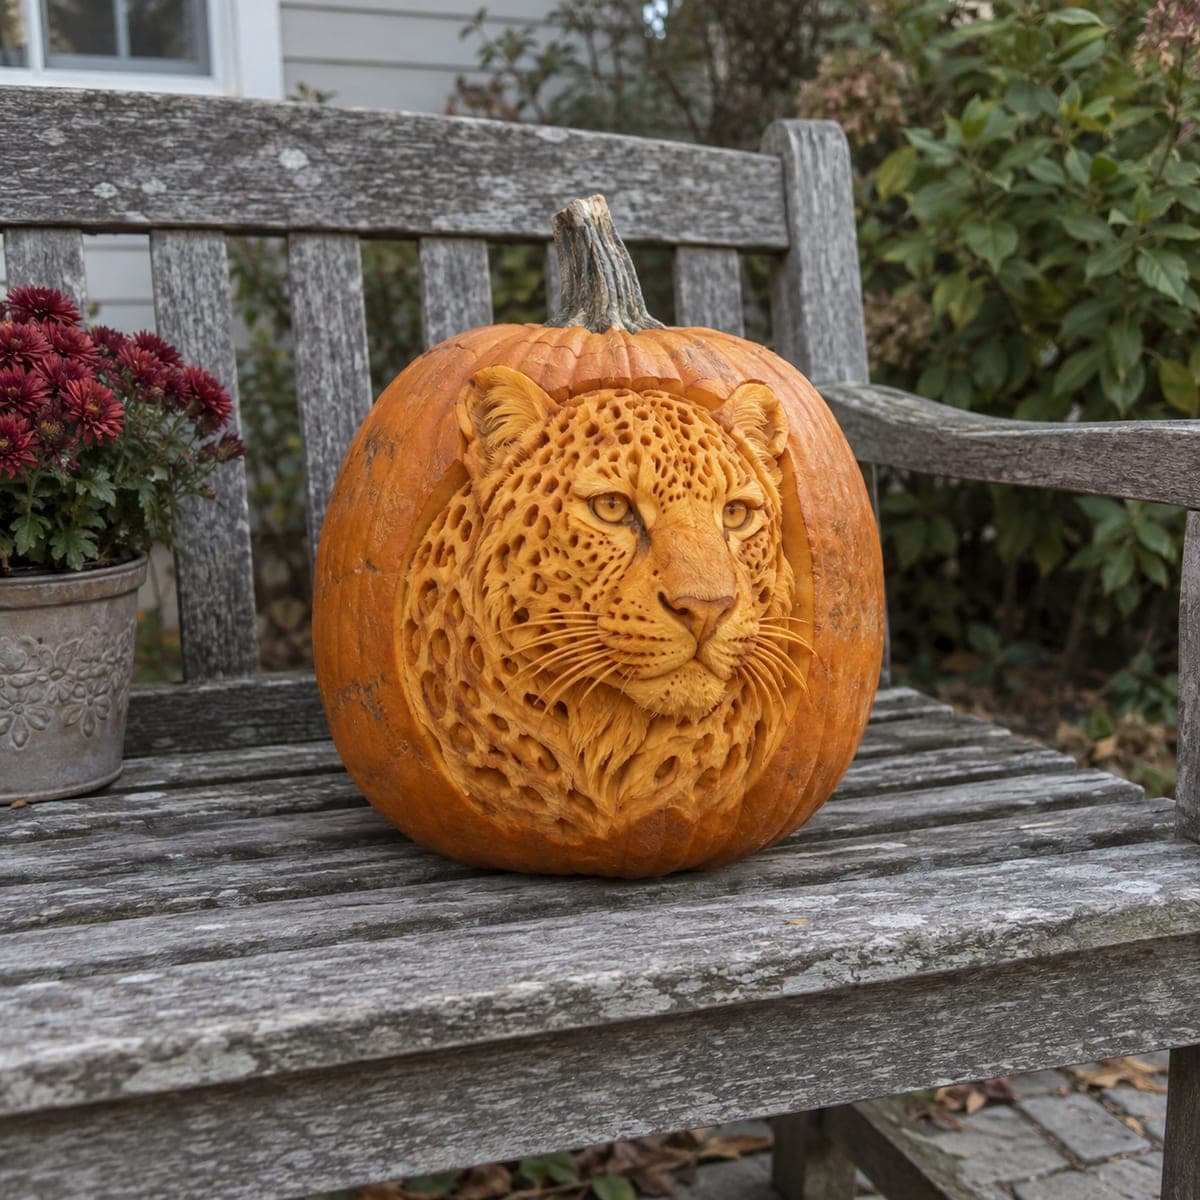
This falcon head is sculpted in smooth relief, with layered chest feathers, a hooked beak, and a sharply defined eye that catches daylight beautifully. Every surface is peeled rather than pierced, so the design shows best unlit on a porch bench. Rough out the profile with a large loop tool before adding feather texture, and coat the cuts with petroleum jelly to slow browning.
This is an AI-generated concept image: a realistic, carvable design idea rather than a photo of a finished carve. AI concepts are always labeled and sit out the leaderboard and the contest.
This is a relief portrait, meaning the whole falcon head is sculpted into the pumpkin wall by peeling skin at different depths rather than cutting all the way through. The core trick is contrast between untouched dark skin, peeled dim areas, and shallow scooped highlights, which lets the eye, beak, and layered chest feathers read clearly in daylight. Plan it as a shaded relief that looks best unlit on a bench, since no light shines through.
Written by PumpkinCarvingIdeas.com, inspired by the image above. These are our suggestions, not instructions from the uploader. This approach to the AI concept has not been tested on a real pumpkin.
From pumpkin to porch
1
Pick a tall pumpkin and map the profile
Choose a smooth, evenly shaped pumpkin with a broad flat-ish face for the portrait area. Since this is an AI concept and no real pumpkin exists, treat it as a target look to aim for. Transfer a falcon head profile with a stencil or dotting tool, marking the beak, eye, brow, and the boundary of the feathered chest. Keep the design well inside the pumpkin's widest part so you have room to work.
2
Rough out the head shape
With a large loop tool, remove the outer skin across the whole portrait area to establish the base relief plane. Work slowly and keep the wall thick, since you are only skimming the surface, not opening the pumpkin. Define the raised mass of the head and beak by leaving those areas higher than the surrounding background. Step back often to check the silhouette before adding detail.
3
Carve the beak and eye first
Sculpt the hooked beak as the boldest raised form, rounding it with a small loop tool so it reads three dimensional. Set the eye by scooping a shallow ring around a small raised dome for the eyeball, which will catch daylight. Keep these anchor features crisp because everything else builds around them. Take your time here, as the eye and beak carry the whole expression.
4
Layer the feather texture
Use small U and V gouges to carve overlapping scale-like marks down the chest, working in rows from top to bottom. Angle each stroke so feathers appear to lie over the one below, and vary depth to suggest soft plumage. Around the head, use finer flicking strokes to mimic short face feathers. Leave narrow ridges of skin between strokes as natural bridges so the texture stays strong and none of it crumbles.
5
Shade with graded peeling
Deepen the darker markings around the brow and behind the beak by scraping the skin fully off, and leave lighter areas only lightly peeled. This graded peeling is your shading, so treat thin scrapes as mid tones and deeper scoops as brights. Blend transitions with the back of your loop tool so there are no hard steps. Compare against the reference to balance light and shadow across the face.
6
Preserve and display
Rub petroleum jelly or a light coat of vegetable oil over every cut surface to slow browning and keep the relief looking fresh. Because nothing is pierced, display this one unlit on a porch bench where daylight rakes across the texture. For evening, set a small LED spotlight to the side so it grazes the surface and lifts the feather detail. Refresh the jelly daily and keep it out of direct sun to extend its life.
Gather your supplies
Check things off as you get ready.
Work on a stable surface, keep your free hand out of the cutting path, and have an adult handle sharp tools.
Three levels of light
Leave intact
The dark brow marking, the streak behind the beak, and the background pumpkin skin stay untouched for the deepest tones.
Peel & shade
The head, cheek, and most of the chest feathers get lightly skin-peeled for a warm mid glow.
Cut through
Nothing is cut through; the brightest points are the deep scoops on the beak highlight and the eye dome, scraped down to the pale flesh.
Should I cut all the way through anywhere on this design?
No, this is a full relief portrait, so keep every cut in the skin and outer flesh only. Cutting through would break the smooth sculpted surface that makes the falcon read in daylight. Save any through-cuts for a different jack-o'-lantern style.
How do I keep the feather texture from looking muddy?
Work in consistent rows and leave a thin ridge of skin between each gouge stroke so the feathers stay distinct. Vary your depth just slightly for shading rather than gouging deeply everywhere. Step back frequently, since detail that looks fine up close can blur when viewed from a few feet away.
Since it shows best unlit, how do I make it stand out at night?
Place a small LED spotlight off to one side so the light rakes across the relief and casts soft shadows into the feather grooves. Avoid lighting it head on, which flattens the texture. Never use a candle, as the heat and open flame are unsafe and add nothing to a solid relief carving.
Your take belongs here, too.
Changed a detail? Made it simpler? Share a photo of your version and tell the community what worked.
 AI
AI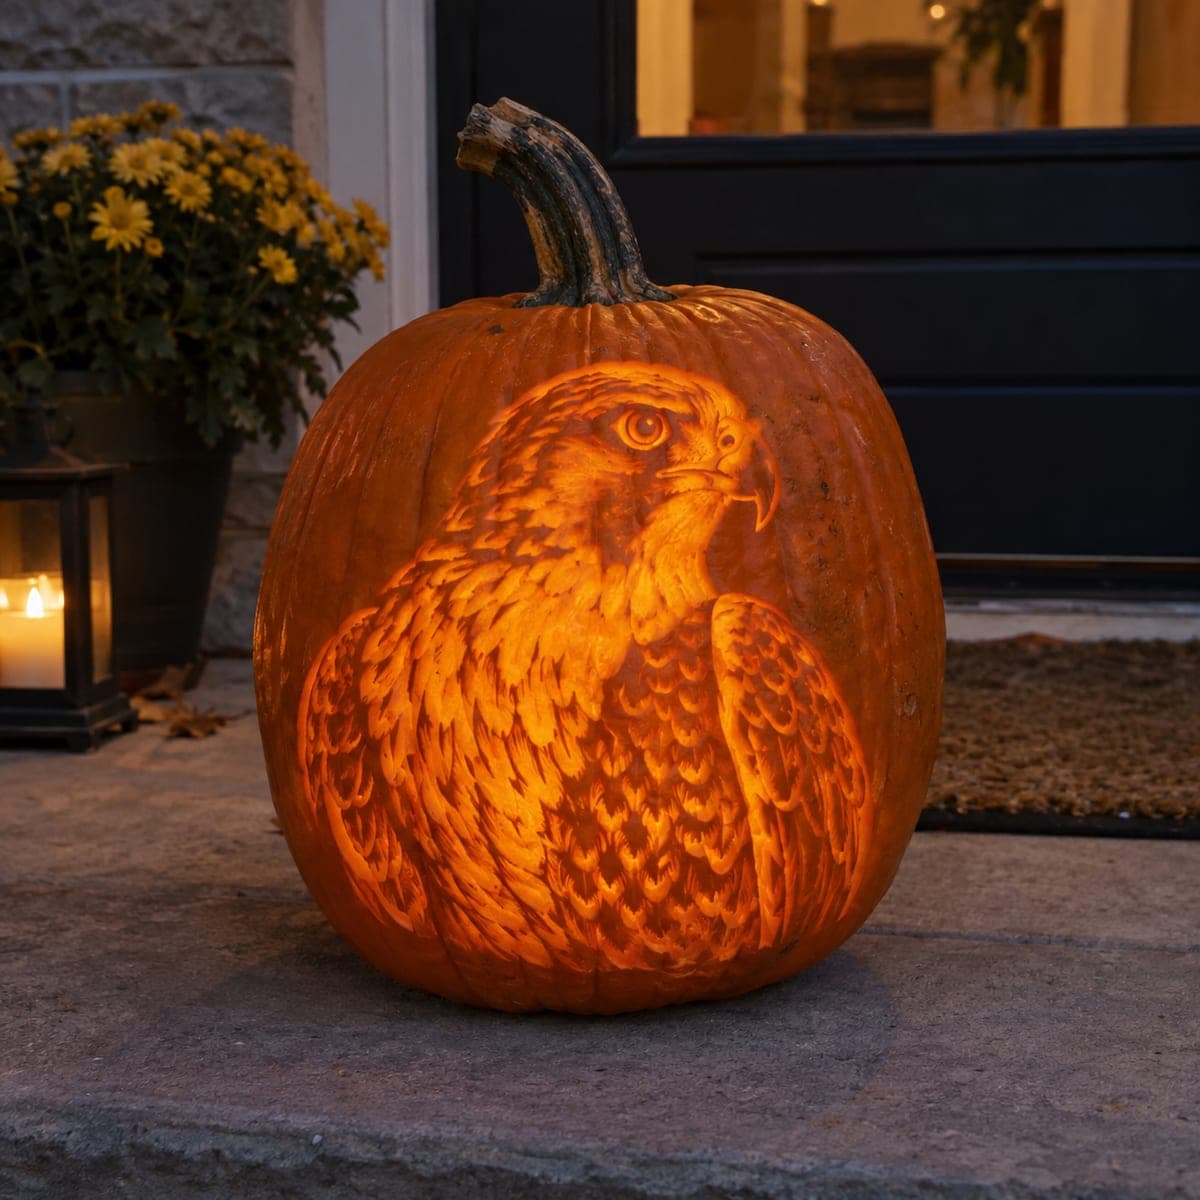
Comments (0)