Halloween Pumpkin Carving Contest · Starts October 1st · $500 in prizes
← Back to ideas
@ai_concepts
Aug 18, 2026
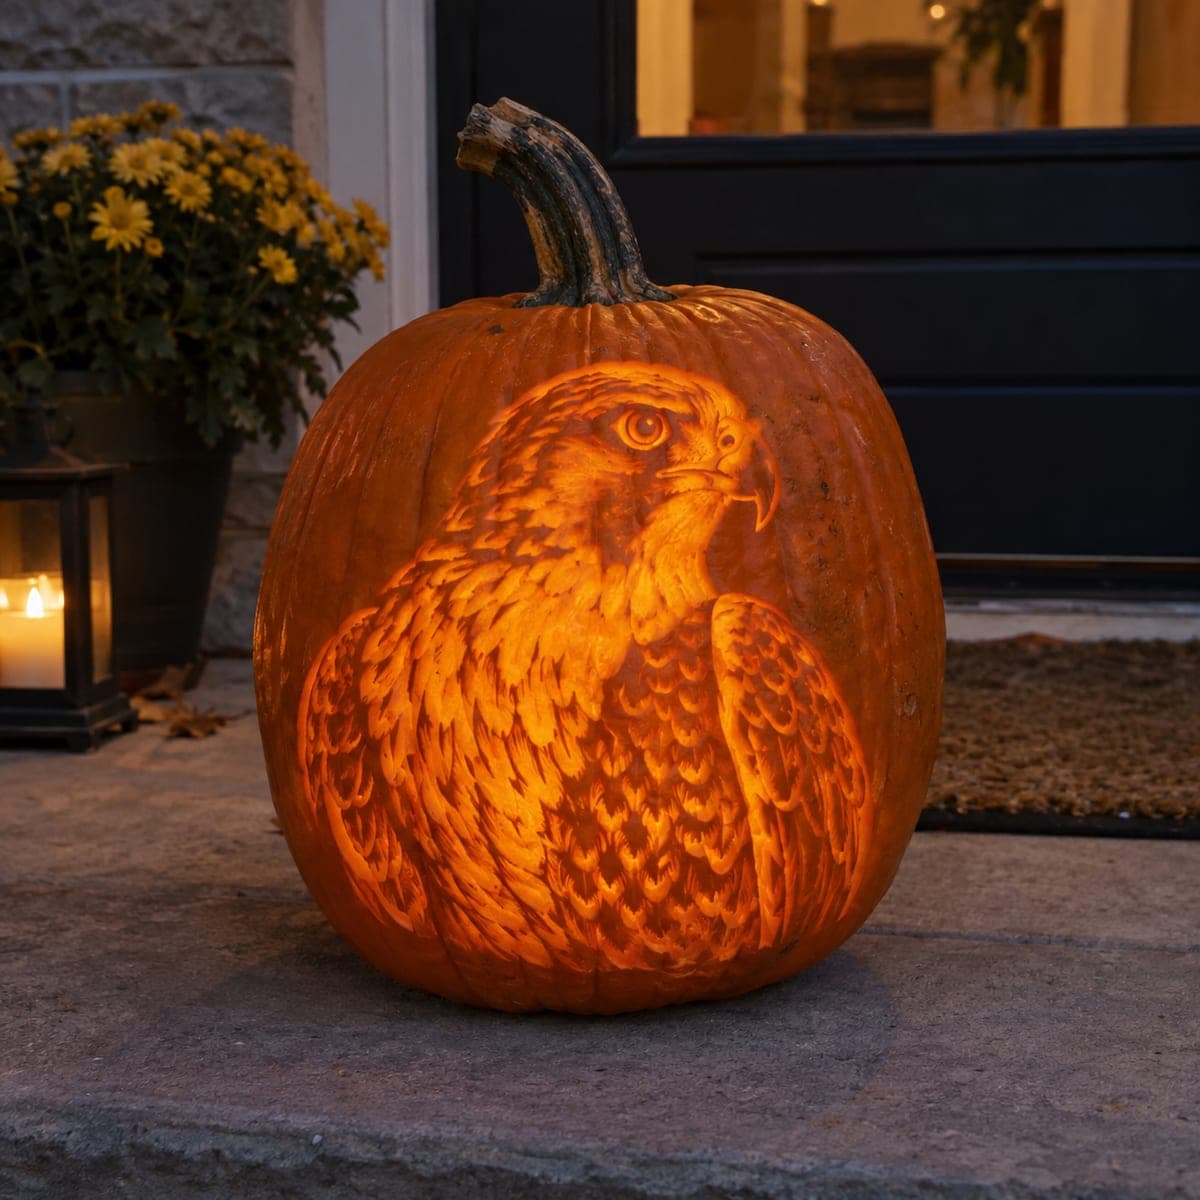
Perched Hawk Glowing Pumpkin Bird CarvingAI
0

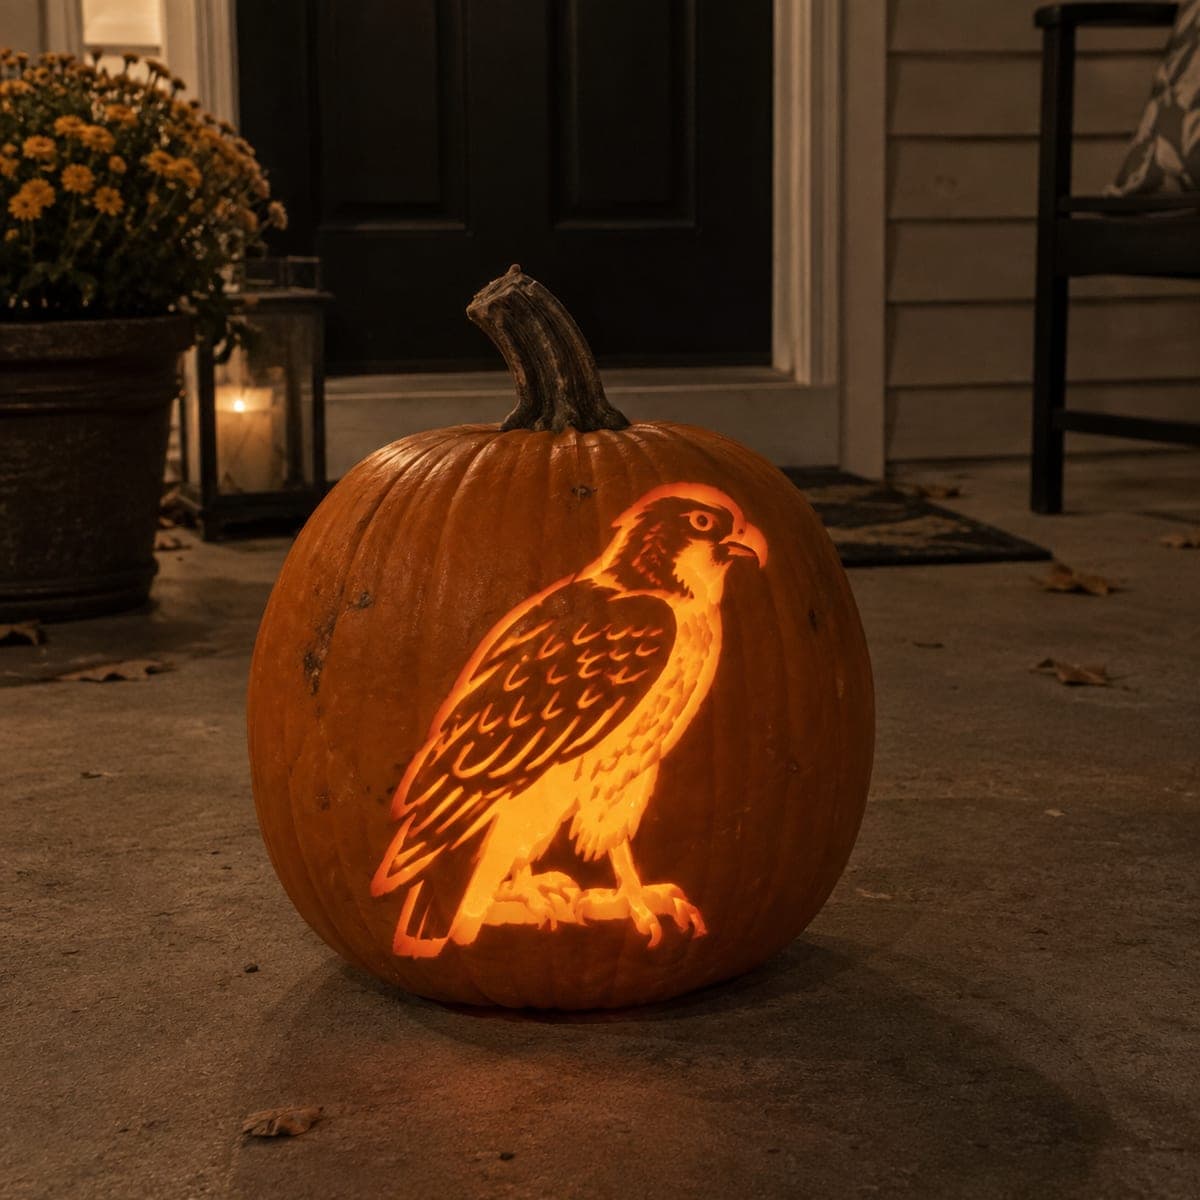
Perched Hawk Glowing Pumpkin Bird Carving

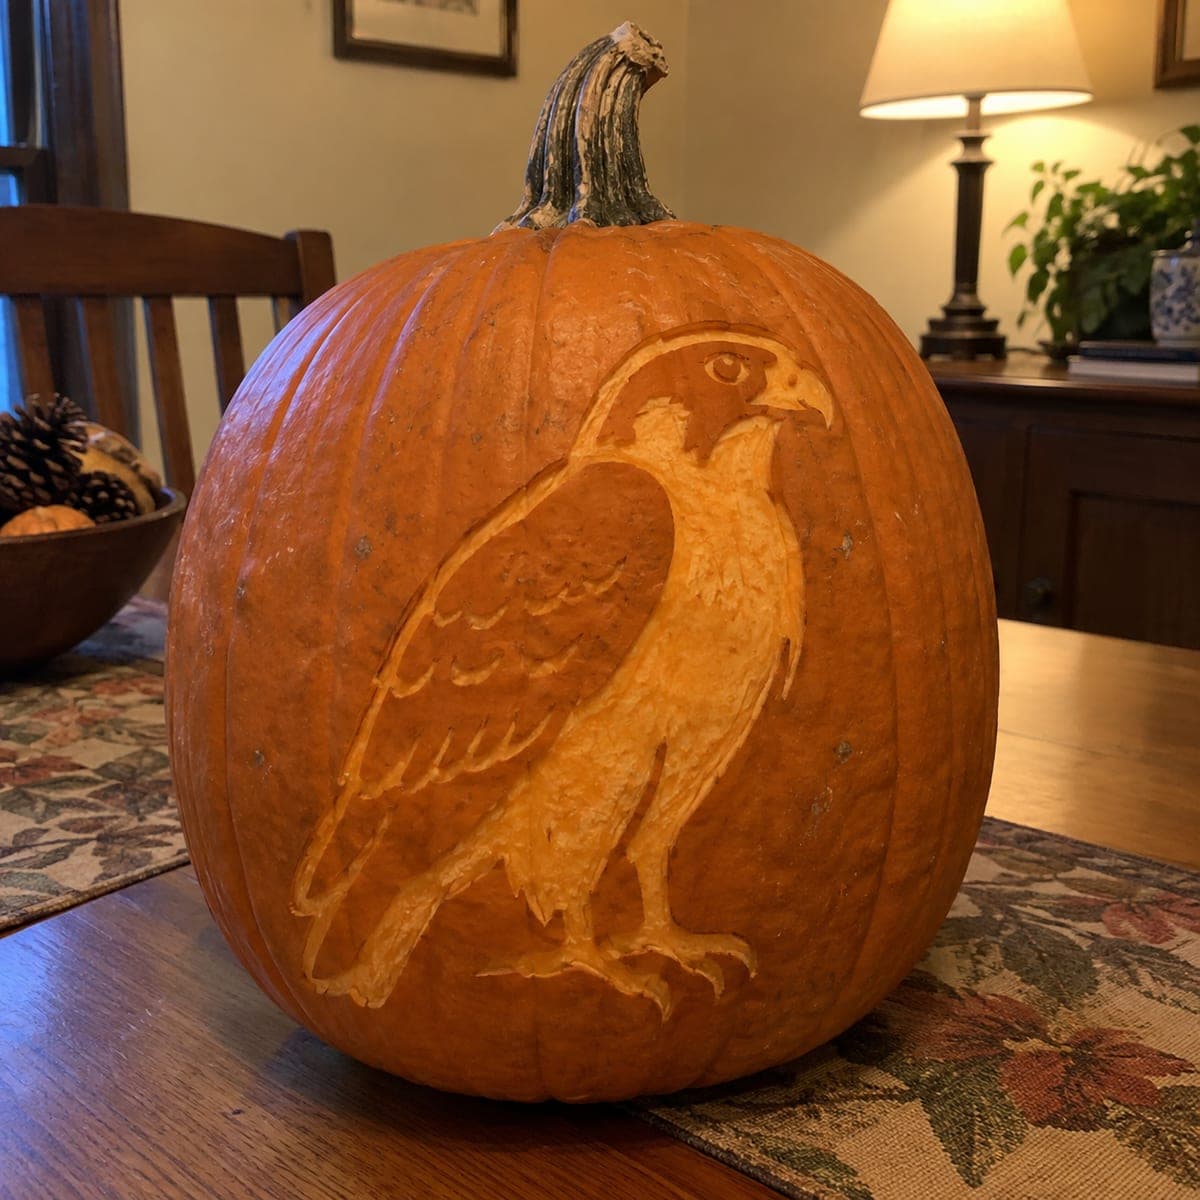
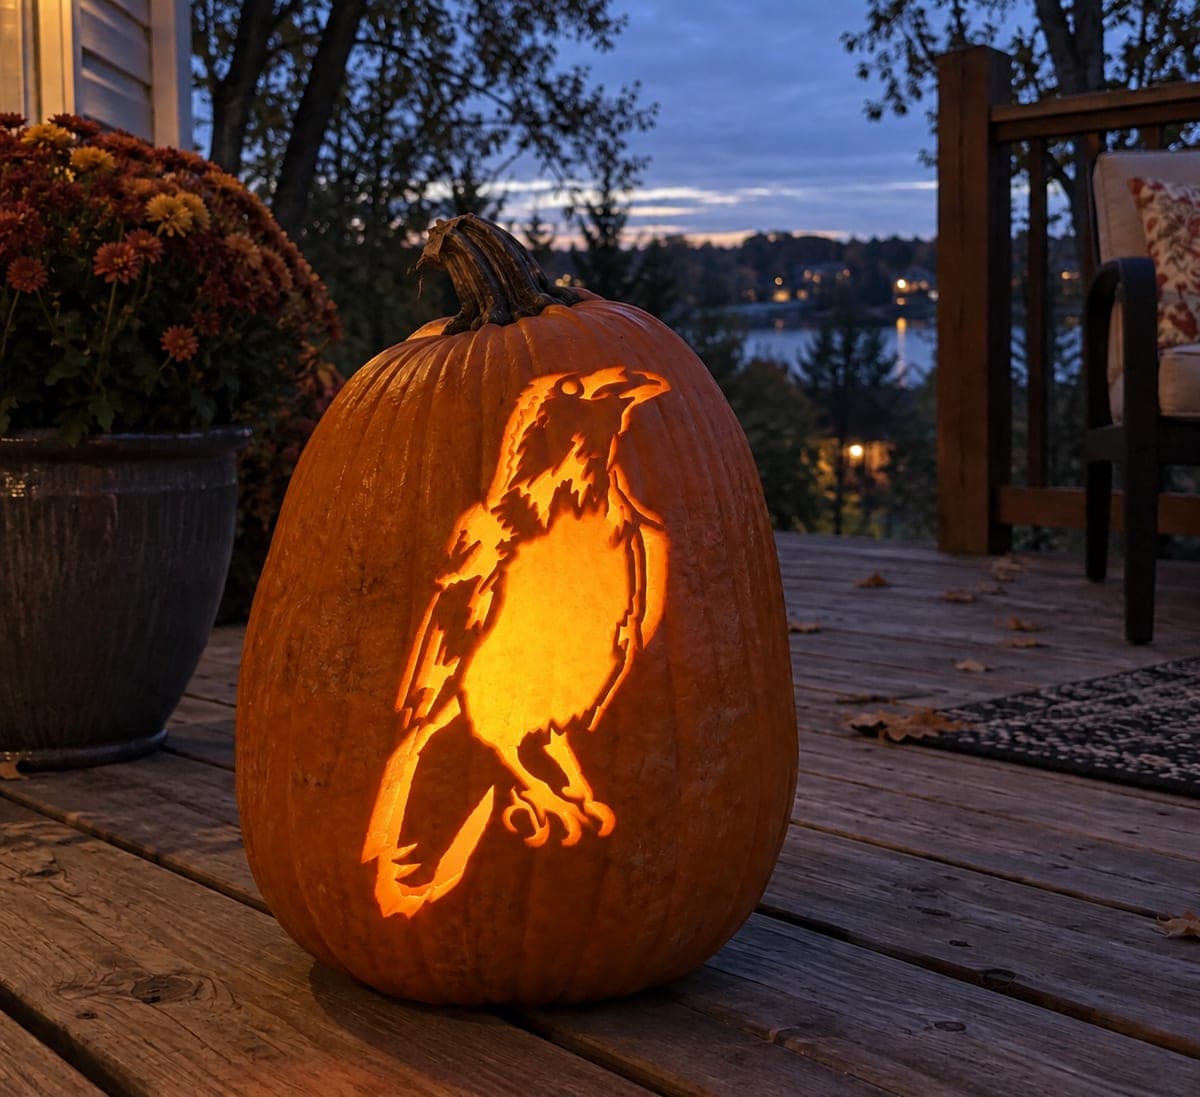
A hawk grips its perch and glares sideways in this glowing pumpkin, with rows of scalloped wing feathers etched at varying depths for a barred, lifelike texture. The hooked beak and heavy brow give it real raptor attitude, so carve the head details with your sharpest small blade. Etch the feather rows from the shoulder downward so each scallop overlaps the next, and light the pumpkin from below the design to push shadow upward through the plumage.

This is an AI-generated concept image: a realistic, carvable design idea rather than a photo of a finished carve. AI concepts are always labeled and sit out the leaderboard and the contest.

No ratings yet · Sign in to rate
Comments (0)

  • No comments yet — be the first.

Save without an account. Sign in to like or comment.

Our tips for carving a similar design

The core trick here is layering: the whole hawk is built from rows of scalloped feathers etched at different depths so light bleeds through as a soft barred texture rather than open holes. You keep the outline and the body mostly as thin skin-peeled glow, then reserve full cutouts for the brightest accents like the eye, beak gap, and the perch. Plan to work from the head down and the shoulder outward so each feather row overlaps the one below it.

Written by PumpkinCarvingIdeas.com, inspired by the image above. These are our suggestions, not instructions from the uploader. This approach to the AI concept has not been tested on a real pumpkin.

From pumpkin to porch

  1. Prep the pumpkin and transfer the stencil

    Pick a tall pumpkin with a wide, smooth front panel so the whole hawk fits without wrapping around a curve. Cut a lid or, better, a wide access hole in the back so the front stays intact for your design. Scrape the inside wall behind the hawk down to about one inch thick so light passes through evenly. Tape the stencil flat and poke the outlines with a pin or transfer tool, marking the eye, beak, feather rows, and perch.

  2. Outline the hawk and lock in the shape

    With a fine gouge or the tip of a small carving saw, lightly trace the full silhouette first so you never lose the bird's edge. Do not cut through yet. Define the head profile, the curved back, the folded wing, and the perch line as shallow guide grooves. This outline is your map for all the shading that follows.

  3. Etch the feather rows from the shoulder down

    Switch to a shallow ribbon or U gouge and peel the skin off each scalloped feather, starting at the shoulder and working down so every row overlaps the one beneath it. Vary your depth: press a little deeper on the leading edge of each feather and lift out toward the tip for a barred, dimensional look. Keep the skin thin here, not cut through, so the plumage glows dim orange. Work slowly and rotate the pumpkin toward your blade rather than reaching across it.

  4. Sharpen the head and talons

    Use your smallest, sharpest blade for the hooked beak, the heavy brow, and the fierce eye. Peel the skin around the eye for a glow, then make a tiny full cutout for the pupil so it reads as a bright glare. Etch fine hatching on the head and breast, then carve the curved talons gripping the perch with short, controlled strokes. Leave narrow skin bridges between the toes so the talons hold their shape.

  5. Make the bright cutouts last

    Now go back and cut all the way through only on the accents that should be brightest: the eye pupil, the small gap in the open beak, and a few slivers along the perch and wing edge. Cutting these last keeps the front panel strong while you do the heavy etching. Angle each cut slightly outward so the opening funnels more light forward. Test as you go and stop before any thin section starts to sag.

  6. Light it and photograph

    Drop in a bright LED puck or string light and set it low, below the design, so the glow pushes upward through the feathers and deepens the shadows in the plumage. Skip real candles; the etched areas are thin and can scorch. Mist the cut edges and store the pumpkin somewhere cool between showings to slow drying. Shoot your photo at dusk against a dark door so the barred texture pops.

Gather your supplies

Check things off as you get ready.

Work on a stable surface, keep your free hand out of the cutting path, and have an adult handle sharp tools.

Three levels of light

  • Leave intact

    The background field around the hawk and the deepest wing shadows stay as untouched skin.

  • Peel & shade

    The body, folded wing feathers, breast, and head are skin-peeled at varying depths for a soft barred glow.

  • Cut through

    The eye pupil, the gap in the hooked beak, and a few slivers along the perch and wing edge are cut through for the brightest accents.

Learn the carving basics

Before you start cutting

How do I keep the feather rows from blurring into one bright blob?

Vary your etching depth instead of cutting all the way through. Peel deeper along the leading edge of each feather and lift shallower toward the tip, and leave a hair of untouched skin between rows to act as a shadow line. That contrast is what makes the barring read as separate feathers.

The talons and thin beak look fragile. How do I keep them from breaking?

Carve them mostly as peeled skin and shallow etching rather than open cutouts, and leave small skin bridges between the toes so they hold together. Save any full cutouts near the beak and talons for the very end. Thin details are strongest when there is still solid pumpkin wall behind them.

Why light it from below instead of the usual center placement?

Setting the LED low pushes light upward through the plumage, so the shadows fall in the natural direction and give the feathers depth. A centered light tends to flatten the barred texture. Try both, but the low angle usually gives the most lifelike raptor look.

Your take belongs here, too.

Changed a detail? Made it simpler? Share a photo of your version and tell the community what worked.

Share your pumpkin

More pumpkins like this

You've reached the end · 8 pumpkins
The Patch Report

Fresh pumpkins, in your inbox.

The best new carvings, ideas worth stealing, and how-tos for carving season. Short, seasonal, and gone by November.

A short email during carving season. Unsubscribe anytime. See our privacy policy.