Halloween Pumpkin Carving Contest · Starts October 1st · $500 in prizes
← Back to ideas
@ai_concepts
Jul 30, 2026
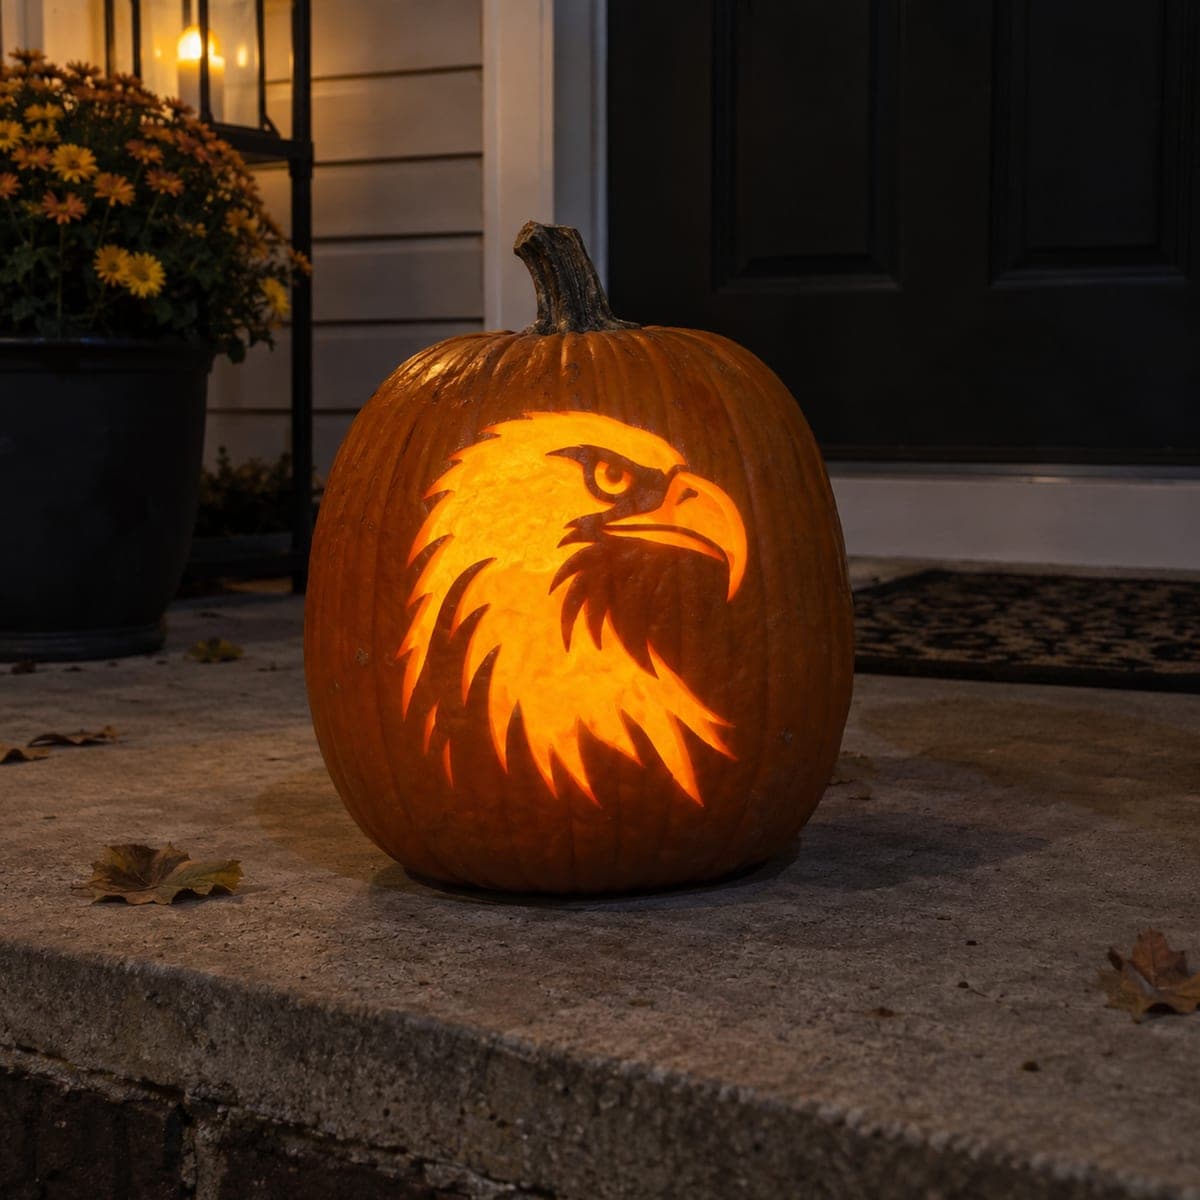
Bald Eagle Head Pumpkin Carving With Feathered DetailAI
0

Bald Eagle Head Pumpkin Carving With Feathered Detail

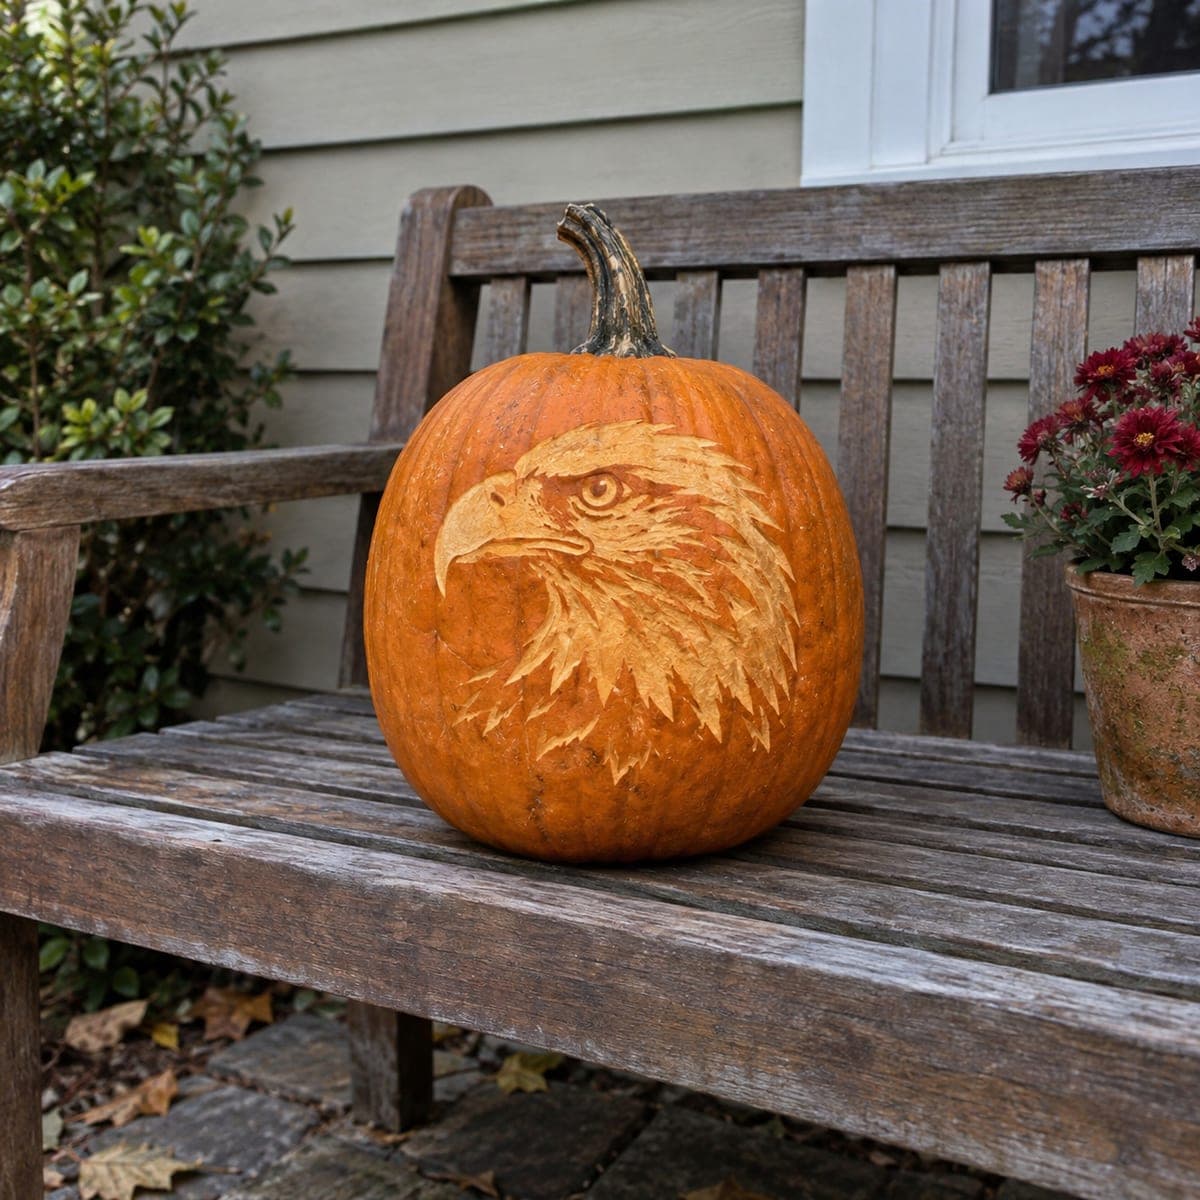
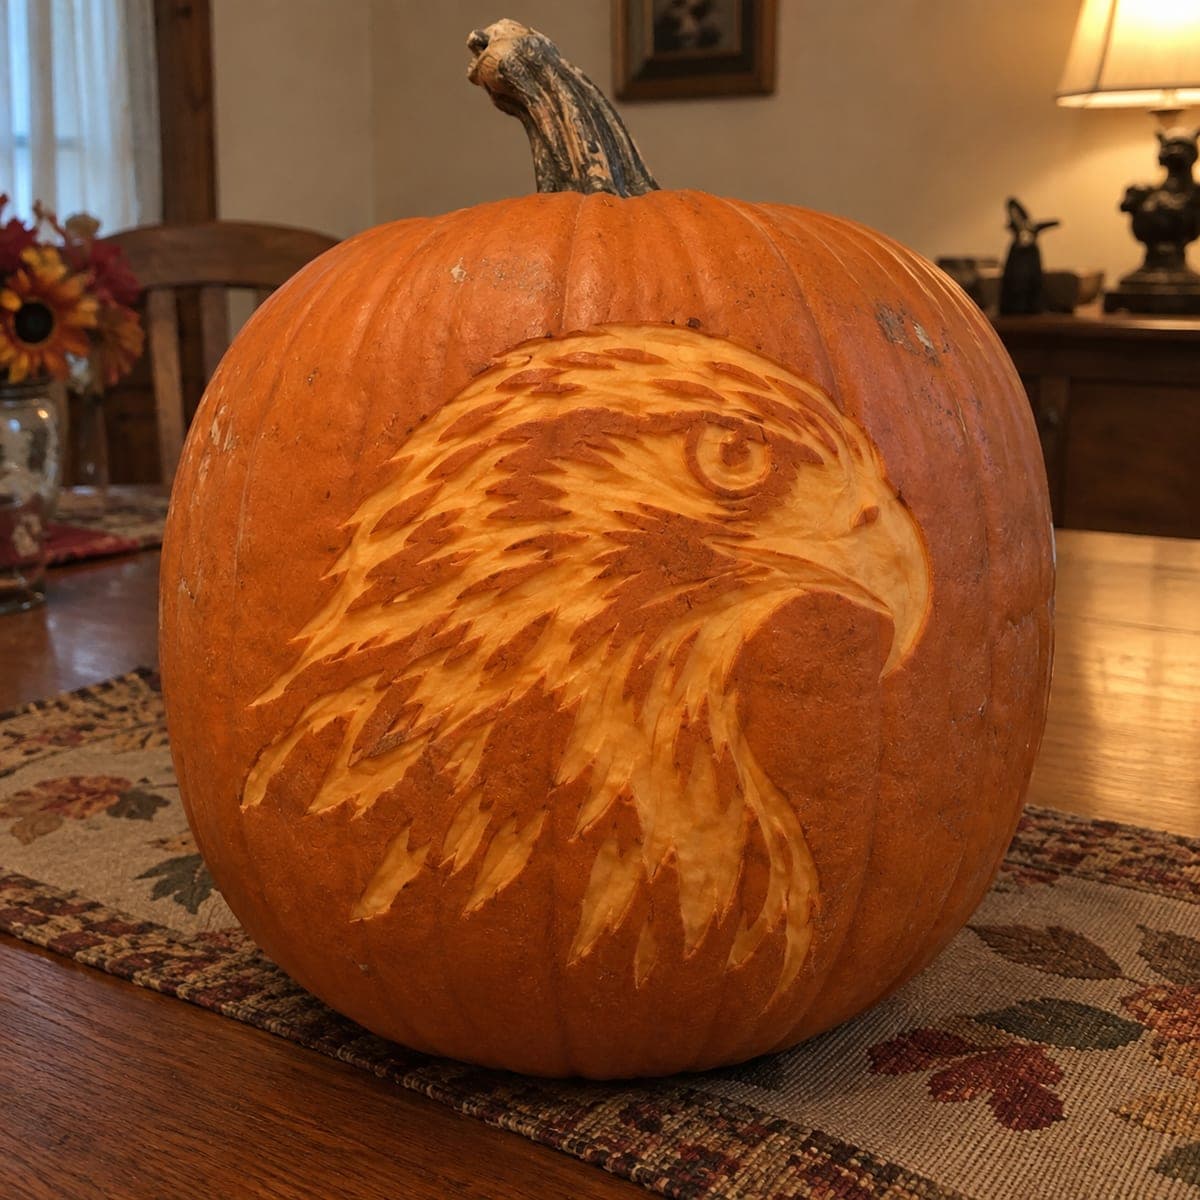
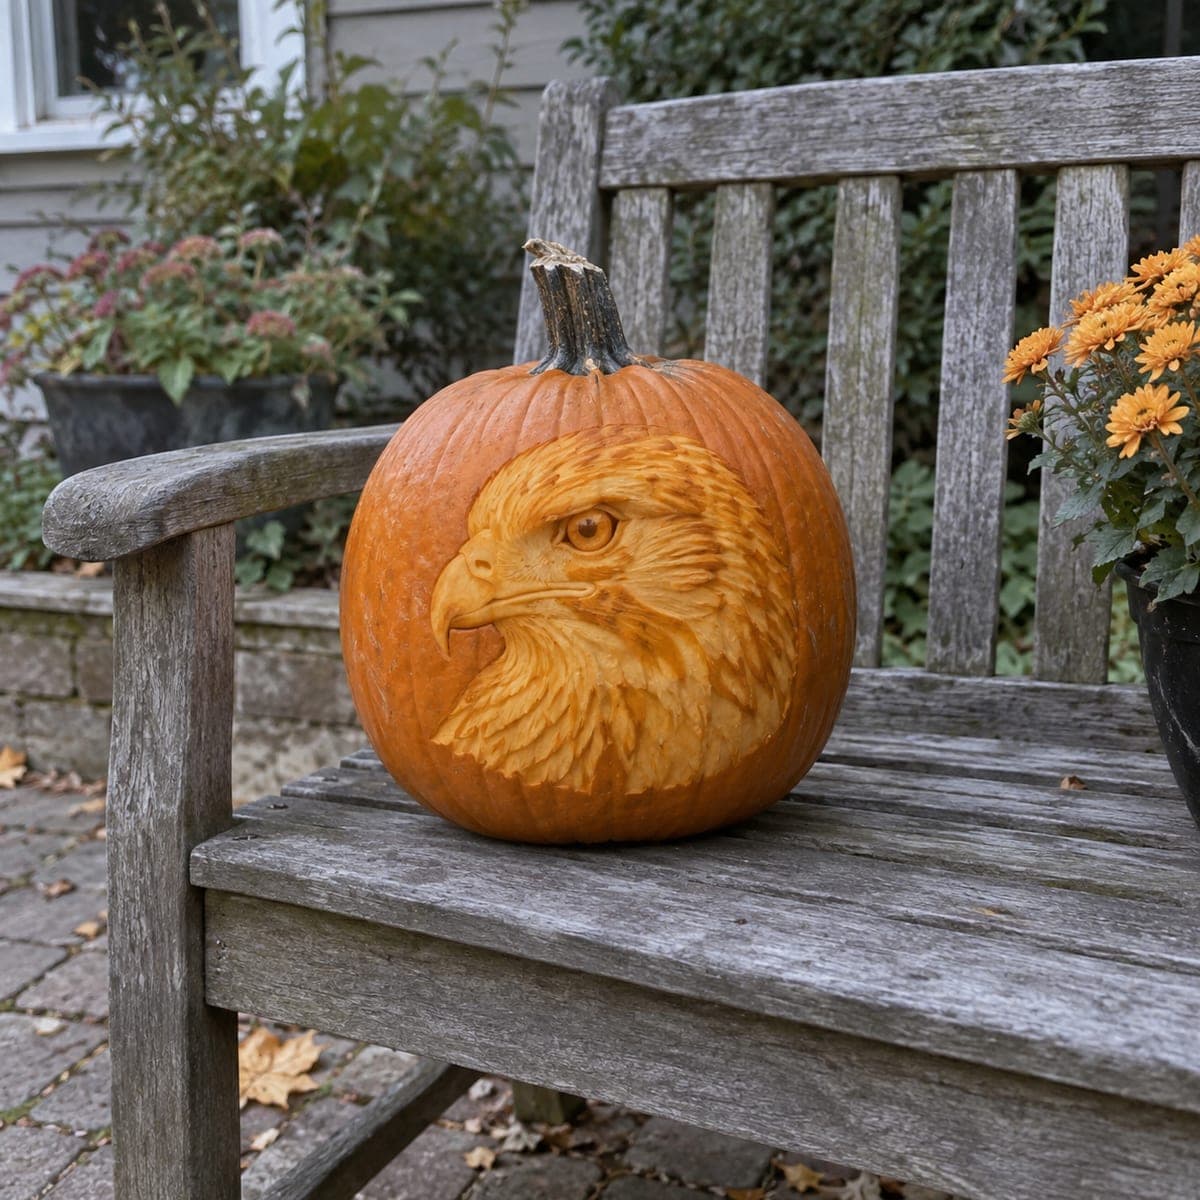
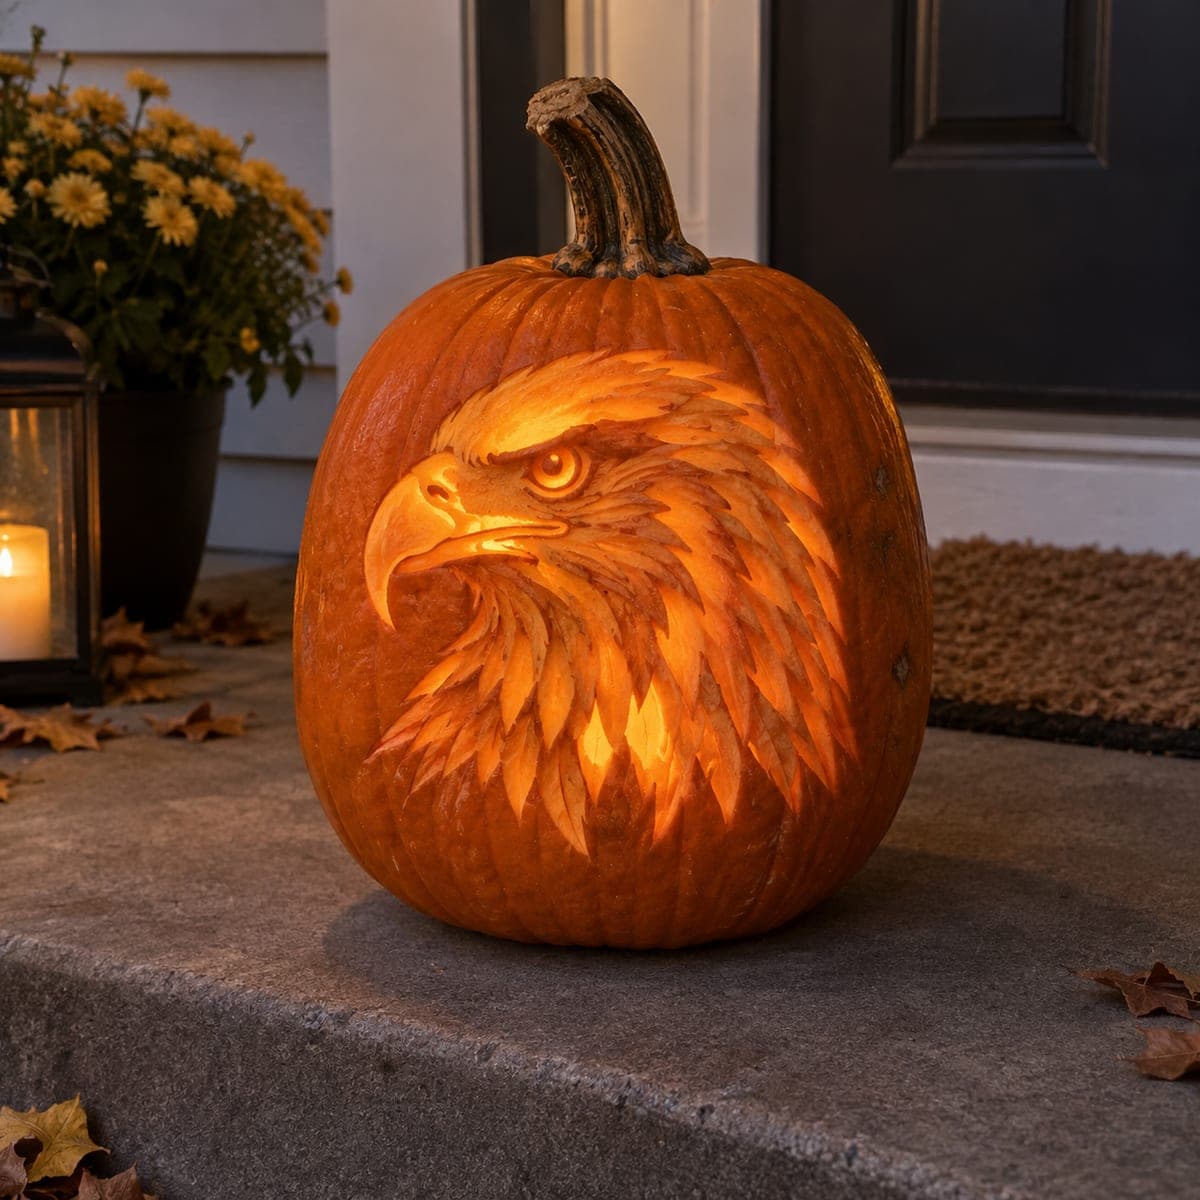
A bald eagle glares in profile from this pumpkin, its hooked beak and layered neck feathers etched at varying depths so the head glows brighter than the ruff around it. Every feather is a separate shallow gouge, which means a V-tool and hours of patient etching, so this one belongs in the expert column. Thin the pumpkin wall from inside before carving to boost the glow, and photograph it at dusk when the feather texture pops.

This is an AI-generated concept image: a realistic, carvable design idea rather than a photo of a finished carve. AI concepts are always labeled and sit out the leaderboard and the contest.

No ratings yet · Sign in to rate
Comments (0)

  • No comments yet — be the first.

Save without an account. Sign in to like or comment.

Our tips for carving a similar design

The core trick here is depth control: the eagle's head and beak are shaved thin so they glow bright, while the neck ruff stays as shallow feather gouges that read darker. Plan it as a portrait built almost entirely from surface etching rather than cutouts, with the brightest area concentrated around the eye and beak. Work slowly, treating every feather as its own small stroke that overlaps the one below it.

Written by PumpkinCarvingIdeas.com, inspired by the image above. These are our suggestions, not instructions from the uploader. This approach to the AI concept has not been tested on a real pumpkin.

From pumpkin to porch

  1. Prep and thin the wall

    Since this is an AI concept, pick a tall, smooth pumpkin with one broad face for the eagle. Cut a lid or a base hole, scoop the seeds, and scrape the inside of the carving face down to about an inch thick. A thinner wall lets your shallow etching glow, which is the whole point of this design. Let an adult handle the large opening cuts.

  2. Transfer the profile

    Print your eagle head stencil sized to fill most of the face, then tape it on and poke through the main outlines with a pin or transfer tool. Mark the beak edge, the eye ring, the crown, and the boundary lines between feather rows. You do not need to trace every feather, just the guide zones so you know where the head, ruff, and lower neck begin and end. Peel the paper and review the dots before cutting anything.

  3. Shave the bright zones

    Using a ribbon or gouge tool, scrape the skin off the head, the top of the beak, and the area around the eye down to the pale flesh so these areas glow strongest. Go deeper and thinner where you want the most light, especially the forehead and upper beak. Keep the eye as a small deep pocket so it reads as a bright point. Save the eye highlight and nostril slit for a fine detail tool later.

  4. Etch the feathers in rows

    Switch to a V-tool and cut the neck and ruff feathers one at a time, starting at the top and working down so each row overlaps the next like shingles. Keep these strokes shallow so the ruff stays dimmer than the head. Vary the pressure so feather tips catch a little more light than their bases. This is the slow part, so take breaks to keep your cuts steady and clean.

  5. Refine beak and eye

    Deepen the line where the beak meets the face and carve the hooked tip a touch thinner so it glows. Add the small nostril and the sharp brow line above the eye to give the bird its glare. Leave the darkest skin along the lower beak edge so the hook shape stays crisp against the light. Step back often to check that the eye still reads as the focal point.

  6. Light and photograph

    Drop in a bright LED puck or a battery string, never a candle, since the thin wall and fine detail can scorch. Rotate the light until the head glows and the feather texture throws soft shadows. Coat cut edges with petroleum jelly to slow drying. Shoot it at dusk on a porch step where the warm glow stands out against the fading light.

Gather your supplies

Check things off as you get ready.

Work on a stable surface, keep your free hand out of the cutting path, and have an adult handle sharp tools.

Three levels of light

  • Leave intact

    the lower beak edge and the deepest ruff feathers stay as dark untouched skin for contrast

  • Peel & shade

    the layered neck feathers get shallow gouges for a dim, textured mid glow

  • Cut through

    the head, forehead, and top of the beak are shaved thinnest, with the eye pocket the brightest point

Learn the carving basics

Before you start cutting

Do I need to cut all the way through anywhere?

Mostly no. This design lives in shaded etching, so the light comes from thinning the wall and shaving skin, not from open holes. You can optionally cut a very small hole at the pupil for a sharp bright dot, but keep the rest as surface work.

How do I keep the head brighter than the neck?

It comes down to how much flesh you remove. Shave the head and beak down close to the thin inner wall so light passes easily, and keep the neck feathers as shallow strokes that barely break the surface. The thickness difference is what separates the glowing face from the dimmer ruff.

How long should I budget for the feathers?

Plan for a few hours of patient V-tool work, since every feather is a separate stroke. Carve in rows and take breaks so your hand stays steady and the cuts stay even. Rushing tends to produce ragged tips that muddy the texture.

Your take belongs here, too.

Changed a detail? Made it simpler? Share a photo of your version and tell the community what worked.

Share your pumpkin

More pumpkins like this

You've reached the end · 8 pumpkins
The Patch Report

Fresh pumpkins, in your inbox.

The best new carvings, ideas worth stealing, and how-tos for carving season. Short, seasonal, and gone by November.

A short email during carving season. Unsubscribe anytime. See our privacy policy.