Halloween Pumpkin Carving Contest Β· Starts October 1st Β· $500 in prizes
← Back to ideas
@ai_concepts
Aug 10, 2026
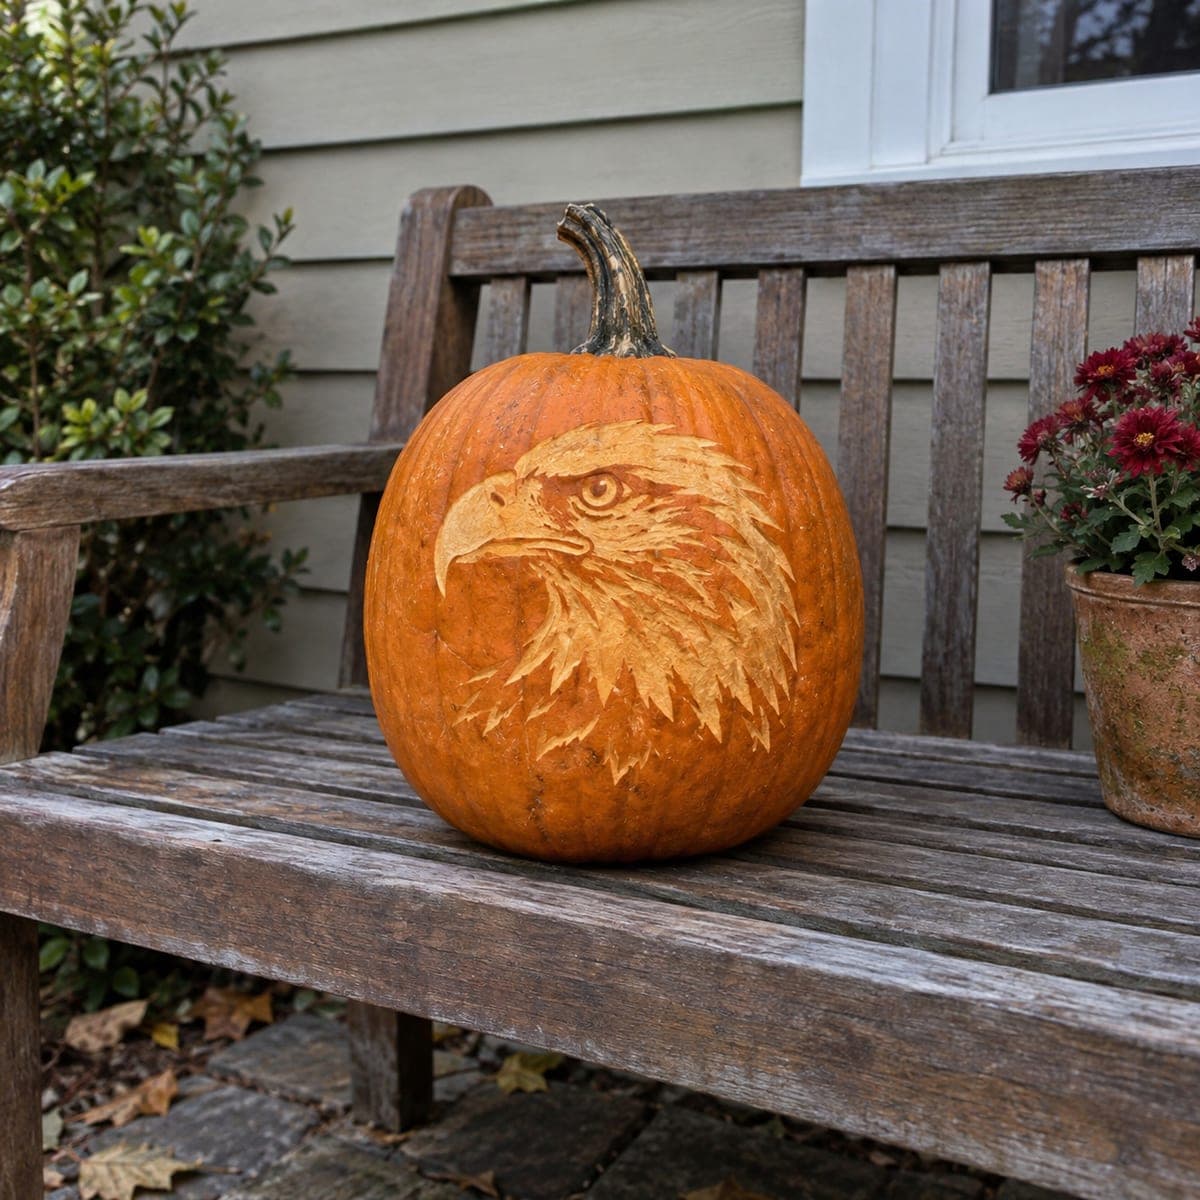
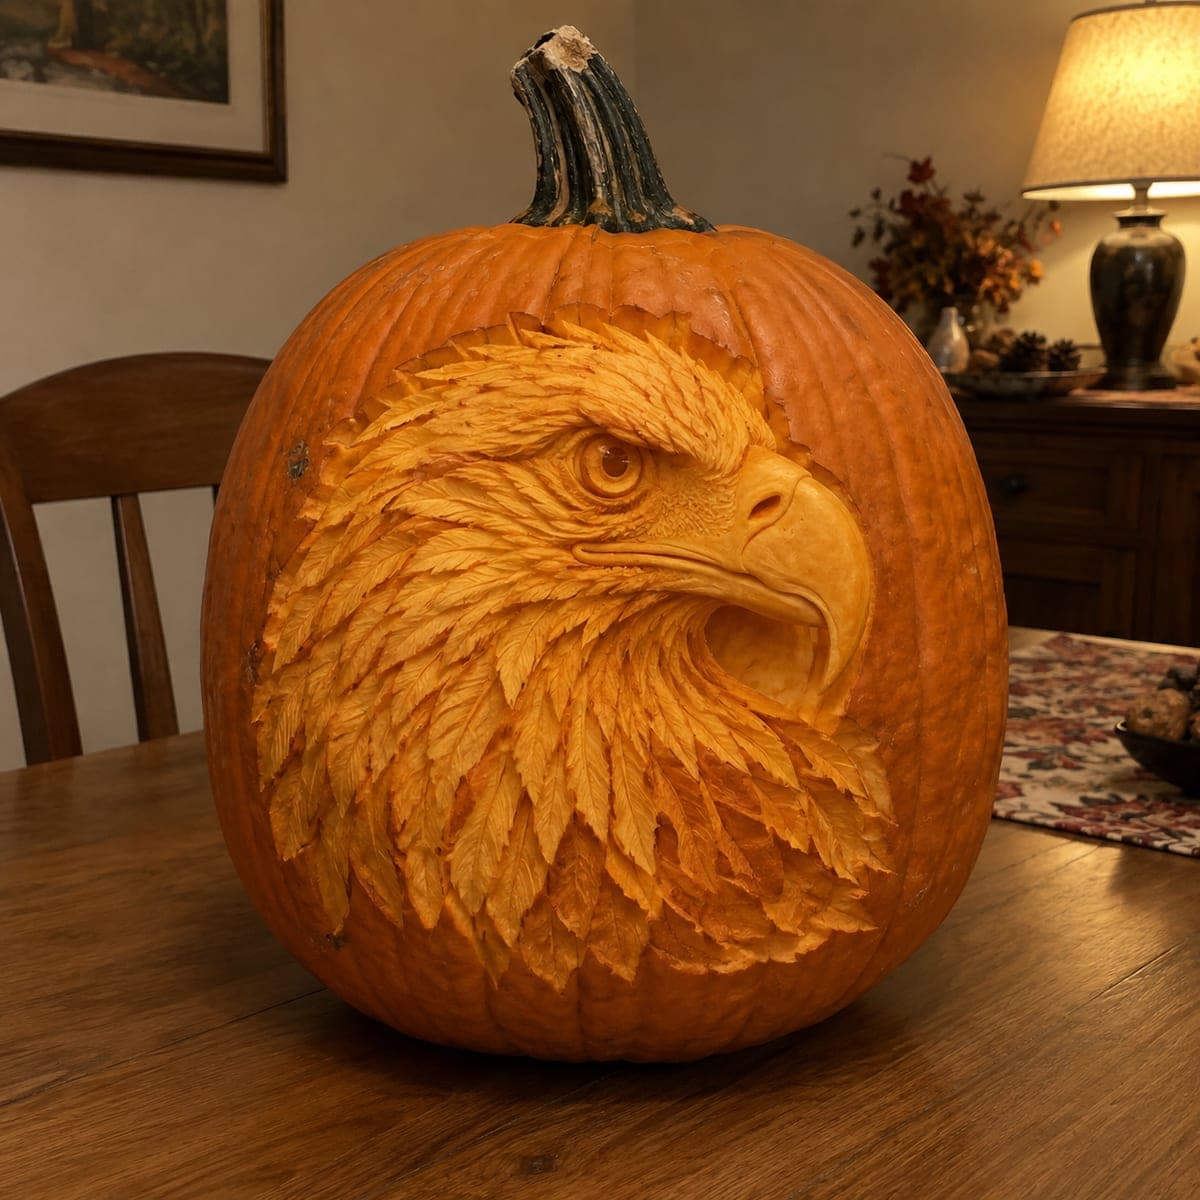
Bald Eagle Head Etched Pumpkin PortraitAI
0

Bald Eagle Head Etched Pumpkin Portrait

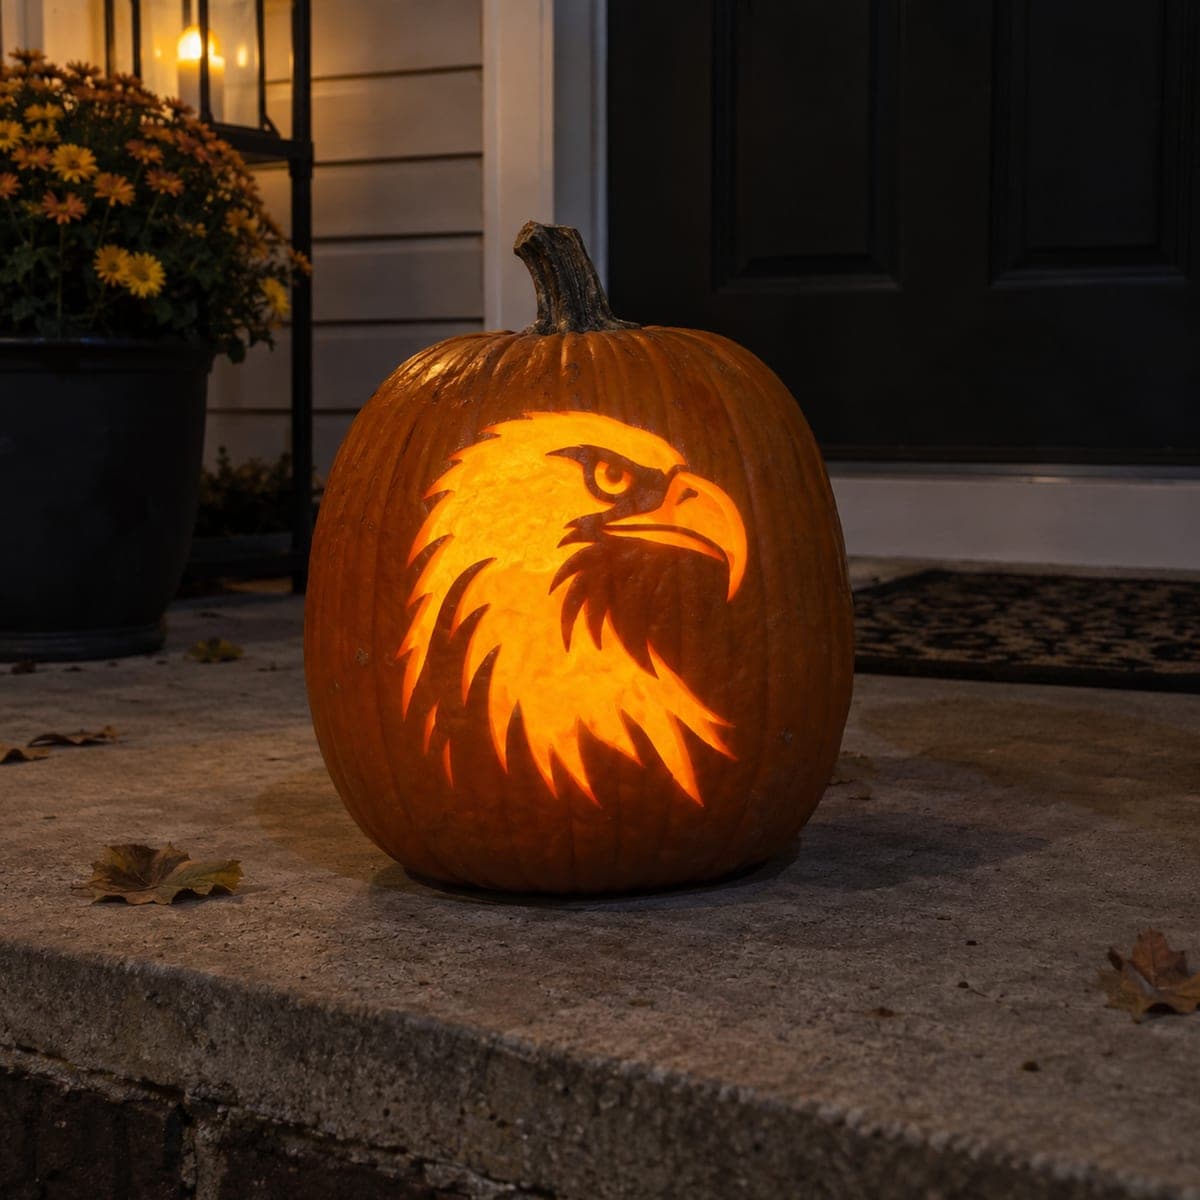
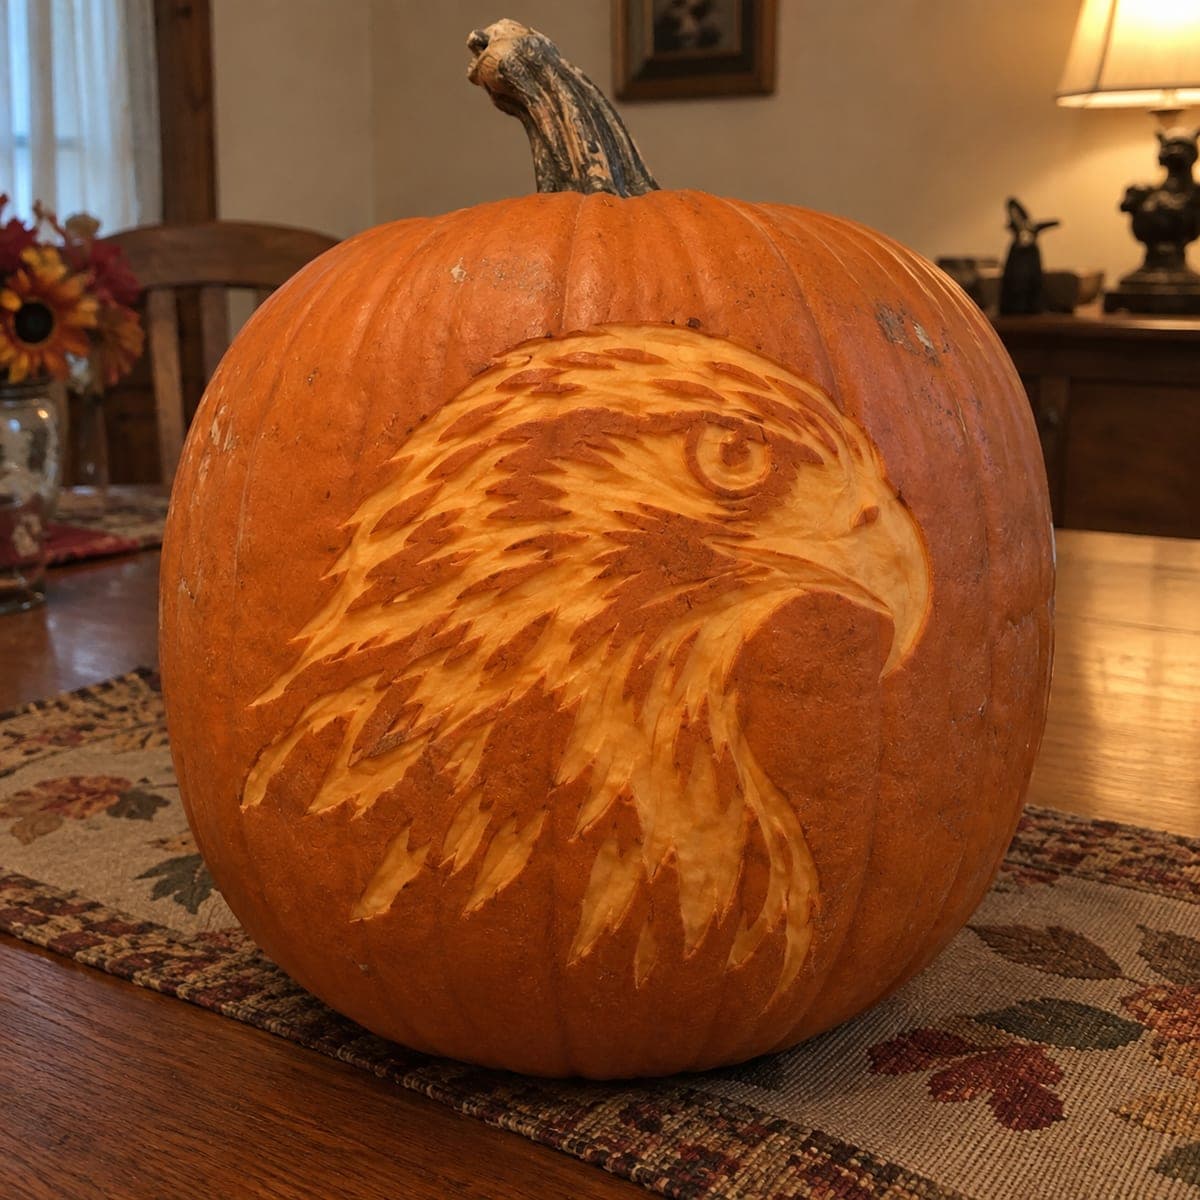
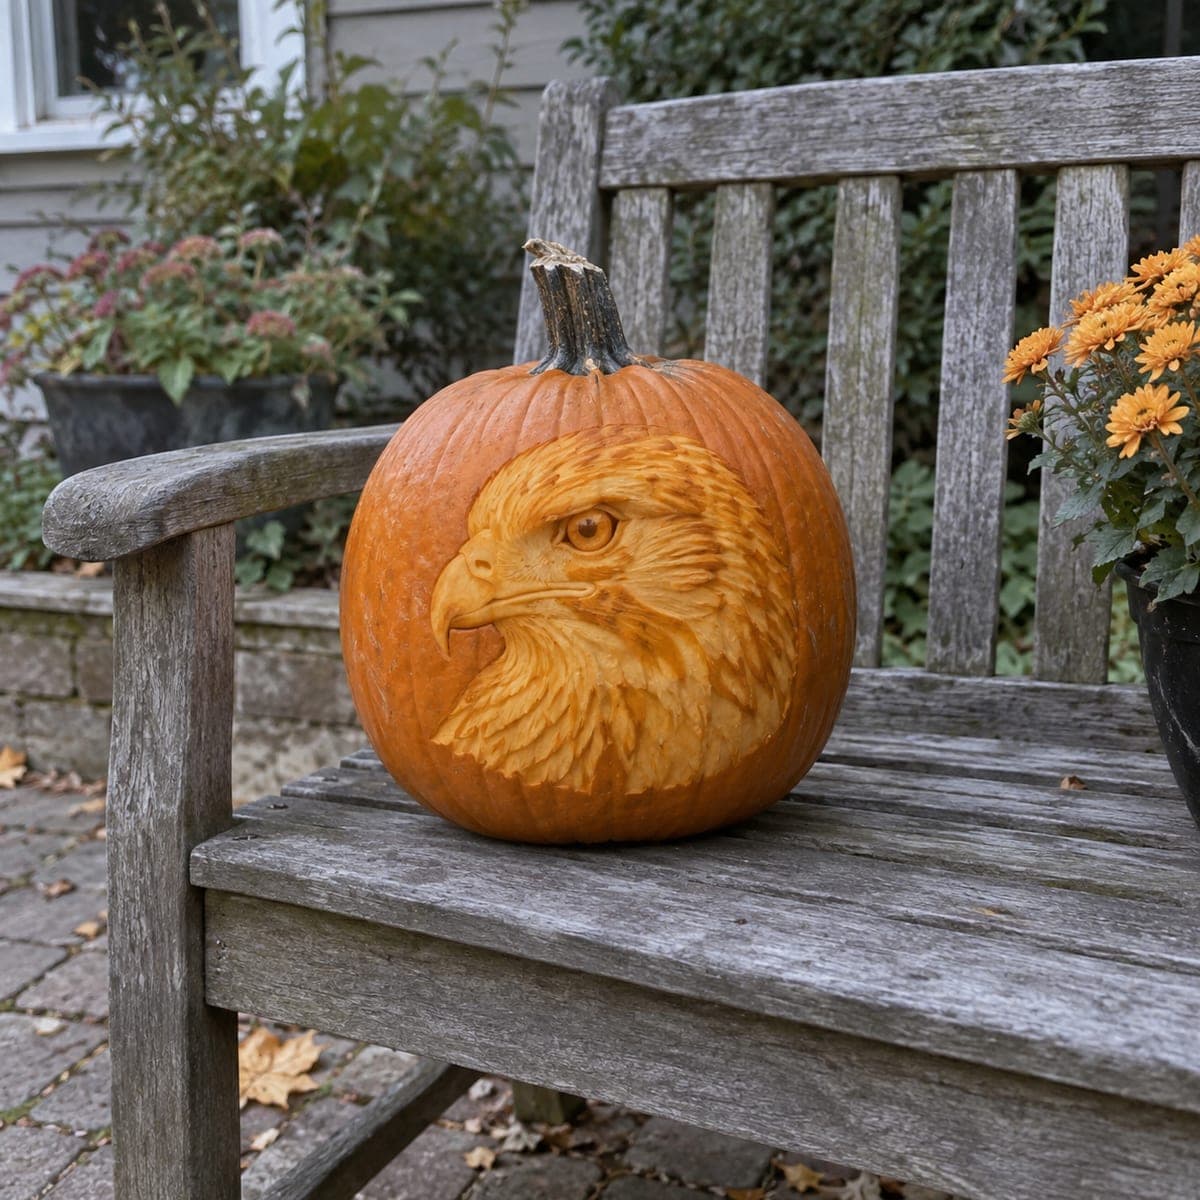
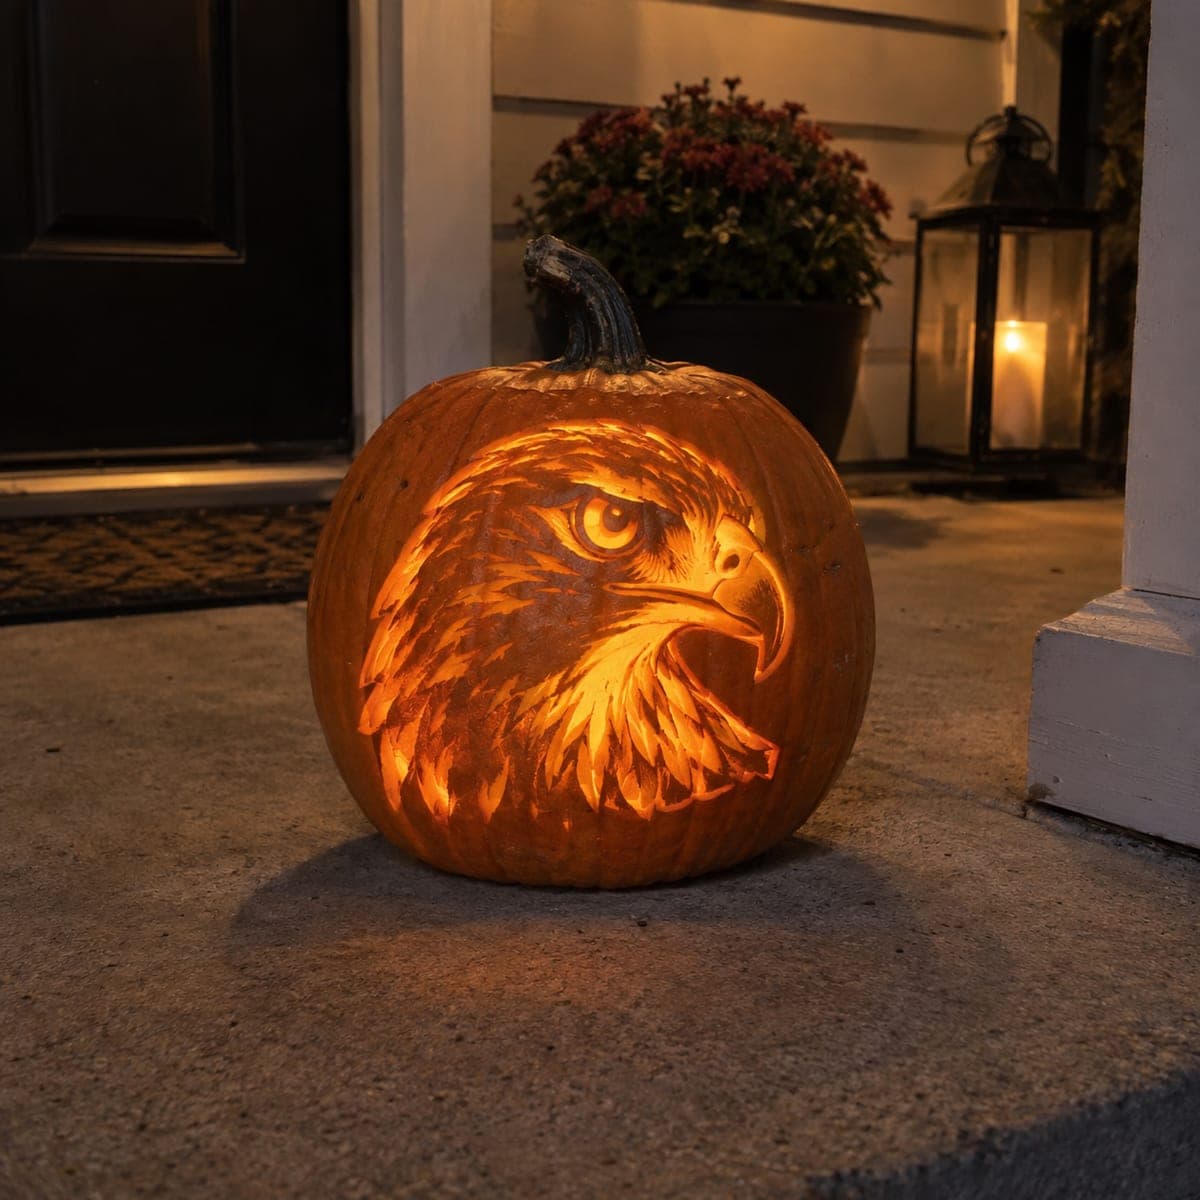
The proud profile of a bald eagle is etched into this pumpkin, with feathery strokes radiating out from the fierce eye and hooked beak. Each feather is a single flick of a gouge, cut from the head outward so the strokes taper naturally at the tips. Leave plenty of untouched rind between feathers; the orange gaps are what make the white flesh read as plumage. A patriotic pumpkin carving idea that works lit or unlit.

This is an AI-generated concept image: a realistic, carvable design idea rather than a photo of a finished carve. AI concepts are always labeled and sit out the leaderboard and the contest.

No ratings yet Β· Sign in to rate

Comments (0)

  • No comments yet β€” be the first.

Save without an account. Sign in to like or comment.

Our tips for carving a similar design

The core trick here is etching, not cutting all the way through. You peel away just the skin in feather-shaped flicks so the pale flesh glows soft while the untouched orange rind between strokes reads as gaps in the plumage. Keep the eye and beak sharp with deeper, cleaner shaving, then let the neck feathers get looser and lighter as they radiate outward.

Written by PumpkinCarvingIdeas.com, inspired by the image above. These are our suggestions, not instructions from the uploader. This approach to the AI concept has not been tested on a real pumpkin.

From pumpkin to porch

  1. Prep the pumpkin and transfer the pattern

    Pick a tall, smooth pumpkin with a broad flat face for the portrait. If you plan to light it, cut a lid or a back door and scoop the wall behind the design down to about one inch. Tape your eagle stencil onto the front and poke the main outlines with a pin or a transfer tool, marking the eye, beak, and the outer edge of the head. A dotted guide is all you need since most of this is freehand shading.

  2. Shave the bright areas first

    Use a ribbon or lino gouge to skin off the top layer of rind across the palest parts of the face and crown. Go slow and keep the depth shallow and even so the flesh underneath glows uniformly. This is the base layer that will read as the eagle's white head. Leave the eye untouched for now so you have a landmark.

  3. Define the eye and beak

    Etch the eye a touch deeper for contrast and leave a small dot of skin as the dark pupil so the bird looks alert. Shave the hooked beak smooth on its lit surface, but leave a thin strip of untouched rind along the beak line to separate it from the face. Keep the nostril and the corner of the mouth as small dark accents. These crisp features anchor the whole portrait.

  4. Flick the feather strokes

    Switch to a smaller V or U gouge and pull each feather in one confident flick, starting near the head and dragging outward so the stroke tapers to a point. Work in the direction the plumage grows, curving down and out across the neck. Leave plenty of untouched orange between strokes, since those gaps are what make the flesh read as separate feathers. Vary the length and let the strokes get looser and shorter toward the ragged bottom edge.

  5. Deepen for contrast, then clean up

    Step back often and check the balance of light and dark. Go back over the brightest crown and cheek areas to shave them a hair deeper than the neck feathers, building a sense of depth. Brush away shavings and wipe the surface so no crumbs hide in the strokes. Rub a little petroleum jelly on the cut edges to slow drying.

  6. Light it and photograph

    Set a battery LED inside if you carved it hollow, or leave it unlit since etched portraits show up well in daylight too. Warm white light pushes the shaved feathers to a soft glow while the untouched rind stays dark. Shoot in dim evening light with the LED on, or in soft daytime shade for the unlit look. Turn the pumpkin until the eye catches the light for the strongest photo.

Gather your supplies

Check things off as you get ready.

Work on a stable surface, keep your free hand out of the cutting path, and have an adult handle sharp tools.

Three levels of light

  • Leave intact

    The orange gaps between feathers, the pupil dot, and the strip along the beak line stay untouched and dark.

  • Peel & shade

    The white head, cheek, and radiating neck feathers get skin-peeled for a soft dim glow.

  • Cut through

    No full cutouts are needed; keep it an etched portrait, or open only a small unseen back vent for airflow.

Learn the carving basics

Before you start cutting

Do I have to cut all the way through the pumpkin?

No, this design is almost entirely surface etching. You only shave off the outer skin so the flesh glows, which keeps the portrait subtle and readable. If you want it lit, carve a hidden back door and thin the wall behind the face, but the front stays uncut.

How do I keep the feathers from looking mushy?

Make each feather a single clean flick pulled from the head outward, and lift the gouge as you finish so the stroke tapers to a point. Leave clear bands of untouched orange between strokes, because those gaps do the visual work of separating one feather from the next. Crowding the strokes together is what turns them into mush.

Will this show up if I do not light it?

Yes, an etched portrait like this reads well in daylight because the pale shaved flesh contrasts with the darker orange rind. It also glows nicely with an LED at night. Carving it hollow is optional, so you can decide based on where you want to display it.

Your take belongs here, too.

Changed a detail? Made it simpler? Share a photo of your version and tell the community what worked.

Share your pumpkin

More pumpkins like this

You've reached the end Β· 8 pumpkins
The Patch Report

Fresh pumpkins, in your inbox.

The best new carvings, ideas worth stealing, and how-tos for carving season. Short, seasonal, and gone by November.

A short email during carving season. Unsubscribe anytime. See our privacy policy.