Halloween Pumpkin Carving Contest · Starts October 1st · $500 in prizes
← Back to ideas
@ai_concepts
Aug 13, 2026
Fierce Bald Eagle Portrait Shaded Pumpkin CarvingAI
0

Fierce Bald Eagle Portrait Shaded Pumpkin Carving

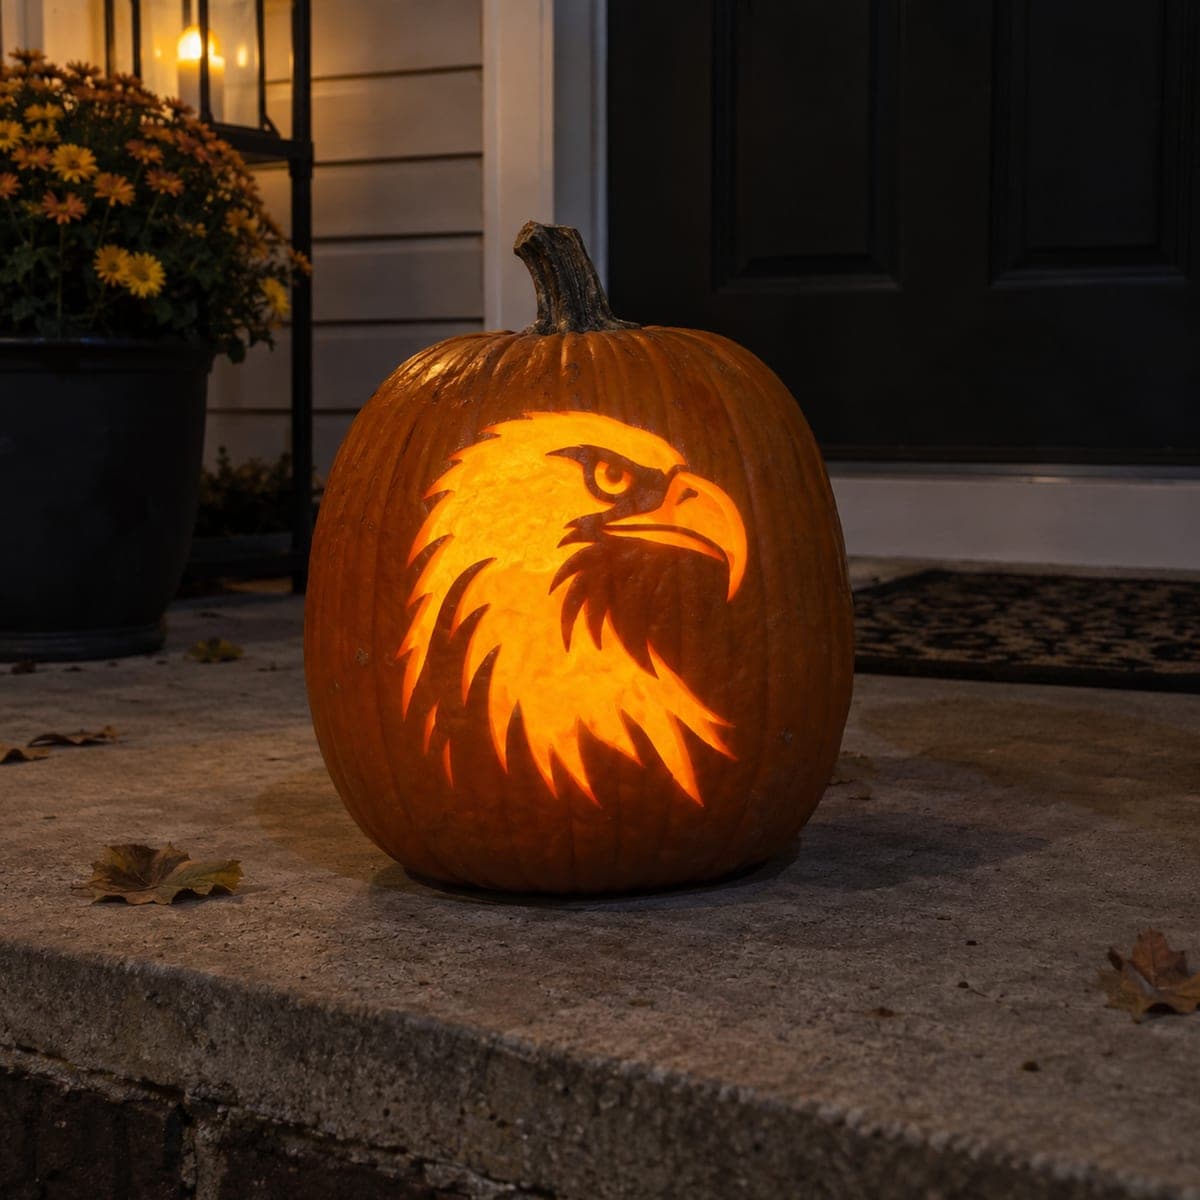
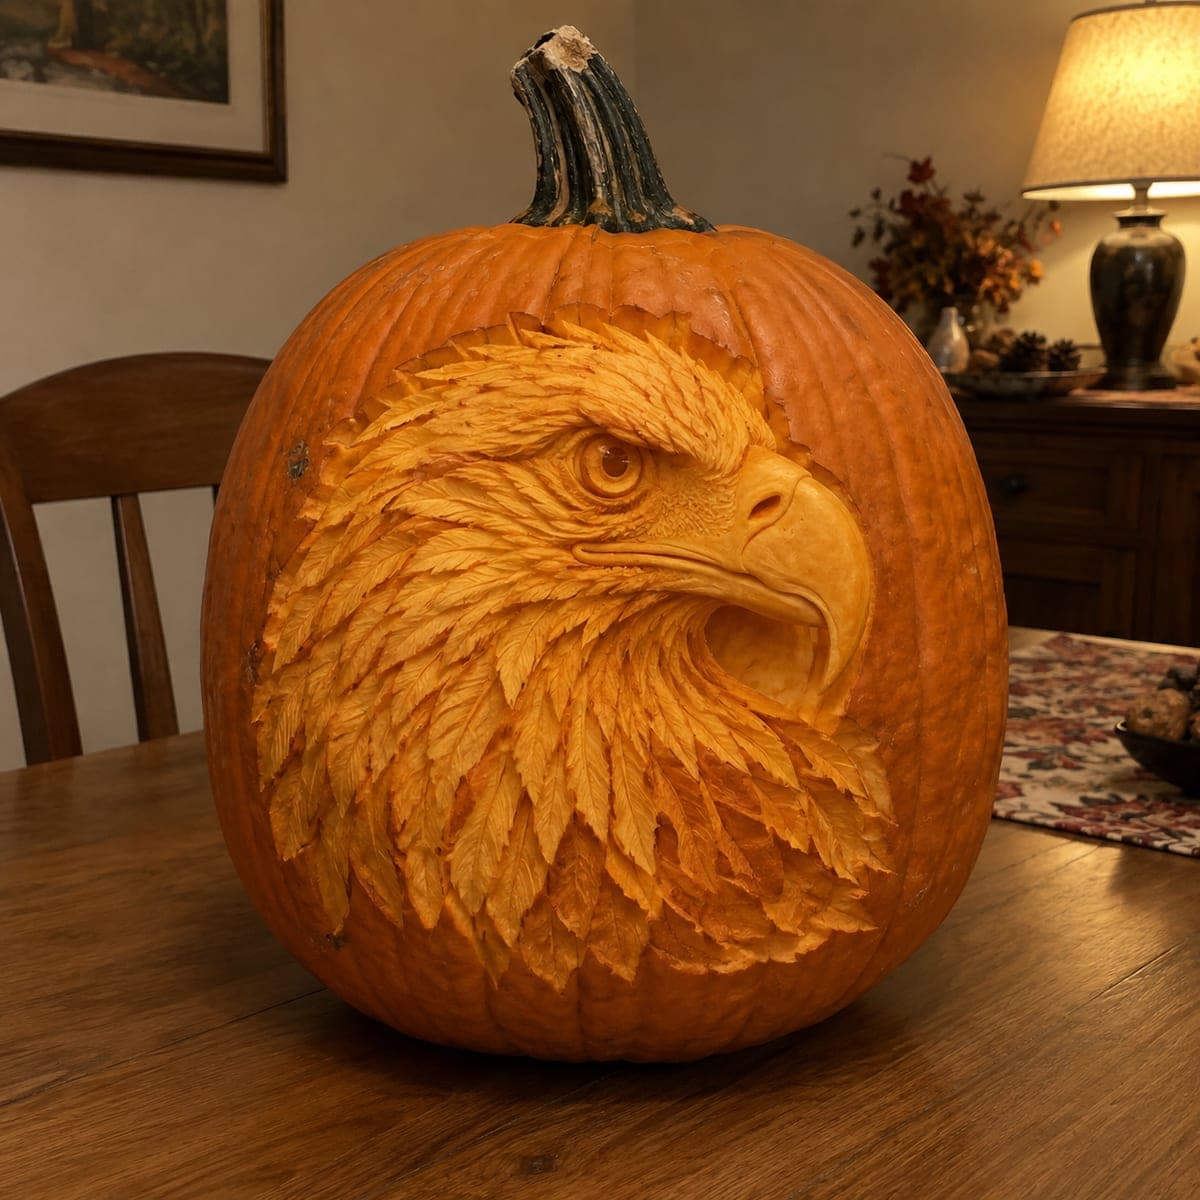
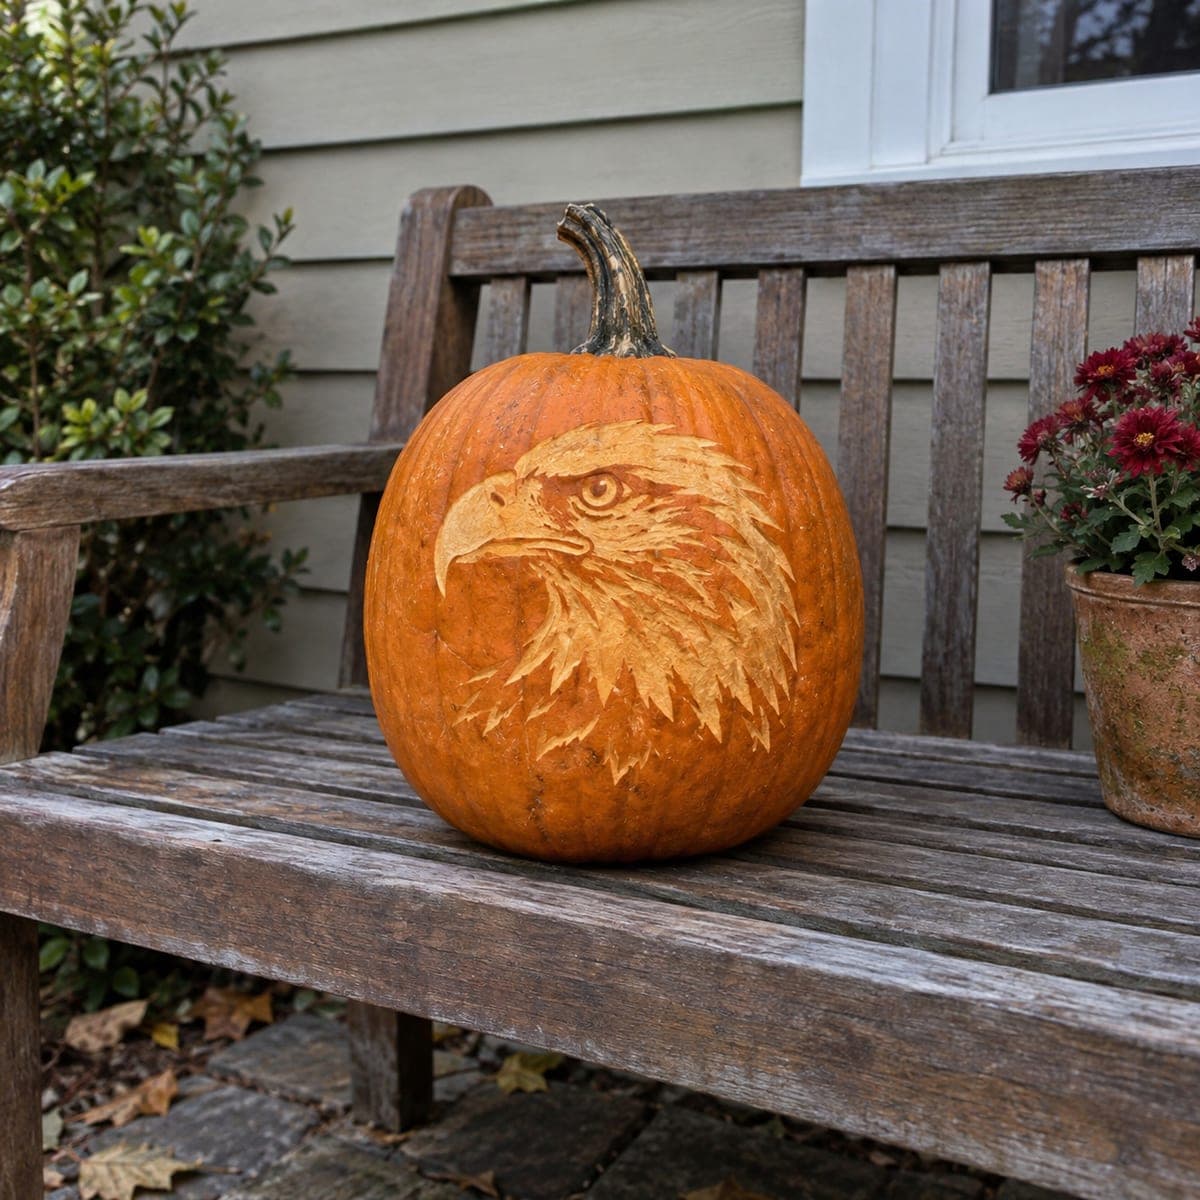
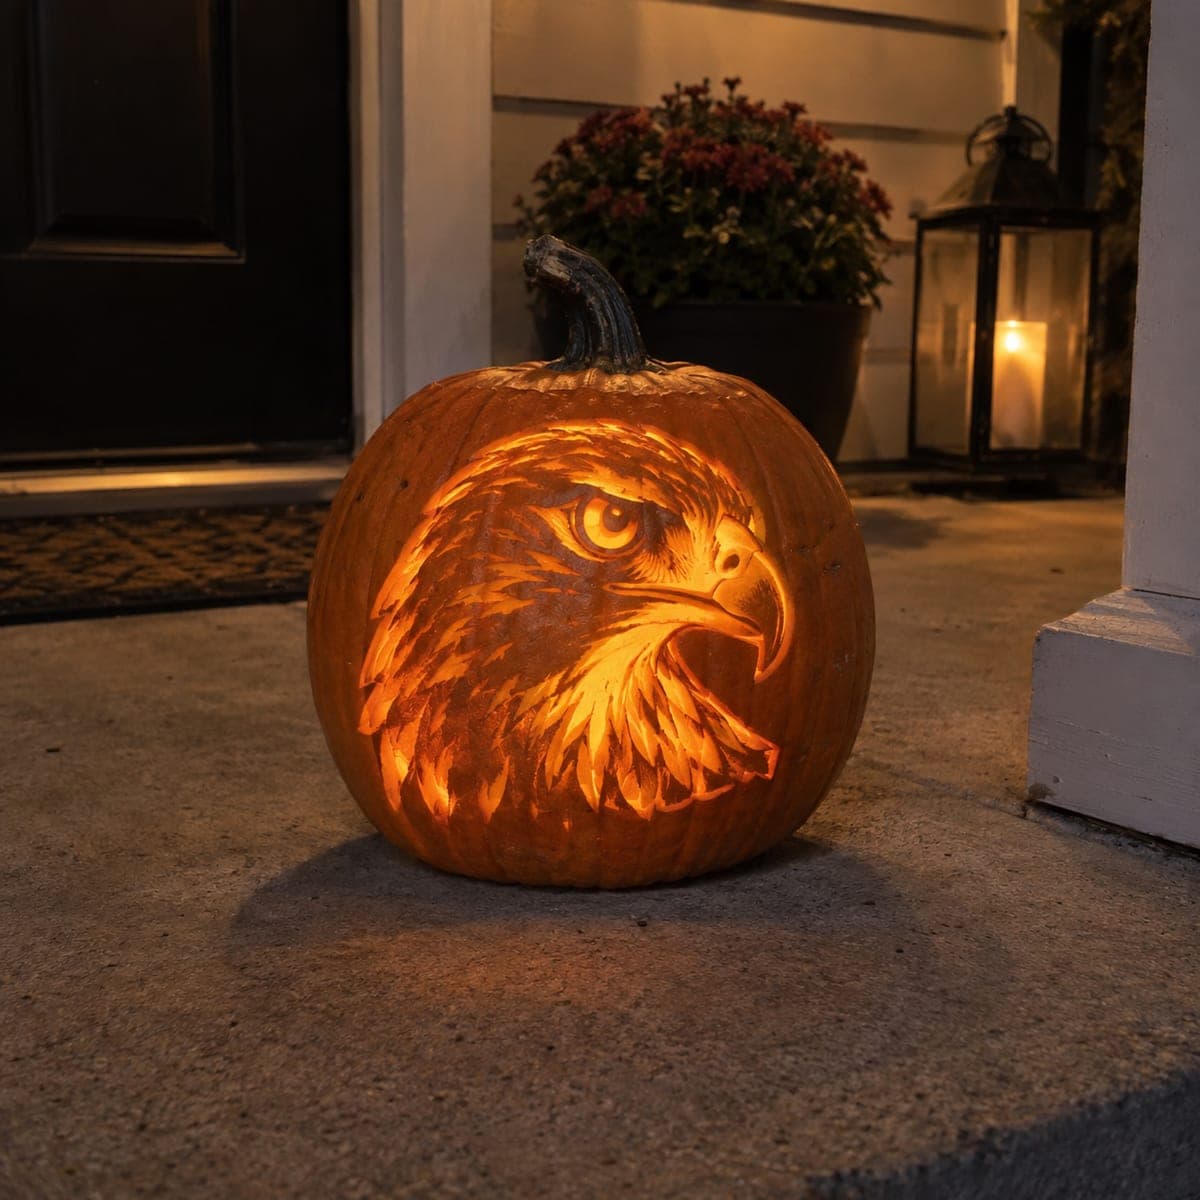
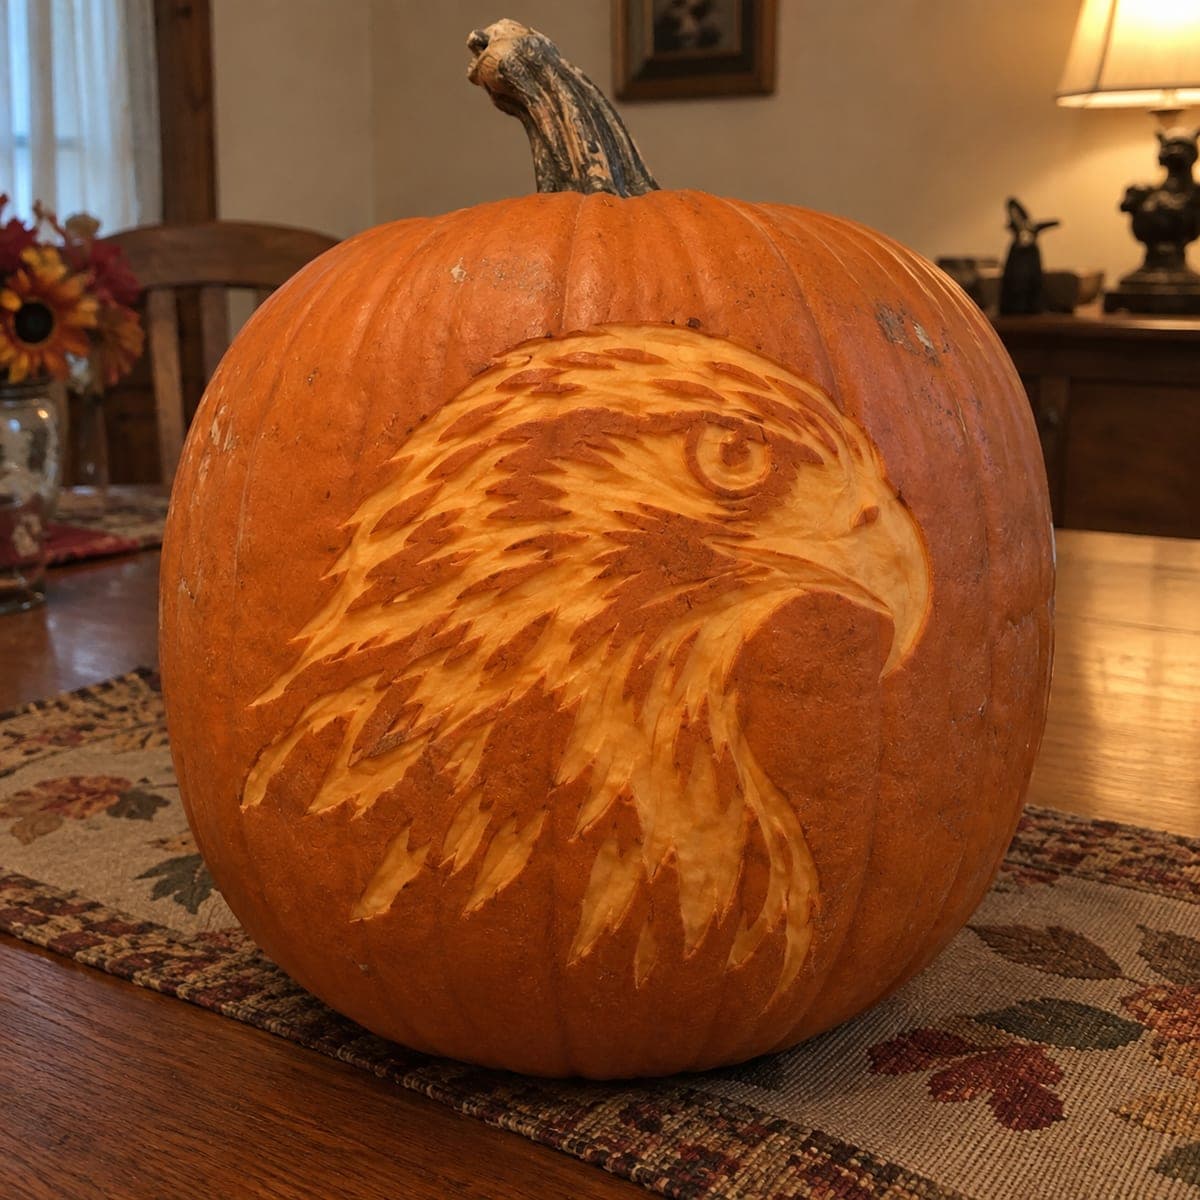
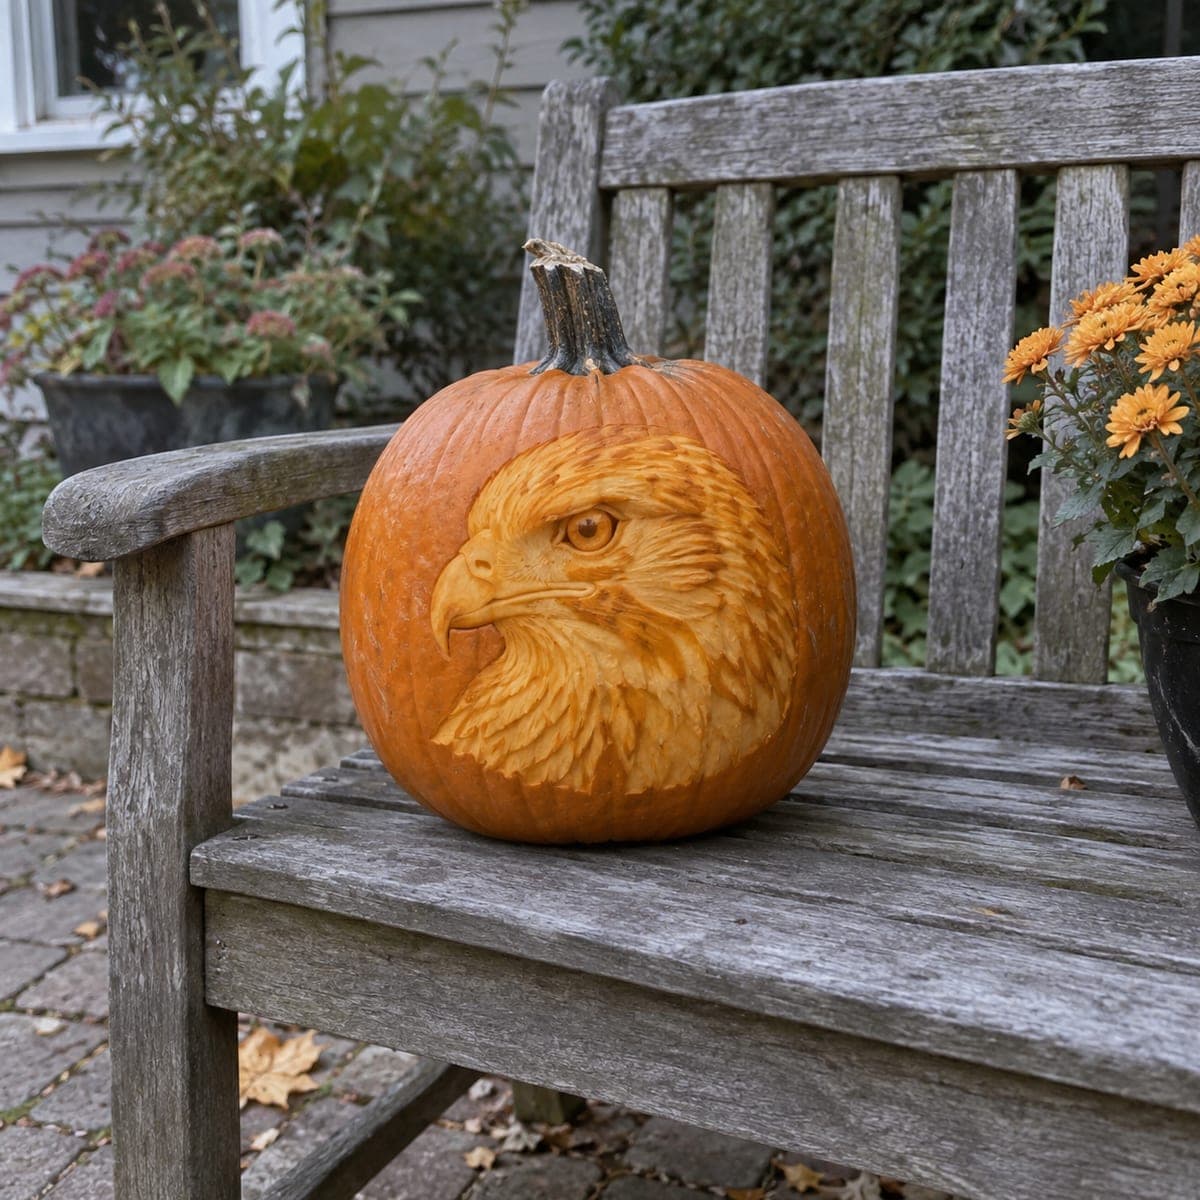
A bald eagle's head fills this pumpkin face, feathers fanning out from an open beak, all rendered through careful surface shading that creates dramatic tonal contrast. The amber glow from inside the pumpkin illuminates the etched areas and makes the eye, the most deeply carved spot, shine with intensity. Work the background down to a thin translucent skin first, then build the feather details with a fine V-gouge, leaving the darkest shadows at full thickness. This patriotic and striking pumpkin carving idea looks dramatic on a porch lit by a single warm bulb.

This is an AI-generated concept image: a realistic, carvable design idea rather than a photo of a finished carve. AI concepts are always labeled and sit out the leaderboard and the contest.
No ratings yet · Sign in to rate

Comments (0)

  • No comments yet — be the first.

Save without an account. Sign in to like or comment.

Our tips for carving a similar design

The core trick here is relief shading, where light comes through varying thicknesses of pumpkin skin rather than through open cutouts. You thin the background to a translucent glow, carve the feathers as mid-tone gray, and leave the deepest shadows at full skin. The eye is the one spot cut nearly through so it reads as the brightest point on the whole face.

Written by PumpkinCarvingIdeas.com, inspired by the image above. These are our suggestions, not instructions from the uploader. This approach to the AI concept has not been tested on a real pumpkin.

From pumpkin to porch

  1. Prep the pumpkin and pick a smooth face

    Choose a large pumpkin with a broad, evenly rounded front and few ridges so the shading reads cleanly. Cut a lid from the back or bottom rather than the top so the front stays uninterrupted. Scrape the inside wall behind your working area down to about one inch thick using a loop tool. A thinner, even wall makes the shading glow predictably.

  2. Transfer the eagle pattern

    Print your eagle portrait stencil, tape it snugly over the smooth face, and poke closely spaced dots along every major line with a pin or awl. Mark the eye, the beak outline, the feather groups, and the background edge separately so you know which zones become which tone. Peel the paper and lightly connect the dots with a washable marker. Take your time here, since a shaded piece depends entirely on accurate zone boundaries.

  3. Thin the background to a glow

    Using a large loop tool, shave the entire background area around the eagle head down to a thin translucent skin. Work slowly and hold the pumpkin up to a light now and then to check how evenly it lets light through. Keep the surface smooth rather than digging holes, since uneven spots will show as blotches when lit. This bright halo is what makes the dark eagle silhouette pop.

  4. Carve the feathers with a V-gouge

    Switch to a fine V-gouge and carve the feathers as flowing strokes that fan out from the beak and crown. Each stroke removes only the outer skin to make a mid-tone line, so vary your pressure to suggest layered plumage. Leave the darkest shadow areas, like the deep neck and the mask around the eye, at full untouched thickness for contrast. Keep strokes attached to one another so no fragile islands break loose.

  5. Deepen the eye and detail the beak

    Carve the eye deepest of all, thinning it almost to a cutout so it becomes the single brightest, most intense point. Do not open it fully into a hole, since a thin skin keeps the amber tone and holds structure. Shade the beak with lighter passes and leave the sharp hooked tip at moderate thickness so it stays crisp and strong. Save this focal work for last when your hand is warmed up.

  6. Light it and photograph

    Drop in a warm-white LED, never a candle, and set it low and slightly forward so the glow rises through the thinned areas. Test in a dark room and add tiny scrapes anywhere a shadow reads too flat. Coat cut surfaces with petroleum jelly to slow drying and keep the feathers looking crisp. Photograph on a porch under a single warm bulb for that dramatic amber mood.

Gather your supplies

Check things off as you get ready.

Work on a stable surface, keep your free hand out of the cutting path, and have an adult handle sharp tools.

Three levels of light

  • Leave intact

    The deep neck shadows and the dark mask around the eye stay at full skin thickness for the darkest tones.

  • Peel & shade

    The fanned feathers get shallow V-gouge shading for a mid glow that reads as layered plumage.

  • Cut through

    The eye is thinned nearly through so it becomes the single brightest, most intense point on the face.

Learn the carving basics

Before you start cutting

Do I need to cut any full openings for this design?

Almost none. This is a relief shading piece where nearly all the glow comes through thinned skin, not open holes. Only the eye is thinned close to a cutout, and even then a thin skin is left so it keeps the warm tone and stays structurally sound.

How thin should the background skin be?

Aim for a smooth, even translucent layer, roughly an eighth of an inch, thin enough to glow but not so thin it tears. Hold the shell up to a light as you work to spot thick or thin patches. Consistency matters more than going as thin as possible.

Why does the caption mention an AI concept, and can I still carve this?

The image is a digital concept, so no real pumpkin was carved for it. You can absolutely carve a similar eagle portrait on a real pumpkin by following the shading steps here. Keep the beak tip and feather edges at moderate thickness so they stay strong on an actual shell.

Your take belongs here, too.

Changed a detail? Made it simpler? Share a photo of your version and tell the community what worked.

Share your pumpkin

More pumpkins like this

You've reached the end · 8 pumpkins
The Patch Report

Fresh pumpkins, in your inbox.

The best new carvings, ideas worth stealing, and how-tos for carving season. Short, seasonal, and gone by November.

A short email during carving season. Unsubscribe anytime. See our privacy policy.