Halloween Pumpkin Carving Contest · Starts October 1st · $500 in prizes
← Back to ideas
@ai_concepts
Jul 23, 2026
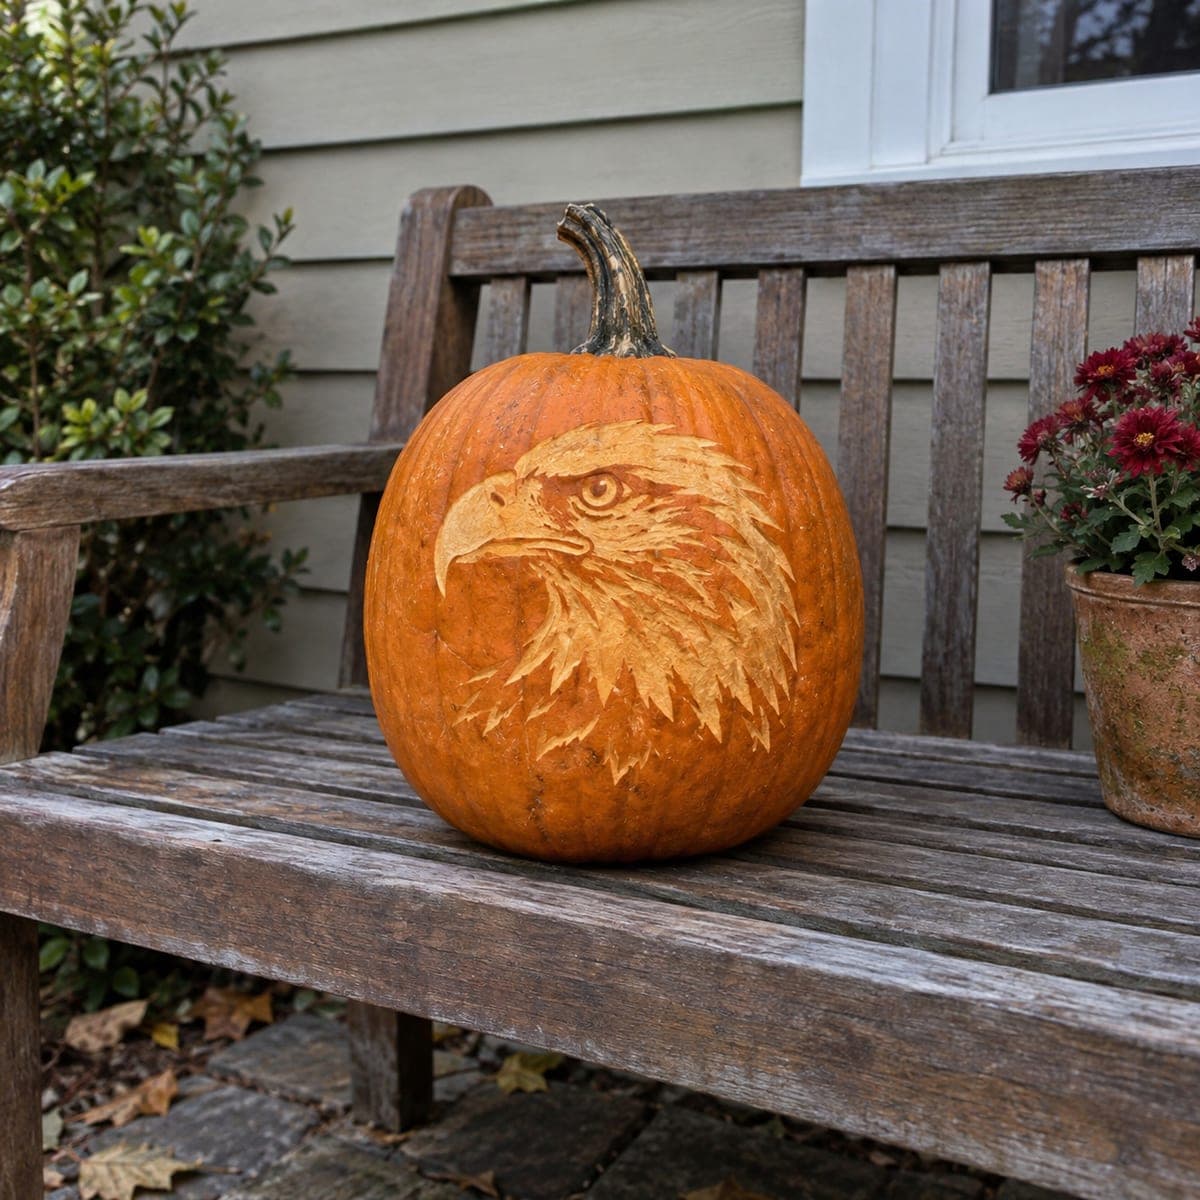
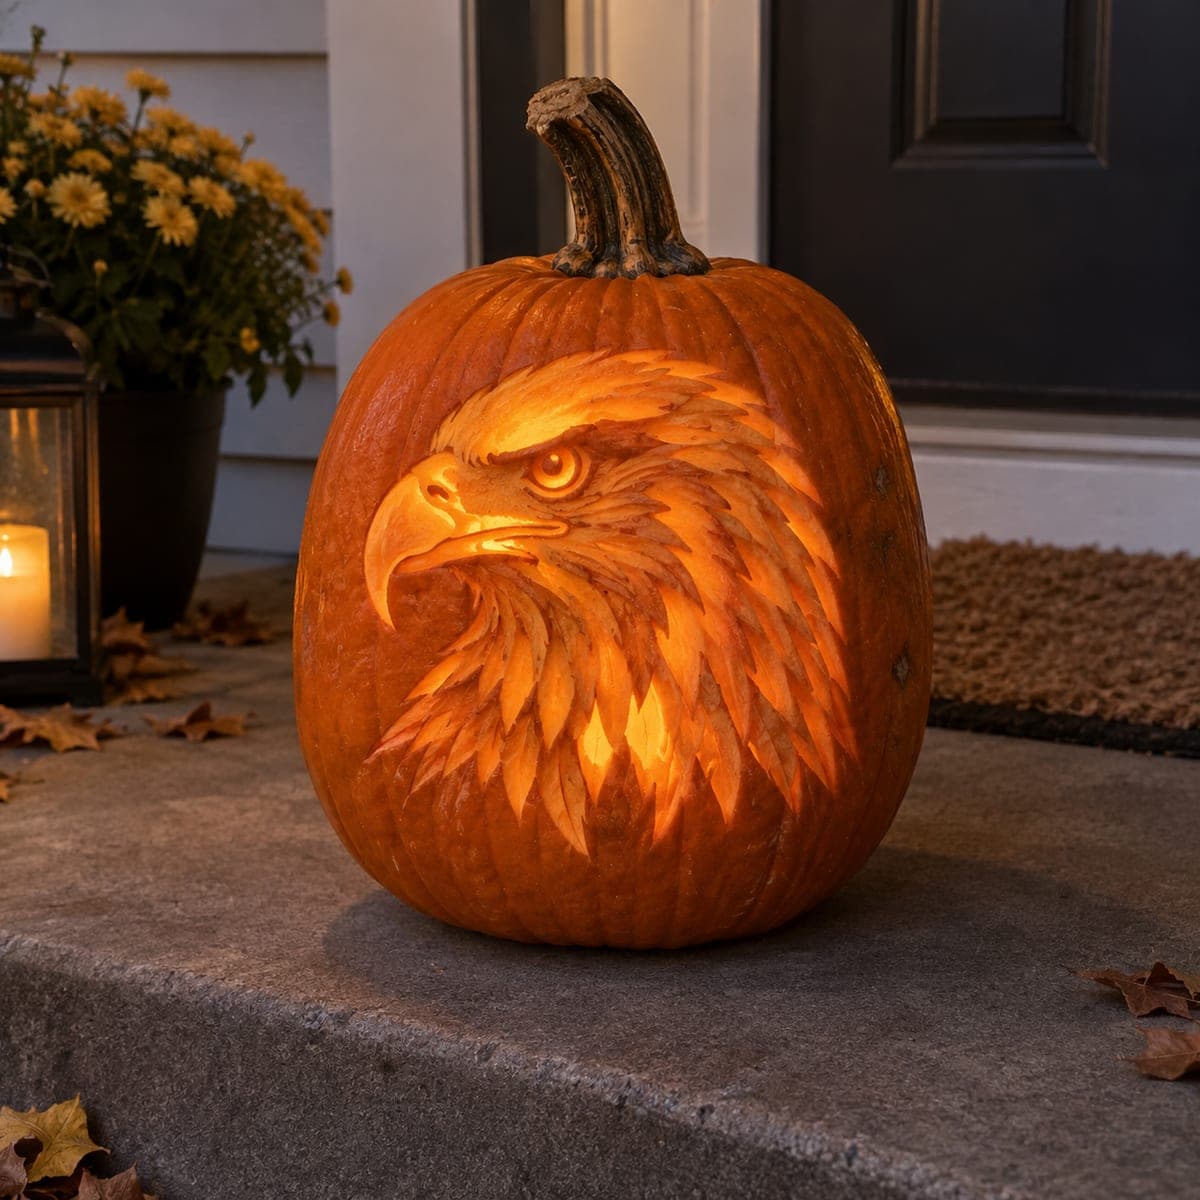
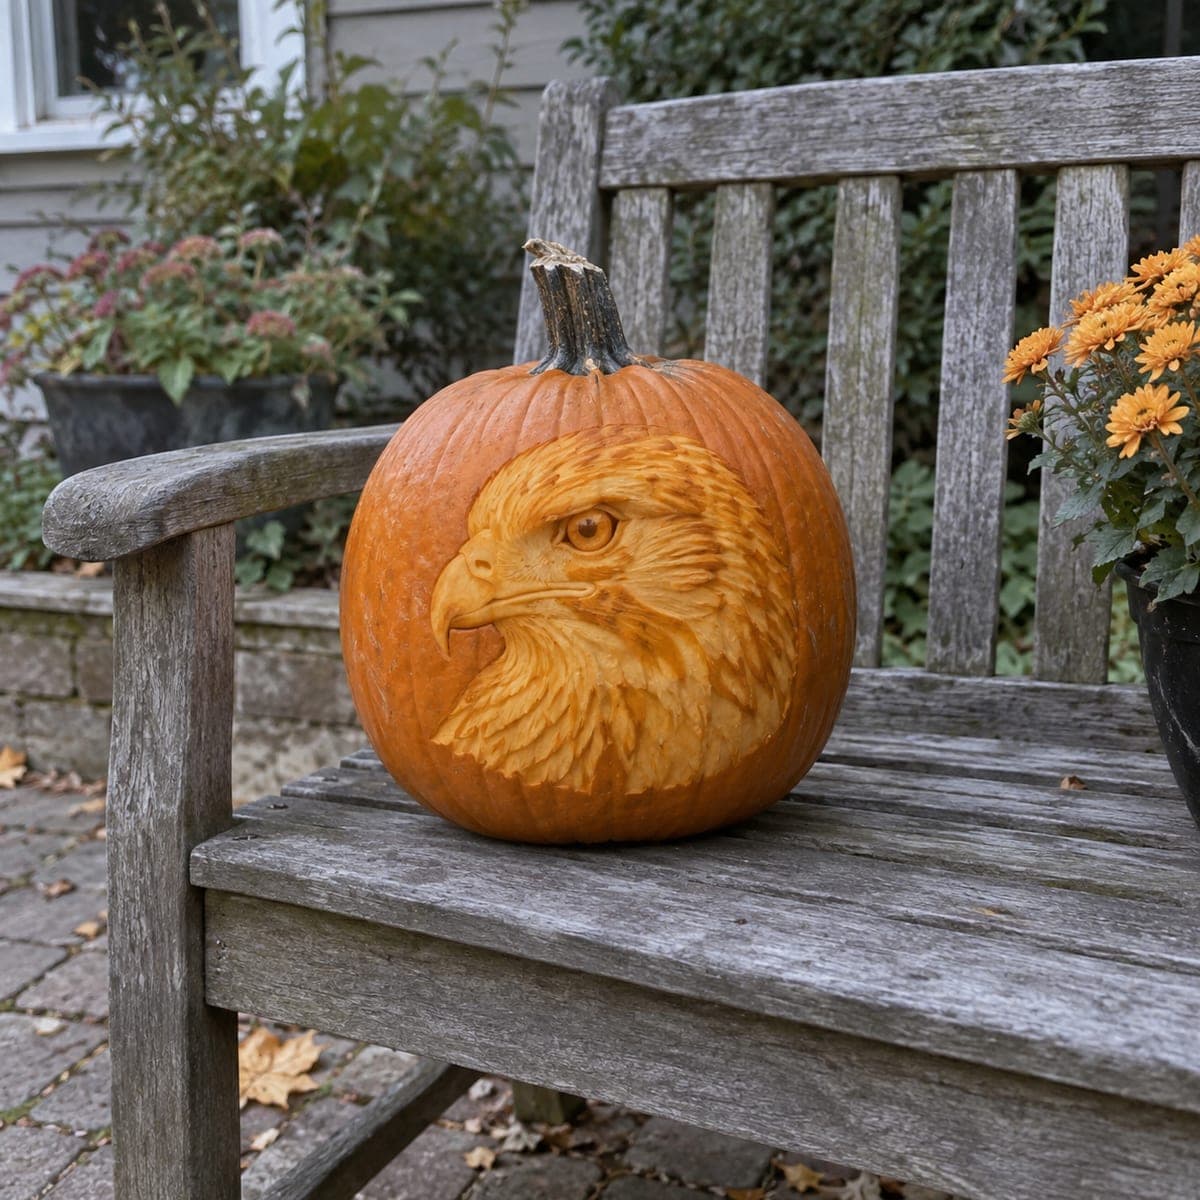
Bald Eagle Portrait Shaded Pumpkin on Garden BenchAI
0

Bald Eagle Portrait Shaded Pumpkin on Garden Bench

A bald eagle's head fills nearly the full face of a large pumpkin, its fierce eye and hooked beak carved in extraordinary tonal depth, the white-feathered crown shading seamlessly into the dark plumage below. The technique peels the outer skin to multiple depths so the eagle appears in almost photographic gradients of orange, amber, and near-white. Work the eye socket deepest first to anchor the composition, then carve outward in feather groups using a fine loop tool. Displayed in daylight this carving reads as sculpture; by candlelight the tonal differences become a glowing portrait.

This is an AI-generated concept image: a realistic, carvable design idea rather than a photo of a finished carve. AI concepts are always labeled and sit out the leaderboard and the contest.
No ratings yet · Sign in to rate

Comments (0)

  • No comments yet — be the first.

Save without an account. Sign in to like or comment.

Our tips for carving a similar design

The core trick here is relief shading: instead of cutting holes, you peel the skin to several depths so the eagle appears in gradients from near-white crown to dark plumage. Start by anchoring the deepest point at the eye socket, then work outward in feather groups so each layer stays a little shallower than the last. This is a concept image rather than a real carving, but the same plan works on a large, smooth pumpkin.

Written by PumpkinCarvingIdeas.com, inspired by the image above. These are our suggestions, not instructions from the uploader. This approach to the AI concept has not been tested on a real pumpkin.

From pumpkin to porch

  1. Pick your pumpkin and transfer the design

    Choose a big pumpkin with a broad, smooth, blemish-free face so the eagle head has room to fill it. Tape your eagle stencil to the front and trace the main outlines with a poking tool or transfer paper: eye, beak, crown, and the main feather boundaries. Keep the stem intact for a natural top. Do not open the pumpkin from the bottom yet, since shading works best on a solid wall.

  2. Establish the eye as your anchor

    Carve the eye socket first and deepest, because everything else reads relative to it. Use a small loop tool to scoop a clean round hollow, leaving a raised nub or a thin ring of skin for the bright catch-light in the pupil. Take your time and check the shape from a step back. Once the eye feels alive, the rest of the face has a reference point.

  3. Rough in the beak and major shapes

    Peel the beak area to a shallow depth so it glows brighter than the dark feathers behind it. Define the hooked tip and the line where the beak meets the face with a V-gouge or detail knife. Keep the very tip supported by surrounding skin so it does not snap. Block in the crown, cheek, and neck zones before adding any texture.

  4. Shade the feather groups

    Work outward from the eye in overlapping feather clusters, peeling the crown shallowest for the near-white look and going gradually deeper toward the dark lower plumage. Use short, curved strokes with a fine loop tool to suggest individual feathers, always flicking in the direction they lie. Vary your depth to build the orange-to-amber gradients rather than cutting any full holes. Step back often and smooth harsh edges so tones blend.

  5. Refine highlights and clean the surface

    Go back over the crown and beak with the lightest touch to thin the skin where you want the brightest glow. Sharpen the eye ring and the beak line for crisp focal points. Brush away pulp shavings with a dry paintbrush so fine feather lines stay visible. Rub exposed areas with a little petroleum jelly to slow drying and preserve the tones.

  6. Light it and photograph

    Cut a small access hole in the back or bottom, hollowing the wall behind the eagle a bit thinner if you want more glow to pass through. Set a battery LED puck inside, never a candle, so the thin shaded areas light evenly and safely. Photograph once in daylight to show the sculptural relief, then again after dark for the glowing portrait effect.

Gather your supplies

Check things off as you get ready.

Work on a stable surface, keep your free hand out of the cutting path, and have an adult handle sharp tools.

Three levels of light

  • Leave intact

    The darkest lower neck and background plumage stay as untouched skin for deep shadow

  • Peel & shade

    The cheek, mid-feathers, and beak get skin peeled to varying depths for the orange and amber gradients

  • Cut through

    Only the eye catch-light and a few sharp accents may be thinned to near-cutout for the brightest points

Learn the carving basics

Before you start cutting

Do I need to cut all the way through anywhere?

Mostly no. This design is built almost entirely from shading, where you peel skin to different depths rather than open holes. You might thin the wall behind the crown or the eye catch-light for extra glow, but full cutouts would flatten the portrait effect.

How do I get the near-white crown without it looking flat?

Peel the crown the shallowest of all the feather zones so the pale flesh just under the skin shows. Then add fine, curved loop-tool strokes to suggest individual feathers and vary the depth slightly across the area. That subtle texture keeps a bright region from reading as a blank patch.

My feather details keep tearing. What am I doing wrong?

Torn flesh usually means the tool is dull or you are digging too deep too fast. Use a sharp fine loop tool and take shallow, patient passes, letting the shape build up over several strokes. Keep the surface from drying out with a light coat of petroleum jelly so the flesh stays firm and clean.

Your take belongs here, too.

Changed a detail? Made it simpler? Share a photo of your version and tell the community what worked.

Share your pumpkin

More pumpkins like this

You've reached the end · 8 pumpkins
The Patch Report

Fresh pumpkins, in your inbox.

The best new carvings, ideas worth stealing, and how-tos for carving season. Short, seasonal, and gone by November.

A short email during carving season. Unsubscribe anytime. See our privacy policy.