Halloween Pumpkin Carving Contest · Starts October 1st · $500 in prizes
← Back to ideas
@ai_concepts
Aug 30, 2026
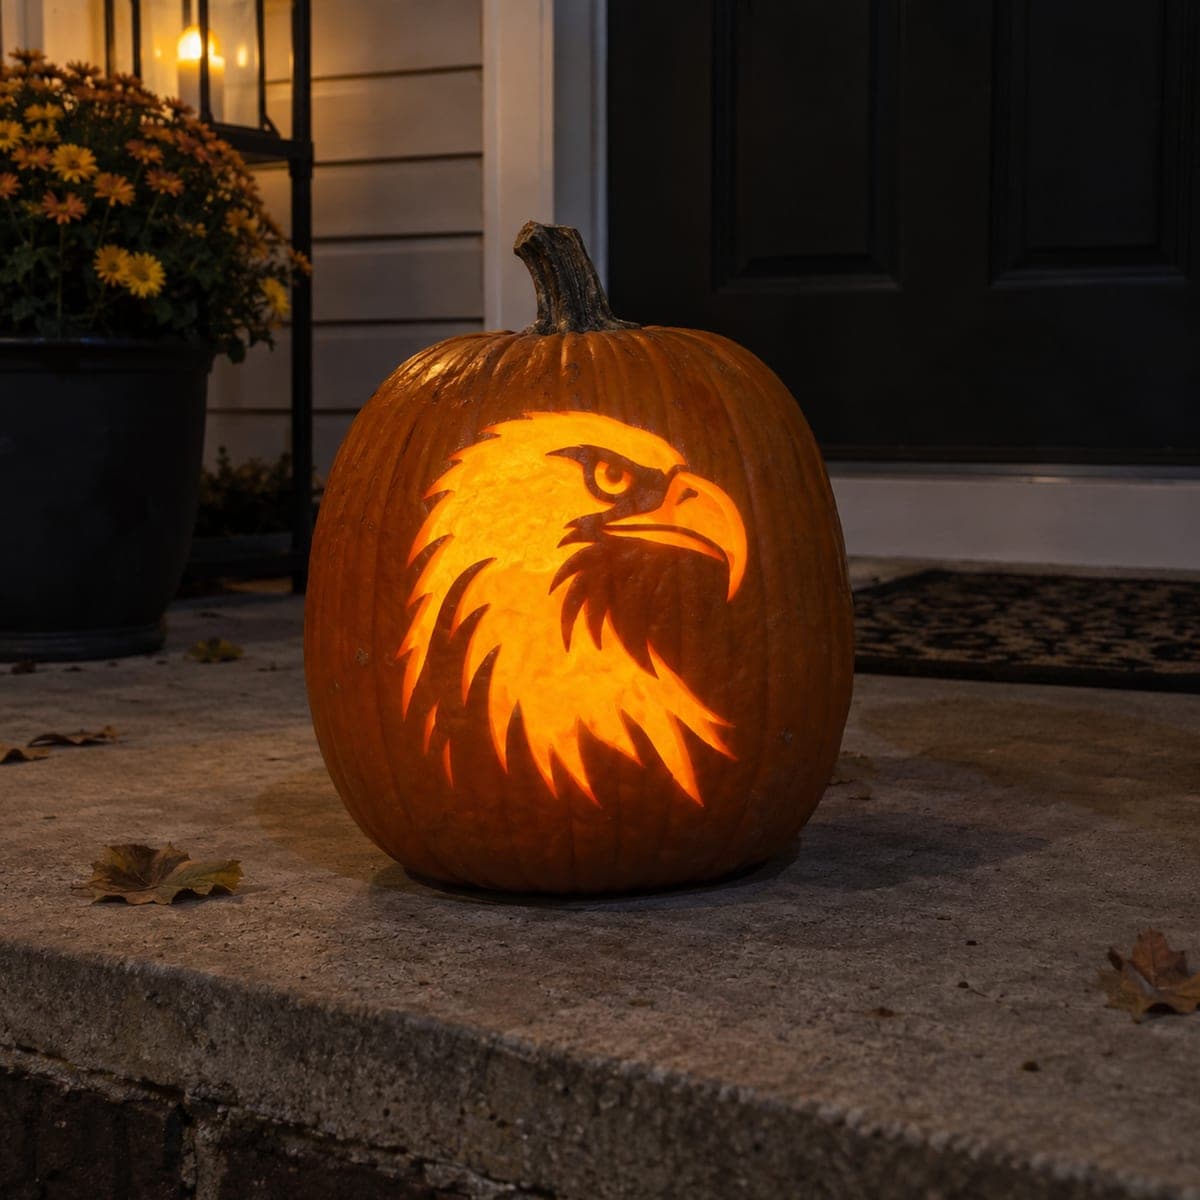
American Bald Eagle Relief Pumpkin CarvingAI
0

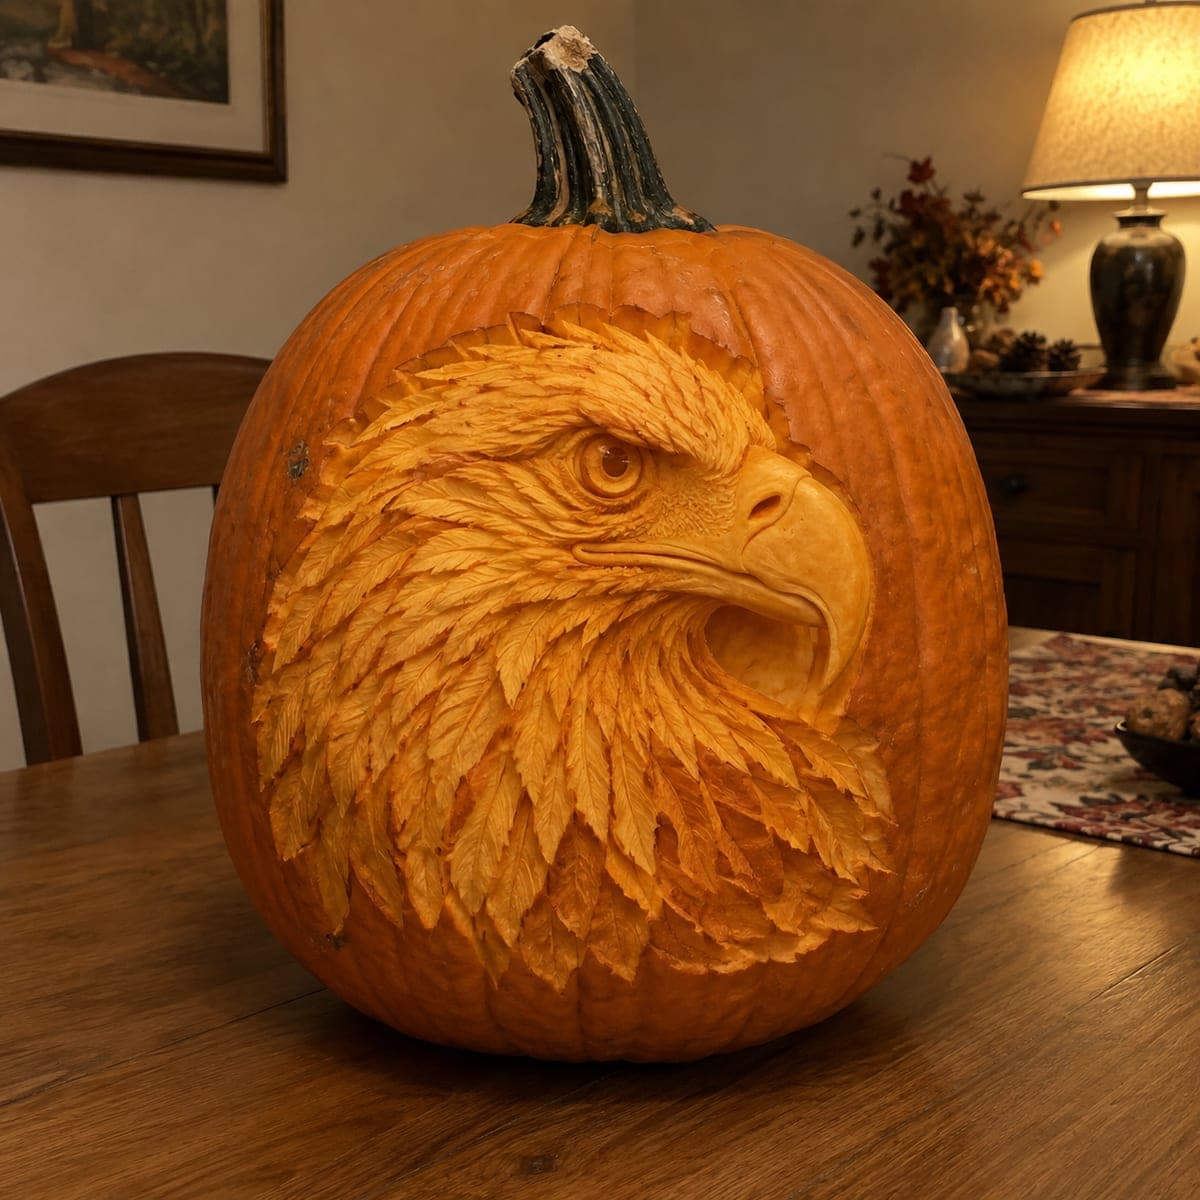
American Bald Eagle Relief Pumpkin Carving

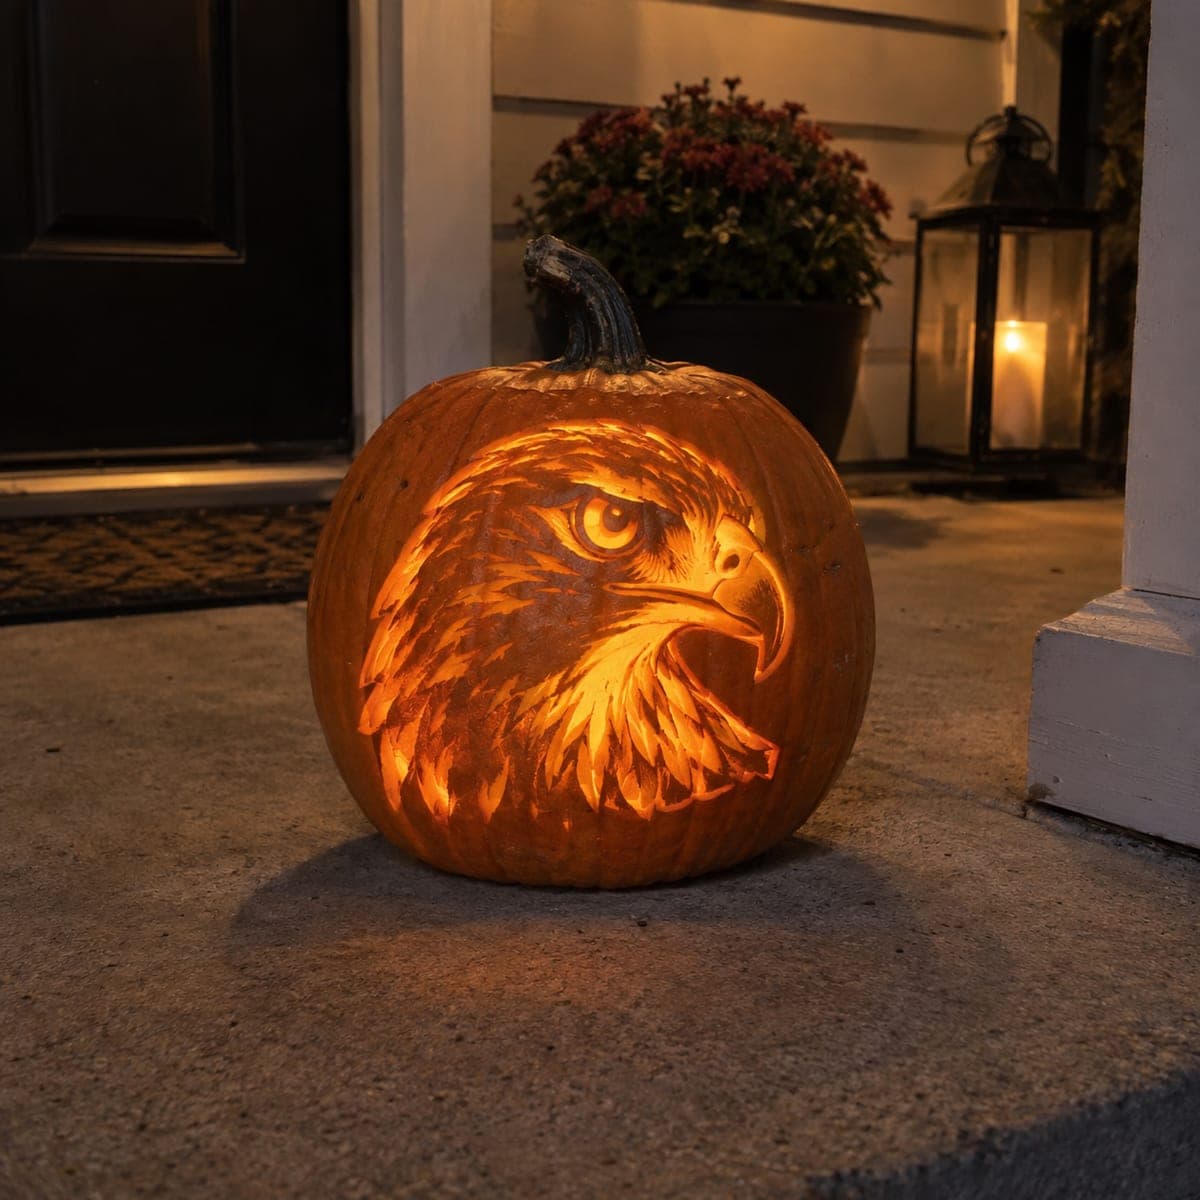
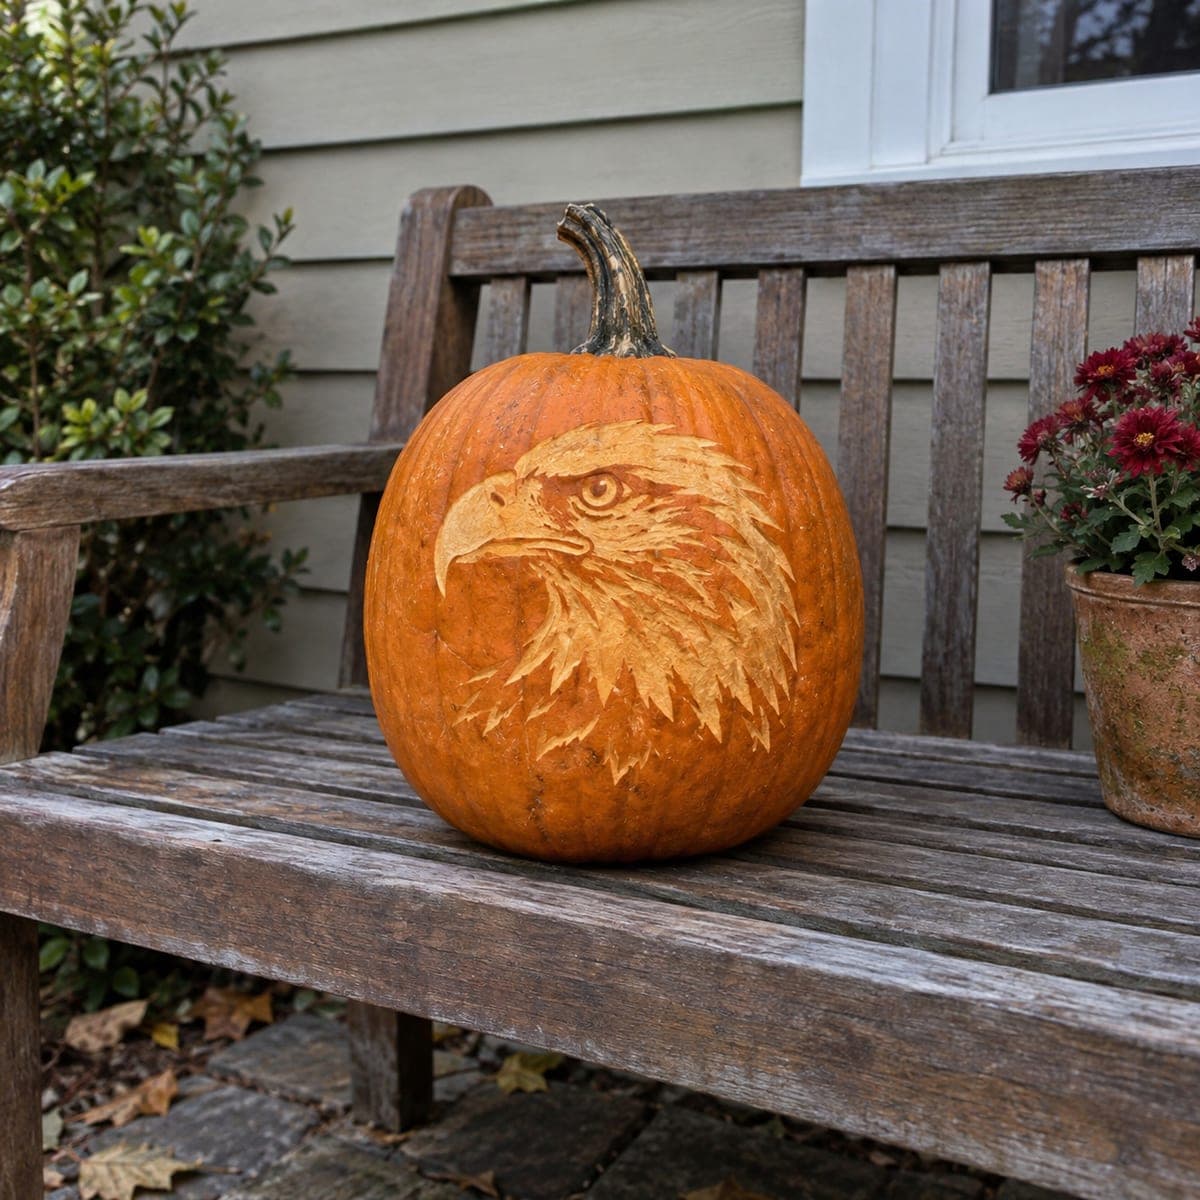
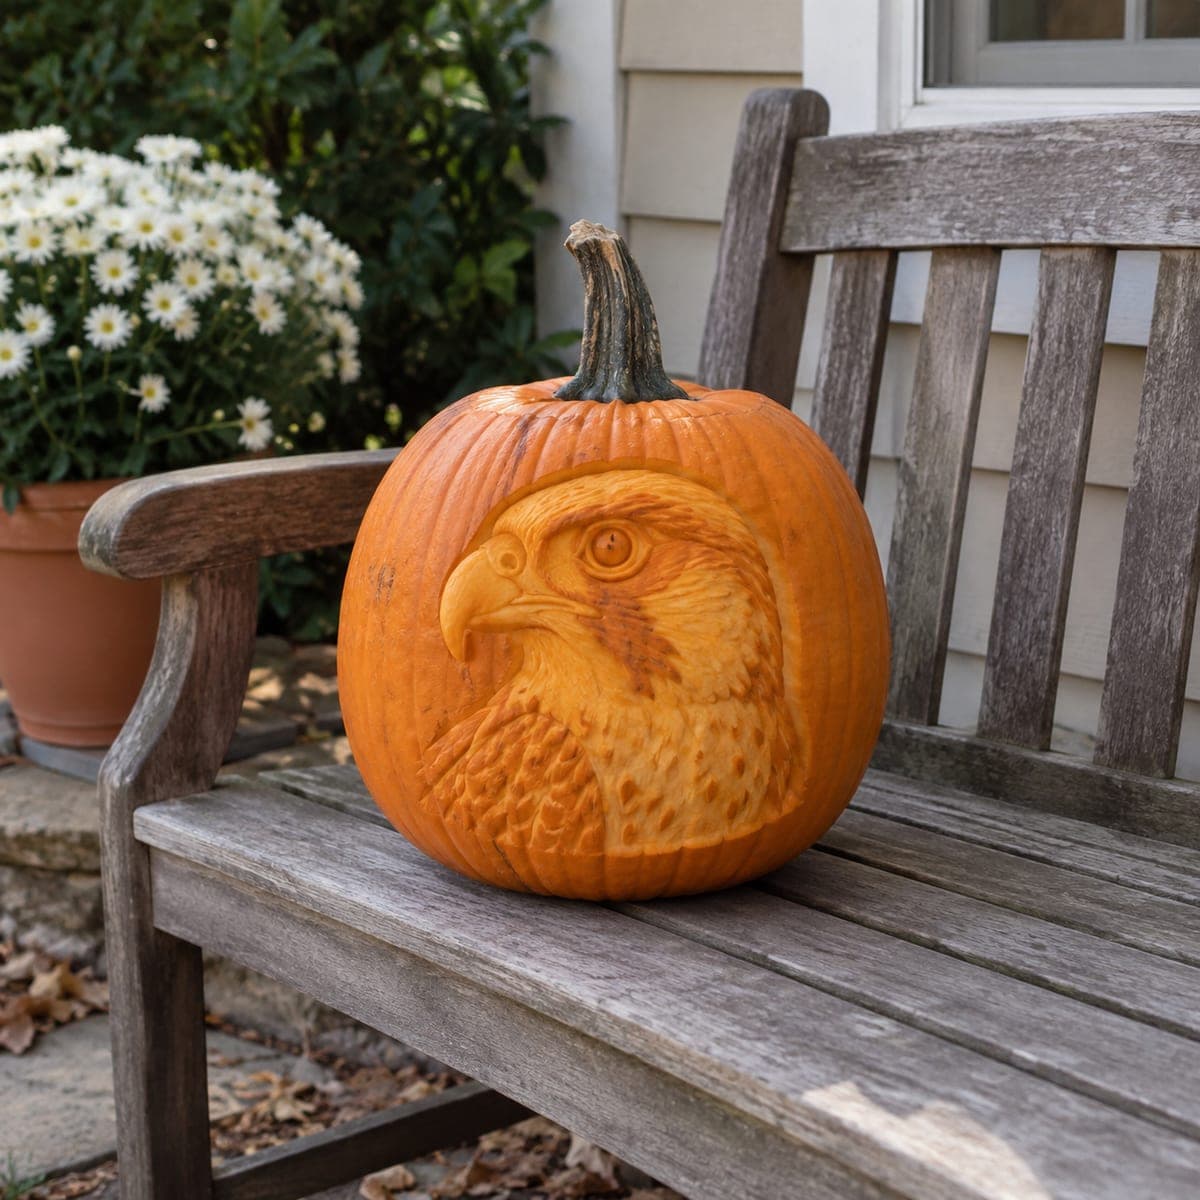
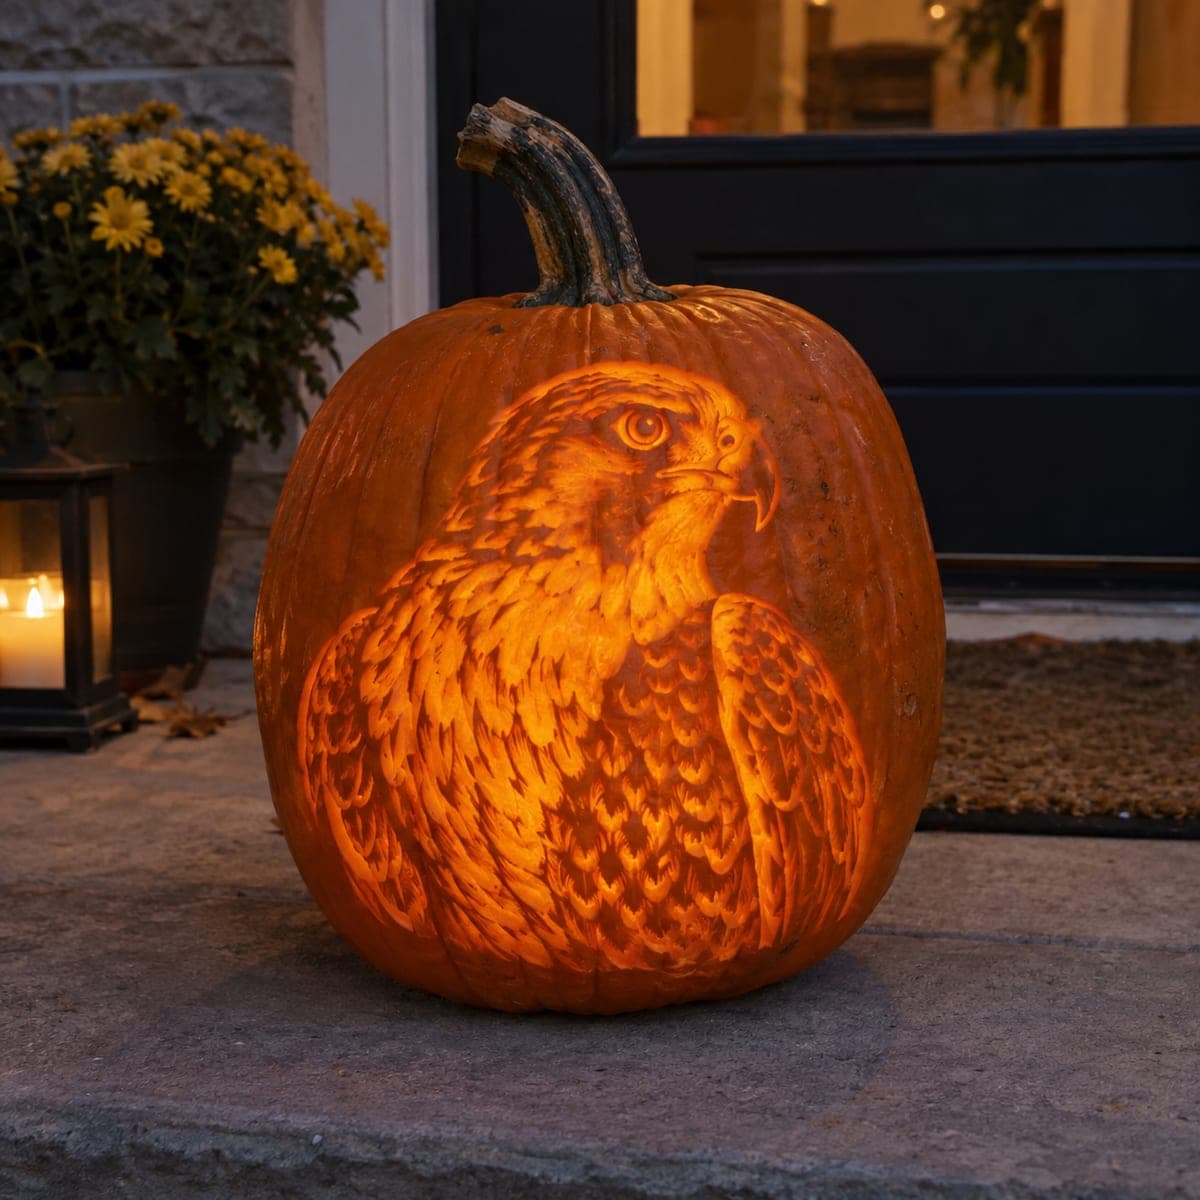
Hundreds of individually carved feathers sweep back from this bald eagle's piercing eye and hooked beak, all sculpted in raised relief on the pumpkin's face. A patriotic showpiece like this rewards patience: establish the eye and beak first, since they anchor the whole portrait, then layer feathers outward in overlapping rows. Rub the finished carving with petroleum jelly to slow drying and keep the feather edges crisp for days.

This is an AI-generated concept image: a realistic, carvable design idea rather than a photo of a finished carve. AI concepts are always labeled and sit out the leaderboard and the contest.

No ratings yet · Sign in to rate
Comments (0)

  • No comments yet — be the first.

Save without an account. Sign in to like or comment.

Our tips for carving a similar design

This design is a study in shaved-depth relief, where almost nothing is cut all the way through. The core trick is sculpting the eye and hooked beak first as raised, rounded forms, then peeling the skin in overlapping feather rows that sweep back and down from the face. Depth and light do all the work here, so plan on slow, controlled paring rather than bold cutouts.

Written by PumpkinCarvingIdeas.com, inspired by the image above. These are our suggestions, not instructions from the uploader. This approach to the AI concept has not been tested on a real pumpkin.

From pumpkin to porch

  1. Prep the pumpkin and transfer the profile

    Pick a large pumpkin with a smooth, flat area on one side to hold the portrait. Wipe it clean and dry, then tape your eagle stencil in place and poke or trace the main outlines: the eye, the beak, and the boundary where feathers meet bare skin. Do not cut the lid or hollow it yet, since a solid wall gives you a firm surface to carve relief into. Mark where the darkest and lightest zones will fall so you have a map before any blade touches the skin.

  2. Anchor the eye and beak

    Start with the eye, since it sets the whole expression. Use a small loop or detail tool to shave a shallow ring around the eye so it sits slightly raised, then round the eyeball and leave a tiny untouched dot of skin as the dark pupil. Move to the beak next, paring the skin away around it so the hooked shape stands proud, and gently round its top edge so light rolls off it. Keep these forms high; every feather you add later will step down and away from them.

  3. Rough in the feather zones by depth

    Block the head into broad areas before carving single feathers. Shave the crown and cheek feathers only slightly below the skin for a soft mid tone, and cut the neck ruff a bit deeper so those feathers read darker and recede. Work in gentle terraces so the head reads as rounded rather than flat. Step back often and check that the eye and beak still sit as the highest, brightest points.

  4. Carve overlapping feather rows

    Now detail the feathers one row at a time, starting near the face and working outward. Score the curved top edge of each feather, then shave a shallow scoop behind it so the next feather appears to tuck underneath. Vary feather size, small and tight around the eye, longer and looser down the neck ruff, to keep it lifelike. Leave thin ridges of skin between feathers as natural bridges; these hold detail and keep the surface strong.

  5. Refine shading and texture

    Go back with your finest loop tool to add the split, hairlike lines along each feather. Deepen the shadows where feather rows overlap to boost contrast, and lightly texture the beak surface. Soften any hard edges near the eye so it looks wet and alert. This is the stage that turns a rough relief into a portrait, so take your time and rotate the pumpkin toward a light to judge the tones.

  6. Preserve, light, and photograph

    Because this is a relief with no big openings, light it from the side with a small LED to rake across the feathers and throw long shadows. If you want a warm inner glow, hollow the pumpkin from the back or bottom and thin that wall only, keeping the face intact. Rub the carved surface with petroleum jelly to slow drying and keep feather edges crisp for days. Shoot your photos in a dim room so the raised texture pops.

Gather your supplies

Check things off as you get ready.

Work on a stable surface, keep your free hand out of the cutting path, and have an adult handle sharp tools.

Three levels of light

  • Leave intact

    The untouched skin ring around the head and the tiny pupil dot stay dark for contrast and a sharp eye.

  • Peel & shade

    The crown, cheek, and layered feathers get skin-peeled at varying depths for the warm mid-tone body of the portrait.

  • Cut through

    Optional: thin the back or bottom wall only for an inner glow, keeping the feather face uncut and solid.

Learn the carving basics

Before you start cutting

Should I cut any part of this all the way through?

No, the face is a pure relief carving, so the light and shadow come from shaved depth rather than open holes. If you want a glow, hollow the pumpkin from the back or bottom and thin that hidden wall instead. Keeping the front solid protects the delicate feather ridges.

How do I keep the feathers from looking flat?

Work in overlapping rows and always shave a small scoop behind each feather's top edge so the next one appears tucked under it. Vary the feather size and deepen the shadows where rows meet. Rotate the pumpkin under a side light as you go to check that the shapes read as rounded.

This looks very advanced. How can I make sure it lasts?

Relief carvings dry and curl at the thin edges faster than plain cutouts, so preserve it right away. Rub the whole carved surface with petroleum jelly to slow moisture loss and keep the feather tips crisp. Store it somewhere cool between showings and it should hold for several days.

Your take belongs here, too.

Changed a detail? Made it simpler? Share a photo of your version and tell the community what worked.

Share your pumpkin

More pumpkins like this

You've reached the end · 8 pumpkins
The Patch Report

Fresh pumpkins, in your inbox.

The best new carvings, ideas worth stealing, and how-tos for carving season. Short, seasonal, and gone by November.

A short email during carving season. Unsubscribe anytime. See our privacy policy.